
A DIY Paver Patio can be as simple (inexpensive) or as complicated (expensive) as you would like to make it. Regardless of the complexity, however, the general steps needed to build a DIY Paver Patio are the same. They are:
- Site preparation
- Excavation
- Compaction
- Backfilling, Compacting, and Leveling the Stone Sub-Base
- Backfilling, Compacting, and Leveling your Sand Base
- Installation of the Pavers
- Installation of Paver Edging Restraint (if required for your installation).
- Application of Polymeric Sand.
This post will outline every step of the the DIY paver installation process in detail and give you some ideas. It also includes additional tips – like how to cut pavers and tricks for leveling your sub-bases quickly. Additionally, check out my tutorial video on Youtube if you are more of a visual learner:
Step 1: Site preparation

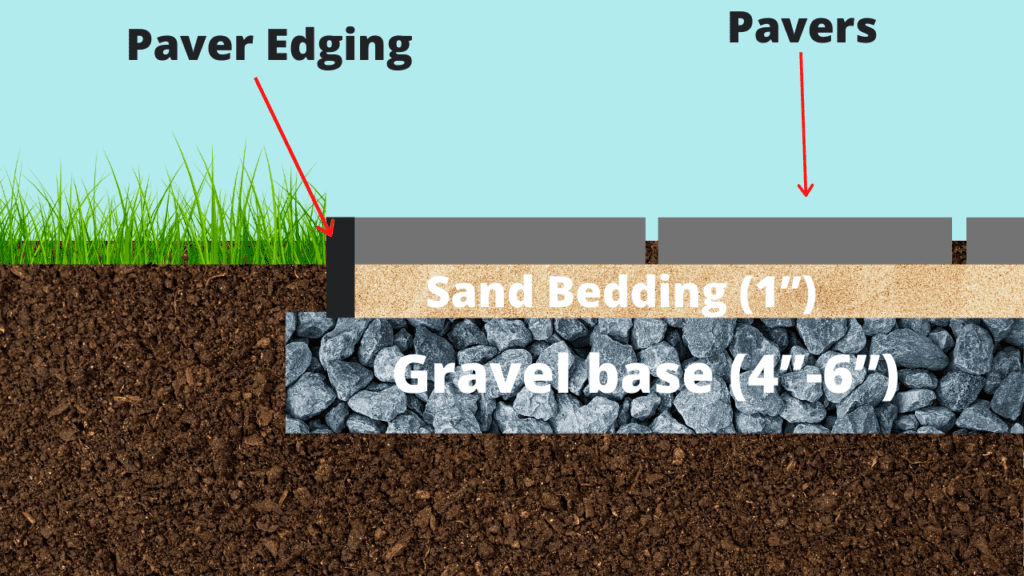
The first step in your DIY Paver Patio installation project is to plan out the size and configuration of your paver patio. Once you decide on how big your patio will be, it’s time to do some digging. You will need to excavate down approximately 8” (5” for Gravel base, 1” for sand base”, and 2” to account for the thickness of the pavers). These are approximations, however, and you may need to adjust the depth as required for your application.
The general rule of thumb is that you will have a 4-6” depth for your stone and a 1-2” depth for your sand. You will then need to measure the thickness of your paver and then excavate the additional depth to offset the thickness of your paver. Check out the graphic below – it will hopefully make it clear.
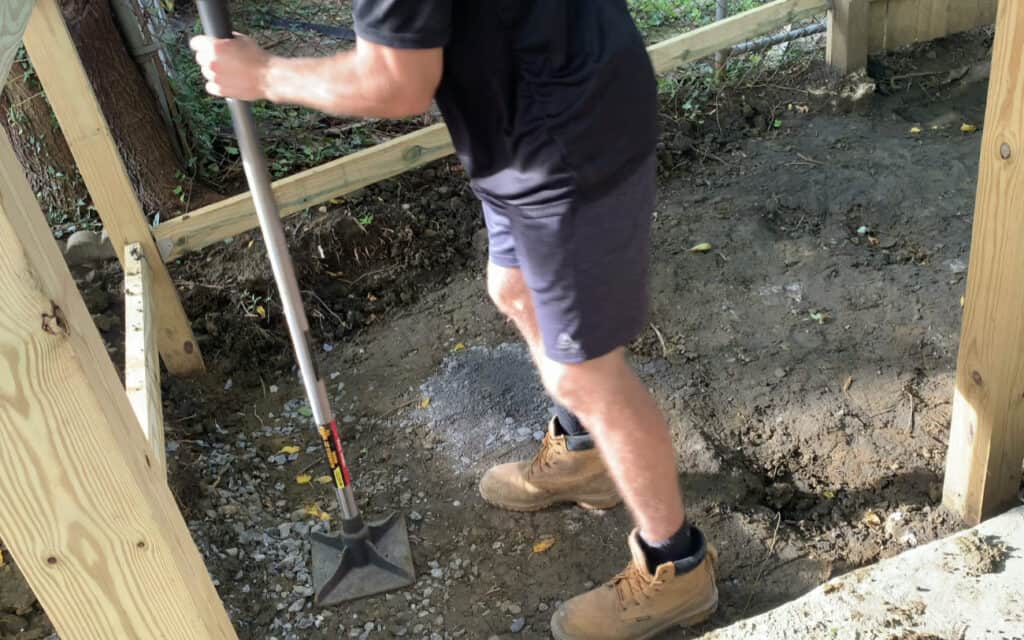
Once you have excavated to your desired depth, compact the soil to minimize the amount of settling that will occur in the future. I used a 12”x12” hand tamp, but you can rent a motorized compactor (from most big box stores) if you have a large patio area.
Once the patio area has been excavated a and compacted, it’s time to start installing your stone sub-base.
Step 2: Backfilling, Compacting, and Leveling the Stone Sub-Base
Starting with a stone sub-base for your patio is a MUST if you want to have solid base that allows proper drainage. Without well compacted stone underneath your pavers, you may find yourself with pavers that are continually settling at different rates (think of a very uneven sidewalk) and could end up with ponding every time it rains.
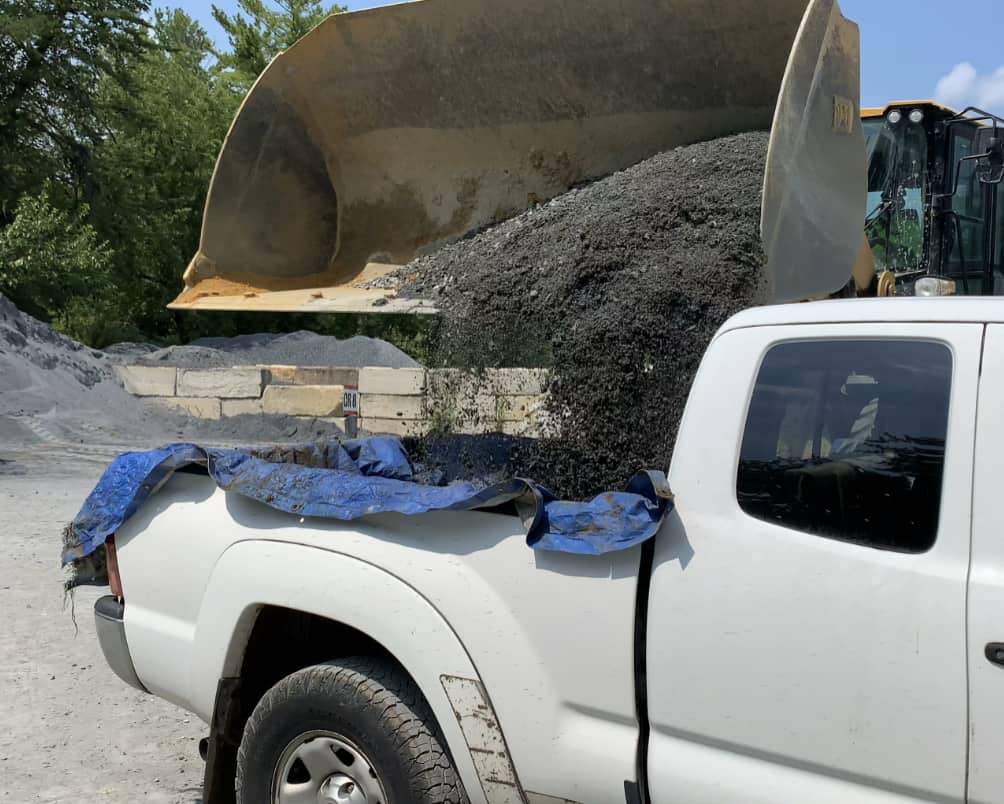
More likely than not, you’re going to need A LOT of stone in order to fill your entire patio excavation to a 4″-6” depth. First, calculate how much stone you will need (Cubic Feet = depth (cover to feet) x length of patio (ft), width of patio (ft). Then, I recommend you do some research on stone suppliers in your area and then get quotes for delivery. Delivery is definitely going to be the easiest, but I picked up my stone from the supplier and had them load it directly into the bed of my truck.
PRO TIP – make sure you don’t exceed the payload capacity of your truck!
I recommend that you use crushed stone or recycled concrete aggregate, but feel free to consult with your local stone supplier.
Once you have your stone on-site, begin to backfill your excavation to a depth of 4-6” uniformly across the entire patio area.
At this point, you are going to want to do some planning regarding DRAINAGE. You want to ensure that your paver patio has a slight slope so that water can properly drain off the patio and away from your home. It is generally acceptable to have 1” of fall (drop) for every 4’ of pavers (run). Be sure to spend some time thinking about drainage as you apply your stone to the excavation, making sure that your stone has the necessary slope. I recommend that you use a level or a string line to determine your slope.
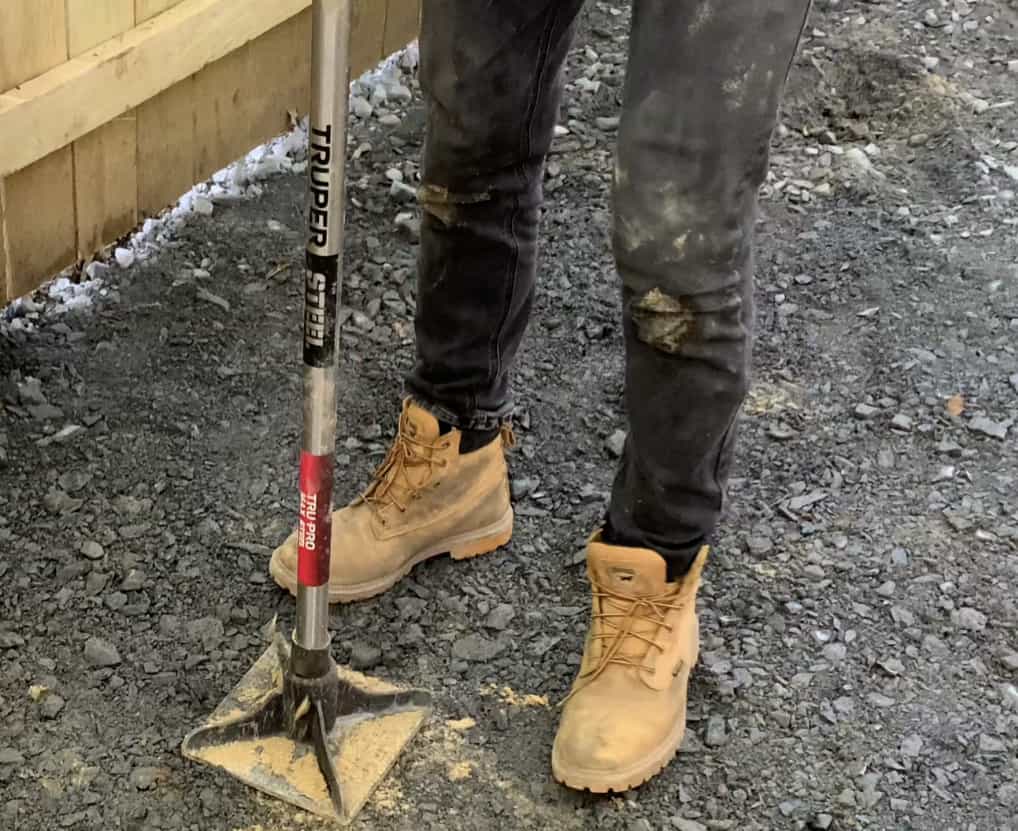
Once all of the stone has been added to the excavation at the correct slope, go ahead and compact the stone. Again, this is to minimize any settling in the future. I used a hand tamp, but renting a motorized tamp is still a good idea for this step as well.
Step 3: Backfilling, Compacting, and Leveling your Sand Base
Step 3, is very similar to Step 2 – except now you do all the same steps with sand. Sand is the last layer before your pavers and is necessary to give a perfectly uniform and level paver installation. More likely than not, the same stone supplier you used in “Step 2” will also be able to supply your sand. I recommend that you use concrete sand or mason sand as your paver sub-base.
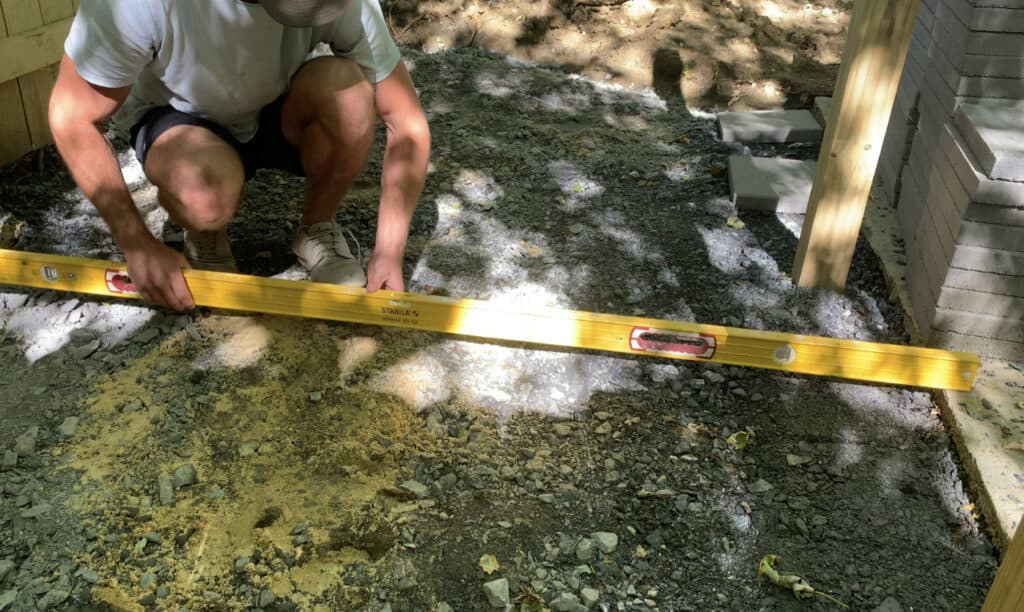
Assuming that your stone sub-base is properly sloped, leveled, and uniform, you can use 1” pipe to ensure that you have a uniform sand base. Let me explain…
If you pick up a few sticks of 1” PVC conduit, you can lay it on top of the stone base to create a reference guide for how deep your sand layer will need to be. You can apply sand on top of the 1” pipe and then “screed” between the pipes with a 2”x4” board or any other flat object. Check out the image below:

Once all of the sand is in place and screeded, compact the sand the same way you did for the stone. Next, remove the PVC pipe and then fill in the void left by the pipe with additional sand.
I believe that the pipe method is the fastest and easiest way to get a uniform sand layer, but you can also manually level the sand by “sight”, ensuring that each paver is at the same level as the adjacent paver.
Once your sand is installed, leveled, and compacted, you are finally ready to begin laying your pavers.
Step 4: Installation of the Pavers
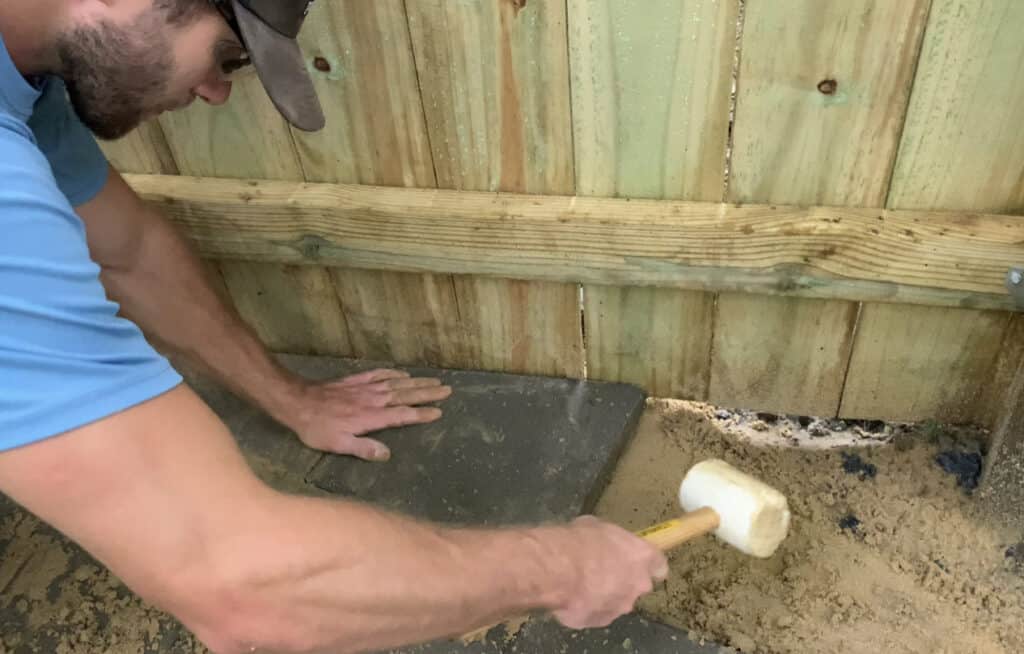
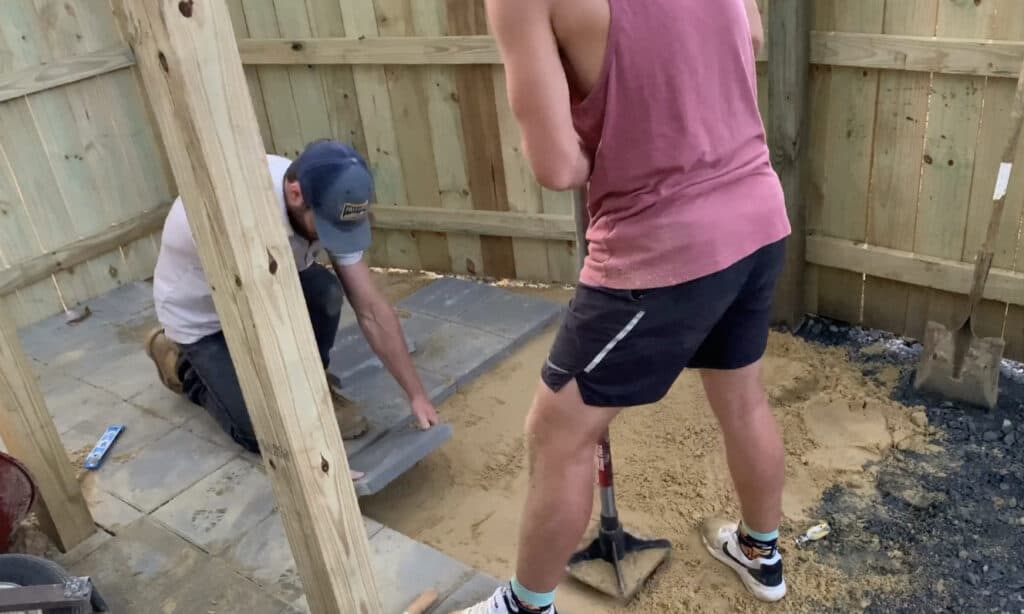
There are many different types of pavers and paver installation patterns, but the general installation procedure is similar for all of them. Start in one of the patio corners and begin placing the pavers on the sand. Feel free to use a string line or a laser level to make sure that you’re keeping clean lines. Use a rubber mallet to tap the pavers into place and to make minor adjustments. If you have completed the other steps properly, laying the pavers will be one of the easiest parts of the project. Continue to place the pavers one after the other until all of the full size pavers are in place.
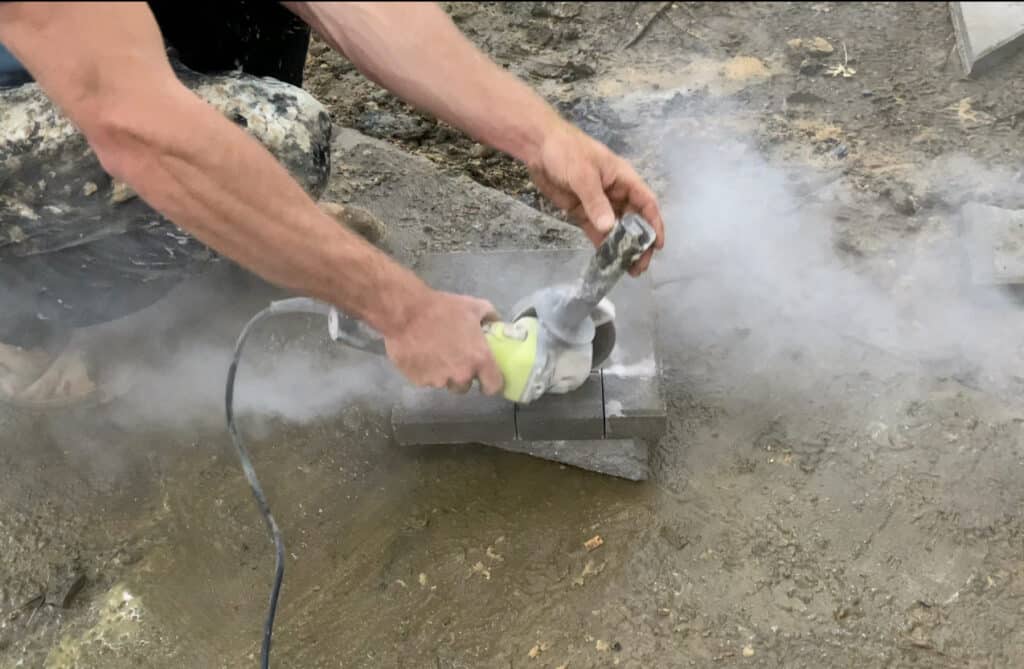
With every paver job, you will need to cut a few of your pavers to get a uniform line on the edges or to get around an obstruction. For me personally, I cut my pavers using a wet-saw equipped with a diamond blade and with a angle grinder (again, with a diamond blade). The wet-saw makes easy work of cutting straight lines, but the angle grinder is helpful for the precision cuts.
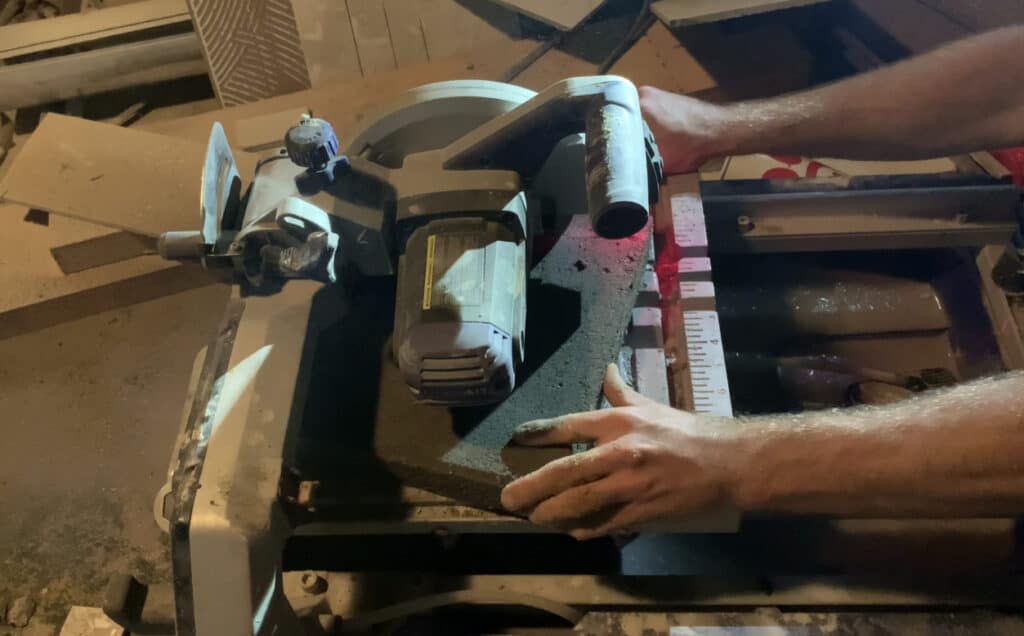
Keep in mind that there will be a lot of dust when you cut the pavers, so be sure to wear a respirator and all other necessary safety equipment. You can use a hose to continually introduce water so that the airborne dust is minimized. Additionally, you may not need to cut ALL the way through the paver. I found that I could cut about a ½ inch into the paver and then break it along the cut by tapping it with a rubber mallet.
Cut pavers as needed to complete your DIY Concrete Paver Pattern and complete your patio. Depending on the type of paver you use, it may be practical to compact the tops of the pavers. However, some pavers can’t hold up to the compaction forces and may break. Be sure to check the installation instructions for your specific type of paver.
Step 5: Installation of Paver Edging Restraint (if required for your installation)
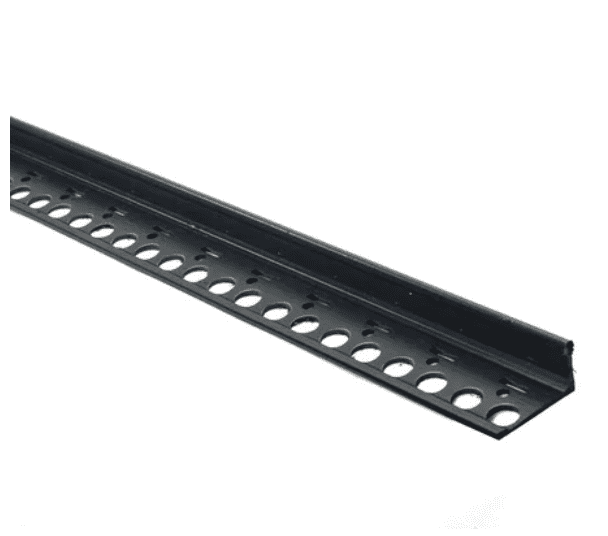
In order to prevent your pavers from shifting and moving out of place, it is recommending that you install a paver edging strip on each side of your patio. These paver edging strips can be installed rather quickly and are very important in holding your whole patio project together. Do not SKIP this stip. In my case, I built my patio with a fence on one side and a concrete slab on the other, so I only installed paver edging on the sides with nothing already there to keep the pavers from shifting.
Step 6: Application of Polymeric Sand
Finally, we made it to the final step! Once you have excavated your patio area, added your gravel sub-base, added your sand sub-base, installed your pavers, and installed your paver edging, you can perform the last step – Application of Polymeric sand.
Polymeric sand behaves just like regular sand when it is dry, but it contains an binding additive that is activated by water. Once the polymeric sand becomes wet, it acts as a “glue” binding the pavers together for a more permanent installation.
To effectively apply the Polymeric sand to your patio, sweep the sand in between the joints of all of your pavers with a broom (a push broom works great). Once the polymeric sand has sufficiently filled all of the voids between the pavers, consider compacting the pavers again (if appropriate for your paver type) to help fill any of the air gaps. Next, try to remove excess sand from the face of the pavers. You can do this with a leaf blower.
Finally spray the patio with water to activate the polymeric sand binding agent. Apply water in accordance with polymeric sand manufacturer’s instructions. Both too much water or too little water can be problematic.
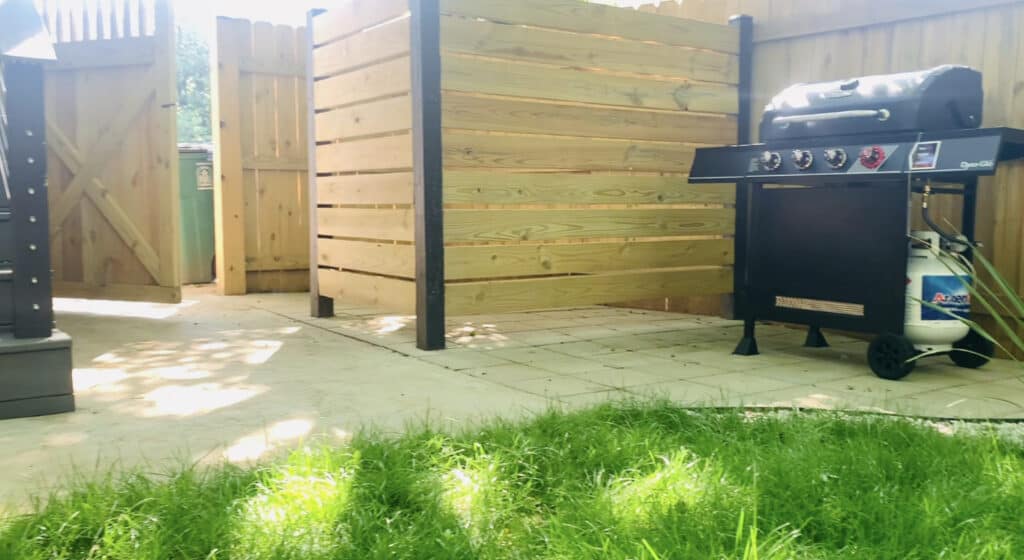
Give your polymeric sand approx. two days to set-up and then go enjoy your new DIY Patio!
Excelente!!
Very very nice mate, going to build one myself, Tony (New Zealand)
great job
awesome job!!
Build document is incredibly detailed and free!! Thanks so much, this is awesome!