
Although Epoxy Flooring is most commonly seen in garages, you can also apply epoxy on a wood floor. In fact, epoxy floor coatings can be easily applied to plywood subfloors by the average homeowner.
To apply epoxy on wood floors (plywood subfloors, etc.), start by applying a crack filler in between all subfloor joints and vacuuming away any debris. Next, apply a coat of flexible primer to the wood floor using a squegee and 3/16″ nap roller. After applying a flexible primer, apply a waterborne primer which will help the final epoxy coating to adhere to the flexible primer coat below. Next, mix any pigments or additives to the epoxy resin and allow the pigments to saturate over night. Finally, apply the epoxy coating to the application area using a squegee and 3/8″ roller. Finally, allow the epoxy to cure and apply a protective urethane top coating.
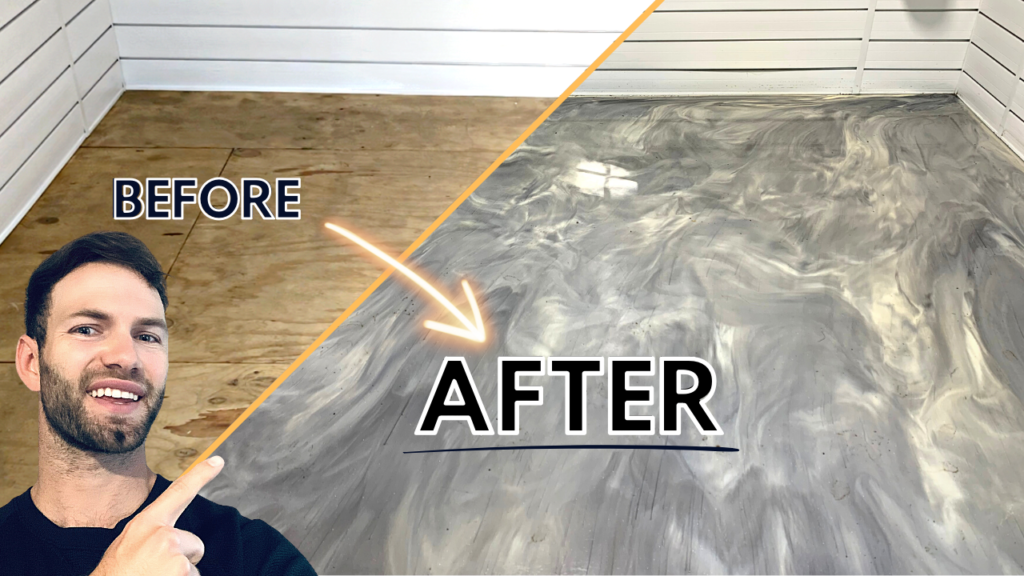
This article will explain every step of the wood floor epoxy coating process, step-by-step. Specifically, this epoxy coating application was for a plywood subfloor in a shed.
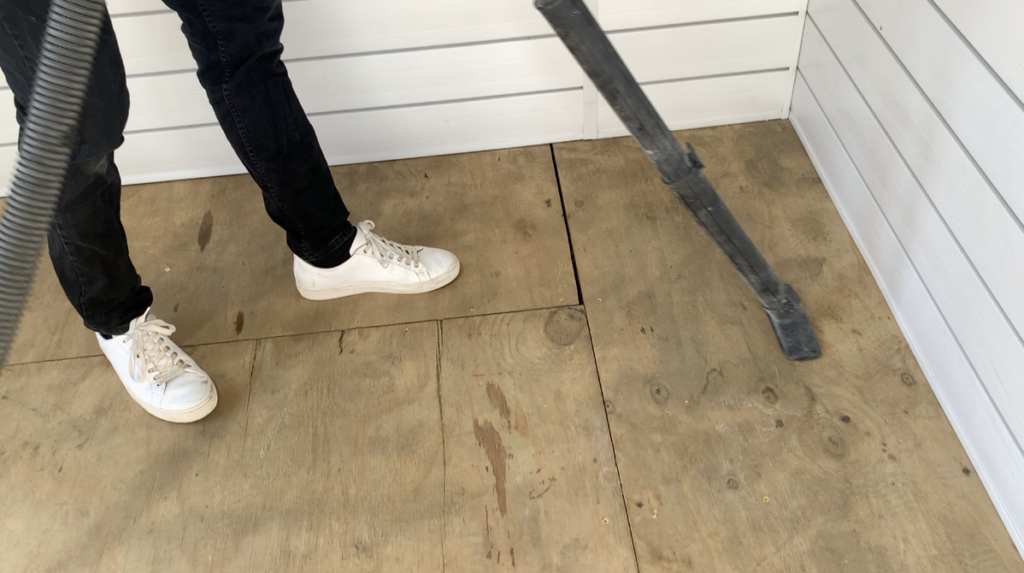
By following the steps in this article, you will be able to take your wood floor from this:

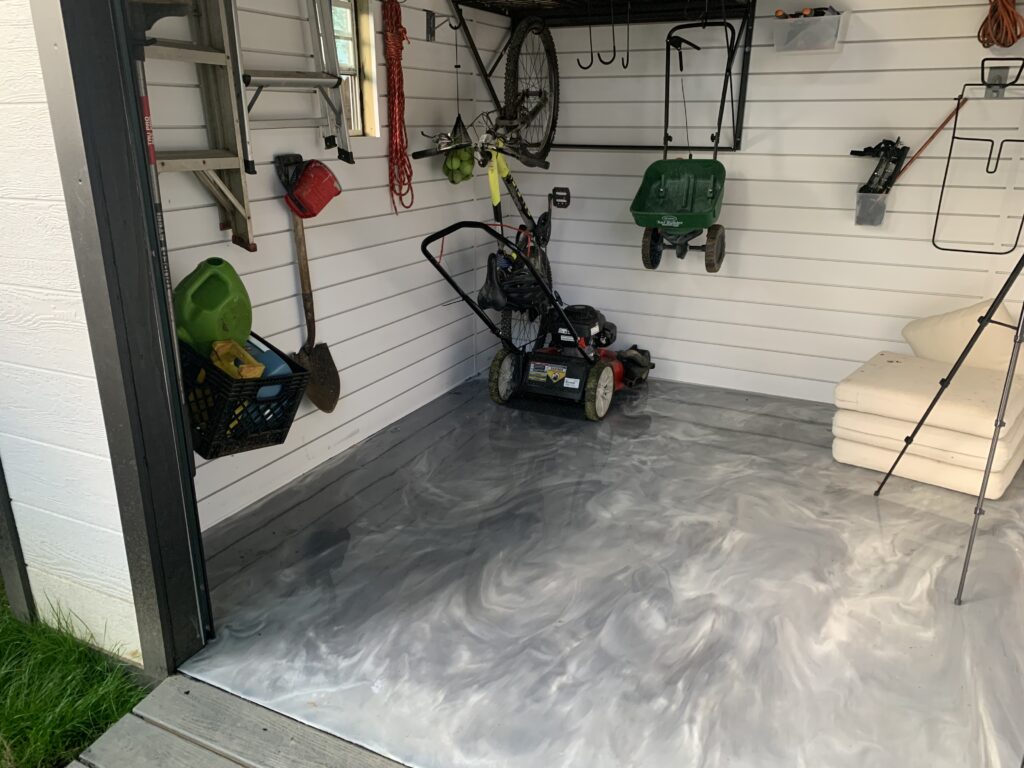
To this!
If you are more of a visual learner, you can watch my Epoxy Application YouTube video at the end of this article. Let’s begin the epoxy floor coating process on a wood subfloor.
1. Choose Your Epoxy Floor Coating System and Products
The first step in an epoxy flooring project is to choose the right epoxy system and products for your application.
There are many different epoxy manufacturers out there, but a few of the most popular epoxy flooring system manufacturer’s are listed below:
- Spartan Epoxies
- Leggari
- Rust-Oleum
After deciding on what epoxy system manufacturer you will use, you will need to select the desired epoxy system for your specific wood floor application.
The two most common styles of epoxy flooring are listed below:
- Metallic Epoxy Floor Coating
- Epoxy Flake Floor Coating
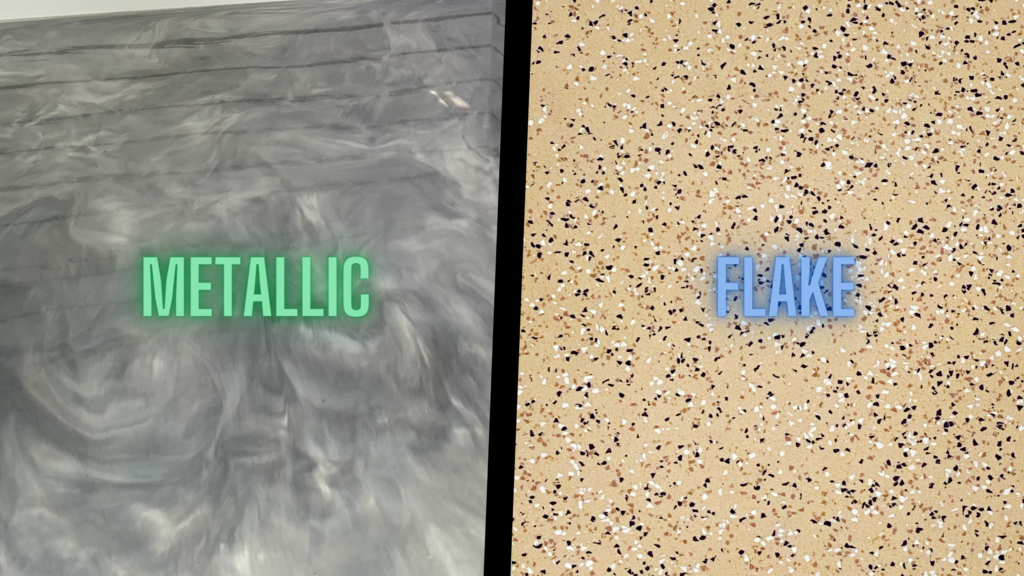
Select an epoxy floor coating style that matches the aesthetic you want to achieve for your application.
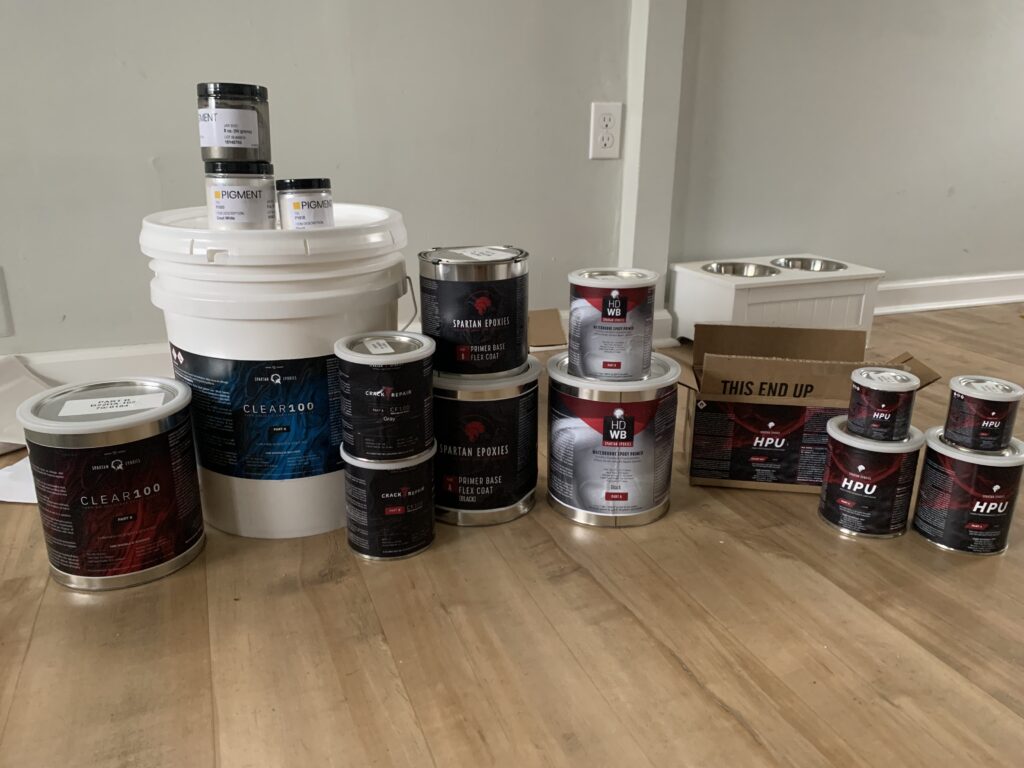
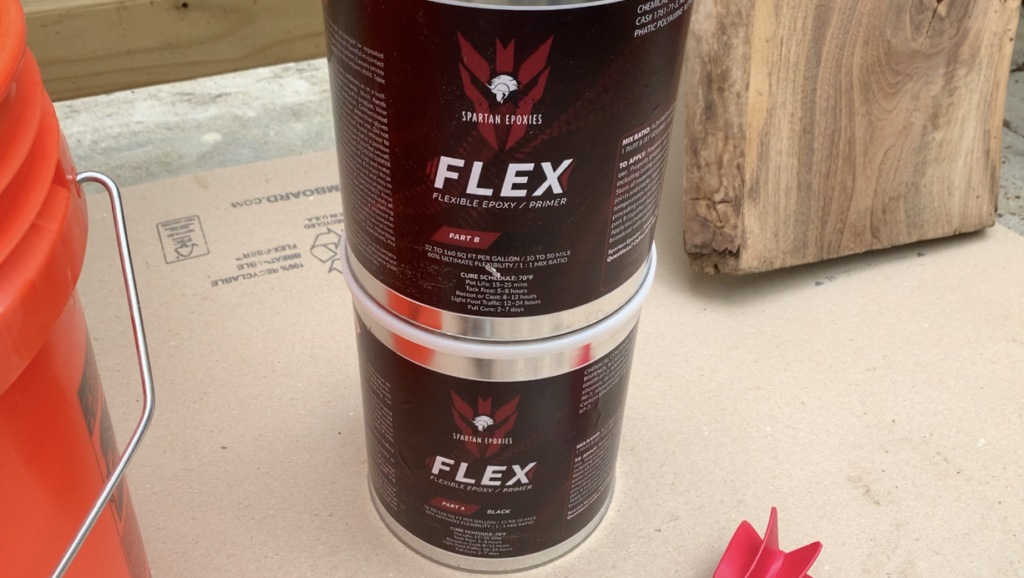
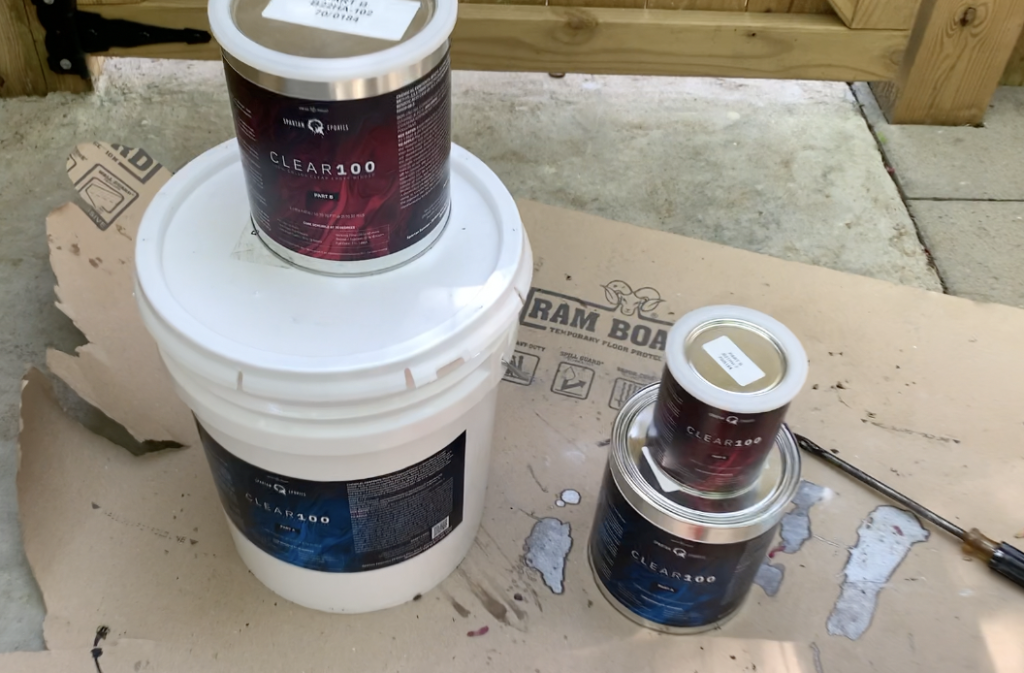
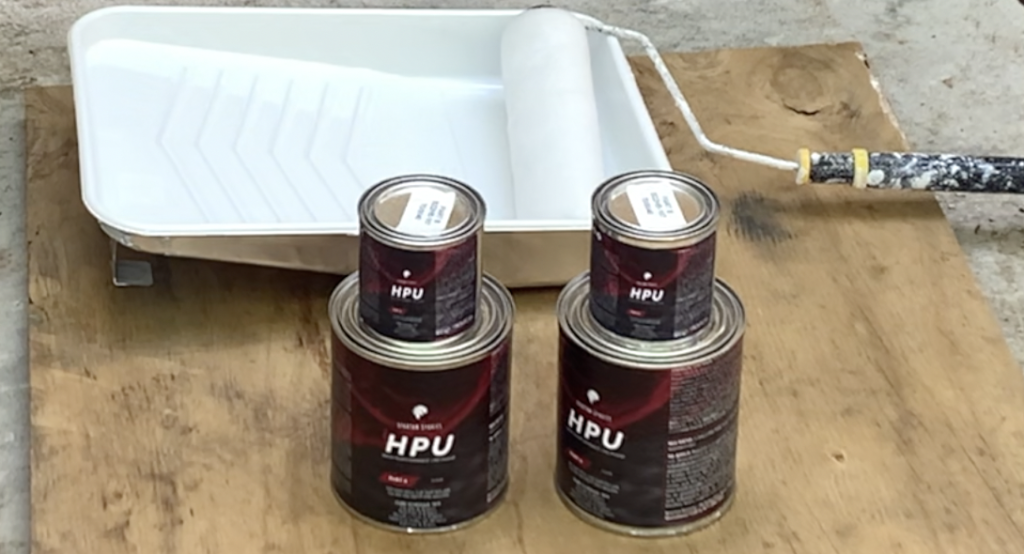
For this project, I installed the Spartan Epoxies Metallic Epoxy System. This system included the following products.
- Crack Filler (CF-100)
- “Flex” Flexible Epoxy Primer
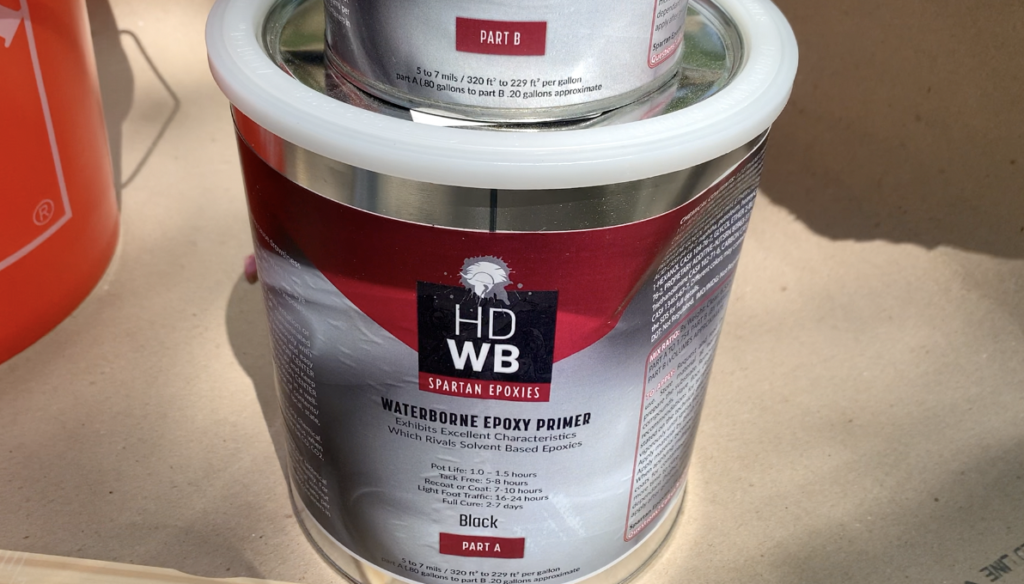
- “HDWB” Waterborne Epoxy Primer
- Clear 100 Epoxy
- Pigments (Manatee, Dolphin, Great White, and Pearl)
- “HPU” High Performance Urethane Top Coat
Additionally, you will need the following tools to aid in the application of the epoxy:
- 8-12 WFT Mils Squegee
- Mixing Buckets
- Flat squeegee
- 3/16″ roller(s)
- 3/8″ roller(s)
- Paint Brush (for corner)
- Paint Trays
- Cleats or Gunite Shoes
All of these products can be found on the Spartan Epoxies Website. From my experience, they have a very friendly staff that will be able to answer all of your questions.
Obviously, you will need to order quantities of epoxy, primer, etc. that are appropriate for the square footage or your wood floor application area.
After selecting your epoxy products, you can move on to the next step.
2. Prepare the Plywood Subfloor
Before you can apply epoxy to a wood surface or plywood subfloor, you must prepare and clean the wood floor.
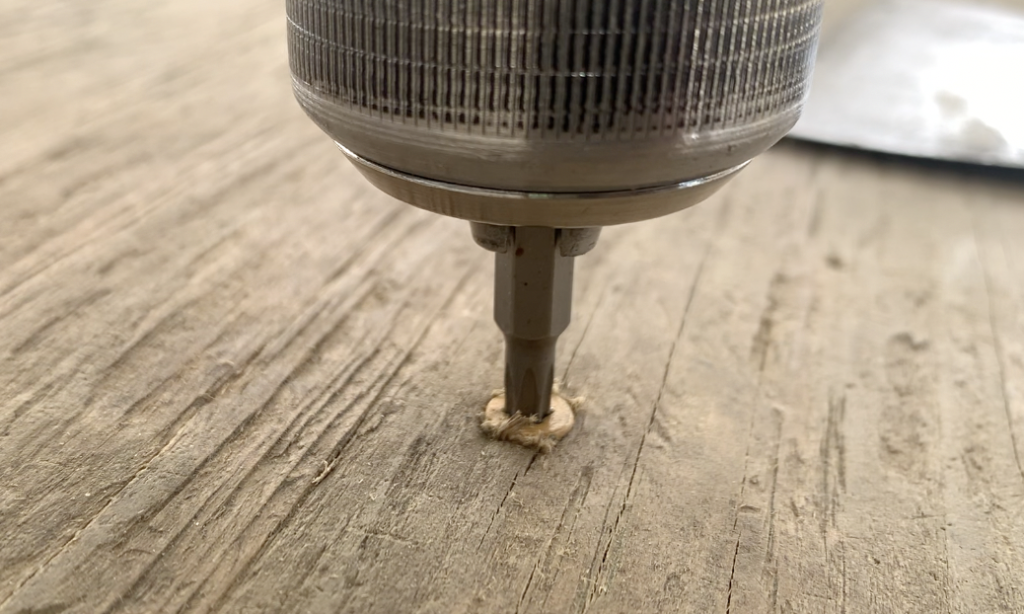
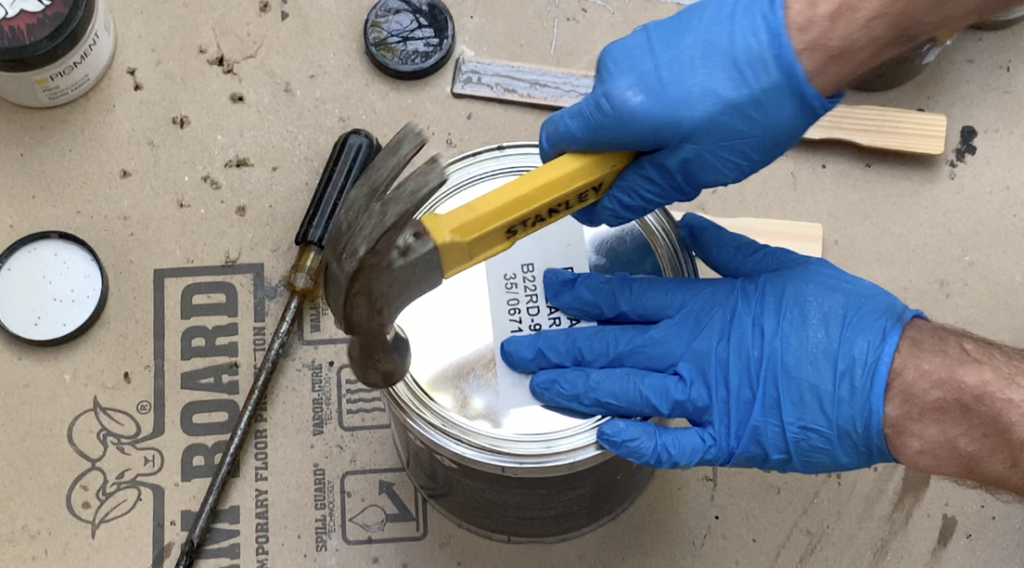
First, ensure that you don’t have any screws or nails that are protruding up from the plywood. To do this, run a putty knife over each screw/nail and ensure that your knife doesn’t get caught on the screw or nail.

If your putty knife catches on any of the screws or nails, you know that the screw is sticking up too high.
Use a drill or hammer to sink that screw or nail so that it is below the surface of the plywood subfloor.
Inspect your plywood subfloor carefully and ensure that no screws or nails are protruding up too high.
Next, vacuum and clean off any dirt of debris from the surface of the plywood subfloor or wood surface.
After preparing the wood subfloor, you can now seal the gaps between each sheet of plywood using crack filler.
3. Fill all Plywood Gaps, Cracks, and Screw Heads with Epoxy Crack Filler
For a successful epoxy floor installation on wood, you will need to completely fill all gaps in the subfloor and repair any cracks.
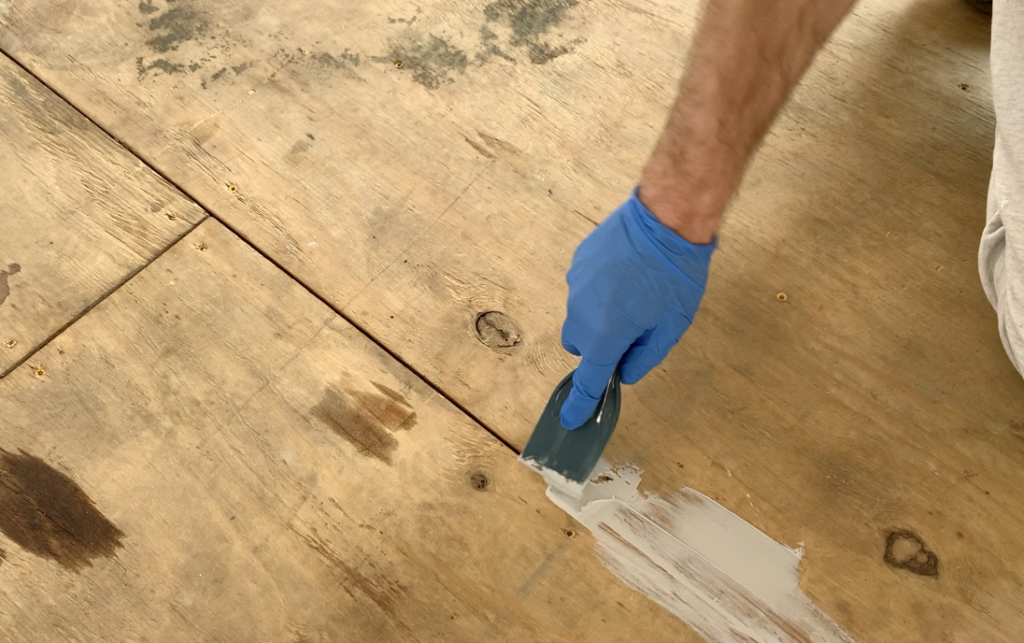
To do this, use an epoxy crack filler – as shown below.
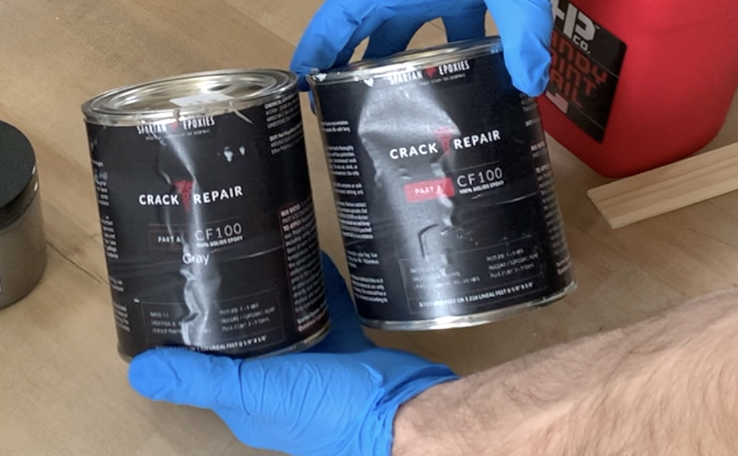
Typically, epoxy crack fillers (and most epoxy products) will come as a Part A/Part B system. You will need to mix the Part A into the Part B in accordance with the manufacturer’s instructions.
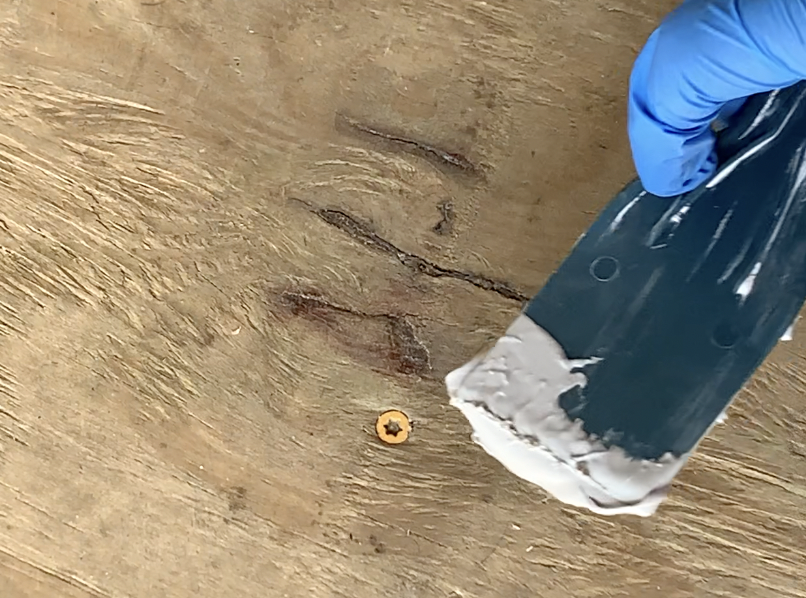
After mixing Part A and Part B of the crack filling product, apply it to the gaps in between the plywood subfloor sheets using a putty knife – as shown below:
After applying crack filler epoxy product to the gaps between the plywood subfloor sheets, apply crack filler to the tops of all the screw heads.
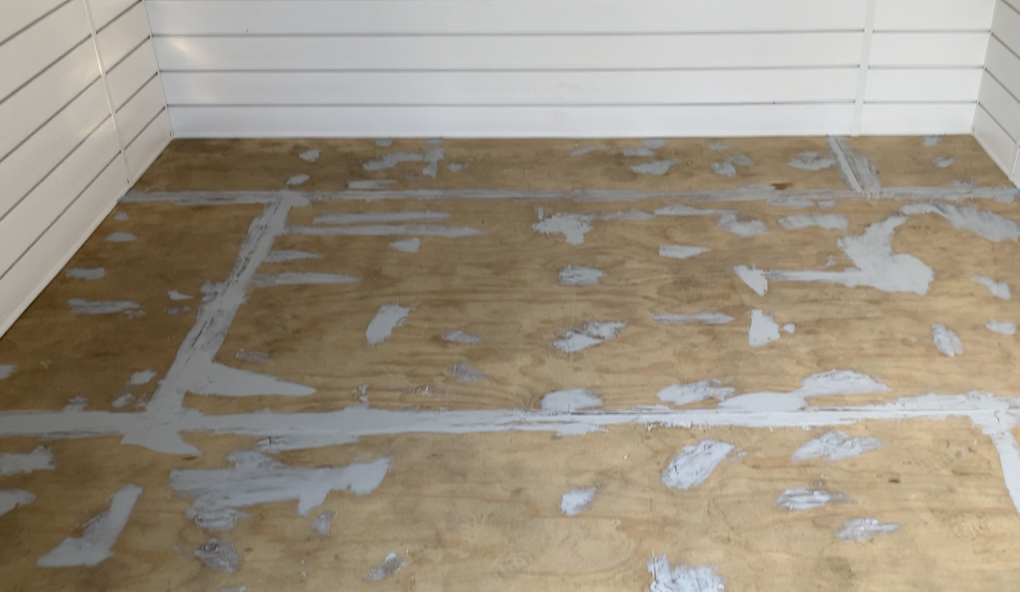
After applying crack filler epoxy product to the gaps in between the plywood sheets and the screw heads, your plywood subfloor will look like this:
Give the epoxy crack repair product approx. 24 hours to cure.
Next, I recommend that you apply a piece of painter’s tape to the wall perimeter of your application area.
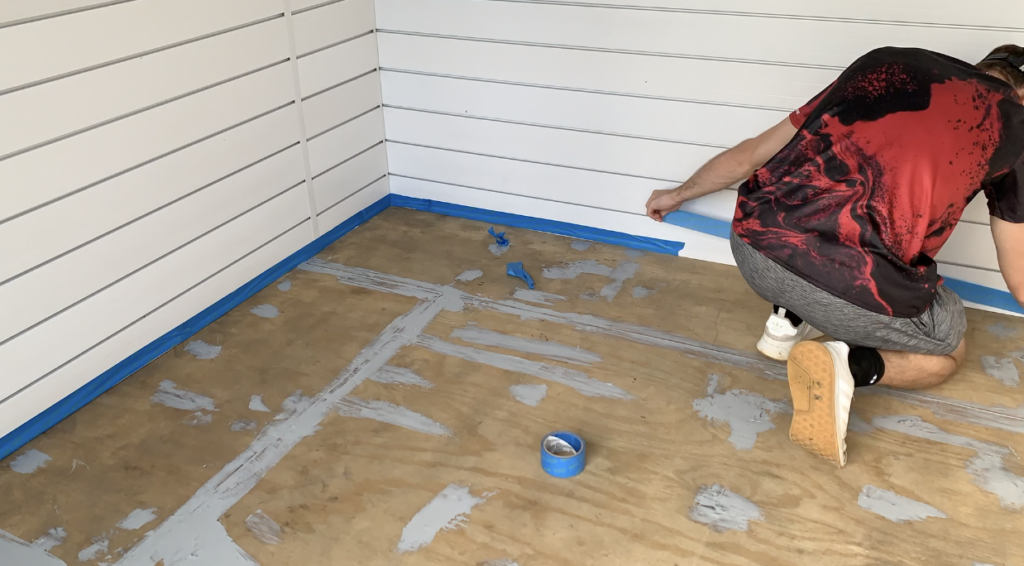
This painter’s tape will prevent any of the primer and epoxy (applied in the next steps) from getting on your walls.
With the preparation work completed, you can begin applying the epoxy primer.
4. Apply Flexible Epoxy Primer
For substrates like wood or plywood, it is often a good idea to apply a flexible primer in addition to the standard Waterborne epoxy primer used for most epoxy applications. Because substrates like plywood will likely experience more flex and shrinkage than concrete, it is often necessary to apply a product that will flex along with the substrate.
Spartan Epoxies FLEX product provides 60% elongation compared to other epoxies @ 3.1%. This is the product recommended as the first priming coat for epoxy flooring applications on wood substrates.
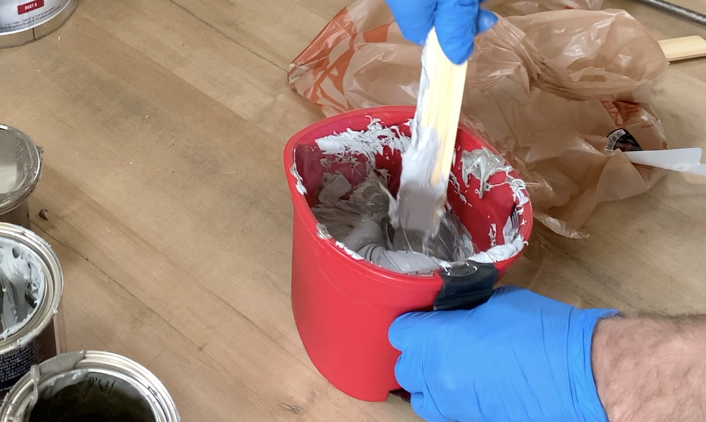
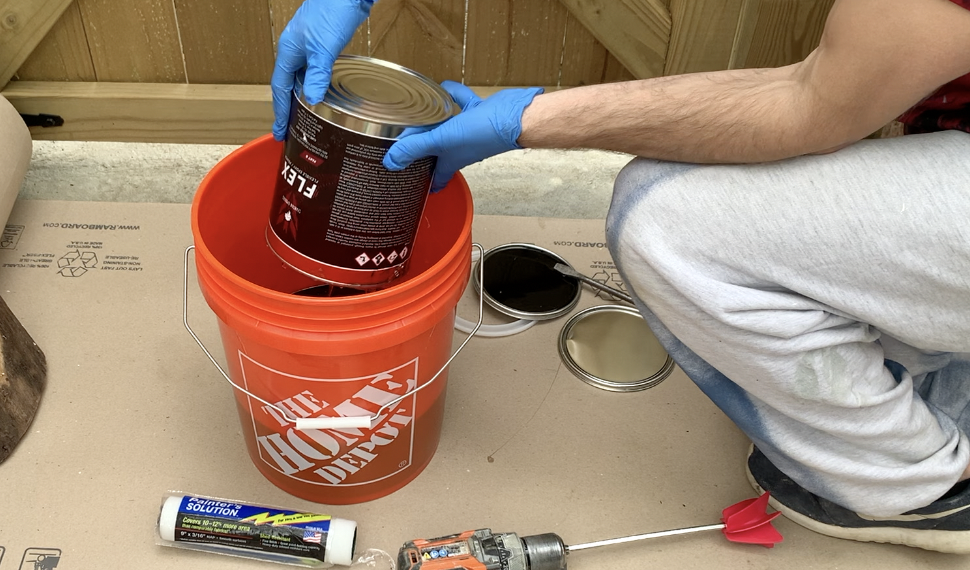
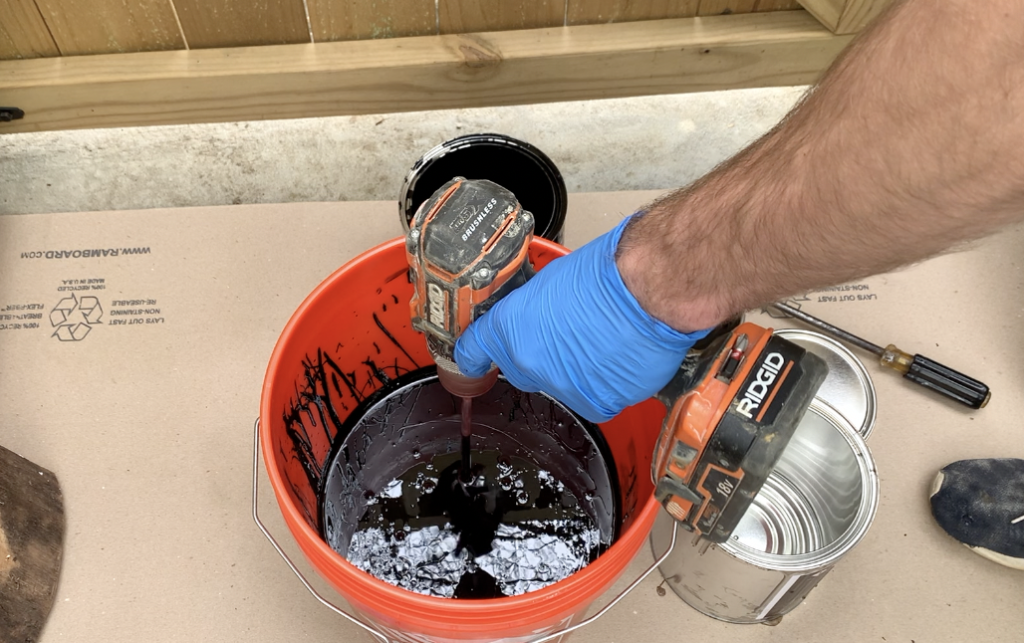
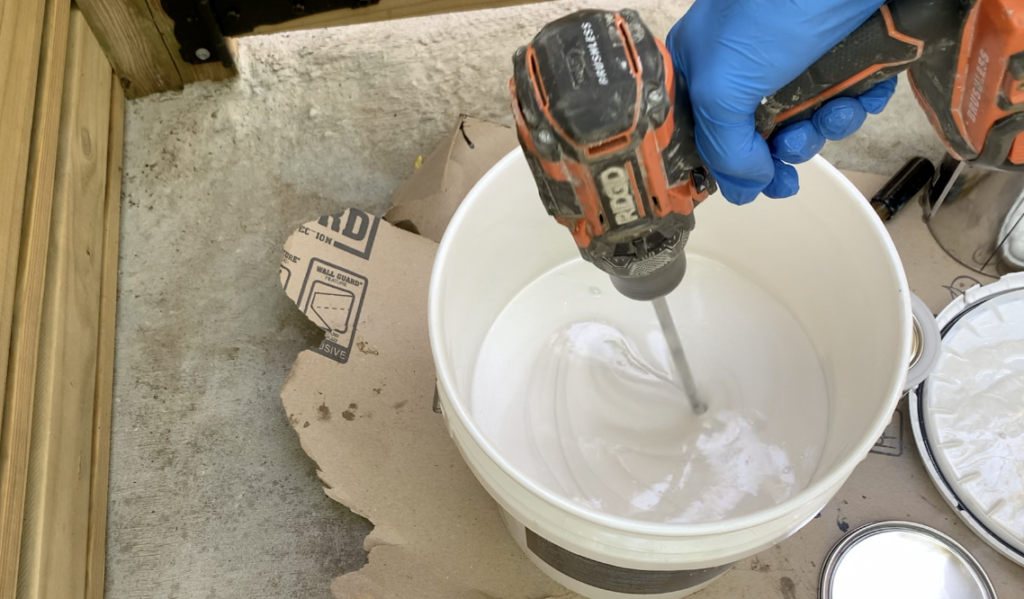
Mix Part A and Part B of the Flex System for 2 to 3 mins on low to medium speed until a streak-free liquid is achieved.
PRO TIP – Do not lift the mixer in and out of the bucket when you are mixing. Lifting the mixer in and out of the liquid can entrap air, creating bubbles in your coating. Air entrainment (and the associated bubbles) should be avoided as much as possible.
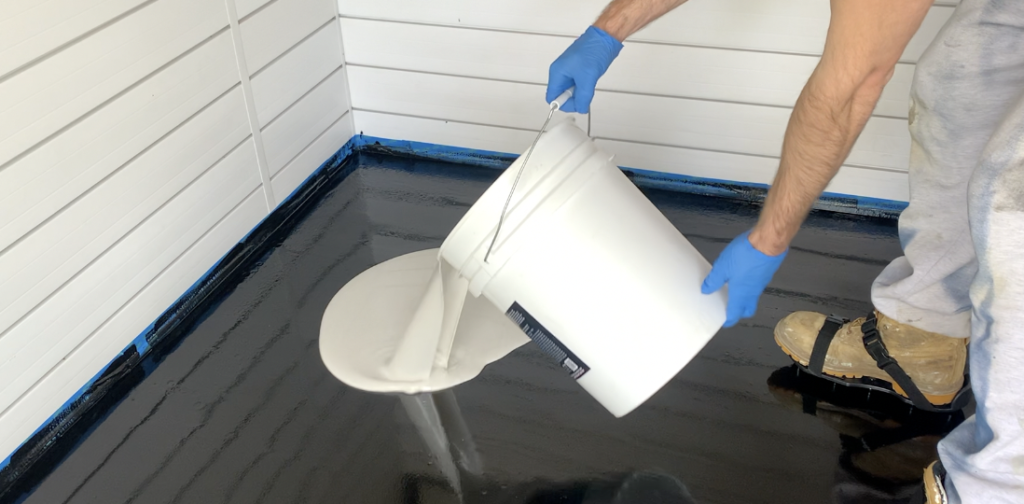
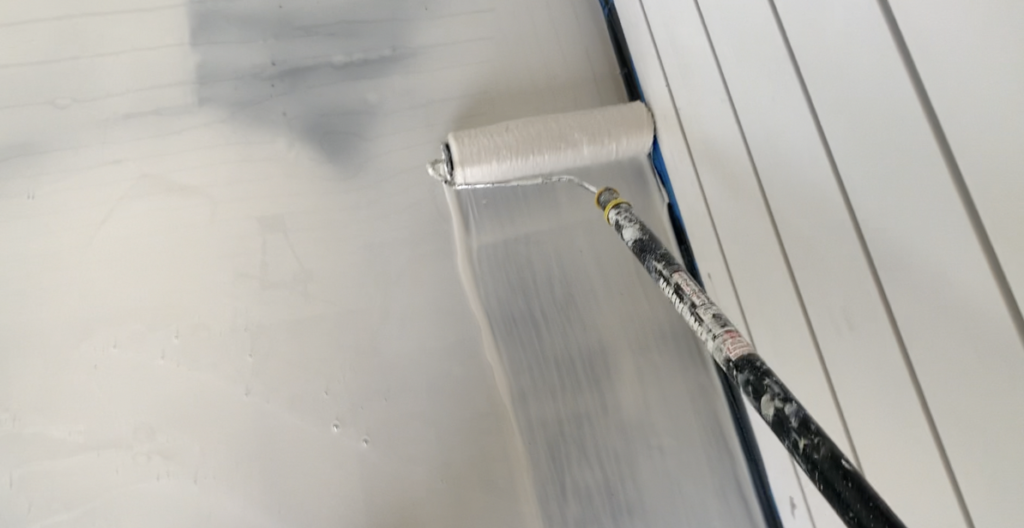
After mixing up the Flexible epoxy primer, apply it to the wood subfloor. I recommend that you simply pour the primer from the bucket over the entire application area.
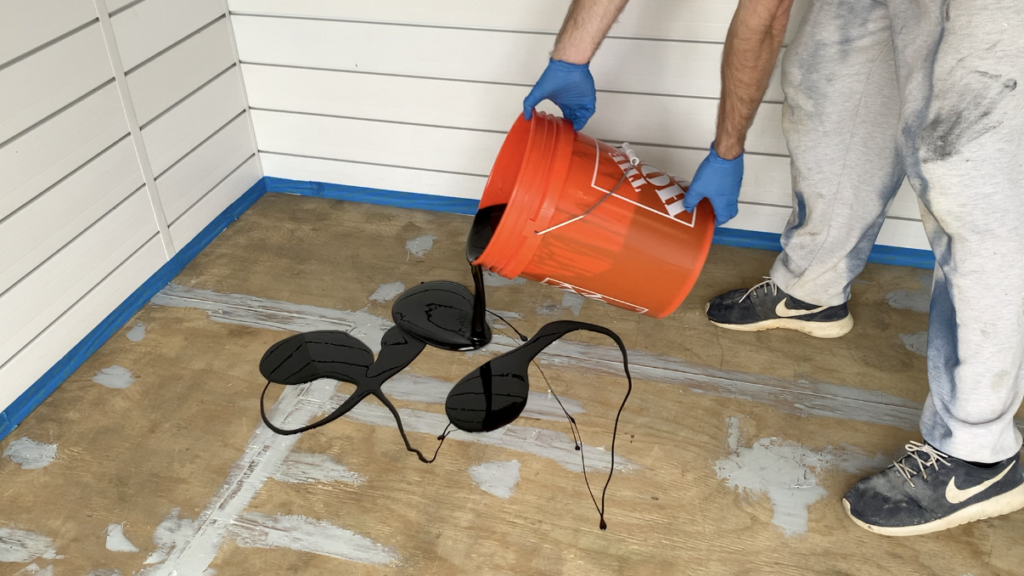
Apply the Flex Primer with a 8-12 WFT Mils Squeegee to the entire wood floor application area. Use a brush to “cut-in” the Flex primer in any hard to reach places (such as corners).
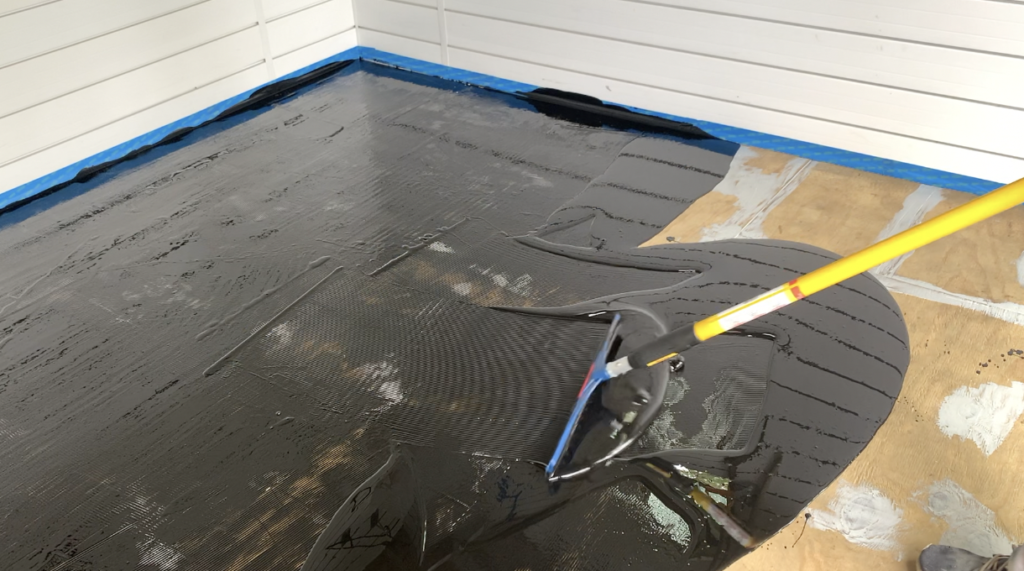
Next, use a 3/16″ nap roller to sufficiently spread the flex primer all over the entire wood subfloor application area.
PRO TIP – Use Gunite Shoes or Cleats to walk on the primer during the application process. This is necessary to ensure a successful application without footprints.
After applying the flexible epoxy primer to the wood subfloor, allow 10-24 hours for it to cure.
5. Apply Waterborne Epoxy Primer
After allowing your Flexible Epoxy Primer to cure, you can being the application of the waterborne epoxy primer.
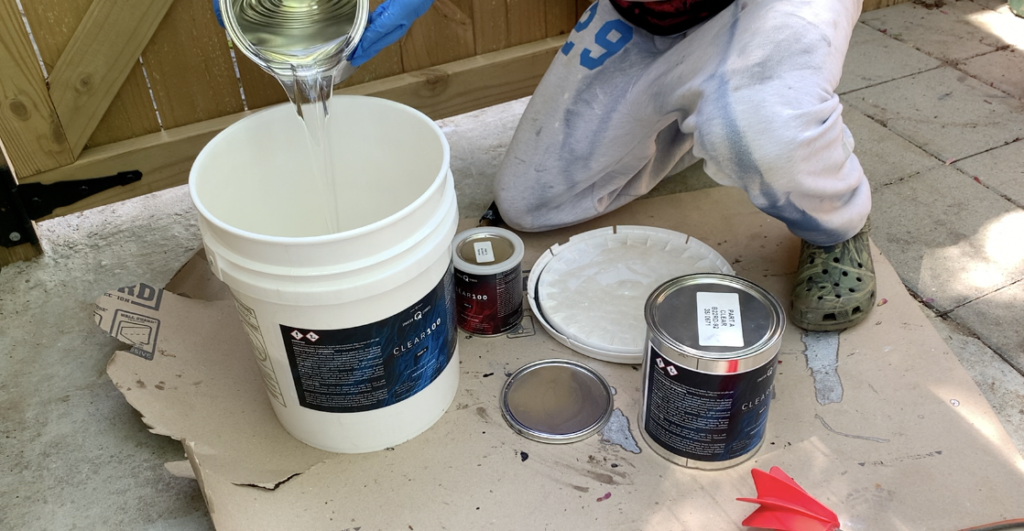
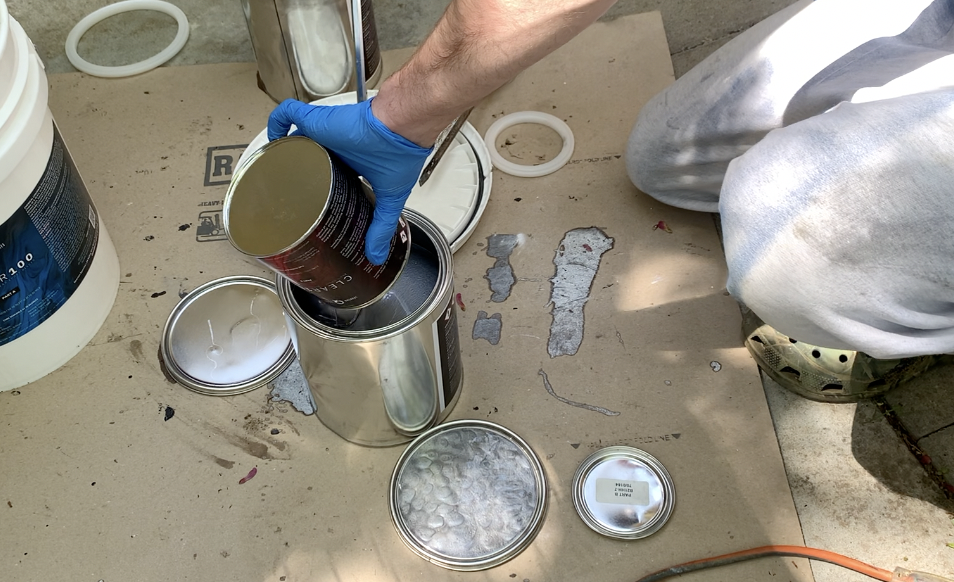
To apply the waterborne epoxy primer, start by applying Part A of the waterborne epoxy primer to a 5 gallon bucket.
Next, pour in Part B of the waterborne epoxy primer into the same 5 gallon bucket as Part A.
After pouring both Part A and Part B of the waterborne epoxy primer into a 5 gallon bucket, mix Part A and Part B together in accordance with the manufacturer’s instructions.
After mixing the waterborne epoxy primer, pour it into a paint tray in preparation for application.
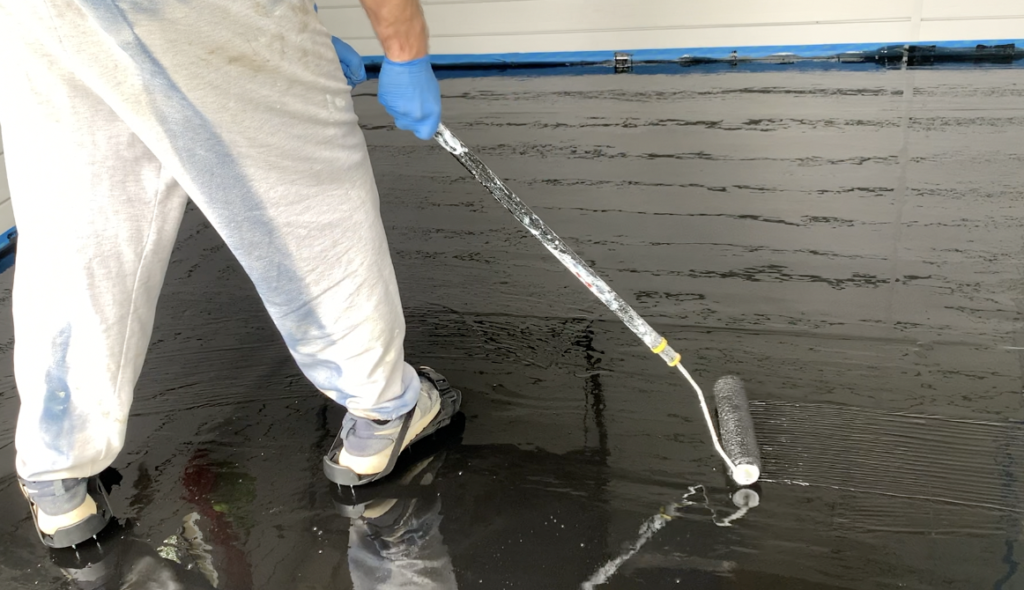
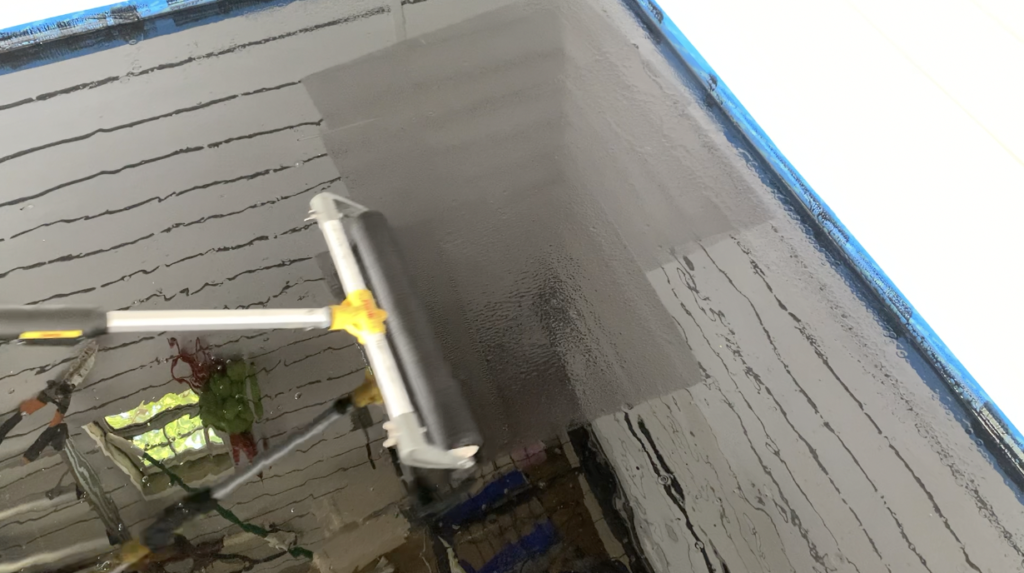
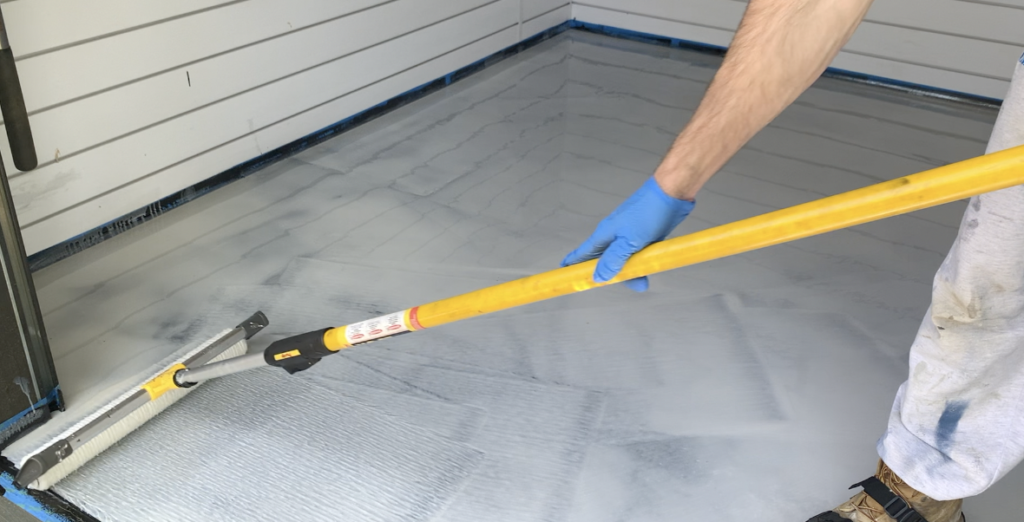
Next, apply the waterborne epoxy primer over the application area using a 3/8″ nap roller.
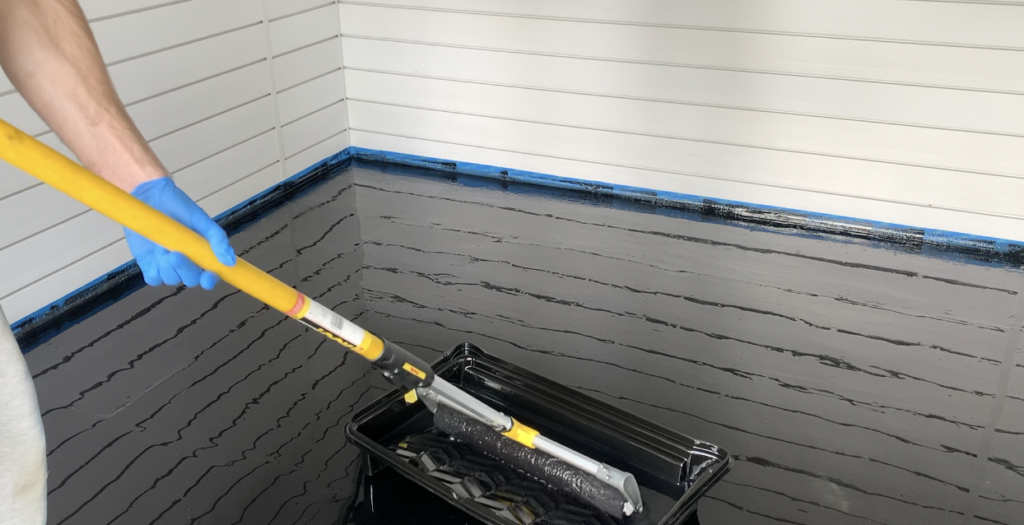
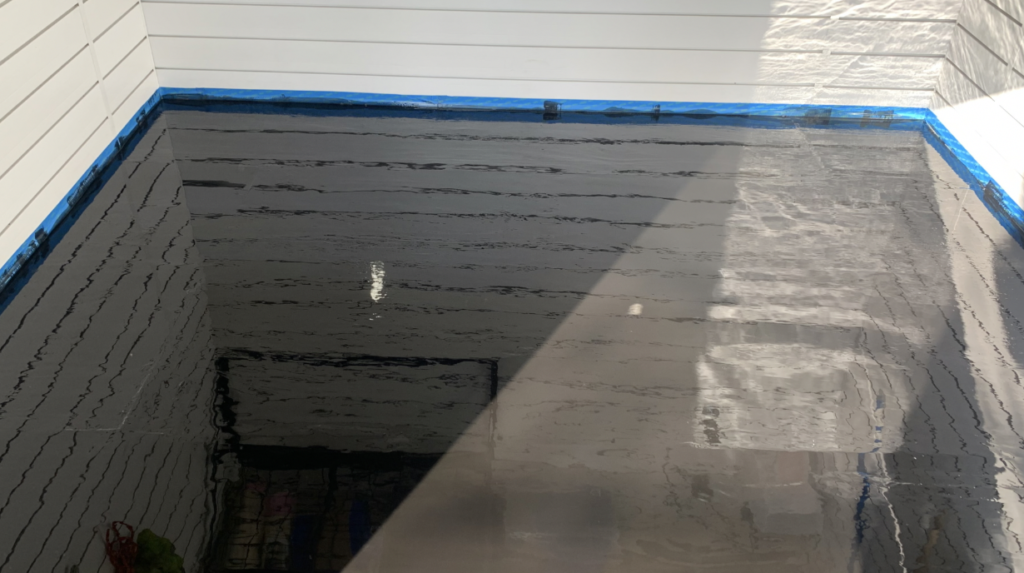
Roll the waterborne epoxy primer over the entire application area as shown below:
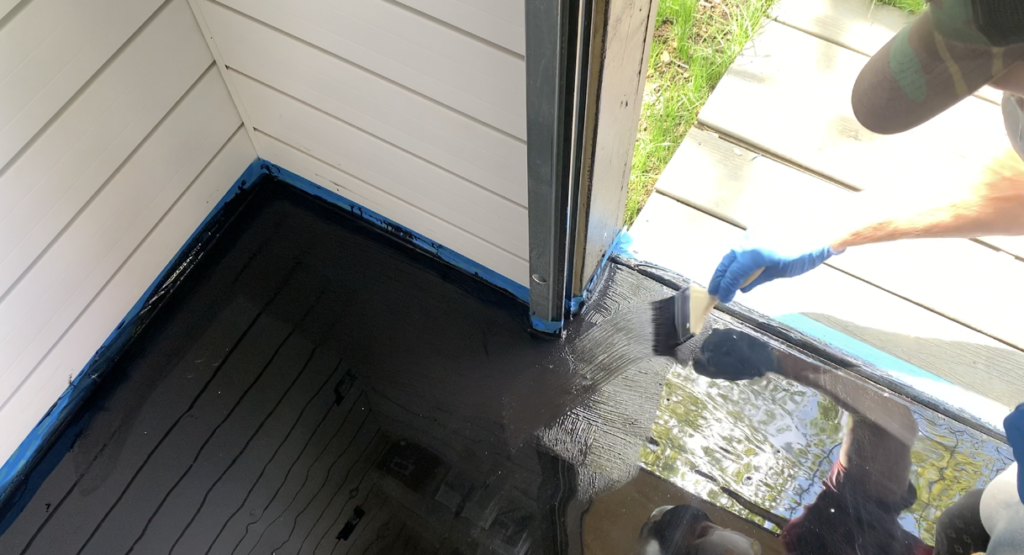
Use a brush to “cut-in” the waterborne epoxy primer in any hard to reach places (such as corners).
After applying waterborne epoxy primer to the entire application areas, allow 10-24 hours for the primer to cure.
6. Mix Epoxy Pigments (if applicable)
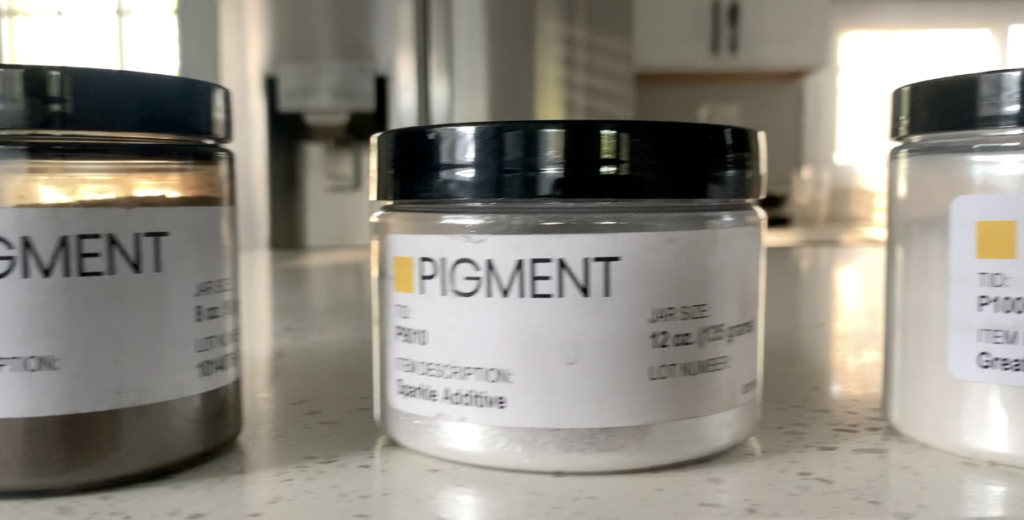
While you are waiting for the waterborne epoxy primer to cure, it is recommended that you mix up your metallic epoxy pigments to allow them to saturate in the epoxy.
First, spend some time planning out your metallic epoxy design. For my specific metallic epoxy design, I chose to use a white base coat (also called a slick coat) with metallic silver accents throughout.
To do this, mix the pigments into the PART A of the epoxy resin.
PRO TIP – Use approximately 4oz of pigment powder per gallon of the epoxy resin.
Pour the pigment powder into the PART A of the epoxy resin.
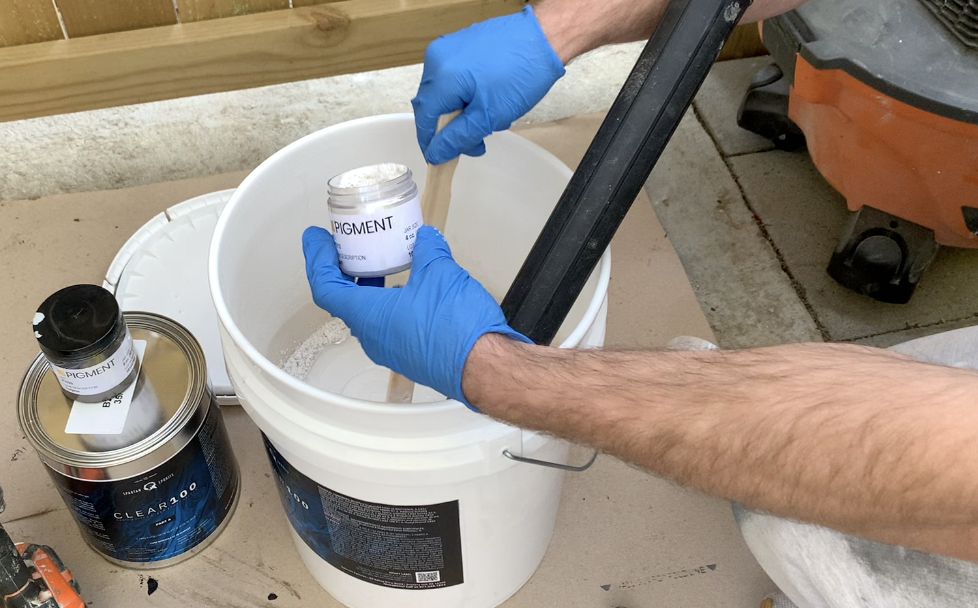
Consider using a shop vacuum to remove any pigment dust from the air. Be sure to wear a respirator as well.
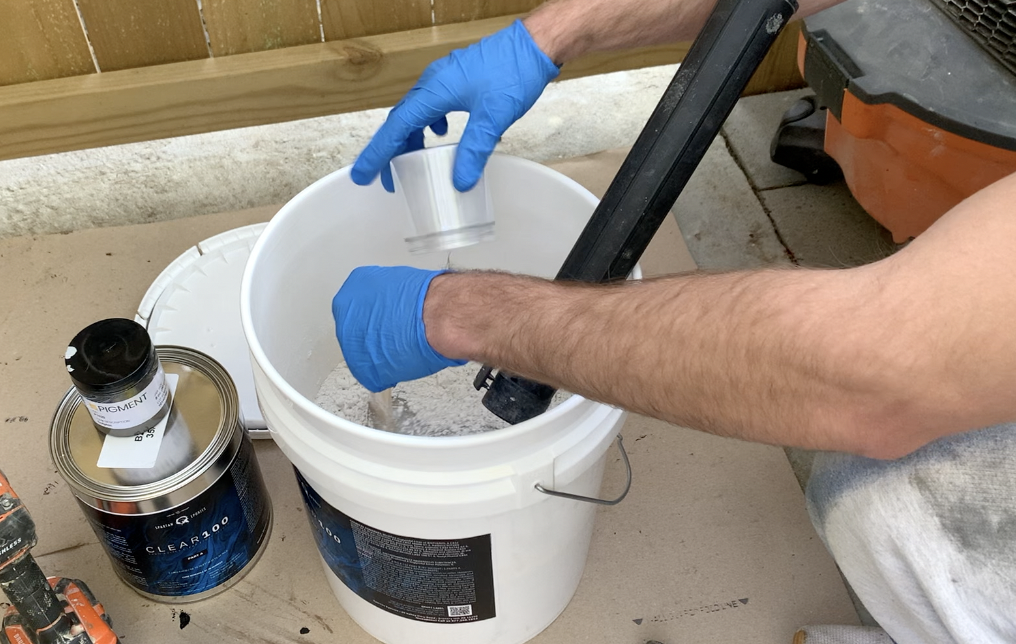
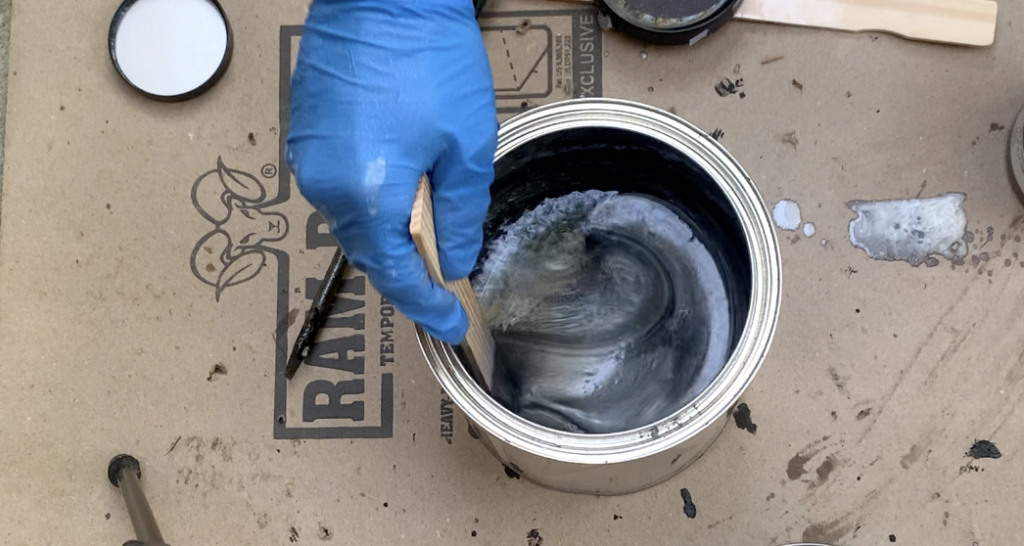
Use a drill mixer or a mixing stick to stir the pigment powder into the epoxy resin.
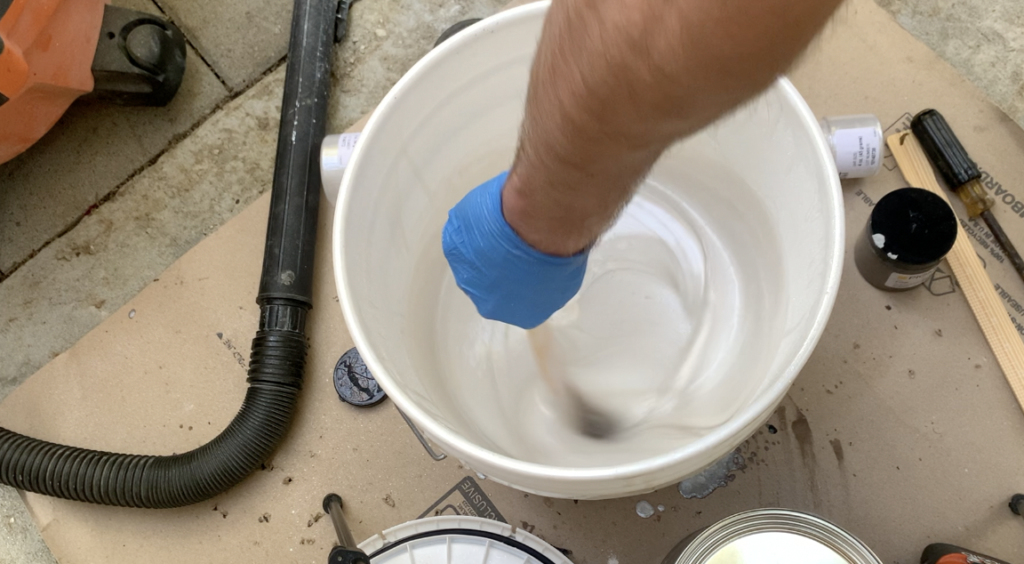
Continue to mix the pigment powders into the epoxy resin until it is streak free. After mixing, close up the can (or bucket) and allow for the pigment power to saturate for a few hours.
After mixing the Slick Coat of white pigment powder, I then mixed up the metallic silver epoxy resin by adding 2 ounces of “dolphin” pigment color powder and 2 ounces of “manatee” pigment color powder to 1 gallon of PART A Resin epoxy.
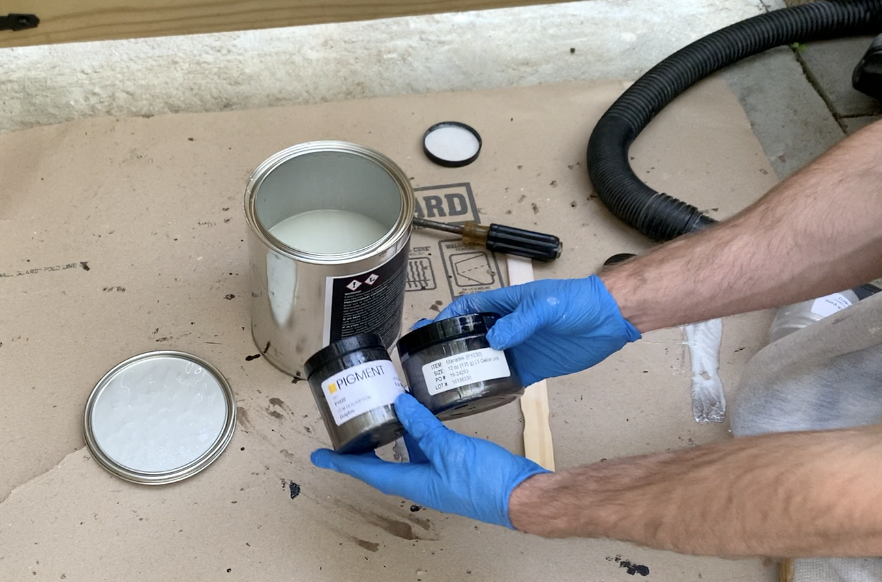
Pour the pigment powders into the Part A epoxy resin and thoroughly mix the pigments into the resin.
Continue to mix the pigment powders into the epoxy resin until it is streak free. After mixing, close up the can (or bucket) and allow for the pigment power to saturate for a few hours.
7. Mix Part A and Part B of the Epoxy Floor Coating System
After allowing your Waterborne epoxy primer to cure and your pigment powders to saturate within the the Part A epoxy resin, you can now begin preparing to apply the epoxy coating to the plywood subfloor.
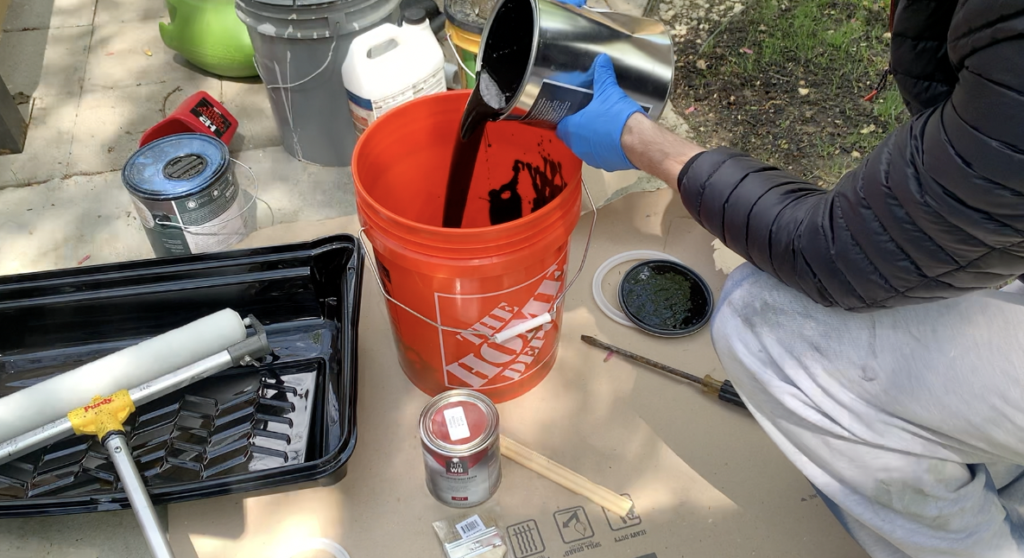
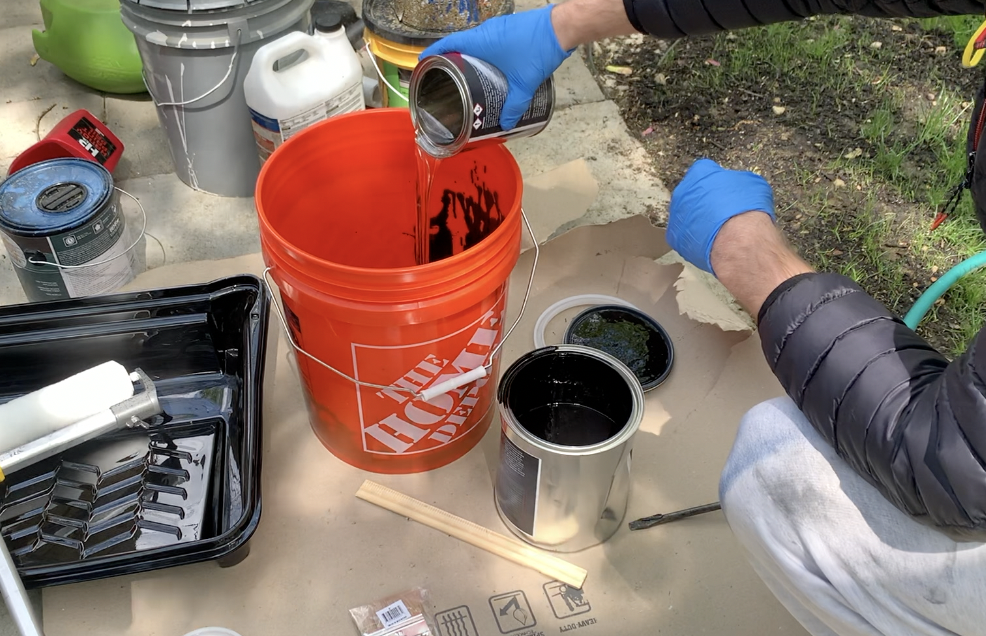
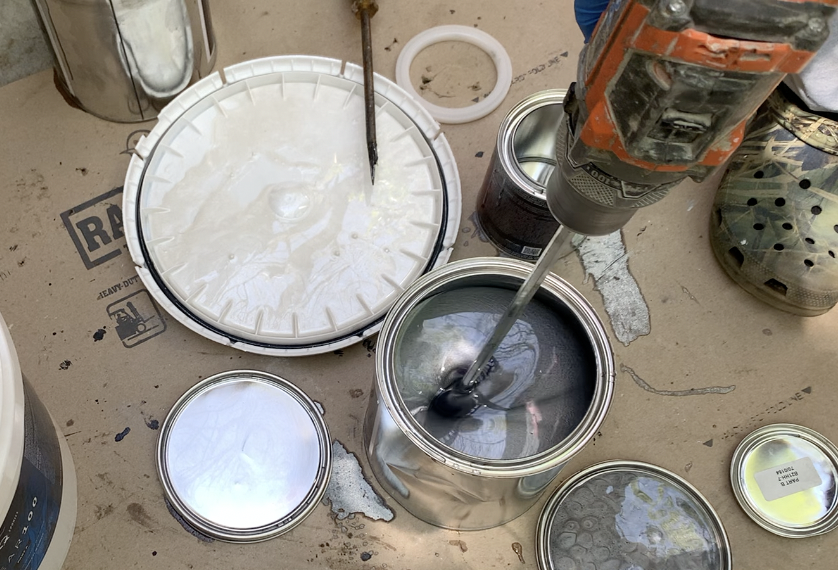
Mix Part B (Hardener) of the Epoxy System into the Part A (Resin) that was prepared previously with the pigment powders.
Pour Part B (Hardener) of the Epoxy System into the Part A (Resin) – As shown below.
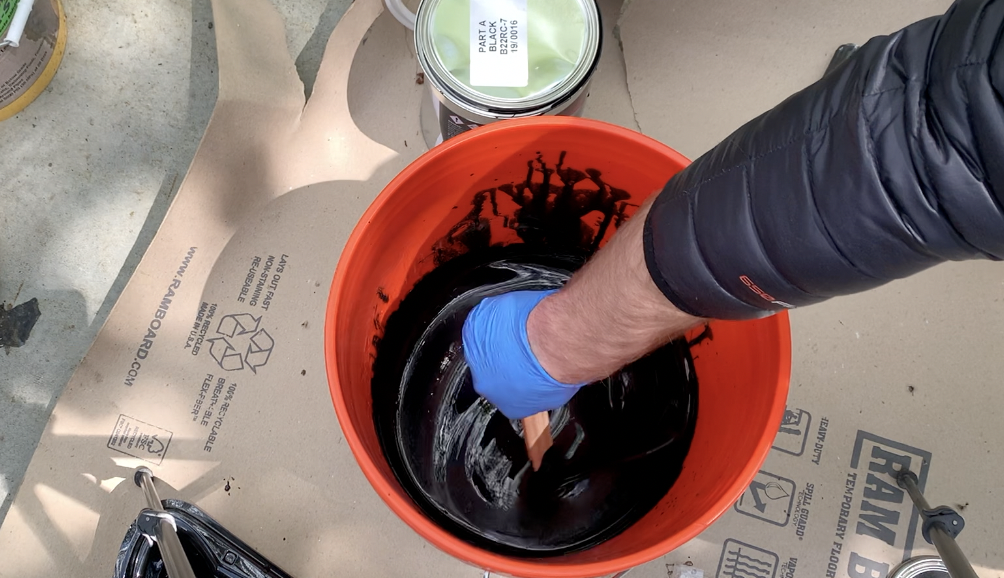
Next, mix Part A and Part B of the epoxy system together with a drill mixer.
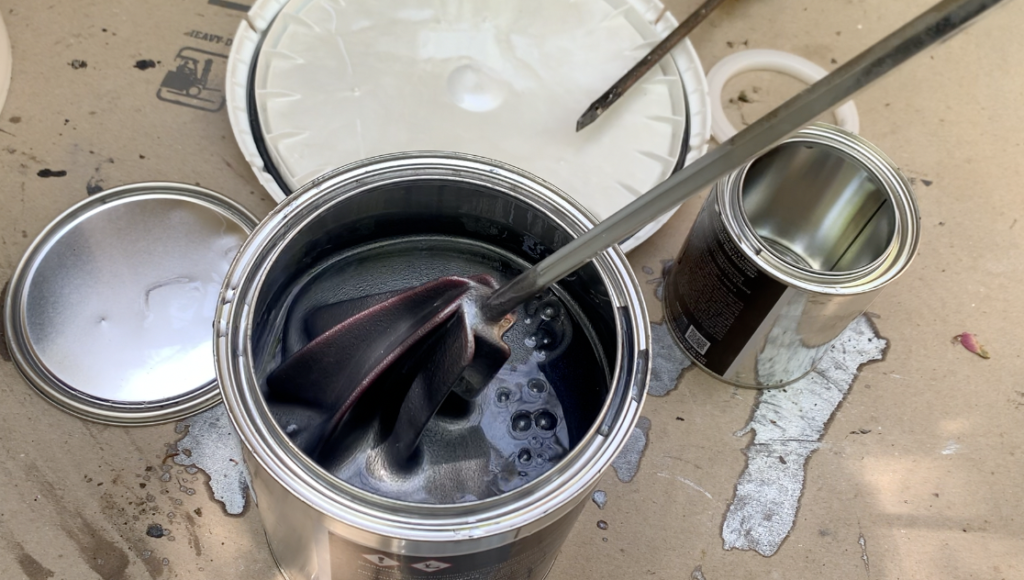
After Mixing Part A and Part B together for the white slick coat, I then mixed Part A and Part B for the metallic silver accent coat.
After pouring Part B into Part A, mix the epoxy system together using a drill mixer.
Remove the mixer and begin preparation for applying the Epoxy floor coating to the plywood subfloor application area.
8. Apply Epoxy Floor Coating to the Wood Floor Application Area
The way that you apply the epoxy floor coating to the wood subfloor will depend on the “look” that you are trying to achieve. Spend some time thinking about how you want your epoxy floor coating to look and research that epoxy application method.
This guide will show you the application procedure I used to apply epoxy to my wood floor substrate. However, feel free to modify this application procedure as you see fit.
NOTE – DO NOT LEAVE MIXED EPOXY IN THE BUCKET FOR A PROLONGED PERIOD OF TIME. Once Part A and B of the epoxy are mixed together, apply to the application areas as soon as possible. If you let your epoxy sit too long in the bucket the mixture will exponentially heat up, compromising the epoxy.
Apply Your Slick Coat to the Application Area
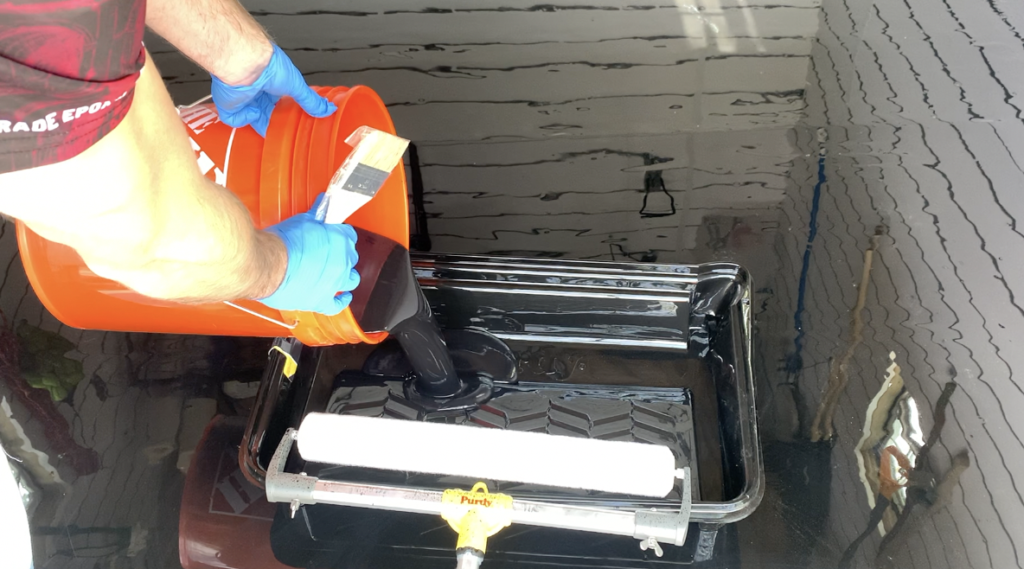
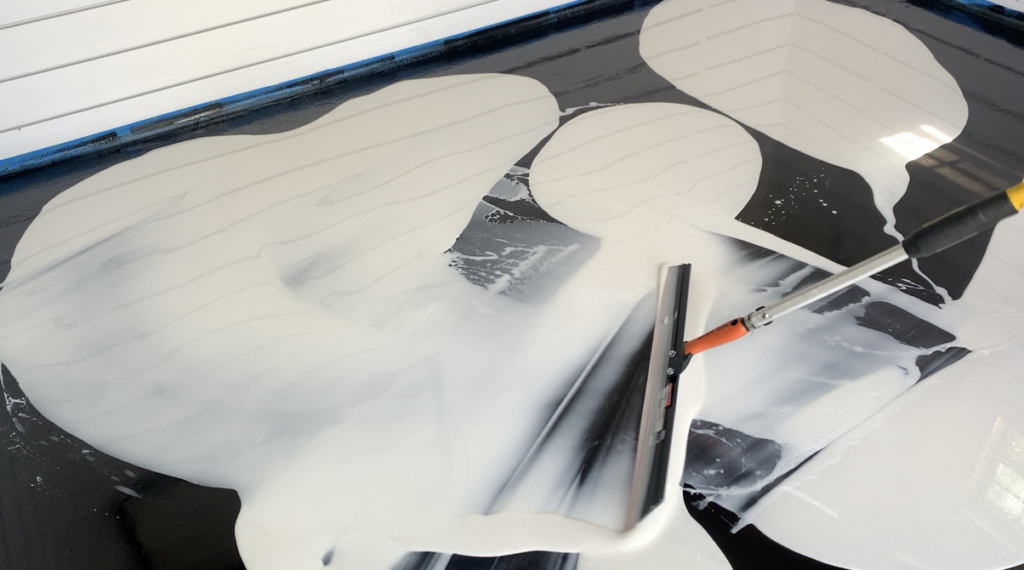
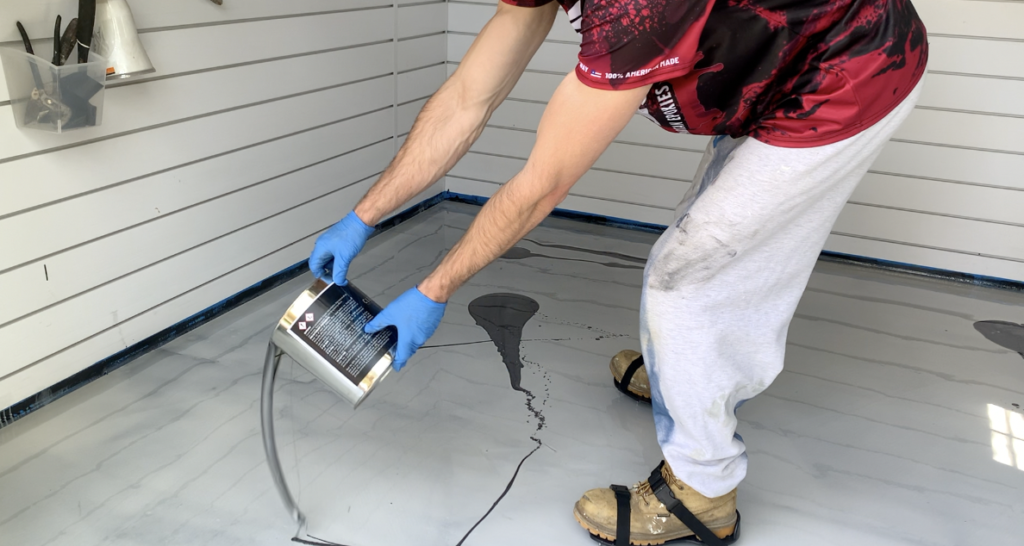
To begin applying your epoxy to the plywood subfloor, start by pouring the slick coat of epoxy in small areas over the entire application area.
Use a squeegee to spread the slick coat of epoxy over the entire application area.
Continue to use a squeegee to get full coverage of the slick coat of epoxy over the entire application area. Be sure to wear Gunite shoes (or cleats) during the epoxy application process.
Next, use a 3/8″ nap roller to get full coverage of the epoxy slick coat.
Consider using an 18″ nap roller for the center of your application area and a 9″ roller for the hard to reach areas.
Continue to roll the epoxy over the entire application area until full coverage is achieved.
Apply the Accent Epoxy
After you have achieved full coverage of the application area with the slick coat of epoxy, you can begin to apply the accent color of epoxy.
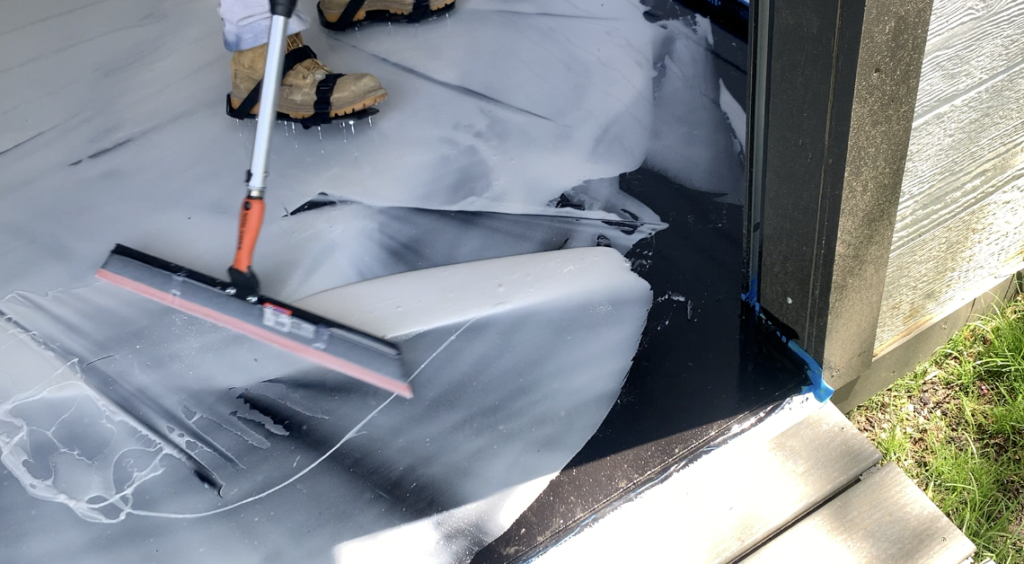
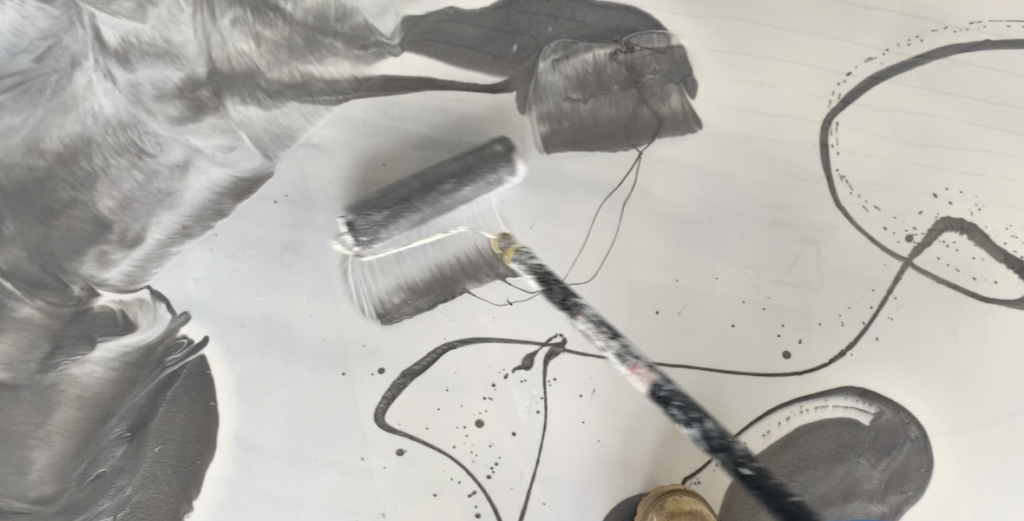
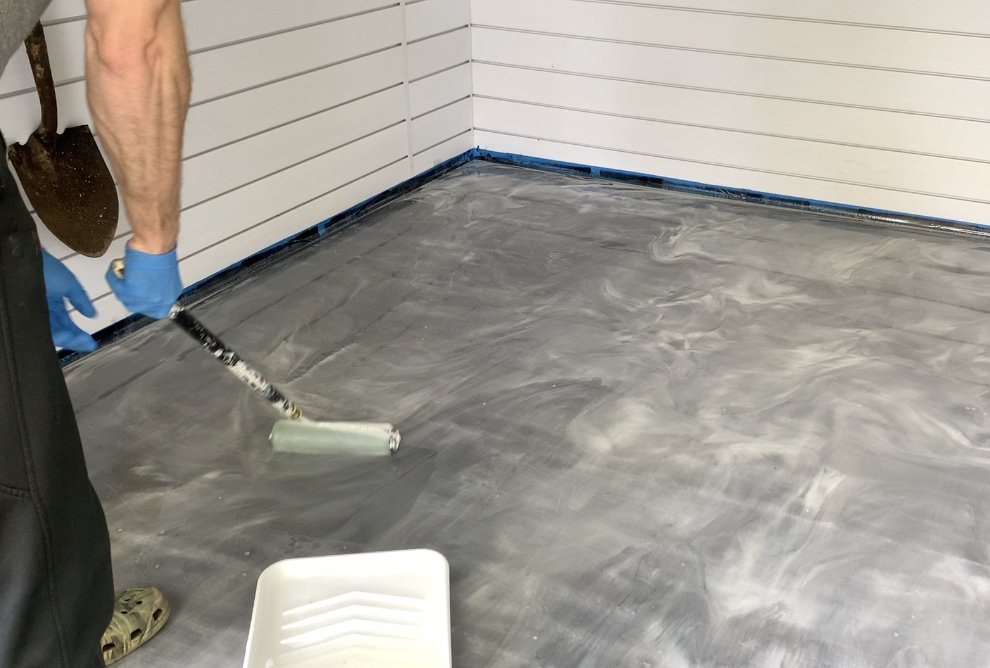
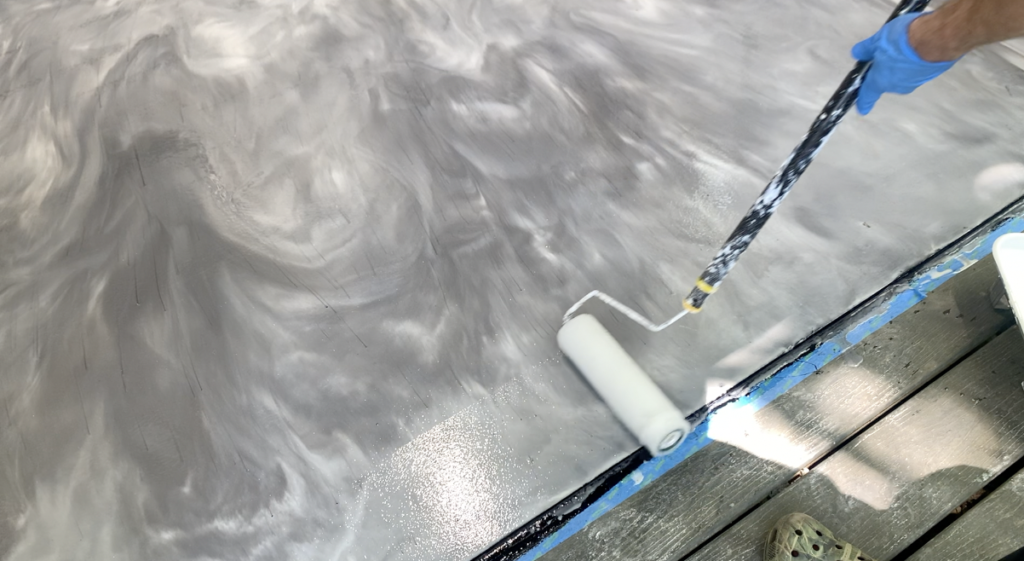
To apply the accent color (metallic silver, in this case), I recommend that you pour small ribbons or “puddles” of the accent color on top of the slick coat – as shown below.
After pouring the accent color of epoxy over the application area, use a 3/8″ nap roller to “swirl” the accent color into the slick coat.

The more you “swirl”, the more the two epoxy colors will be blended. Continue to “swirl” the epoxy as desired to achieve your desired look.
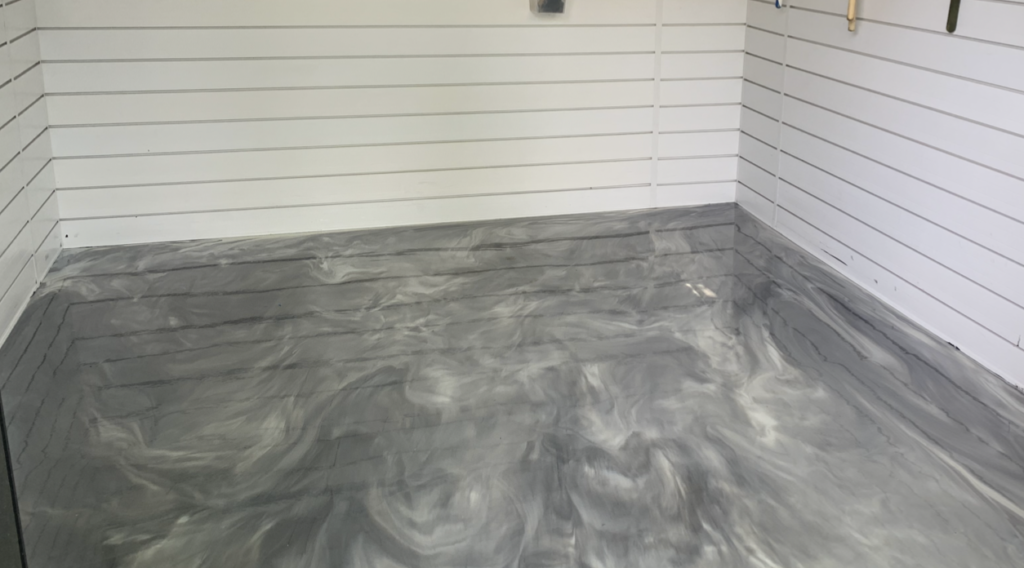
Below is a look at what the epoxy floor coating looked like after applying the slick coat and accent color to the application area and after “swirling”.
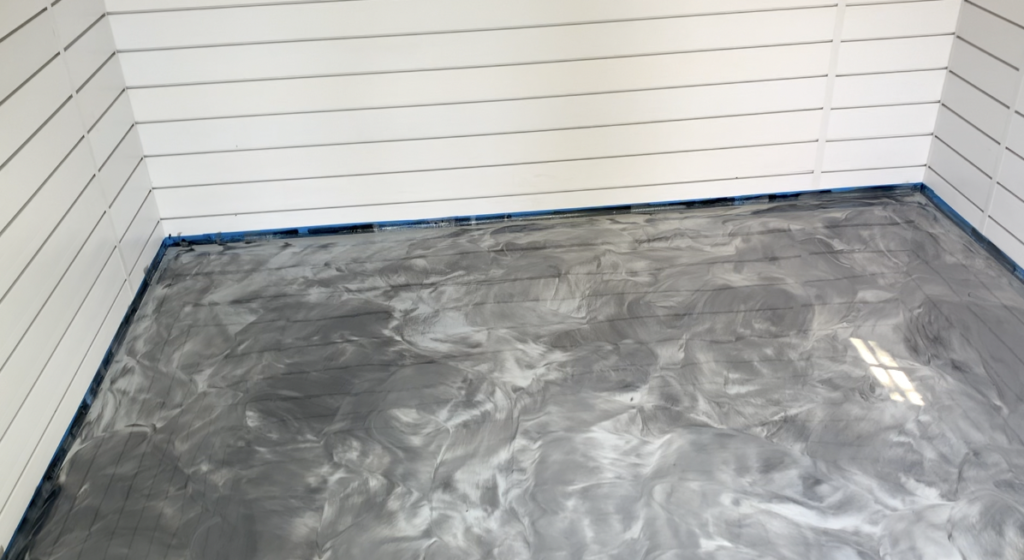
PRO TIP – If you have air bubbles on the surface of your epoxy floor coating, you can remove them by spraying a bit of isopropyl alcohol on the bubbles. You can also remove the bubbles with heat (heat gun, torch etc.)
After applying the epoxy floor coating to the wood subfloor, allow 12-24 hours for the epoxy to cure.
9. Apply Protective Urethane Top Coat
Although this last step in not required, it is generally recommended that you apply a protective urethane top coat over your epoxy floor coating.
If you plan on applying your protective urethane top coat within 24 hours of when you applied the epoxy to the application area, then you can simply apply the top coat.
If you wait longer than 24 hours after applying the epoxy coating, you will want to sand the surface of the epoxy with a 120 grit sanding screen prior to applying the protective urethane top coat.

To prepare the urethane protective top coat, mix Part A and Part B of the coating system together.
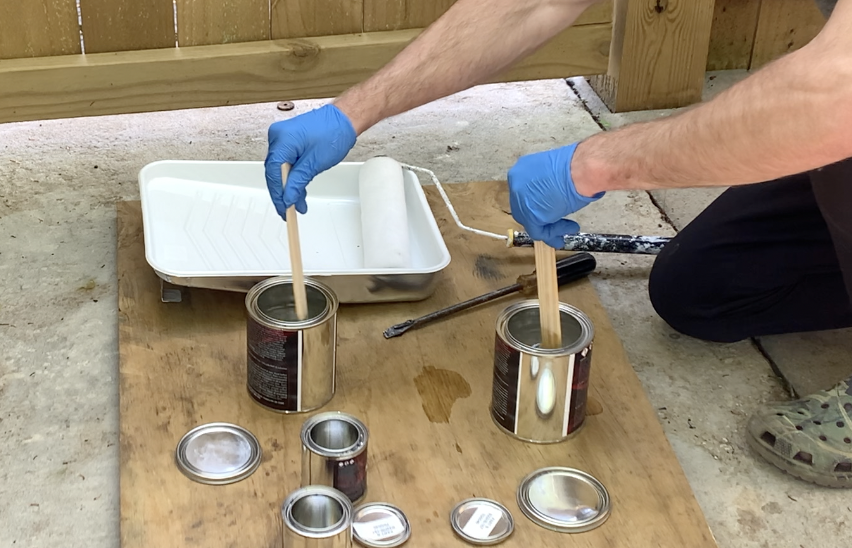
After mixing the urethane top coat components, pour the coating into a paint tray.
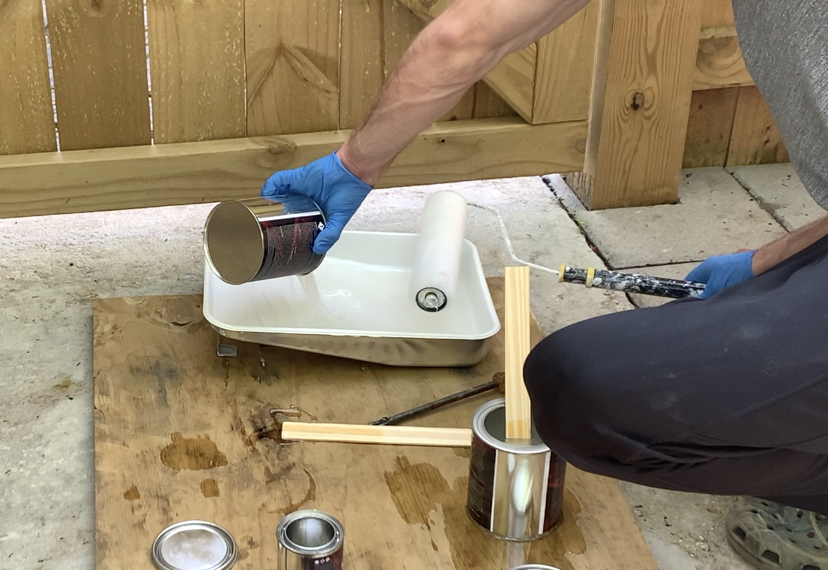
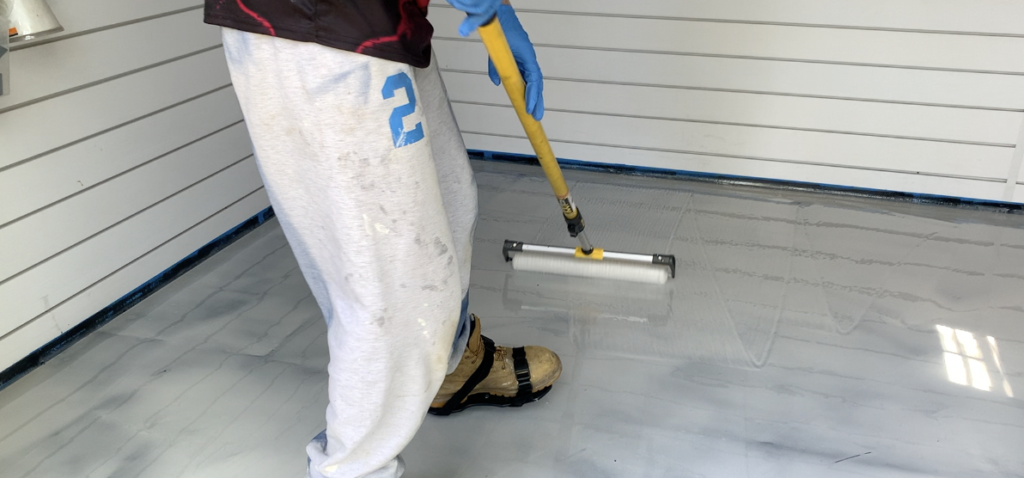
Apply the urethane top coating over the epoxy floor coating using a 3/8″ nap roller.
Use a brush to “cut-in” the urethane top coating in any hard to reach places (such as corners).
PRO TIP – Ensure that you wear appropriate PPE when applying a urethane top coat. I recommend goggles, respirator, gloves, etc. Additionally, open windows, doors, etc. to allow for ventilation.
Continue to apply the urethane top coating until you achieve full coverage over the entire application area.
After applying the epoxy coating, allow 8-24 hours for the urethane to cure.
Finishing Touches
After allowing the protective urethane top coat to cure, your epoxy floor coating installation on a plywood subfloor is nearly complete.
At this point, remove the painter’s tape that was applied previously. I recommend that you use a utility knife to score the painter’s tape along the floor/wall intersection.
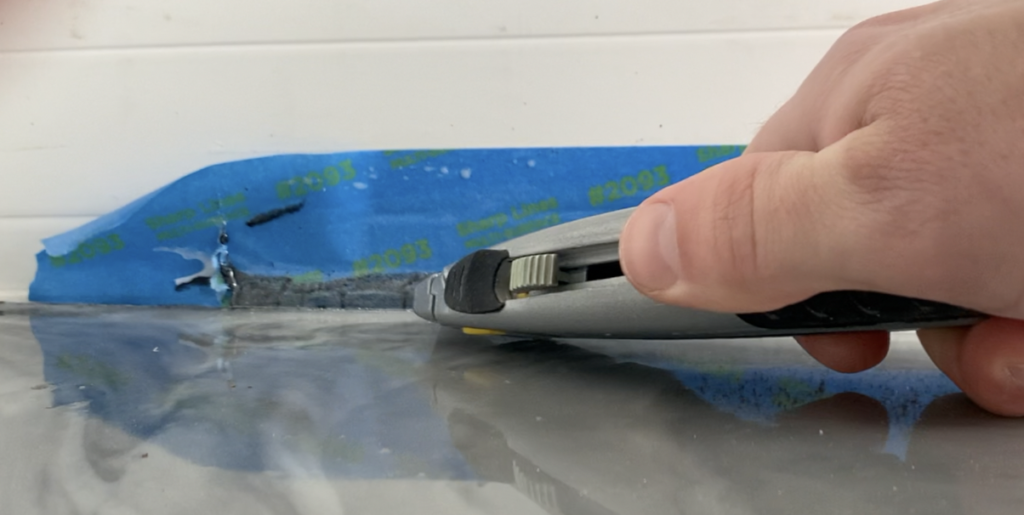
Next, simply peel the painter’s tape off.
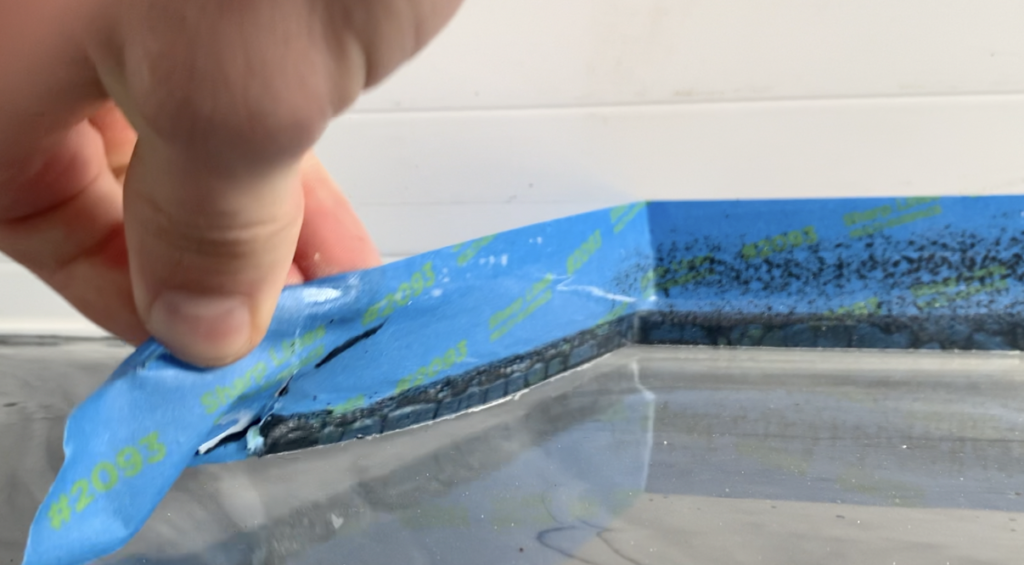
After removing the tape, inspect the rest of the application area for any imperfections. Perform any clean-up work as necessary.
At this point, you have successfully applied a metallic epoxy floor coating on a wood subfloor!
If you are more of a visual learner, you can check out my “How to Apply an Epoxy Floor Coating to a Plywood Subfloor” YouTube Video:
This Epoxy Flooring installation was performed as part of my 10’x10′ Modern Shed Build Project – See below:
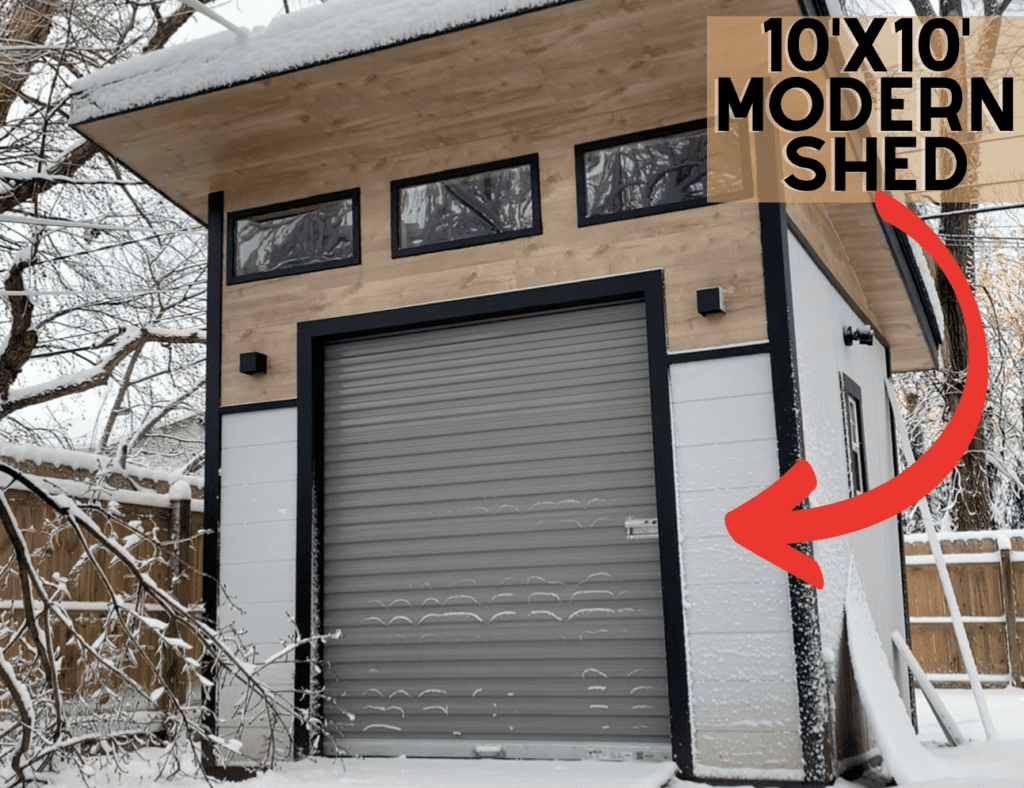
For more information on how to Build a 10’x10 Modern Shed from start to finish, check out ATimprovements.com or watch my step-by-step tutorial videos on Youtube.
Thanks!
Thanks so much for checking out ATImprovements! If you learned something from this project, you might also like these other DIY Projects:
- How to Build a Concrete Slab Shed Foundation: https://atimprovements.com/how-to-build-a-shed-base-concrete-slab-step-by-step-diy-guide/
- How to Frame a 10’x10′ Shed Base: https://atimprovements.com/how-to-build-a-shed-floor-base-diy-step-by-step-guide/
- How to Frame Shed Walls:https://atimprovements.com/how-to-frame-a-shed-how-to-frame-walls-for-a-10×10-modern-shed-step-by-step-with-pictures/
- How in Install a Shed Window: https://atimprovements.com/shed-window-installation-how-to-install-a-window-in-a-shed-diy/
- How to Install a Roll Up Door in a Shed or Garage:https://atimprovements.com/roll-up-door-installation/
- How to Build a Fence: How to Build a Fence (DIY Guide) – AT Improvements
- How to Build a Fence Gate: How to Build a Fence Gate (7 Steps with Pictures & Video) – AT Improvements
- How to Install a DIY deck Wire Railing: DIY Cable Railing – How to Install Cable Railing Step-by-Step – (atimprovements.com)
- How to Build a Concrete Paver Patio: DIY PAVER PATIO – Easy DIY Paver Patio Ideas – (atimprovements.com)
Thanks!
DISCLAIMER: This is a reference guide only. Consult local code requirements. Links included in this article might be affiliate links. If you purchase a product or service with the links that I provide, I may receive a small commission. There is no additional charge to you! Thank you for supporting ATimprovements so I can continue to provide you with free content each week!