

Building a concrete shed base slab is widely considered the most durable and sturdy of all the shed base options. Although there are other shed base options (Gravel base, Concrete Block, etc.) none are as reliable as a concrete slab.
To build a concrete slab for your shed base, start by planning out the concrete slab layout by marking the area with spray paint. Next, excavate the shed base slab area and backfill the excavated area with 3”-6” of stone. Assemble concrete forms using lumber and install rebar or wire mesh reinforcement (as needed). Next, pour concrete in the shed base slab area and finish the shed base concrete slab surface with a bull float and hand trowel. Allow 2-3 days for the concrete to cure prior to starting shed construction.
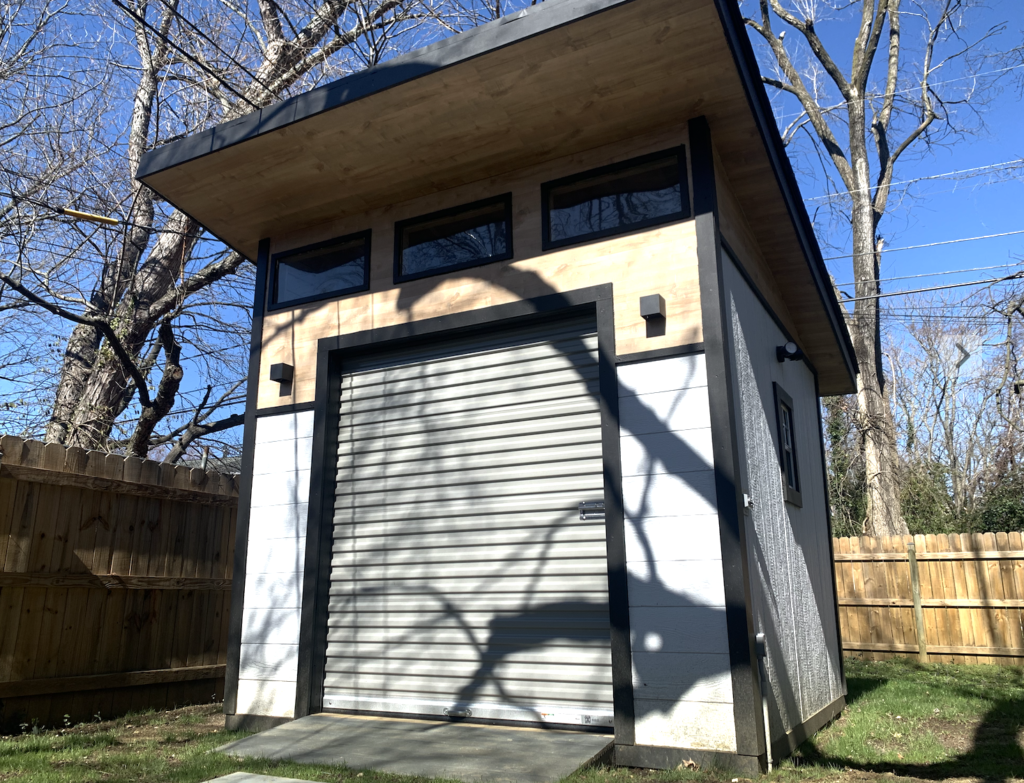
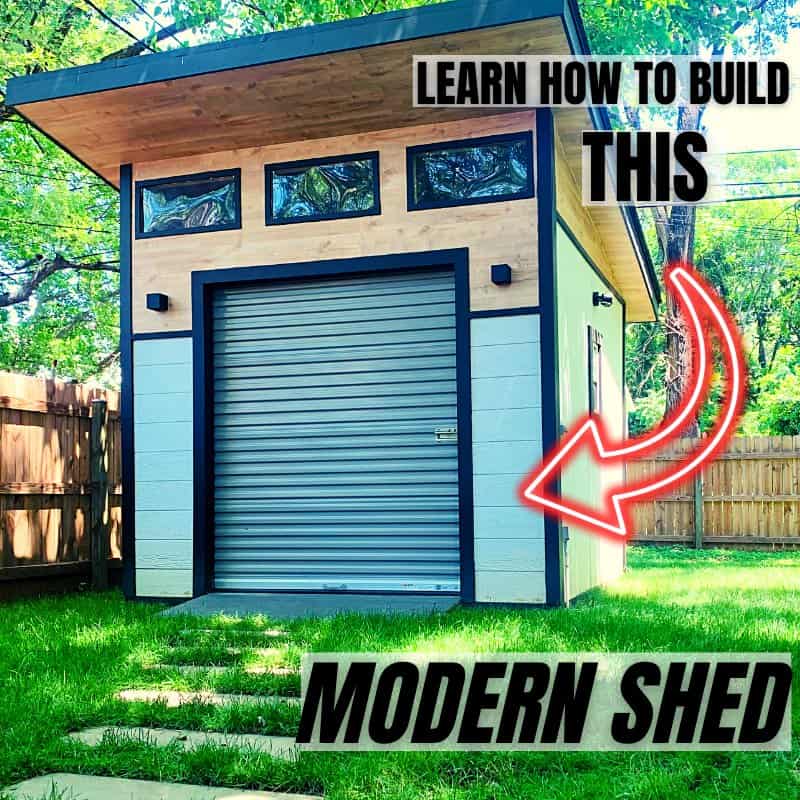
This article will outline every single step of the shed base concrete slab construction process. Once you have constructed a concrete shed base slab, you will be able to construct a shed – similar to the one below:
1. Plan Out Your Shed Base Concrete Slab Area
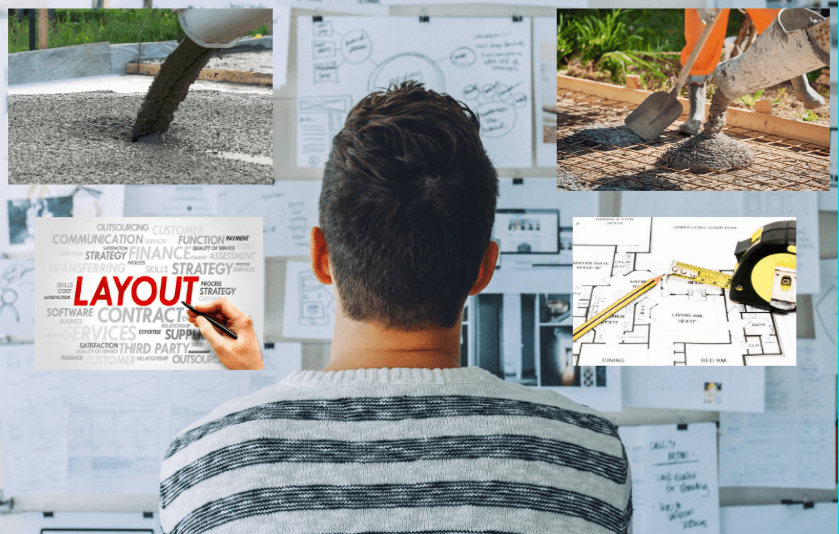
The first step in a successful concrete slab shed base project is to plan out your slab area. Spend some time thinking about how large your shed will be and, as a result, how large you shed base concrete slab will need to be.
When determining how large to make your shed base concrete slab, keep the following in mind.
- If you make your slab larger than your shed, you will likely have some exposed concrete slab that will need to be maintained (i.e. power washed, etc.)
- If you make your slab the exact same size as your shed (e.g. a 10’x10’ concrete slab for a 10’x10’ shed), you will have no exposed concrete slab.
Either of these options is fine – it just depends on your preference.
Once you have an idea of the general size of your shed base concrete slab area, it is recommended that you mark the area with spray paint. You also have the option to mark the area with stakes and a string line, but this is usually more difficult then simply marking the area with spray paint.
You don’t need to have the layout perfectly dimensioned at this stage. Final dimensions will be established as part of the concrete form construction process – which is discussed later in this article.
After preliminarily planning out your shed base concrete slab area, it’s time to begin the excavation process.
2. Excavate the Shed Base Concrete Slab Area
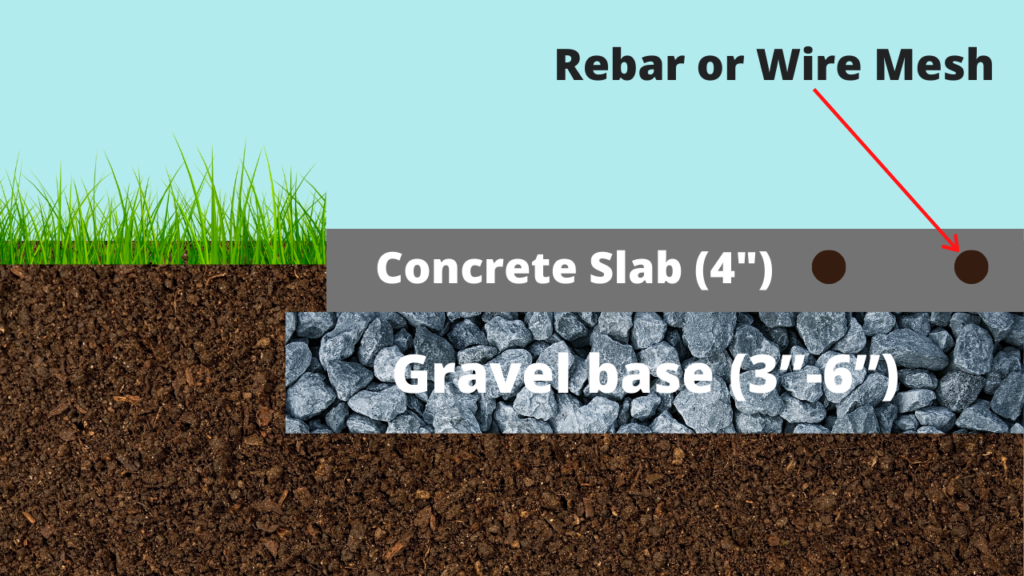
After establishing your shed base concrete slab area, excavate the area to approximately 8″-10″ below grade. Your excavation depth should allow for approximately 4″ of gravel sub-base and approximately 4″ for your shed base concrete slab. See below:
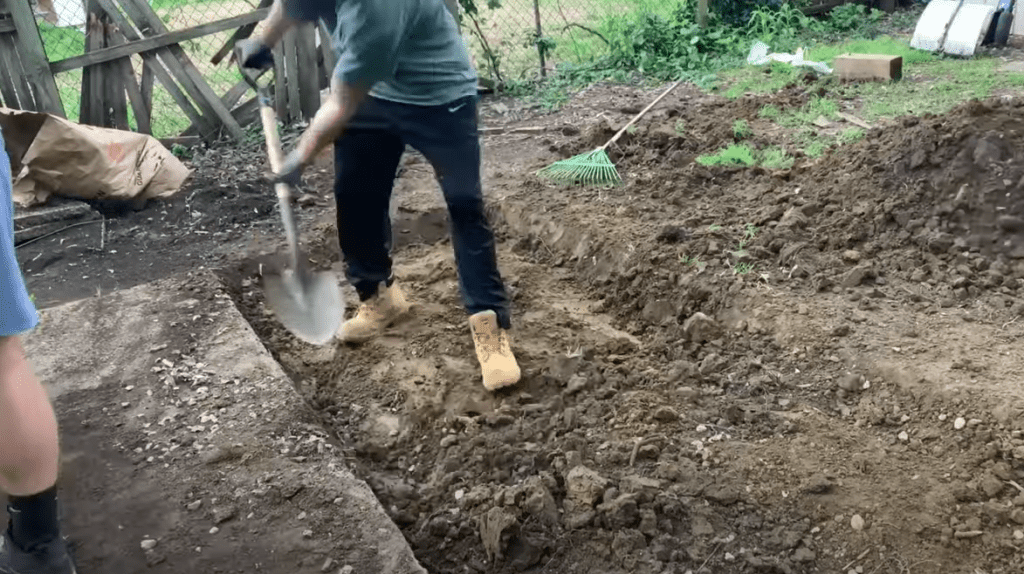
Continue to excavate your entire slab extension area to a depth of 8″-10″. I completed the excavation by hand using a shovel, but depending on the size of your slab base concrete slab, you may want to consider renting mechanical excavation equipment.
After excavating the shed base slab area, it is recommended that you compact the excavated area.
I used a hand tamp to accomplish soil compaction, but I recommend that you rent a mechanical compactor for larger shed base slab projects.
3. Backfill the Shed Base Concrete Slab Area with Stone
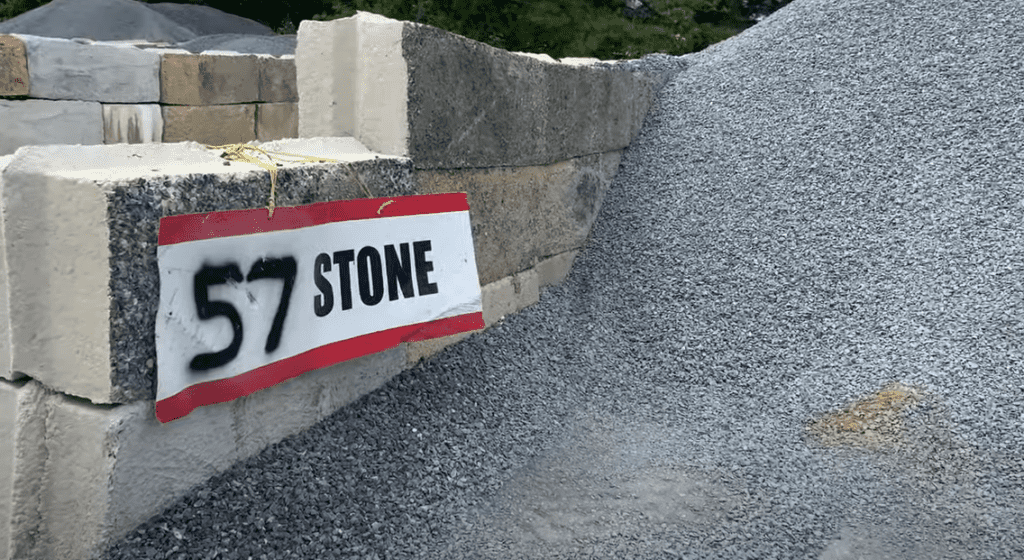
Once your shed base slab area has been excavated and compacted, it is time to backfill the excavation with approximately 4″ of stone. There are a variety of stone types that can be used used for your concrete slab stone base, but No. 57 stone/gravel is typically the most common. Crusher Run gravel and Recycled Concrete Aggregate (RCA) are also sometimes used as a concrete slab stone base.
You can typically have the stone delivered to your home or job site for a small delivery fee. However, you also have the option to pick up your stone from a local concrete or landscape supply company.
Once you have purchased your concrete slab stone base material, apply it to the excavated area until a 4″ stone bed has been placed over the entire excavation area.
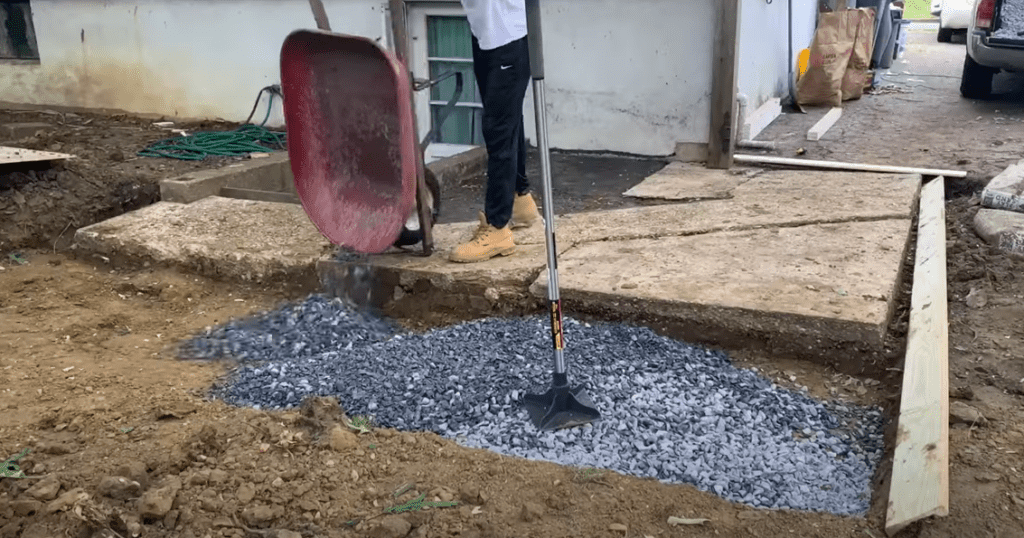
Once all of your concrete slab stone base has been applied to the excavation area, you can proceed with compacting the stone sub base.
4. Compact the Concrete Slab Stone Base
Once the stone base has been installed and you have a consistent 4″ stone bed across the entire shed base concrete slab area, compact the stone using a hand tamp or a mechanical compaction device.
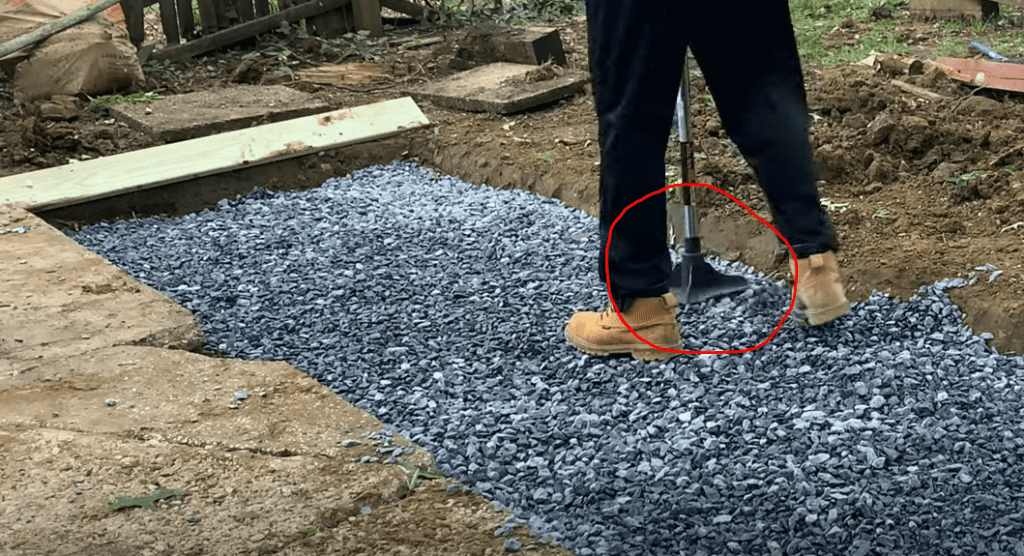
For larger shed base concrete slabs, it is highly recommended that you rent a mechanical compactor for the compaction of both your soil and the stone sub base. This will ensure that your shed base concrete slab is well compacted and will minimize the amount of settling that occurs beneath the slab.
5. Construct Concrete Forms
At this stage of the shed base concrete slab construction process, you will need to construct your concrete slab forms. Concrete forms are used as the perimeter of the concrete slab and are used to give the slab shape during the pouring process.
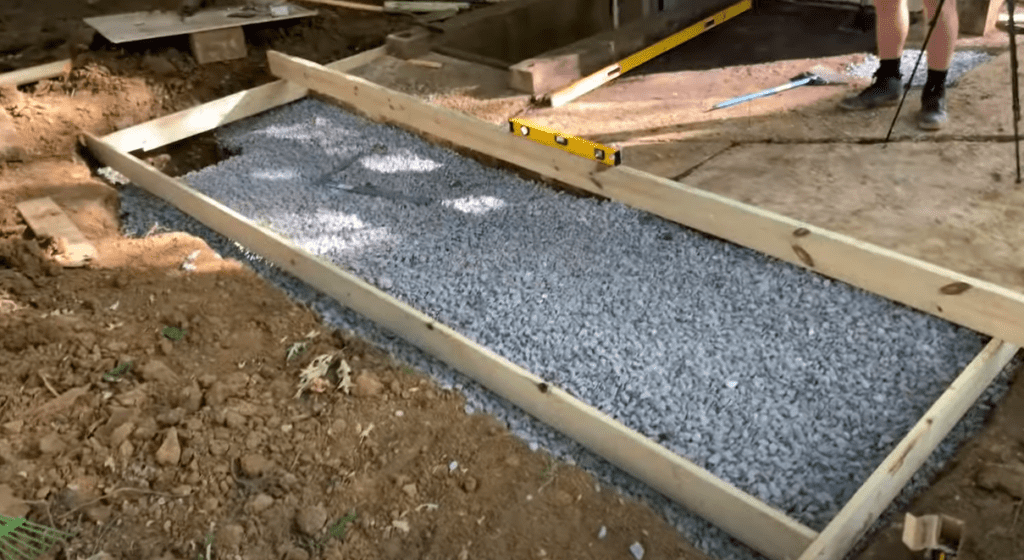
Depending on the thickness of your concrete slab, use appropriate lumber for your concrete forms. Typically, the concrete forms will be 2”x4” for concrete shed base slabs.
As you construct your shed base slab concrete forms, use a piece of lumber and a level to check that your concrete form is perfectly level.
Once you have constructed your concrete forms with lumber and ensured that the forms are level, secure the forms in place with stakes.
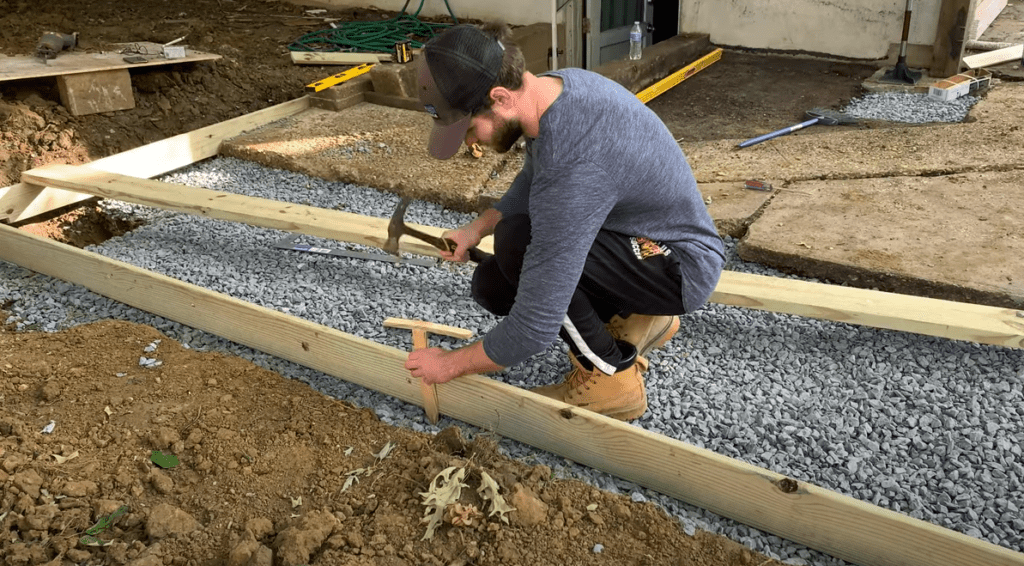
Securing the forms with stakes will prevent the forms from shifting during the concrete pouring process. Additionally, be sure to screw your concrete form lumber together at any corners.
6. Mix up and Pour Your Concrete into the Shed Base Concrete Slab Area
At this stage, you can begin preparation for your concrete pour. If you have a small shed base concrete slab area, you may consider mixing up your concrete by hand. However, if you have a large shed base concrete area, it is highly recommended that you have your concrete delivered via a concrete truck.
For our shed base concrete slab project, we rented a concrete mixer and mixed approximately 70, 80 pound bags of concrete. See below:
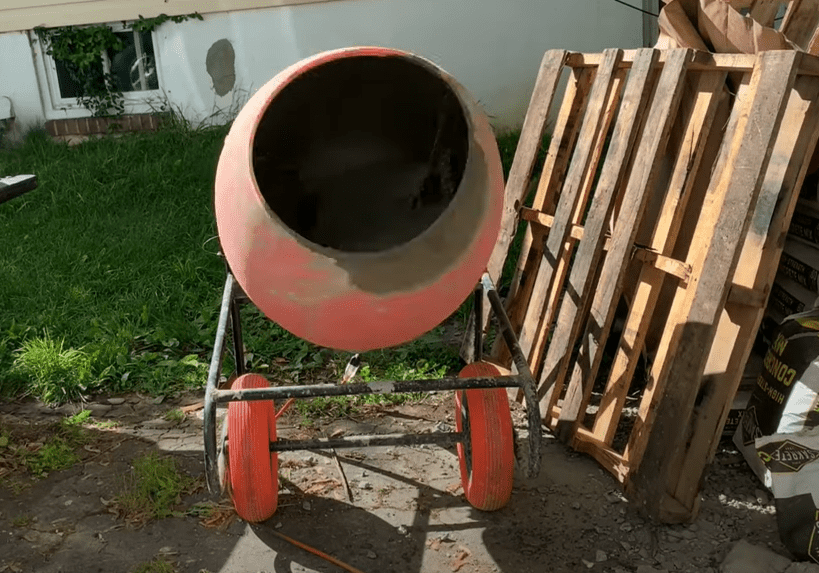
PRO TIP: Mixing Concrete by Hand is difficult, time consuming, and messy. We mixed approximately 70 bags of concrete for this project and it was a ton of work.
Add water to your concrete mix in accordance with the manufacturer’s recommendations and apply concrete to your shed base concrete slab area.
Continue to mix concrete and apply it to the shed base concrete slab area until you have added enough concrete to completely fill the concrete form area. At a minimum, concrete should be added until it is even with the top of your concrete forms.
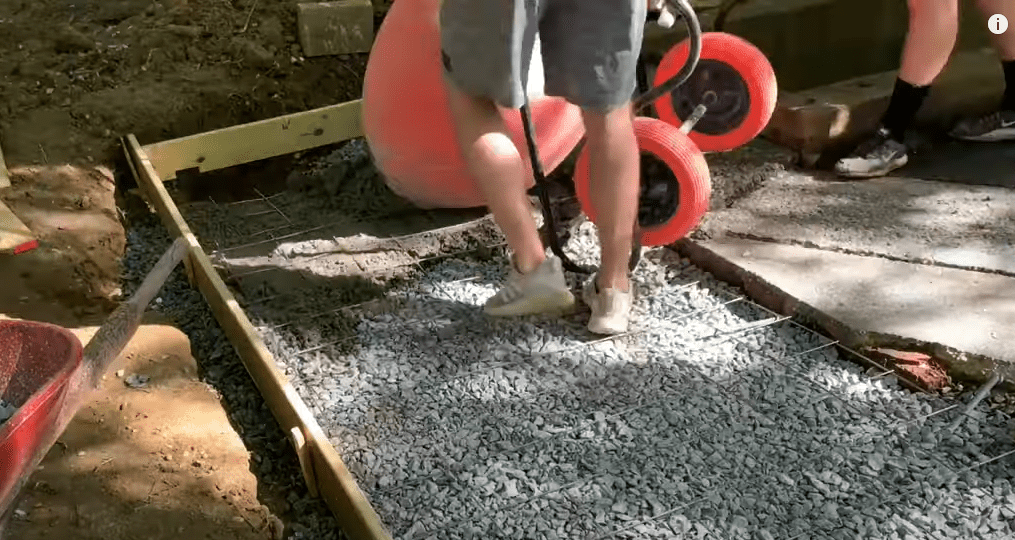
Once you have added sufficient concrete to your shed base concrete slab area, you can begin the concrete slab finishing process.
7. Finish the Shed Base Concrete Slab Surface
To finish your shed base concrete slab surface, start by “screeding” off any excess concrete using a piece of lumber. To accomplish this, move a piece of flat lumber back and forth along the top of you concrete forms in a sawing motion. This will help to remove any excess concrete and will level out the surface of your concrete slab.
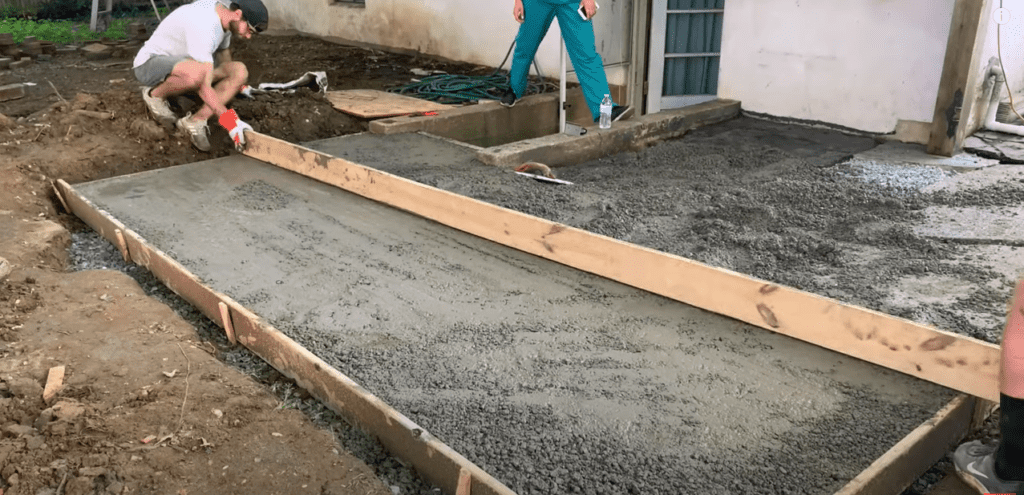
After “screeding” the surface of your concrete slab, it is recommended that you smooth the surface using a bull float.
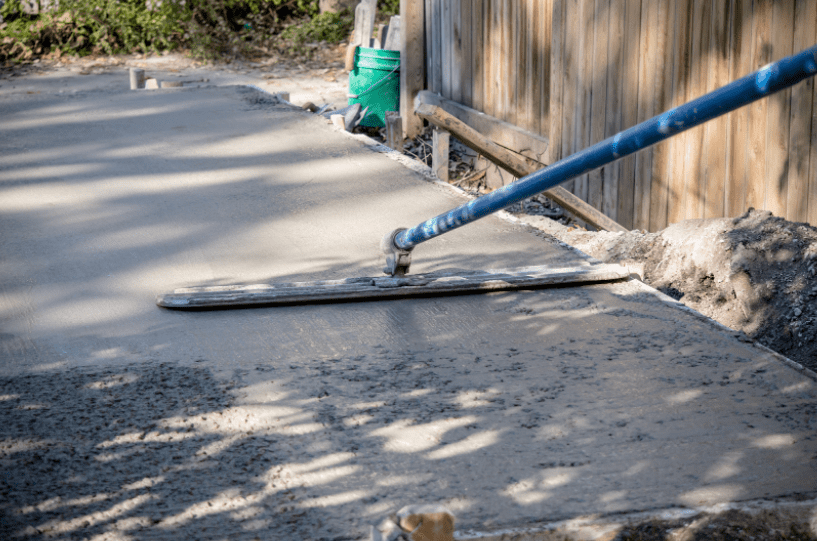
A bull float can be rented from your local box store for a few bucks and will make the concrete finishing process much easier.
PRO TIP: Concrete slab surface finishing is an art. Achieving a perfect concrete finish is difficult without considerable concrete surface finishing practice. I recommend that you spend some time watching concrete finishing Youtube videos so that you are prepared to take on your concrete finishing job with confidence.
Using a bull float will draw the water to the surface of the concrete and will give you a smooth surface. After the bull floating process, use a hand/finishing trowel to smooth out any rough patches.
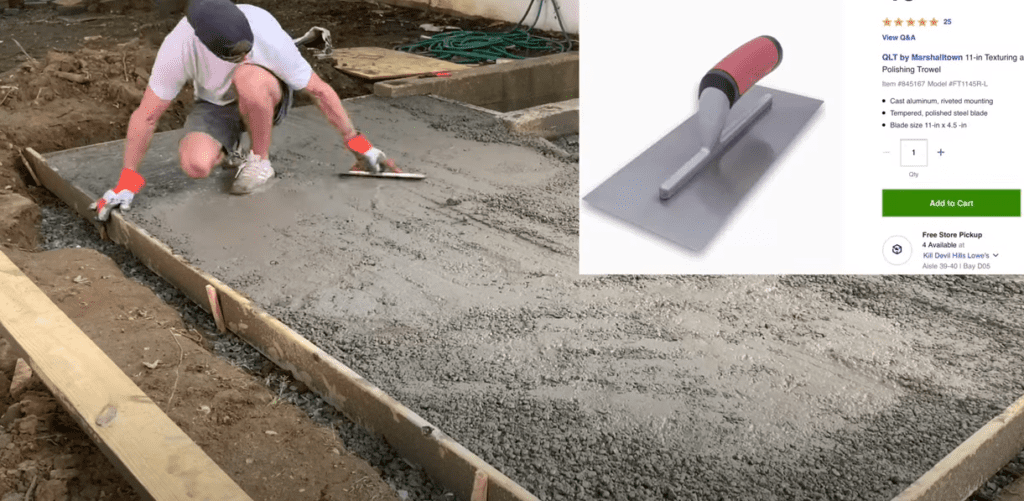
Additionally, use an edging trowel to smooth out your shed base concrete slab edges to give them a nice rounded look.

Once you have smoothed out your shed base concrete slab surface with a bull float/finishing trowel and rounded all of the concrete slab edges with an edging trowel, allow your concrete to cure for 2-3 days.
8. Remove Concrete Forms and Perform any Touch Up Work
After allowing your shed base concrete slab 2-3 days to cure, remove the concrete forms by removing any stakes or screws that are holding the forms together. You may need to use a prybar to separate the lumber from the concrete slab.
After removing the concrete forms, inspect the concrete slab shed base for any imperfections. If there are any, use a concrete repair mortar to fill in any holes, spalling, or any parts of the concrete that may have been damaged as part of the concrete form removal process.
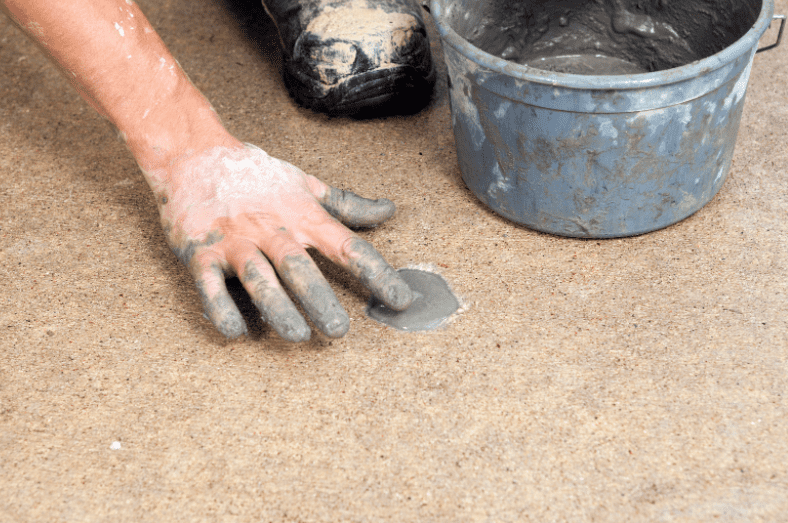
After repairing any trouble spots on your shed base concrete slab your project is nearly complete.
9. Install Control Joints (if needed)
Depending on the size of your shed base concrete slab, you may want to consider adding control joints to your slab. If your slab is smaller than 12’x12’, control joints are likely unnecessary.
Concrete control joints are planned cuts in your slab that create an intentional “weak-point” in the slab. These control joints will be the first to crack when the shed base concrete slab experiences settling.

The general rule of thumb is that control joints should be placed no more than 3X the slab thickness apart (in inches). For example, a 4″ slab should have control joints placed a maximum of 12 feet apart.
Control joints can be added to your shed base concrete slab in two ways:
- Create a control joint when the concrete is still wet using a grooving tool
- Create a control joint after the concrete surface has cured using a concrete saw
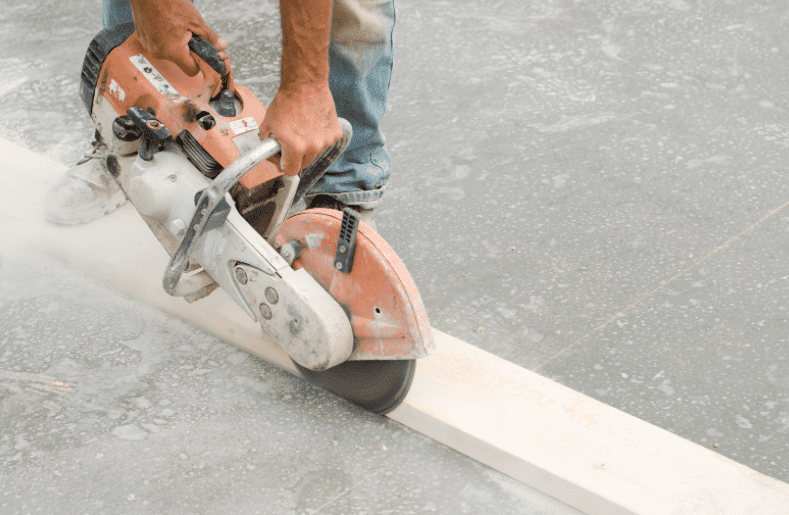
Both of these options are acceptable and will give you more control over where your concrete will crack. Control joints should be cut to roughly 25% of the slab thickness. For example, a 4″ slab, should have control joints that are approximately 1″ deep.
Since my concrete shed base slab was small (10’x10’), I decided not to include control joints.
At this stage, all steps required for your concrete shed base slab project have been completed. You can now begin constructing your shed.
If you want to learn how to build the Modern Shed you see below, Check out my “How to Build a Modern Shed Course” Linked Here. This Course includes a detailed materials list, tools lists, lumber cut lists, and step-by-step video instructions for each step of the project!
Thanks so much for checking out ATImprovements! If you learned something from this project, you might also like these other DIY Projects:
- How to Install a DIY deck Wire Railing: DIY Cable Railing – How to Install Cable Railing Step-by-Step – (atimprovements.com)
- How to Build a Concrete Paver Patio: DIY PAVER PATIO – Easy DIY Paver Patio Ideas – (atimprovements.com)
Thanks!
DISCLAIMER: This is a reference guide only. Links included in this article might be affiliate links. If you purchase a product or service with the links that I provide I may receive a small commission. There is no additional charge to you! Thank you for supporting ATimprovements so I can continue to provide you with free content each week!