
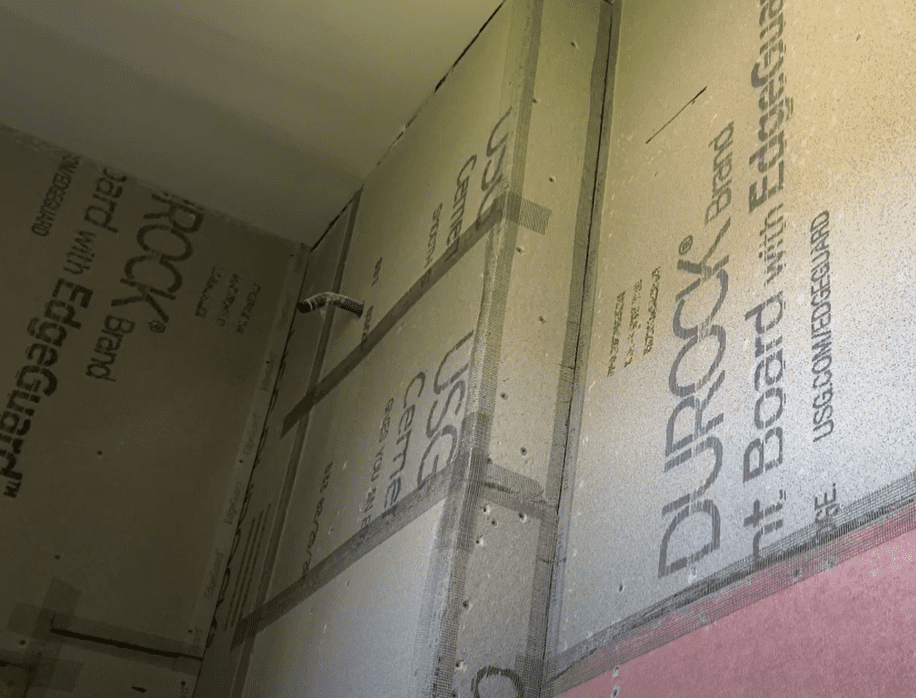
Before you can begin tiling a shower or bathroom wall, you need to install a cement board substrate. A properly installed cement board substrate is crucial to any wall tile installation and the project can be accomplished relatively easily by the average homeowner. By following the steps in this article, you will be able to install cement board on walls like a pro.
Before we talk about installing cement board, let’s answer a few of the common questions about Cement Board.
What is cement board?

Cement board is a building material made of a mixture of cement, glass fibers, and reinforcing fibers that is formed into a sheet. Cement board sheets are typically 3 feet by 5 feet in length, but also come in 4 foot by 8 foot sheets as well. Cement board sheets typically come in ¼”, ½” and even 5/8” thicknesses.
¼” cement board is typically only used for floor applications. Larger thicknesses can also be used for floor applications.
½” and 5/8” thickness cement board is required for wall applications. The additional thickness provides strength and durability when spanning between wall studs.
What is cement board used for?
Cement board is most commonly used as the backing or substrate for tiled walls or floors.

Cement board is also used on the exterior of buildings to help protect the structure from water and the environment. Cement board is much more durable and water resistant than gypsum board and is, therefore, used in most applications where water will be present
Which type of cement board is best?
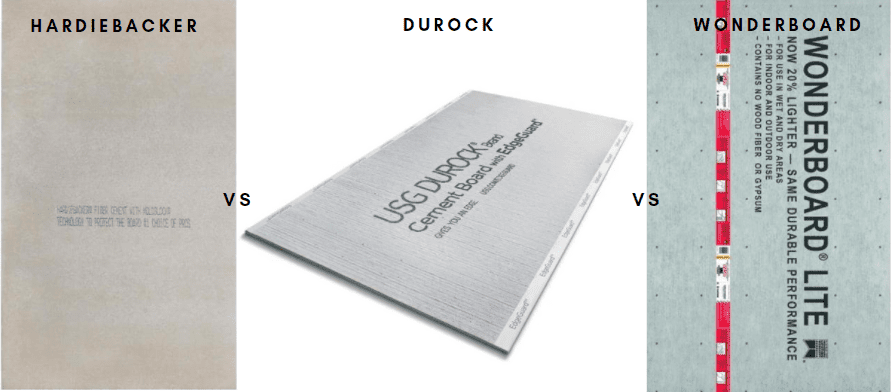
There are many different cement board manufactures. A summary of the three most common cement board types and the benefits/drawbacks of each is presented in the table below:
| Hardiebacker | USG Durock | Wonderboard | |
| Cost | High | Low | Medium |
| Weight | Lightest | Medium | Heaviest |
| Features | No Glass (Cleaner Cuts) | Glass Mesh | Glass Mesh |
| Outdoor Use | No | Yes | Yes |
Hardiebacker, although the most expensive, is the most commonly used cement board type.
Do you need to use cement board on bathroom and shower walls?
Cement board should always be used for shower walls due to it’s superior moisture resistance, impact resistance, and strength. Cement board should always be used when tiling bathroom walls. However, gypsum board can also be used for bathroom walls is 1. You are not tiling the walls and 2. A lot of water is not anticipated.
To complete a cement board installation project, you will need the following tools and materials:
- Cement board (Square footage based on your application)
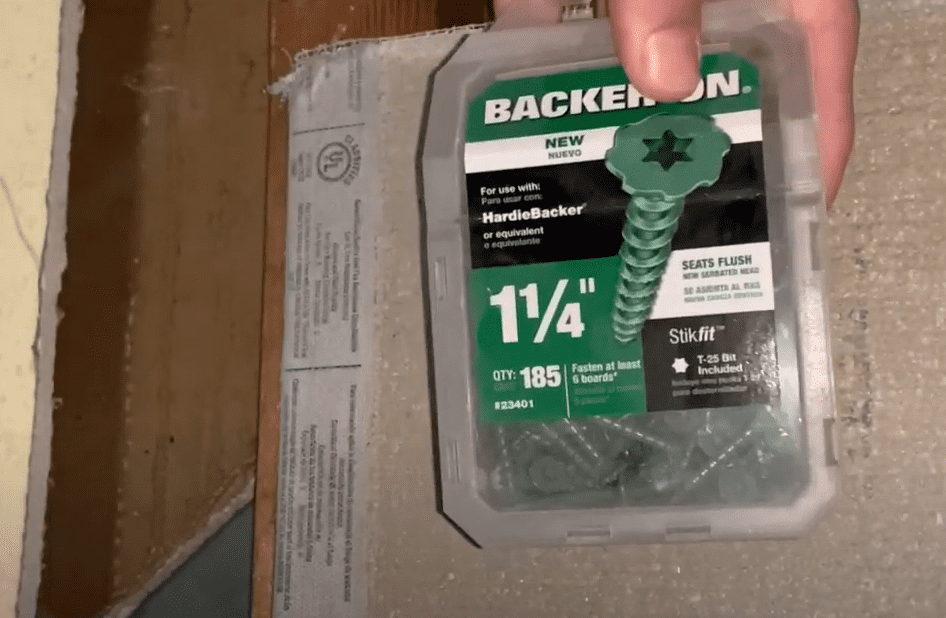
- Cement Board Screws (Rock-on, Backer-on, etc.)
- Alkali Resistant cement board tape.
- Thinset Mortar
- Drill
- Putty knife or Trowel
Now that we know what cement board is, why you need to install it for your shower and bathroom wall installations, and the materials and tools required for installation, we can begin with the installation process. If you are more of a visual learner, you can watch my Step-by-Step “How to Install Cement Board on Walls” Youtube Video here:
1. Plan out your Cement Board Layout to Maximize Full Sheets
Before you begin installing cement board on the walls, spend some time thinking about your cement board layout. First, ensure that all of your cement board edges will land on a stud. If not, install additional studs or blocking as needed.
Additionally, you will want to use as many full sheets of cement board as possible to make your installation easier. The less cuts you need to make, the better. If needed, snap a chalk line to make visualization easier. Dry fit as necessary to get a good idea for the layout.
You will likely have a few locations where you need to cut the cement board.
To cut cement board, use a utility knife and a straight edge to score the surface of the board.
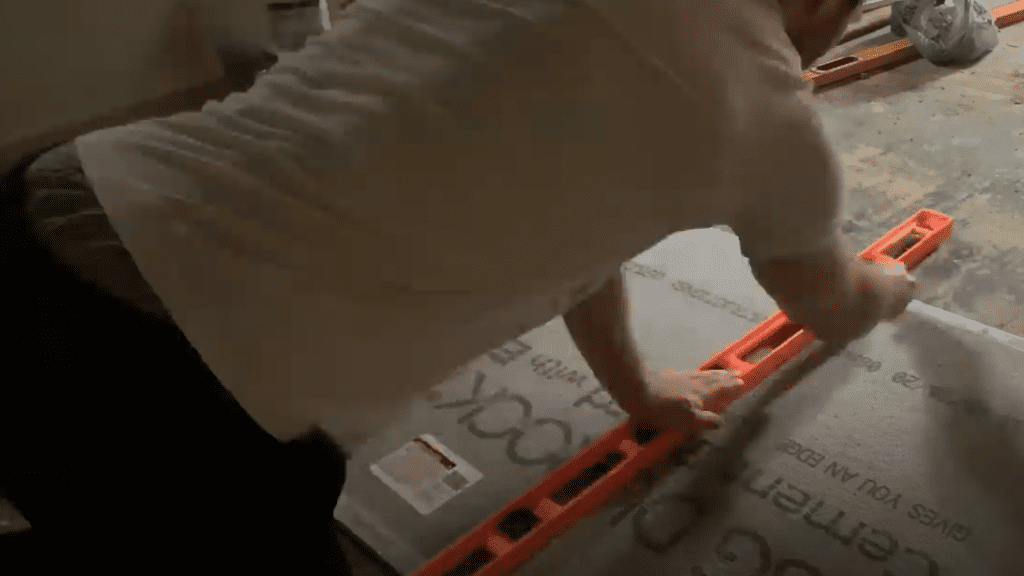
Then, snap the board along the cut line. You will need to cut the backside of the mesh with a utility knife as well.
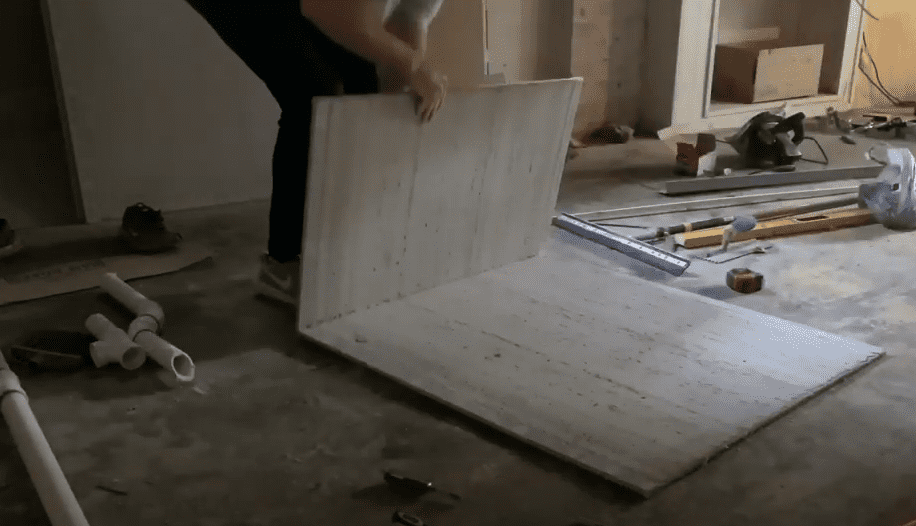
If you need to make intricate cuts with a saw, be sure to use a carbide tipped blade.
Safety Tip: Cement board dust contains silica which is harmful if inhaled. Be sure to use a respirator when cutting cement board and try to minimize dust whenever possible.
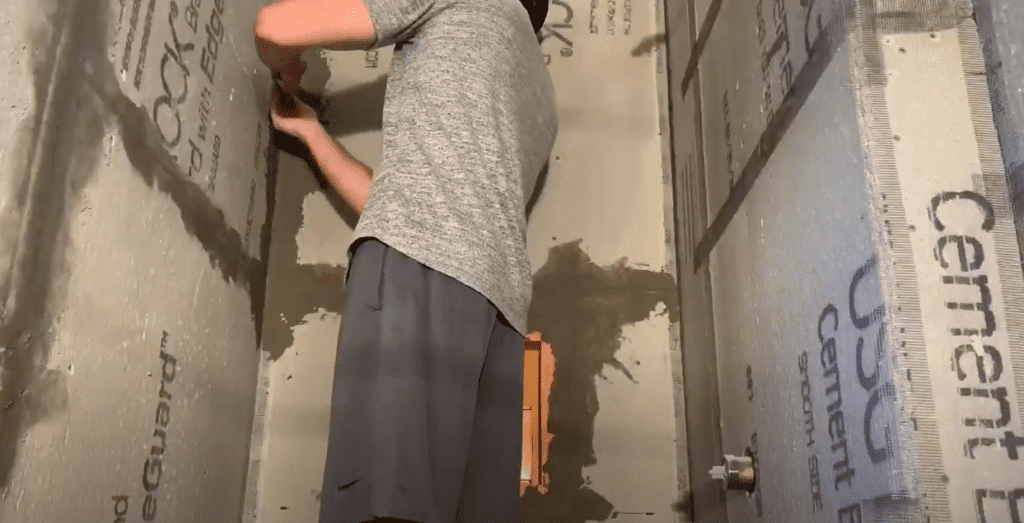
2. Screw Cement Board Sheets to the Wall
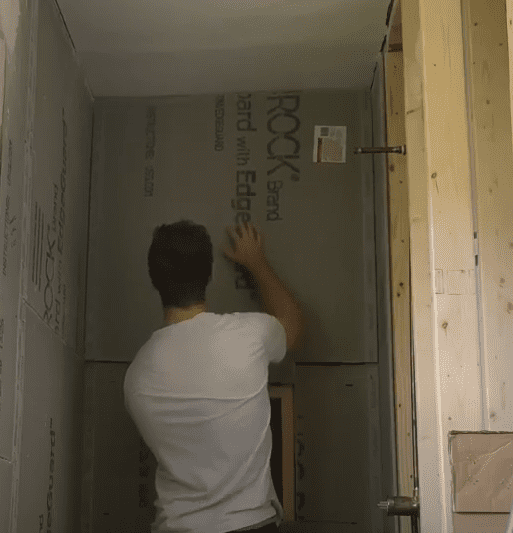
When positioning the cement board on the wall, you will want to maintain a slight gap between between each sheet of cement board and any perimeter walls. Never force the cement board sheets together. This is to account for expansion and contraction.
Stagger the cement board joints a minimum of 16 inches so that four corners never meet. Be sure that cement board joints to not align with any cement board joints on the floor (if applicable).
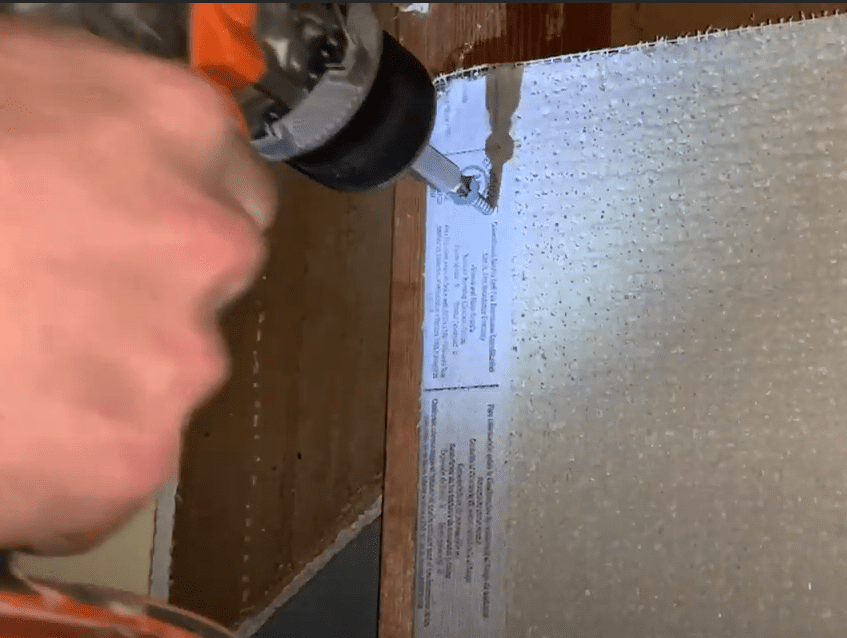
Once your cement board sheets are in position, fasten the sheets to the studs using the special cement board screws.
Space Fasteners every 8 inches (on center) for walls and every 6 inches for ceilings. Screw fasteners around the perimeter and wherever a stud runs behind the sheet of cement board.
Continue to install all sheets of cement board in this method until the entire wall is covered in cement board.
3. Tape the cement board joints with fiberglass mesh tape
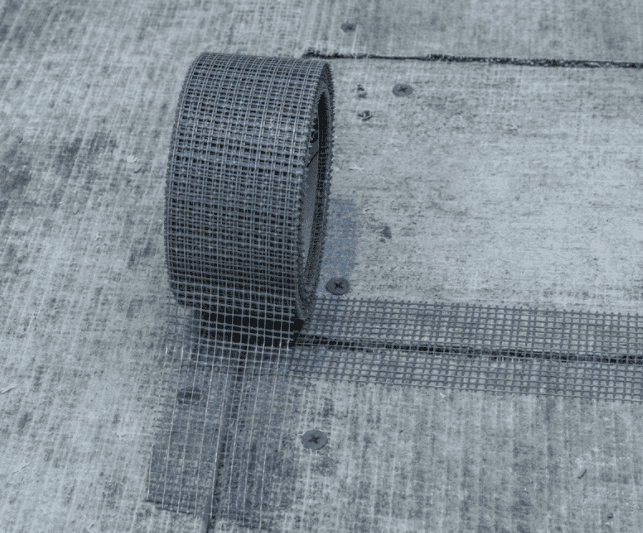
Once all of your cement board is installed, you will want to apply alkali-resistant fiberglass mesh tape to the cement board joints. If possible, use fiberglass mesh tape with an adhesive backing so that it easily adheres to the joint and stays in position.
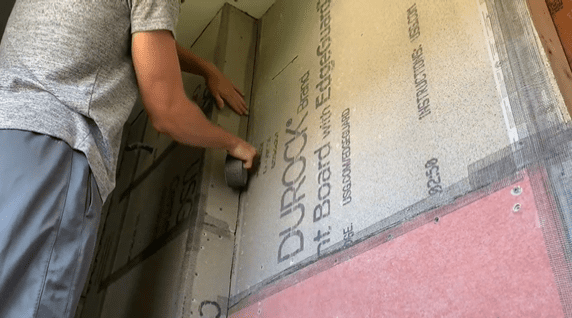
Be sure to slightly overlap the fiberglass mesh tape at any joints or intersections.
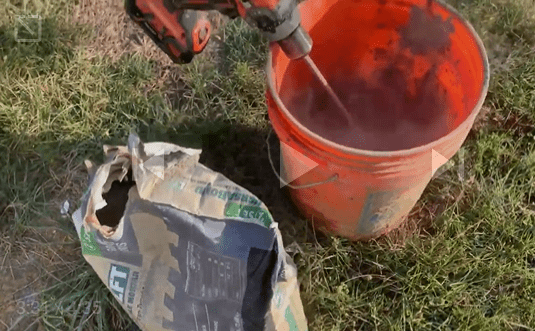
4. Fill Cement Board joints with Mortar
Once your fiberglass mesh tape is fully installed, mix up some thinset mortar and apply it to the joints using a putty knife or a trowel.
Be sure to completely fill all of the joints with mortar and completely cover the fiberglass mesh tape that you applied previous. Be sure to “feather out” the mortar along the fiberglass mesh tape to ensure that there are no large lumps once the mortar dries.
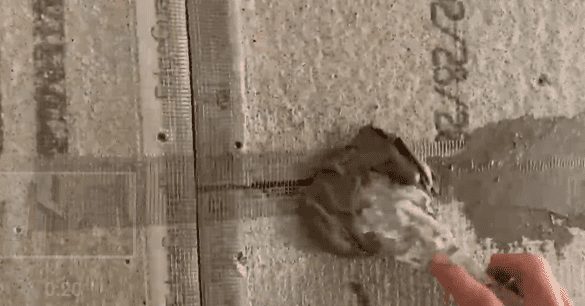
Continue filling the joints and covering the fiberglass mesh tape with mortar for all cement board joints and intersections.
The purpose of the fiberglass mesh tape and thinset mortar is to increase the overall strength of the cement board wall by making it a complete unit. Additionally, taping the seams and apply mortar to the joint helps to ensure that there is not a water infiltration point at the joints.
5. Allow mortar to dry and prepare for tile installation
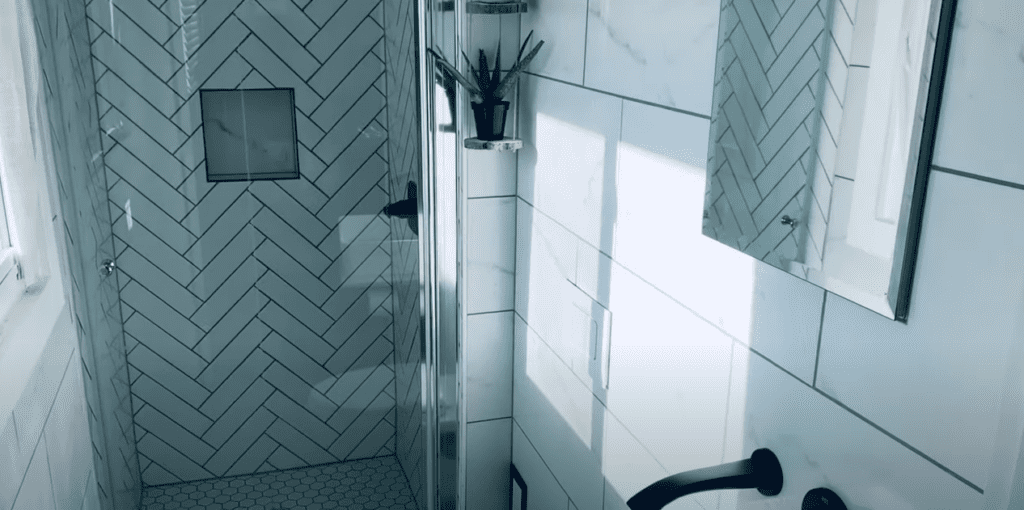
A this point, you have successfully installed cement board on the wall. Give the mortar sufficient time to dry in between the cement board joints (typically 24-48 hours). Once the mortar has dried, you can begin to tile your walls so that they look like this:
The next step is to install tile on the wall. If you are tackling a wall tile project on your own, you may be interested in my “How to install wall tile Youtube Video”:
Thanks so much for checking out ATImprovements! If you learned something from this project, you might also like these other DIY Projects:
How to cut cast iron pipe: How to Cut Cast Iron Pipe and Replace it with PVC – AT Improvements
How to Patch a Hole in Concrete Foundation: How to Patch a Hole in Concrete Foundation – (atimprovements.com)
Thanks!
DISCLAIMER: This is a reference guide only. Links included in this article might be affiliate links. If you purchase a product or service with the links that I provide I may receive a small commission. There is no additional charge to you! Thank you for supporting ATimprovements so I can continue to provide you with free content each week!