
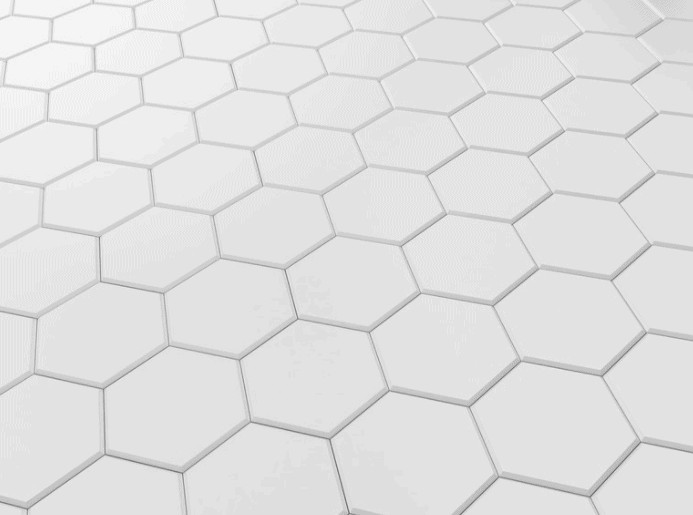
Hexagon tiles are a great way to add a unique look to a bathroom or kitchen floor. Installing hexagon floor tile is similar to laying other types of floor tiles. However, there are a few key difference. Since each tile has 6 sides instead of 4, special care must be taken to ensure that grout spacing is maintained between each tile.
To install hexagon floor tile, you will need to follow these general steps:
- Prepare your Hexagon Tile Substrate
- Plan out and prepare your tile layout
- Select the best type of hexagon floor tile based on your space
- Purchase Hexagon Tiles and Materials
- Dry-fit your first hexagon tiles
- Mix up thinset mortar and prepare for Hexagon tile installation
- Install your Hexagon Tiles
- Position your spacers and tile leveling system
- Allow tiles and mortar to cure for 48 hours
- Remove spacers and tile leveling system
- Install Grout
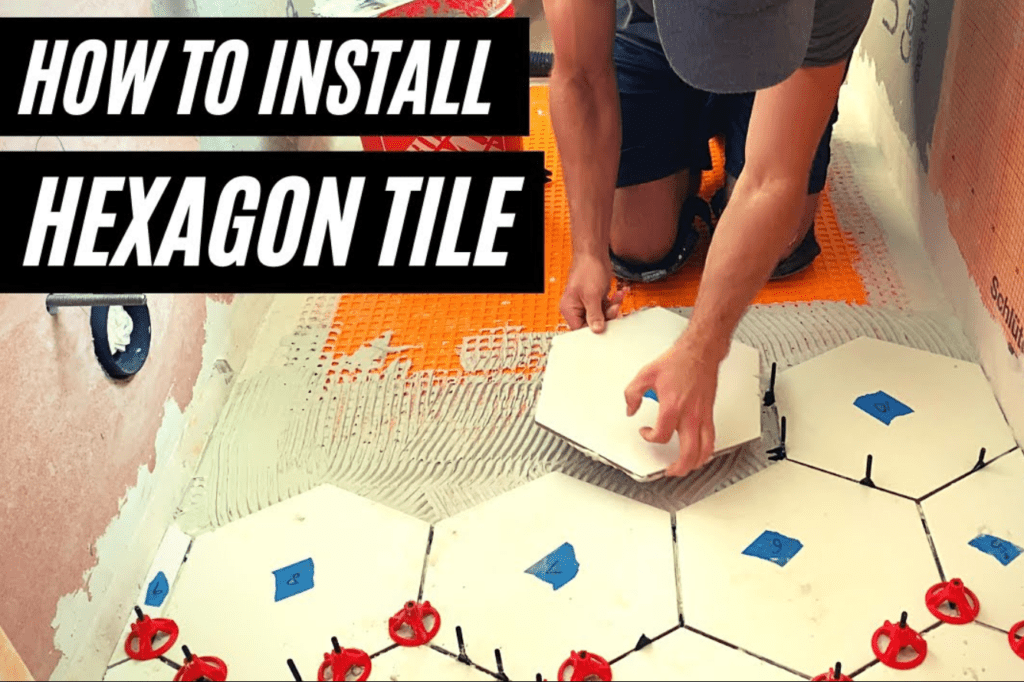
This article will outline every single step in the hexagon tile installation process. If you are more of a visual learner, feel free to watch my “Hexagon Floor Tile Installation” Video below:
Step 1: Prepare Your Hexagon Tile Substrate
Before you can begin the process of installing hexagon tiles, you must ensure that you have a suitable substrate for your tile. The term “substrate” is simply defined as the layer underneath your tile.
Although most floors (hardwood, laminate, LVP, etc.) are installed directly over your home’s plywood subfloor, tile requires additional substrate preparation. Because plywood can swell, expand, and warp when subjected to water, it is typically a poor substrate for tile since tile/grout can crack when subjected to this expansion and contraction.
Instead, cement board (Hardibacker, Durock, Wonderboard, etc.) is typically used as a tile substrate because it is durable, water resistant, and does not expand, contract, or warp when exposed to moisture.
There are many different brands of cement board, each with distinct advantages and disadvantages. For more information on the different types of cement board and installation details, check out my “How to Install Cement Board” blog here.
In addition to cement board, Kerdi Ditra Uncoupling Membrane is also a popular tile substrate. For more information on how to install Kerdi Ditra, refer to my Youtube Video here.
If you need help deciding between Cement Board and Schluter Ditra, check out my Schluter Ditra VS Cement Board Comparison article linked here.
Step 2: Plan Out and Prepare Your Tile Layout
Before placing your first hexagon floor tile, you need to plan out and establish your tile layout. When planning for your hexagon tile layout, you want to follow these general rules of thumb:
- Avoid having small slivers of tile along the walls. If you find that you will have a small sliver on one wall, consider cutting a bit off the first tile on the opposite wall. This will help to even out your installation and make everything look uniform and well thought out.
- Minimize the amount of intricate cuts needed. This is easier said then done, but try to plan out your tile layout so that you don’t need to make as many detailed cuts in corners, around obstructions, etc.
- Consider hexagon tile orientation. Hexagon tiles can be positioned with the tile “point” in the line of sight or with the tile’s straight side positioned in line of sight. See below:

“Point” of Hexagon Tile in Line of Sight Straight Side of Tile in Line of Sight
- Start you layout in the back of the room you are tiling and work your way out of the room. You don’t want to walk on freshly installed tile – so by installing tile in the back of the room first, you can finish at the room entrance.
- Leave a 1/8″ gap between the floor tiles and wall. This is to allow for possible expansion and contraction. This gap will either be caulked or covered with baseboard.
Step 3: Select the Best Type of Hexagon Floor Tile Based on Your Space
Hexagon tiles come in a wide variety of sizes and styles. If you have a large space that you are tiling, you may want to consider large format hexagon tiles (i.e. 14″x16″). However, if you have a small space, hexagon mosaic sheets may be better for your application. See examples of both types of hexagon tile below:

Large Format Hexagon Tiles 
Small Mosaic Hexagon Tiles
The size and type of tile you select will depend on your room size and personal preference. This article focuses primarily on the installation of large format hexagon tiles. If you are looking to install smaller mosaic hexagon tiles (commonly used in showers), then you may want to check out my hexagon mosaic tile installation video below:
Step 4: Purchase Hexagon Tiles and Materials
Once you have decided on what type of hexagon tile you want to use, it’s time to purchase all of the tools and materials you will need for a successful hexagon tile installation. To complete you hexagon floor tile installation, you will need the following tools and materials:
- Hexagon tile (quantity as needed based on your square footage)
- Tile Saw (wet saw, dremel tool, snap cutter, or angle grinder)
- Thinset Mortar
- Trowel (size based on the tile manufacturer’s recommendation)
- Tile Spacers
- Tile Leveling system (optional)
- Sponges
- Grout
Although most of these tools and materials are pretty self explanatory and will be discussed in later sections, let’s take a closer look at a few of these materials:
Tile Saw:
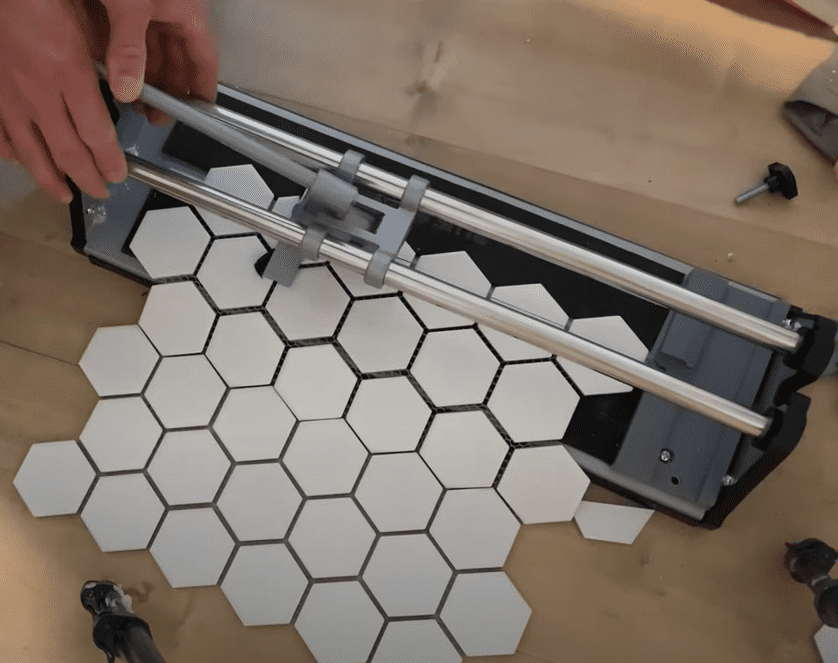
In order to successfully install hexagon floor tiles, you will need to have some way of cutting your hexagon tiles. For most hexagon tile installations, I recommend that you use either a wet saw (which is what I typically use) or a snap cutter. Refer to the images below which show the two different recommended ways of cutting tile:

Cutting Tile Using A Wet Saw 
Cutting Tile Using a Snap Cutter

Typically, you can rent a wet saw for an affordable price from your big box store. Snap Cutters are a bit less expensive then wet saws and can usually be purchased for around $50. You can also use an angle grinder or Dremel tool to cut hexagon tile, but it is not recommend. For more detailed instruction on how to cut tiles, check out my “How to Cut Tile” Blog.
Tile Spacers and Tile Leveling System:
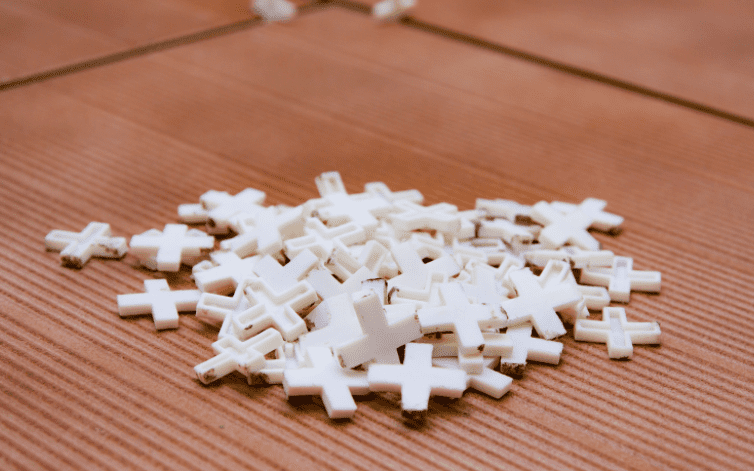
Tile spacers come in various sizes and styles depending on the look you are going for. In simplistic terms, they are used to maintain uniform spacing between each tile. Tile leveling systems on the other hand are used to make sure that all tiles are uniform across the surface. Basically, tile leveling systems are used to ensure that you don’t have any high spots or “lippage” in the floor.
For most hexagon tile installations, I recommend a 2-in-1 tile spacer and leveling system such as the Spin Doctor Leveling System. This system helps to ensure that you have uniform spacing between each tile and greatly reduces the chance of any tile lippage.
Now, let’s move on to step 5 and begin Dry-fitting the Hexagon Floor Tiles.
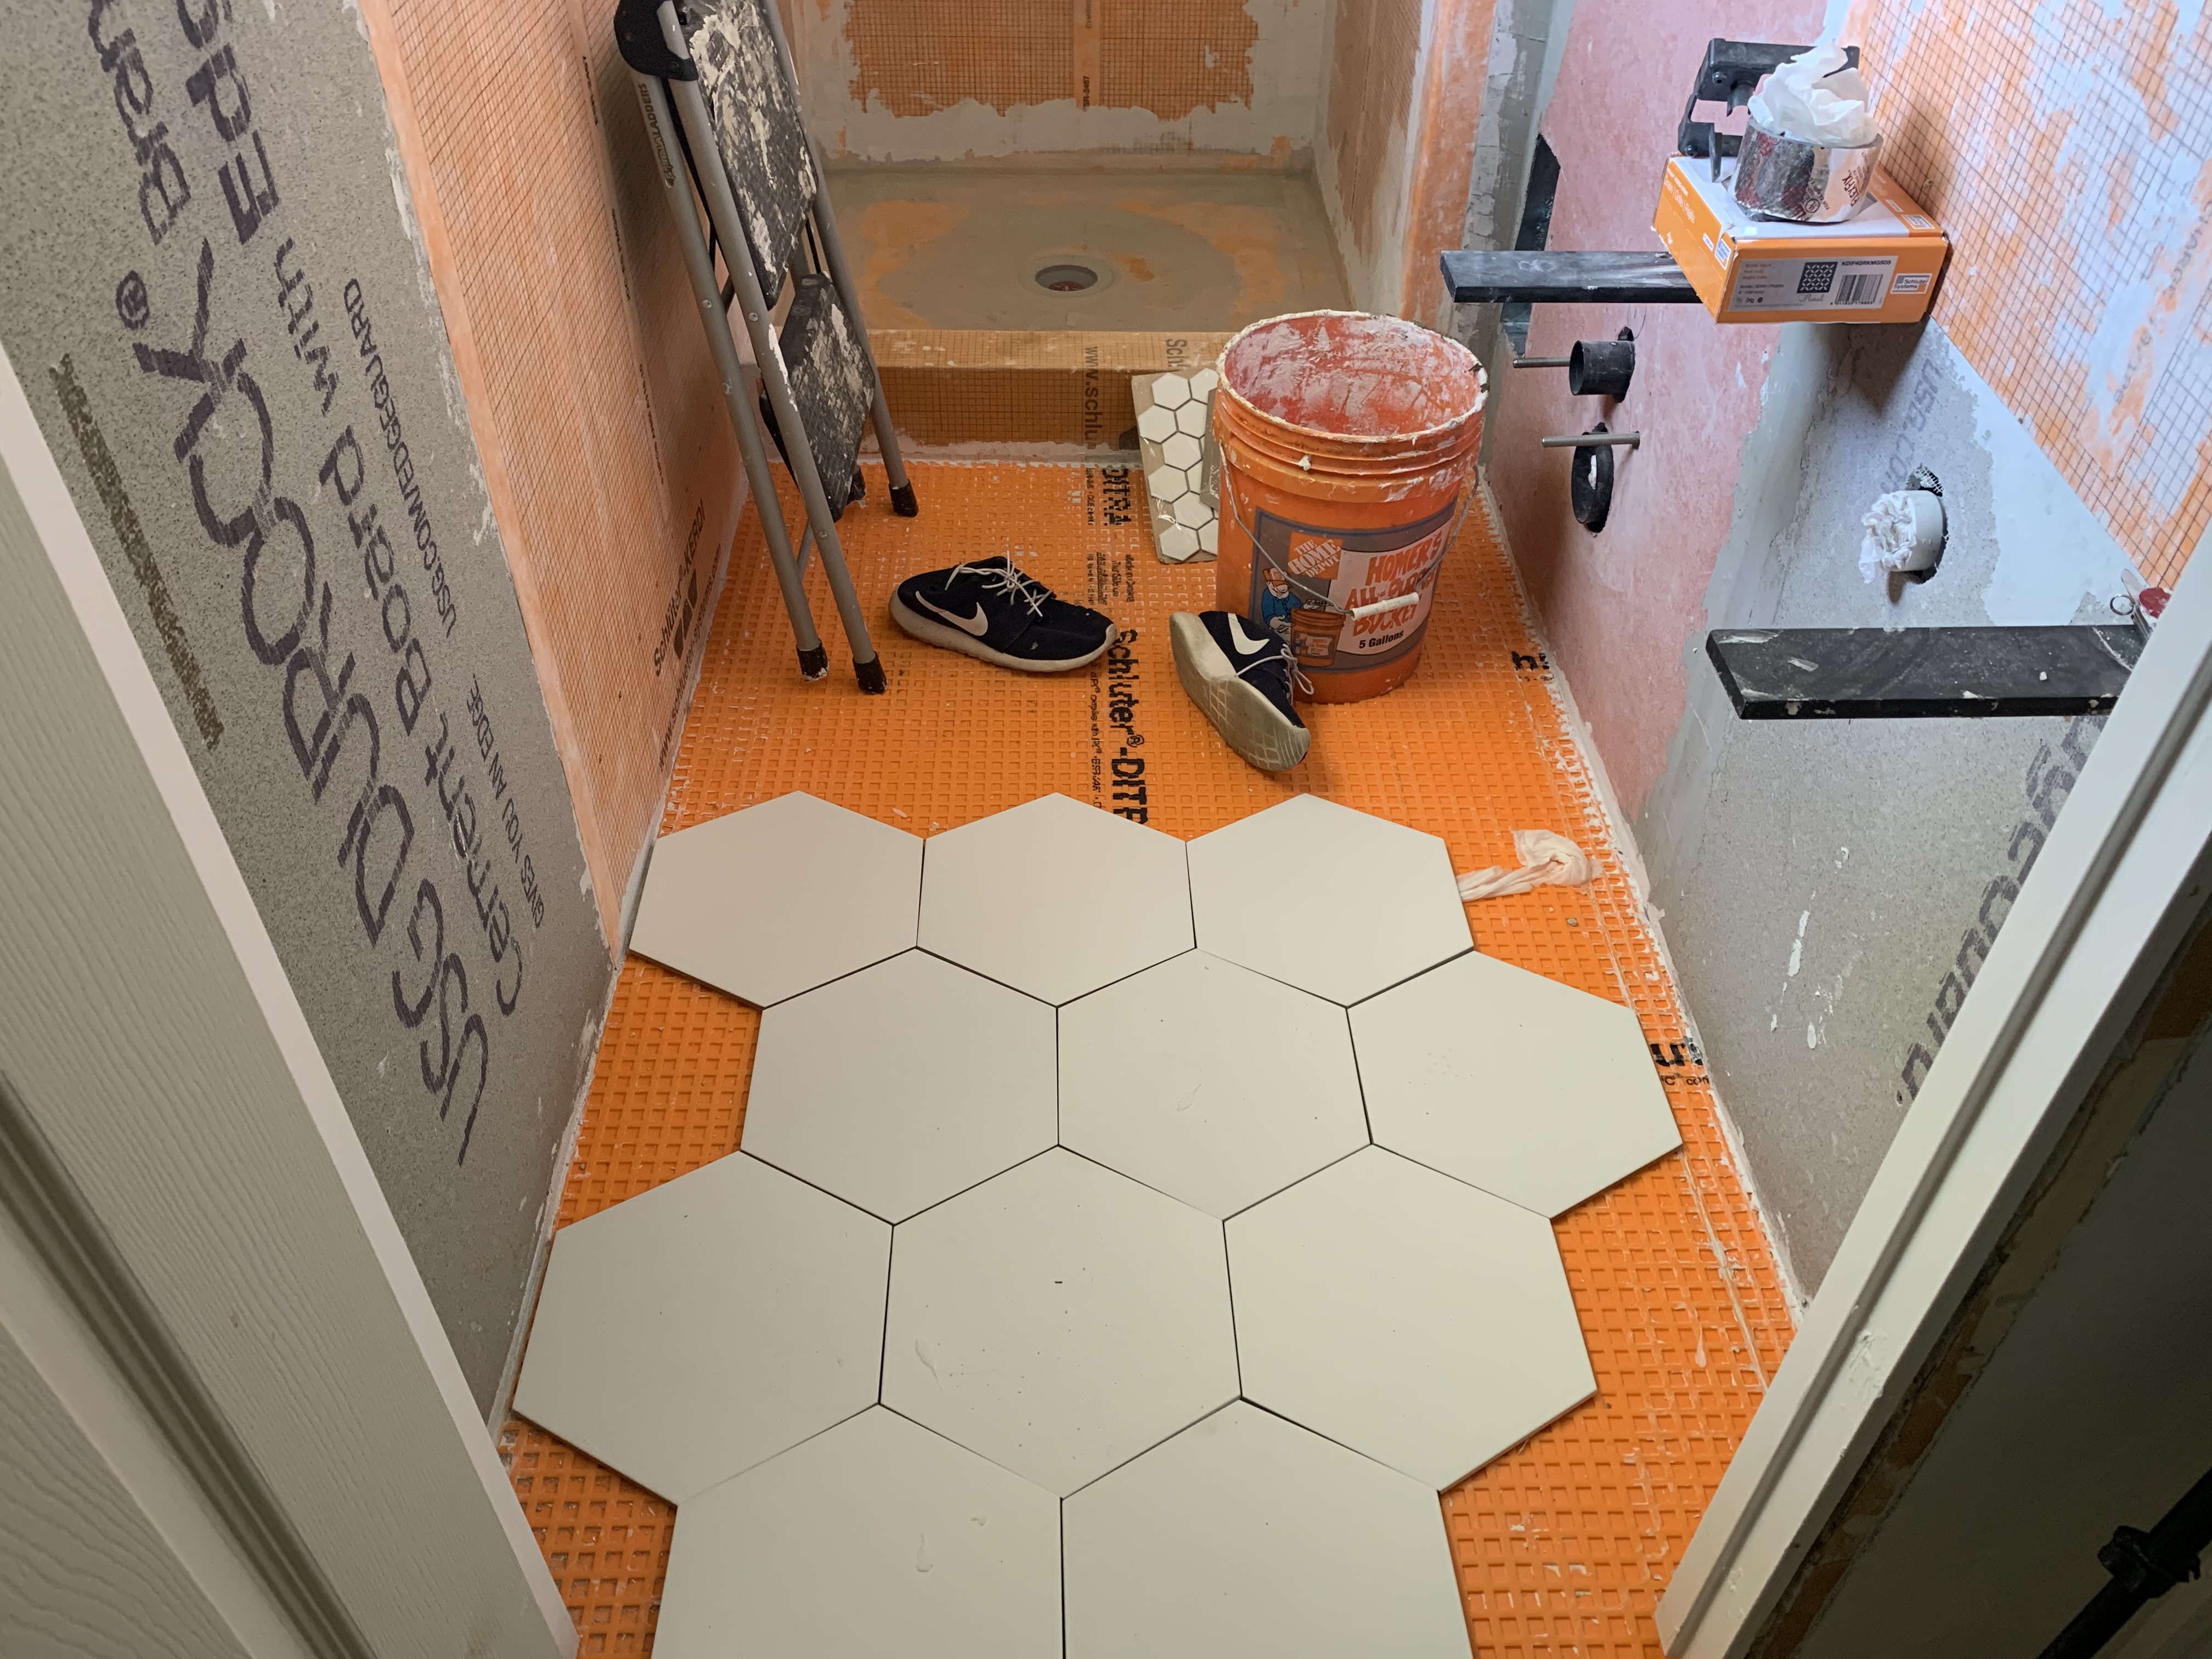
Step 5: Dry-fit Your First Hexagon Tiles
At this stage of the hexagon tile installation process, you will actually begin cutting and positioning your tiles in place WITHOUT using any mortar. At this stage, you are simply performing a dry-fit layout to ensure that all cuts have been made accurately and that every single tile will fit correctly. Be sure to include your tile spacers between each tile when performing your dry-fit.
To install your first row of hexagon tiles, start at the back of your room and cut your hexagon tiles as needed to have a straight line along the back wall. See below:

In order to make my hexagon tile cuts, I used a wet saw as shown above. Again, ensure that you are including your tile spacers as part of your dry-fitting. The Idea is to layout the tiles EXACTLY how you will during actual installation – minus the mortar.
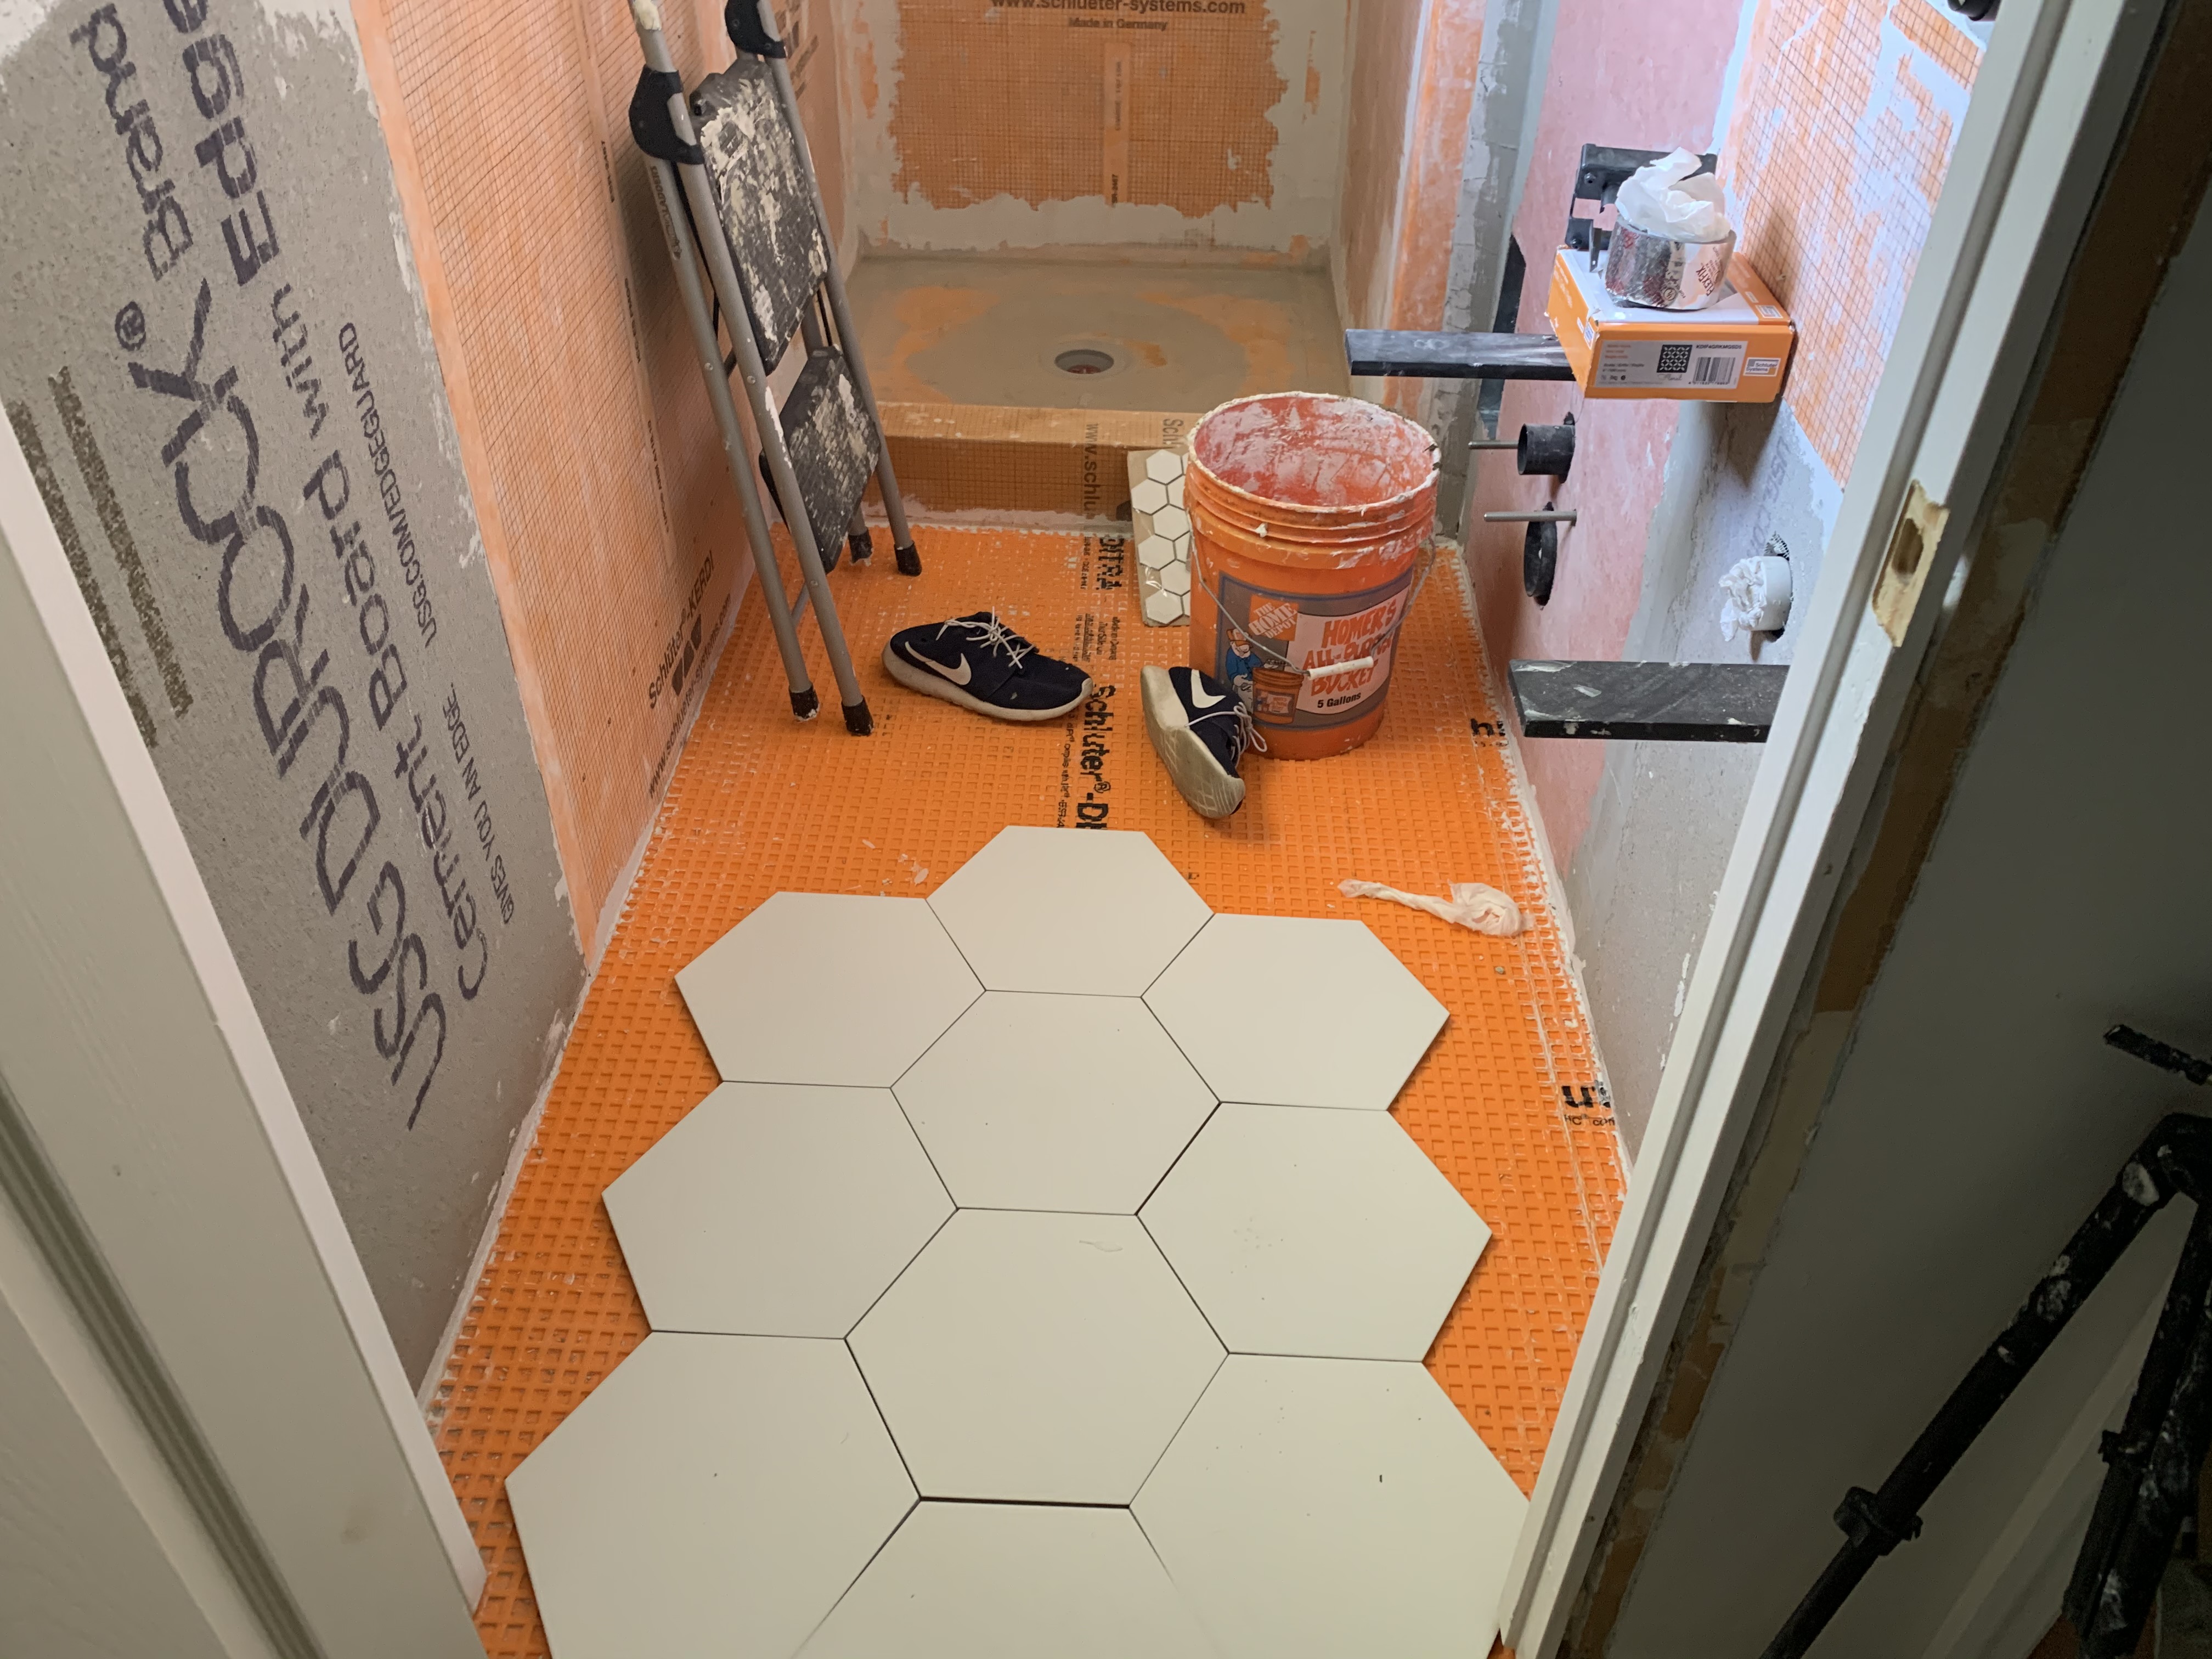
Continue dry-fitting each tile (cutting them as needed) until you have positioned them all.
Once all of the tiles are dry-fitted and in place, use a piece of masking tape to label each tile so that you know where each tile belongs. It also doesn’t hurt to snap a picture of the tile layout just to be safe.
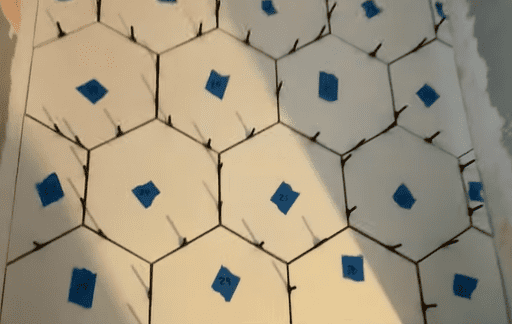
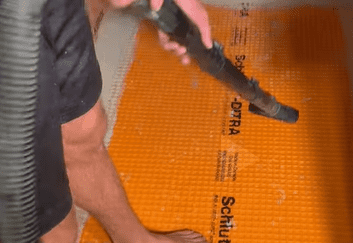
After each tile is labeled, remove the tiles and vacuum the area to remove all debris that could potentially impact the hexagon tile installation.
Step 6: Mix up Thinset Mortar and Prepare for Hexagon Tile Installation
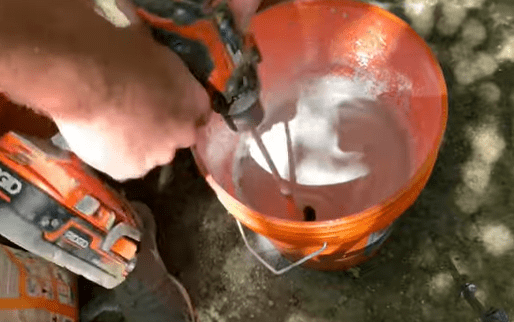
At this point in the hexagon tile installation process, you will permanently bond the hexagon tile to the substrate using thin set mortar. Follow the manufacturer’s instructions regarding water addition and mixing time and mix up your thinset mortar.
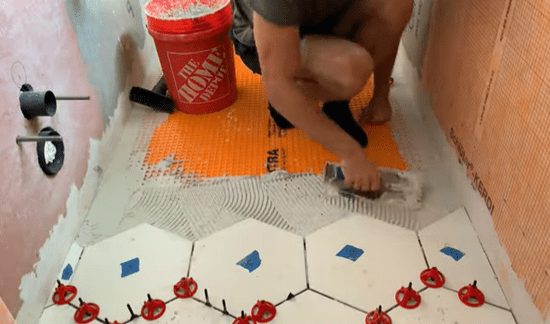
Once the Thinset has been mixed, apply it to the substrate using a trowel. The size and type of trowel you use will depend on the tile manufacturer’s recommendation. Typically, a 1/4″ square notch trowel will be used for hexagon tile installations, but confirm based on your tile selection.
Start in the back of the room and apply thinset mortar to the substrate using “directional troweling”. That means that all trowel marks should be in the same direction. Only apply enough thinset mortar for one row at a time. You want to ensure that you give yourself plenty of space to move around and work.
Step 7: Install your Hexagon Tiles
Begin to place your hexagon tiles down into the thinset, pressing down firmly to ensure that you have good coverage on the bottom of the tile. It is recommended that you lift up a few tiles to ensure that you have good thinset mortar coverage. If not, you will likely want to “back-butter” your tiles. “Back-buttering” is the act of applying some thinset mortar to the bottom of the tiles before setting them in place.
As you place your tiles into the thinset, ensure that you have used enough spacers/levelers to prevent lippage and to make sure that the spacing is uniform between each tile.
Continue to install thinset mortar, tiles, and spacers in the locations established by your labeling and dry-fit efforts.
PRO TIP: Clean as you go! Be sure to clean any thinset mortar off the face of the tiles immediately. Additionally, ensure that there is not a buildup of thinset mortar in your grout lines. Once the thinset dries, it becomes exponentially more difficult to clean. Use a damp sponge to help remove all thinset before it dries.
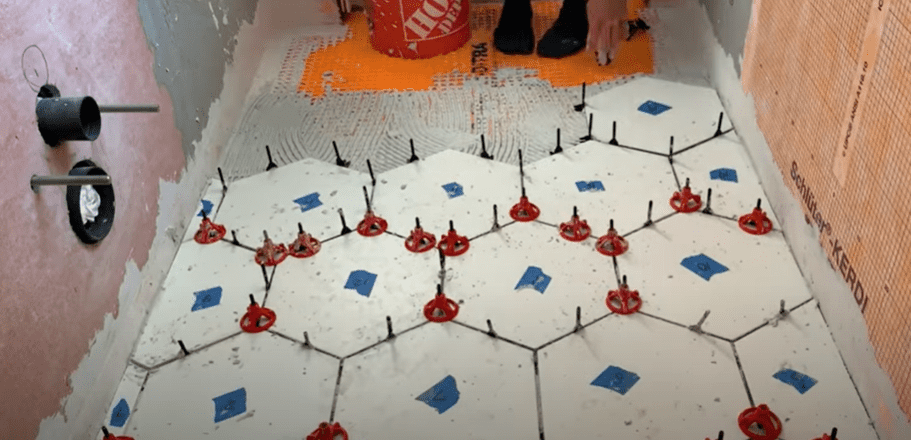
Step 8: Position Your Spacers and Tile Leveling System
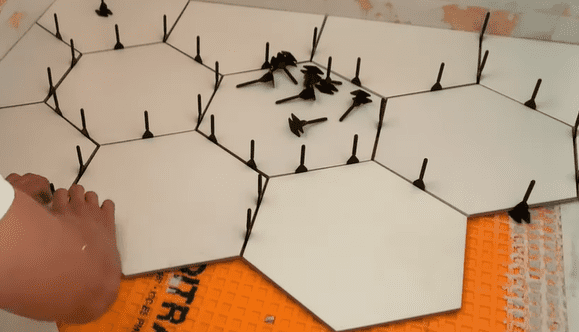
As previously mentioned, you want to use enough spacers to maintain uniform spacing between each tile. Although spacer installation is a pretty straightforward part of most tile installation jobs, it is a bit trickier for hexagon tile installations. Unlike square or rectangular tiles where one spacer per tile side is usually adequate, hexagon tiles may require additional spacers.
As you can see from the photo below, many spacers and tile levelers can sometimes be required for a uniform installation without any lippage.
Step 9: Allow Tiles and Mortar to Cure for 48 hours

Once you have installed all of your hexagon floor tiles, do not walk on them for 24-48 hours. Allow for the thinset mortar to cure and harden based on the manufacturer’s recommendations. Be sure not to ruin your tile installation job, by trying to walk on the tiles or remove the spacers prematurely!
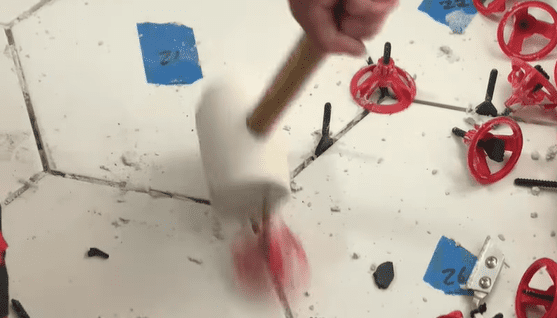
Step 10: Remove Spacers and Tile Leveling System
Once the thinset has fully cured, remove the spacers and tile leveling system by striking them firmly with a rubber mallet in the direction of the grout line. If done correctly, the spacers should easily snap out from in between your hexagon tiles.
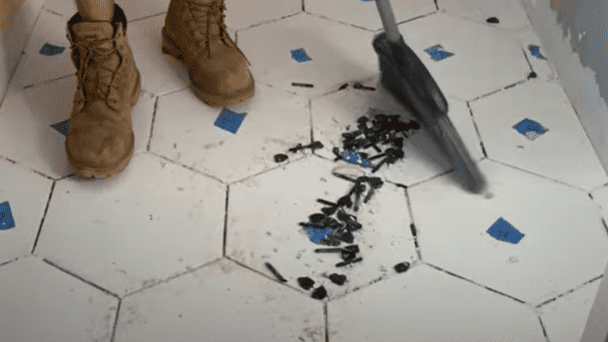
Next, remove your tile labels, and sweep up any dust or contaminants from the tile.
Lastly, ensure that there is no thinset mortar that has dried on the face of the tiles or in the grout lines. If you do have a bit of thinset that has dried on your tiles or within your grout lines, it is not the end of the world. You can scrape off any thinset from the face of your tiles by using a 5-in-1 tool. Just be sure not to scratch the face of the tile!
Any thinset mortar that has set up in the grout lines can be removed with a grout removal tool.
Step 11: Install Grout
At this stage, you are ready to grout the tiles and complete your hexagon floor tile installation. Before you grout, be sure that you have thoroughly cleaned the faces of your tile. Additionally, it is recommended that you vacuum the whole tile area, especially in between the grout lines.
There are many different types, styles, and colors of grout – so be sure to select grout that is well-suited for your application. Sanded grout is best for grout lines greater than 1/8 inch and unsanded grout is better for grout lines 1/8 inch and smaller. Keep in mind that sanded and unsanded grout is porous in nature. Therefore, you will need to seal the grout to make it waterproof.
If you are installing your hexagon tile in a bathroom, epoxy grout may be a better option due to it’s superior durability and moisture resistance. If you choose to go with epoxy grout, I recommend that you watch my epoxy grout installation video below:
Once you have selected your grout, mix it up based on the manufacturers recommendations. Apply the grout using a grout float, forcing it into all of the grout lines.
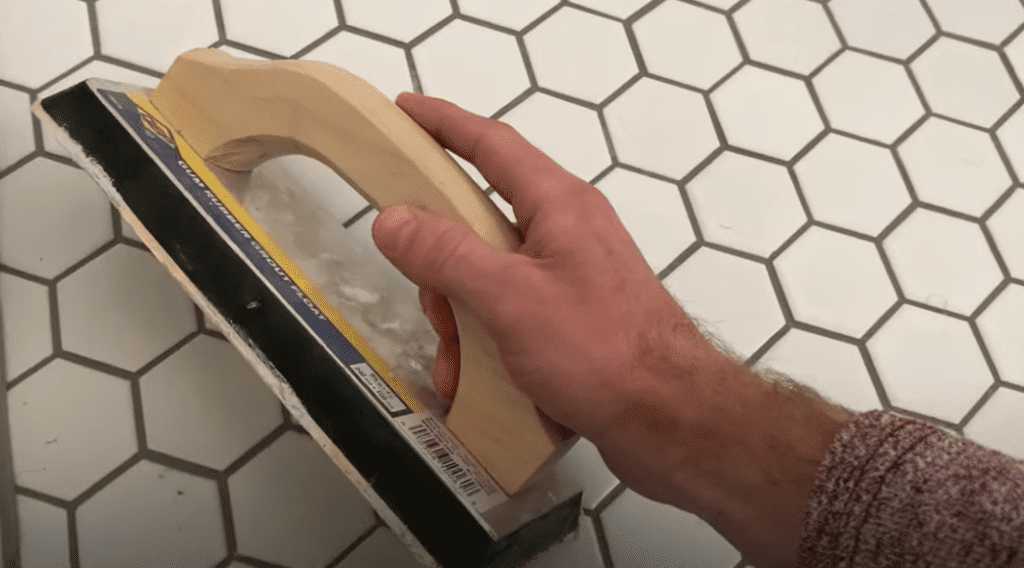
After you have filled all tile joints with grout, remove any excess grout using your grout float held at a 90 degree angle. Lastly, use sponges and a grout haze remover (optional) to clean all of the grout from the face of the hexagon tile.
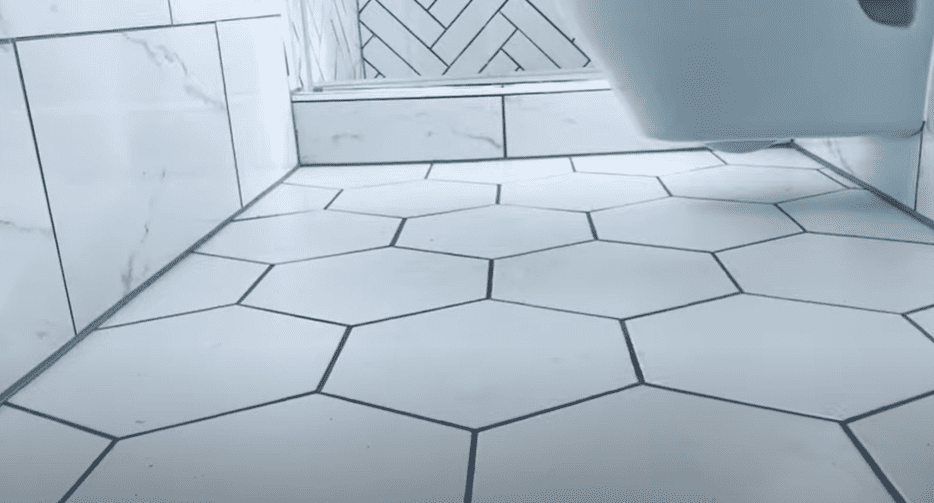
At this point, all that is left to do is give your grout time to cure based on the manufacturer’s recommendations. Once the grout is dry, your hexagon floor tile installation is complete!
Conclusion:
Installing Hexagon Floor Tile is a rewarding DIY project that can add a lot of character to any room. By following the steps presented in this article, you will easily be able to complete your own hexagon floor tile installation. Good luck!
Thanks so much for checking out ATImprovements! If you learned something from this project, you might also like these other DIY Projects:
How to cut cast iron pipe: How to Cut Cast Iron Pipe and Replace it with PVC – AT Improvements
How to Patch a Hole in Concrete Foundation: How to Patch a Hole in Concrete Foundation – (atimprovements.com)
To see the full bathroom transformation time lapse, click here!
Thanks!
DISCLAIMER: This is a reference guide only. Links included in this article might be affiliate links. If you purchase a product or service with the links that I provide I may receive a small commission. There is no additional charge to you! Thank you for supporting ATimprovements so I can continue to provide you with free content each week!