
Before you can begin any tile project, you must ensure that you have a suitable substrate for your tile. The term “substrate” is simply defined as the layer underneath your tile.
Although most floors (hardwood, laminate, LVP, etc.) are installed directly over your home’s plywood subfloor, tile requires additional substrate preparation. Because plywood can swell, expand, and warp when subjected to water, it is typically a poor substrate for tile since tile/grout can crack when subjected to this expansion and contraction.
Schulter Ditra or Cement Board (Hardibacker, Durock, Wonderboard, etc.) is typically used as a tile substrate because it is durable, water resistant, and does not expand, contract, or warp when exposed to moisture.
Schluter Ditra is superior to cement board in all categories except price and durability. However, the decision to use either Schluter Ditra or cement board will depend on your specific application.
This article will explain the advantages and disadvantages of Schulter Ditra and Cement Board so that you can determine which substrate material is best for your tile application.
What is Schulter Ditra?
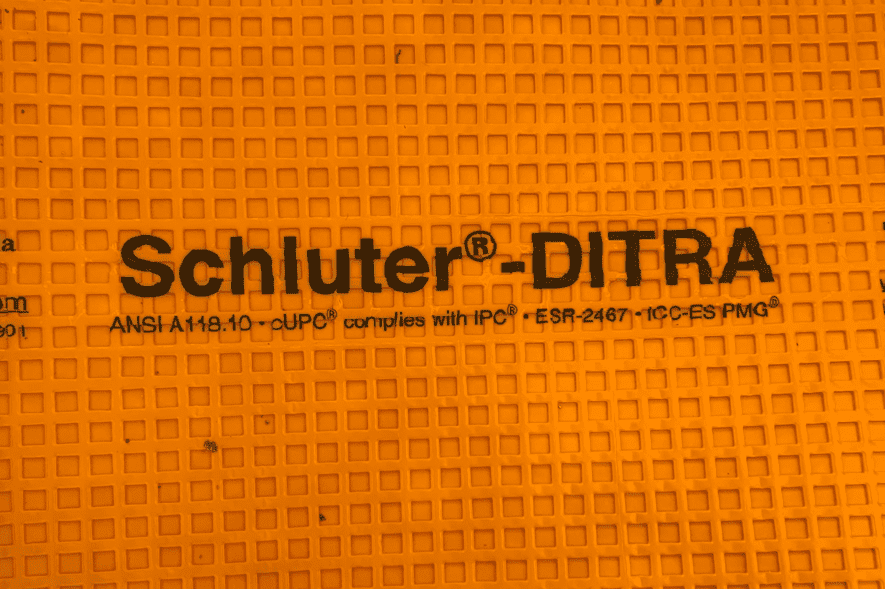
Schulter Ditra is manufactured by Schluter Systems and is a 1/8″ thick polyethylene uncoupling membrane that is specifically designed for tile installations. The Ditra uncoupling design is lightweight, durable, and minimizes the possibility of cracked tile and grout.
Ditra is manufactured in a 3’3″ width and comes in various roll lengths (54sf, 150sf, and 323 sf). Unlike cement board which is water resistant, Schulter Ditra is completely waterproof – making it ideal for “wet room” bathroom styles.
What is Cement Board?
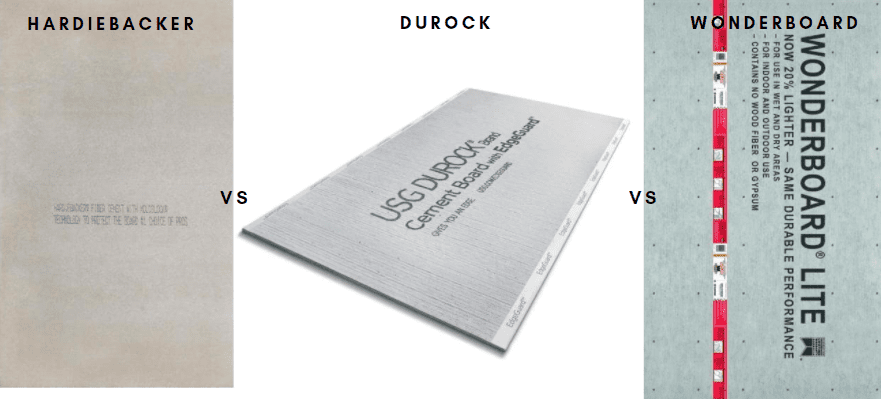
Cement board is a building material made of a mixture of cement, glass fibers, and reinforcing fibers that is formed into a sheet. Cement board sheets are typically 3 feet by 5 feet in length, but also come in 4 foot by 8 foot sheets as well. Cement board sheets typically come in ¼”, ½” and even 5/8” thicknesses.
¼” cement board is typically only used for floor applications. Larger thicknesses can also be used for floor applications.
½” and 5/8” thickness cement board is required for wall applications. The additional thickness provides strength and durability when spanning between wall studs.
How to Install Schluter Ditra
Before installing Schluter Ditra, ensure that the subfloor is in good condition, level, and free of debris or dust. Sweep the area and remove any remaining dust with a damp sponge.
To install Schluter Ditra, follow these general steps:
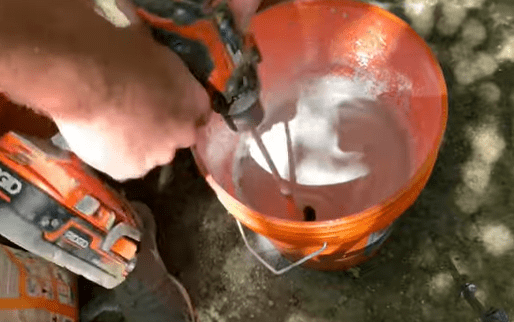
- Mix up thinset mortar (modified) using a bucket and paddle mixer on your drill. I recommend Schulter All-Set Mortar which is high quality and will maintain your Schluter warranty.
2. Apply Thinset mortar to the plywood substrate using a 1/4″ x 3/16″ V-Notch trowel. Start in the back of the room and apply thinset mortar to the substrate using “directional troweling”. That means that all trowel marks should be in the same direction. Only apply enough thinset mortar to cover a few feet at one time. You want to ensure that you give yourself plenty of space to move around and work.
3. Apply the Schulter Ditra to the freshly applied thinset mortar, fleece side down. Embed the Ditra into the thinset by applying firm pressure with a grout float.
4. Peel back a section of the Ditra to ensure that you have full thinset mortar coverage. If you do not have full coverage, apply additional thinset mortar and re-embed the Ditra into the thinset.
5. Continue applying thinset mortar and installing Schluter Ditra until your entire floor area is covered in Ditra.
6. Allow Thinset Mortar to cure beneath the Ditra for roughly 24-48 hours.
7. If a completely waterproof installation is required, apply Kerdiband to the the Ditra seams and along the walls.
Schluter Systems has a very detailed “How to install Schluter Ditra” video on Youtube that can be watched here.
How to Install Cement Board
To Install Cement Board, you will need the following tools and materials:
- Cement board (Square footage based on your application)
- Cement Board Screws (Rock-on, Backer-on, etc.)
- Alkali Resistant cement board tape.
- Thinset Mortar
- Drill
- Putty knife or Trowel
To install Cement Board, follow these general steps:
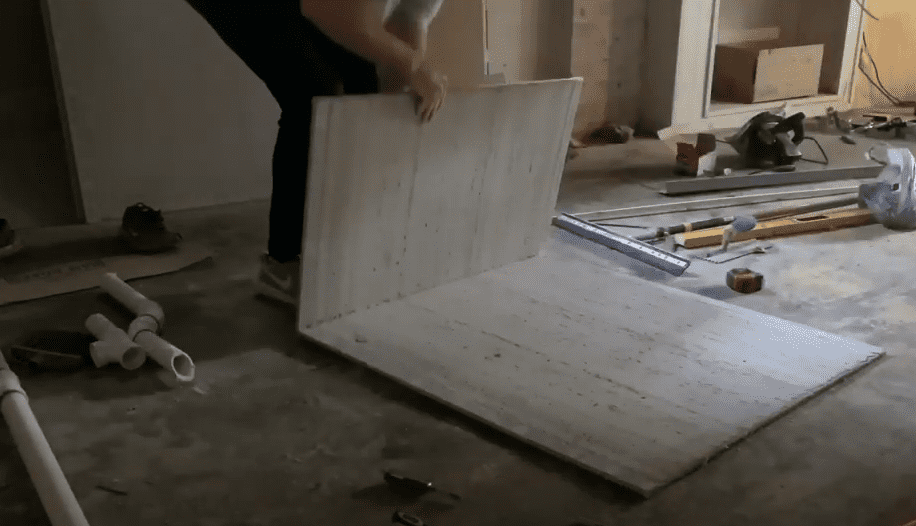
1. Plan out your Cement Board Layout to Maximize Full Sheets. The goal is to cover your floor with cement board using as many full sheets as possible. You will likely have a few locations where you need to cut the cement board. To cut cement board, use a utility knife and a straight edge to score the surface of the board.
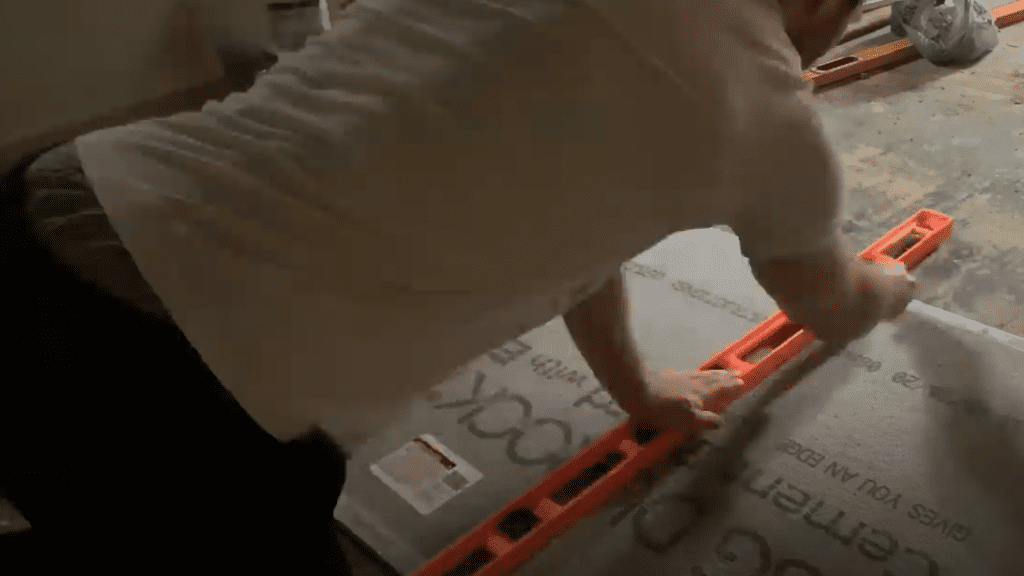
Then, snap the board along the cut line. You will need to cut the backside of the mesh with a utility knife as well.
If you need to make intricate cuts with a jig saw, be sure to use a carbide tipped blade.
Safety Tip: Cement board dust contains silica which is harmful if inhaled. Be sure to use a respirator when cutting cement board and try to minimize dust whenever possible.
2. Apply thinset mortar to the plywood substrate using a 1/4″ square notch trowel. Start in the back of the room and apply thinset mortar to the substrate using “directional troweling”. That means that all trowel marks should be in the same direction. Only apply enough thinset mortar to cover a few feet at one time You want to ensure that you give yourself plenty of space to move around and work.
3. Install cement board on top of the previously applied thinset mortar. When positioning the cement board on the floor, you will want to maintain a slight gap between between each sheet of cement board and any perimeter walls. Never force the cement board sheets together. This is to account for expansion and contraction.
Stagger the cement board joints a minimum of 16 inches so that four corners never meet. Be sure that cement board joints do not align with any cement board joints on the floor (if applicable).
4. Once your cement board sheets are in position, fasten the cement board sheets to the subfloor using special cement board screws. Space Fasteners every 8 inches on center.
Continue to install all sheets of cement board using this method until the entire floor is covered with cement board.
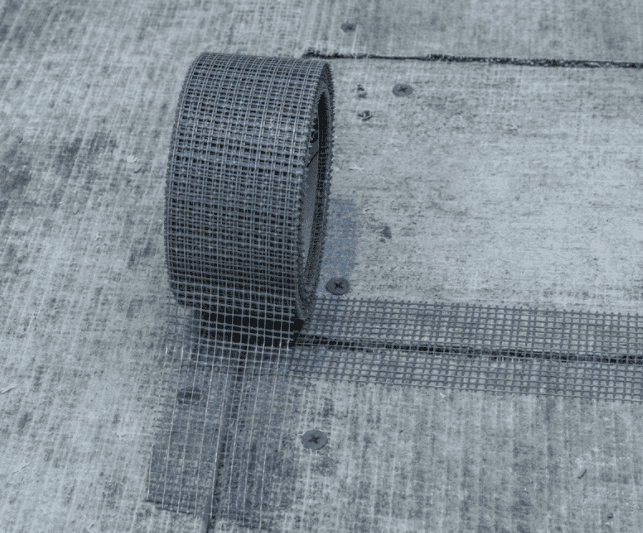
5.Tape the cement board joints with fiberglass mesh tape. Once all of your cement board is installed, you will want to apply alkali-resistant fiberglass mesh tape to the cement board joints. If possible, use fiberglass mesh tape with an adhesive backing so that it easily adheres to the joint and stays in position.
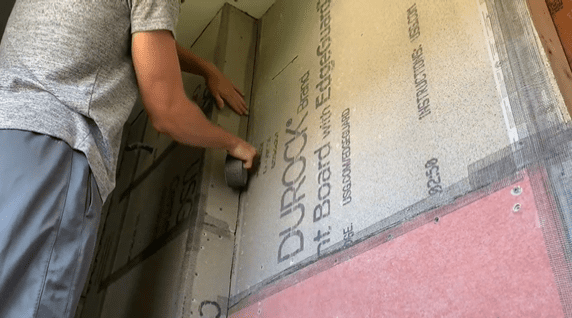
Be sure to slightly overlap the fiberglass mesh tape at any joints or intersections.
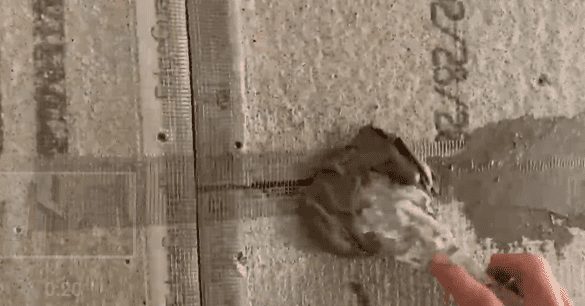
6. Fill Cement Board joints with Mortar. Mix up thinset mortar and apply it to the joints using a putty knife or a trowel.
Be sure to completely fill all of the joints with mortar and completely cover the fiberglass mesh tape that you applied previously. Be sure to “feather out” the mortar along the fiberglass mesh tape to ensure that there are no large lumps once the mortar dries.
7. Allow mortar to dry. Give the mortar sufficient time to dry in between the cement board joints (typically 24-48 hours).
For more information on how to install cement board, check out my cement board installation blog here.
Advantages and Disadvantages of Schluter Ditra

Schulter Ditra has become one of the best tile substrate materials due to its ease of installation. A complete list of the Advantages and Disadvantages of Schulter Ditra are listed below.
Advantages:
Easy to install. Installation only requires Schulter Ditra, Thinset Mortar, and a Trowel.
Superior Water Resistance. Schluter Ditra is made of polyethylene and is completely waterproof.
Online Availability. Schulter Ditra can be ordered online and delivered cheaply since it is sold by the roll.
Additional Features are Available. Shulter Ditra offers additional features like heated floors (Ditra Heat) and extra durable thicknesses (Ditra XL).
Disadvantages:
Cost. Schulter Ditra is almost double the price of Cement Board.
Stiffness/Rigidity: Schulter Ditra is 1/8″ thick and does not offer any rigidity to the subfloor.
Advantages and Disadvantages of Cement Board
Cement Board is the old school and traditional tile substrate that has been used for decades. Cement board is durable, water resistant, and has always been a great tile substrate option. A complete list of the Advantages and Disadvantages of Cement Board are listed below.
Advantages:
Cost. Cement board is roughly half as expensive as Schulter Ditra.
Water Resistance. Although cement board is not completely waterproof, it is highly water resistant.
Stiffness/Rigidity: Cement board is stiff and durable, adding an element of rigidity to any subfloor.
Disadvantages:
More involved installation procedure. The cement board installation process involves mortar application, screws, and mesh taping of the seams.
No Additional Features (like heat) are Available. Unlike Shulter Ditra which offers additional features like heated floors (Ditra Heat) and extra durable thicknesses (Ditra XL), Cement board is pretty standard.
Ditra vs Cement Board (which is better)

Is Schulter Ditra better than Cement Board? Or is Cement board better than Schulter Ditra? In short, the answer depends on your application. The table below gives a detailed comparison of Schluter Ditra VS Cement Board so that you can decide which substrate is best to use for your tile project.
| – | Schulter Ditra | Cement Board | Winner |
| COST | Appox. $1.80/sq. ft | Approx. $0.85/sq. ft. | Cement Board |
| WATER RESISTANCE | Completely Waterproof | Moisture Resistant | Schulter Ditra |
| INSTALLATION DIFFICULTY | Mortar only | Mortar, Screws, and Mesh Tape | Schluter Ditra |
| DURABILITY/STIFFNESS | 1/8″ thick and Flexible | 1/4″ (typ) and Rigid | Cement Board |
| CUTTING PROCEDURE | Scissors/Utility Knife | Utility Knife (dust) | Schluter Ditra |
| ADDITIONAL FEATURES | Ditra Heat, Ditra XL | No | Schluter Ditra |
Based on the Table above, Schulter Ditra is superior to Cement board in nearly every category except cost and rigidity. If your budget allows, Schulter Ditra will be an ideal tile substrate that is easy to install and is completely waterproof. However, if cost is a concern, cement board is still a great tile substrate material.
Conclusion
Both Schluter Ditra and Cement Board are great options for your tile substrate material. As presented above, both Ditra and Cement Board have distinct advantages and disadvantages. Therefore, the choice to use Ditra or Cement board will completely depend on your application, budget, and waterproofing requirements.
Additional Resources:
If you want to see a complete bathroom renovation time lapse using Schulter Ditra as a tile substrate, check out the video below:
If you need help choosing the right bathroom subfloor material, check out my article on selecting the best bathroom subfloor material.https://atimprovements.com/best-bathroom-subfloor-material/
Once you have your Schluter Ditra or Cement Board installed, feel free to check out my “How to Install Floor Tile” article!
Thanks for Reading and Happy Building!
DISCLAIMER: This is a reference guide only. Links included in this article might be affiliate links. If you purchase a product or service with the links that I provide I may receive a small commission. There is no additional charge to you! Thank you for supporting ATimprovements so I can continue to provide you with free content each week!