
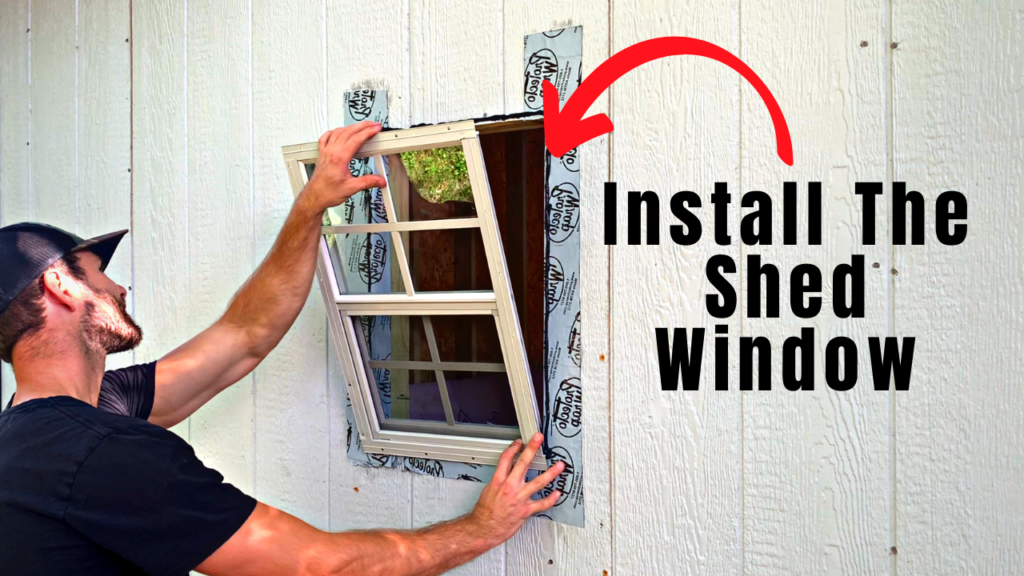
If you are building your own shed, you will most certainly want to include a shed window in your design. Installing a shed window is not very complicated and this guide will show you exactly how to install a window in a shed, step-by-step.
To install a window in a shed, start by selecting your desired window size and frame your shed window accordingly. If you are replacing an existing shed window, simply measure the existing window rough opening. Next, apply flashing tape to the bottom and sides of the window rough opening and apply a bead of caulk sealant around the perimeter of the shed window’s rough opening. Install the window by pressing the window flanges against the shed and screwing through the window flanges and into the window’s rough frame. Confirm window is level and plumb. Finally, install a piece of flashing tape over the window flange at the top of the window. Finally, install window casing trim.
This article will explain how to install a shed window, step-by-step.
Tools and Materials Needed to Install a Shed Window

To successfully install a shed window, you will need the following tools and materials:
- Safety Equipment (Glasses, gloves, boots, etc.)
- Shed Window
- Tape Measure
- Drill
- Exterior Screws
- Circular Saw OR Miter Saw (to cut window trim/casing)
- Air Compressor and Brad Nailer (optional)
- Flashing Tape
- Level
- Caulking gun
- Two 10oz tubes of high quality elastomeric sealant
- 3/4″ x 3.5″ PVC Window Trim Board
With all necessary tools and materials on hand, you can now begin installing the shed window.
1. Select the Shed Window Size

Before you can install a shed window, you need to frame the window’s rough opening in the shed wall. However, before you can frame the window’s rough opening, you need to decide what size shed window you are going to use.
There are many different styles and sizes of windows to choose from for your shed. Pick a shed window size that works for your specific shed installation.
For this guide, we will be installing 14″x21″ shed windows that were purchased from Amazon.
These windows include a window mounting flange (discussed later) that will be used to attach the window to the shed.
2. Frame the Shed Window
Once you have selected you window size, it’s time to frame the shed’s window. When framing a shed window, there is a bit of terminology to keep in mind. The different components of a window’s rough opening are listed below:
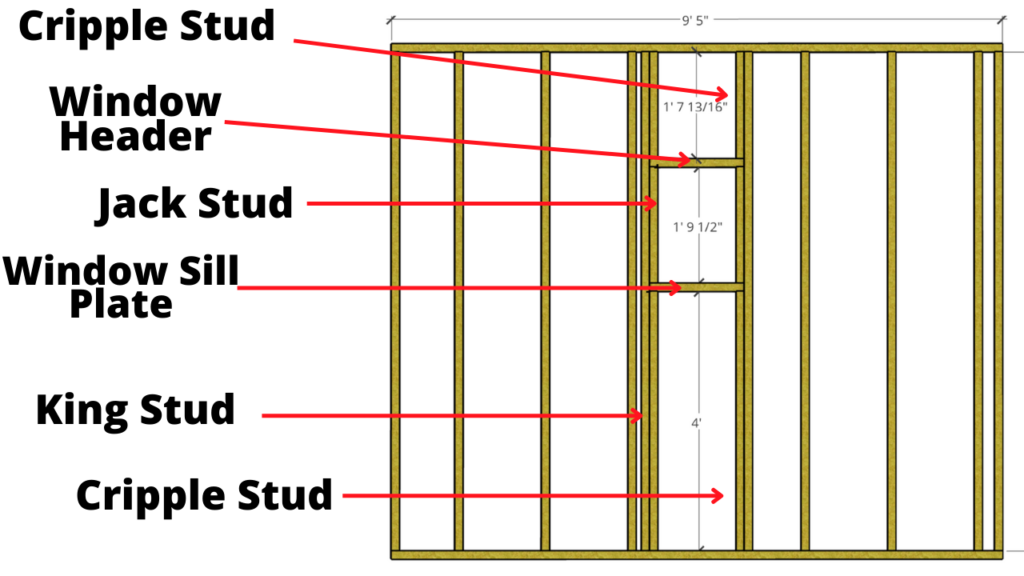
WIth the an understanding of the different components that make up a window’s rough opening, you can now begin framing the shed window.
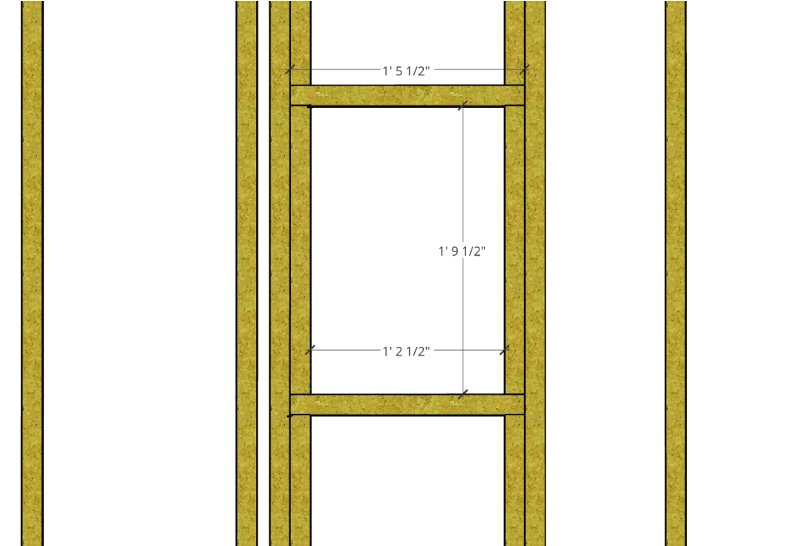
When determining the actual size of a window’s rough opening, you will want to check the window manufacturer’s instructions. Typically, the window’s rough frame will be approximately 1/2″-1″ wider and taller than the actual window. This slightly larger opening will allow the window to fit in place while also allowing for minor adjustments to be made. Further, the slightly larger rough opening frame will allow for the window flanges to contact the sides of the shed while still allowing the window to fit securely within the window’s rough frame.
For this shed window, the rough frame was constructed 1/2″ taller and 1/2″ wider than the actual shed window. Therefore, for the 14″x21″ window, the window’s rough frame was determined to be 14 1/2″ – 21 1/2″. It is always a good idea to have your shed window on-site so that you can refer to it when determining the appropriate rough in opening.
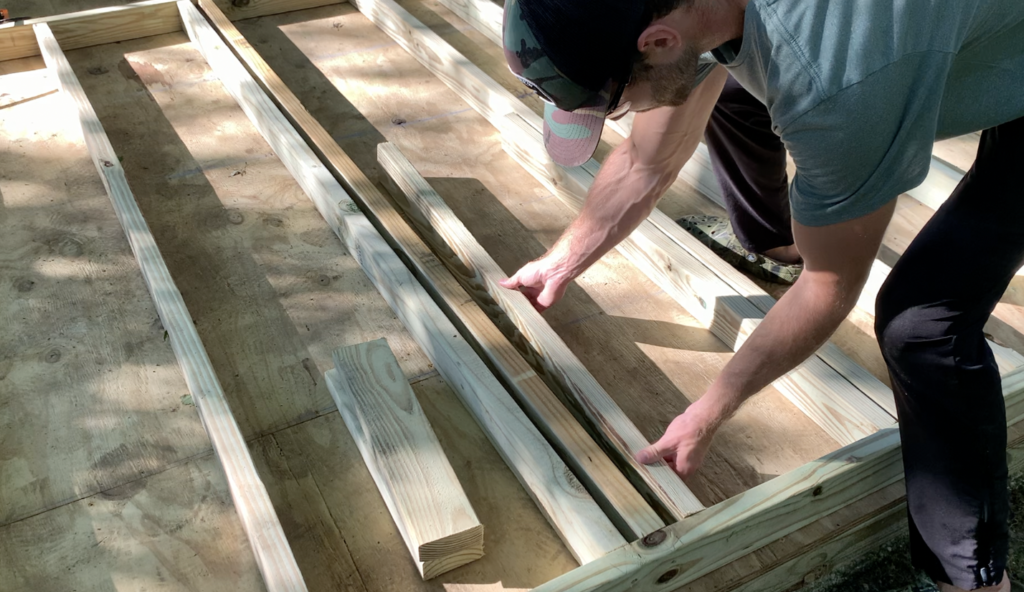
At this stage, it is recommended that you install the king studs so that they are appropriately spaced. For our 14 1/2″ shed window rough opening width, the spacing between king studs was 17 1/2″ (to account for the jack studs – which are 1.5″ each). See below:
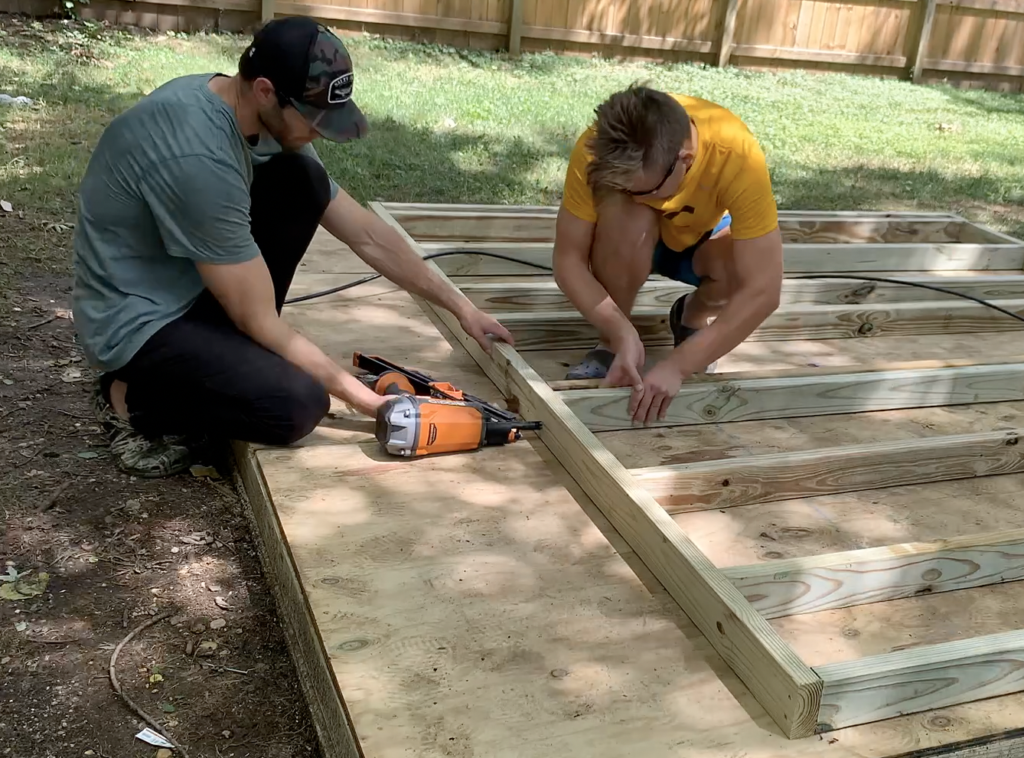
You can either frame the shed window before you stand up the shed walls (horizontally), or after the wall is lifted into place. The choice is yours.
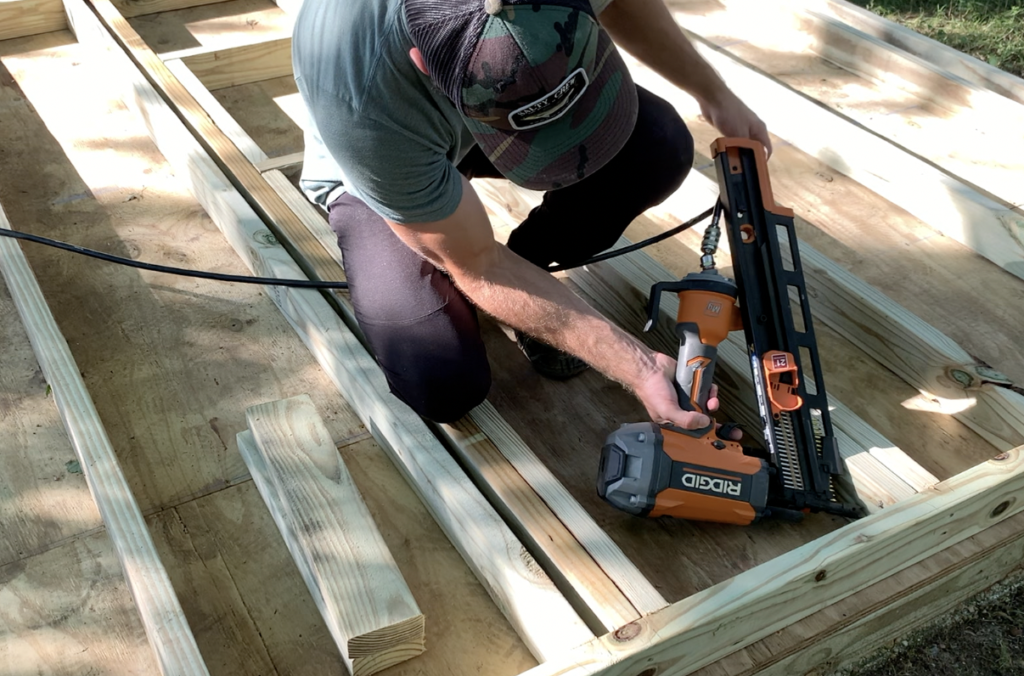
Use a framing nailer and galvanized (exterior) nails to fasten the window’s rough framing together.
After determining the shed window rough opening size, establish the Shed window height. For this application, I used 4′ high cripple studs to support the window’s sill plate (as shown below).
Attach the cripple studs (and all shed window rough opening framing) to the King Studs and Top/Bottom Plates of the walls with a framing nailer.
Continue to install the the rest of the shed window rough frame components as shown in the Figure above. Fasten the window’s rough frame to the king studs, cripple studs, etc. as you assemble.
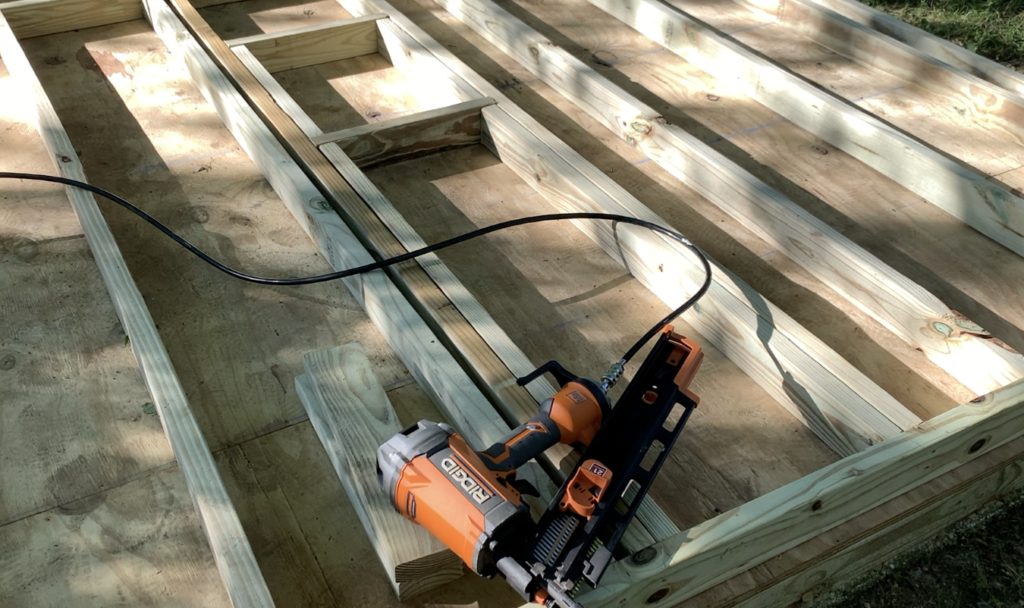
Continue to fasten every component of the shed window’s rough frame with a framing nailer as shown:
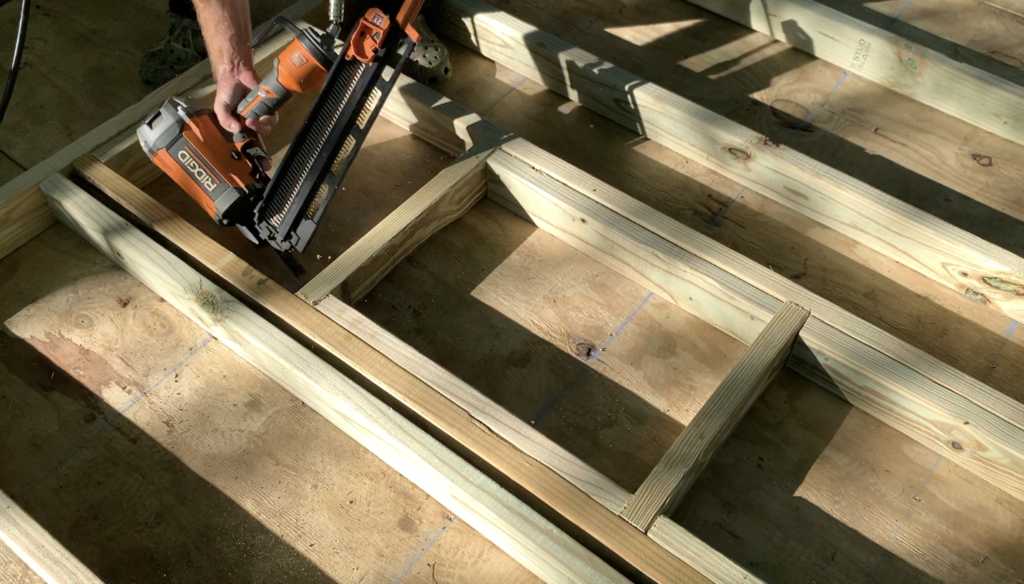
After framing the entire shed window rough opening as shown above, perform a “dry-fit” of the shed window within the frame.
3. Dry Fit the Shed Window in the Rough Opening Frame
After framing the shed window rough frame, take some time to dry fit the shed window within the rough opening to confirm fit.
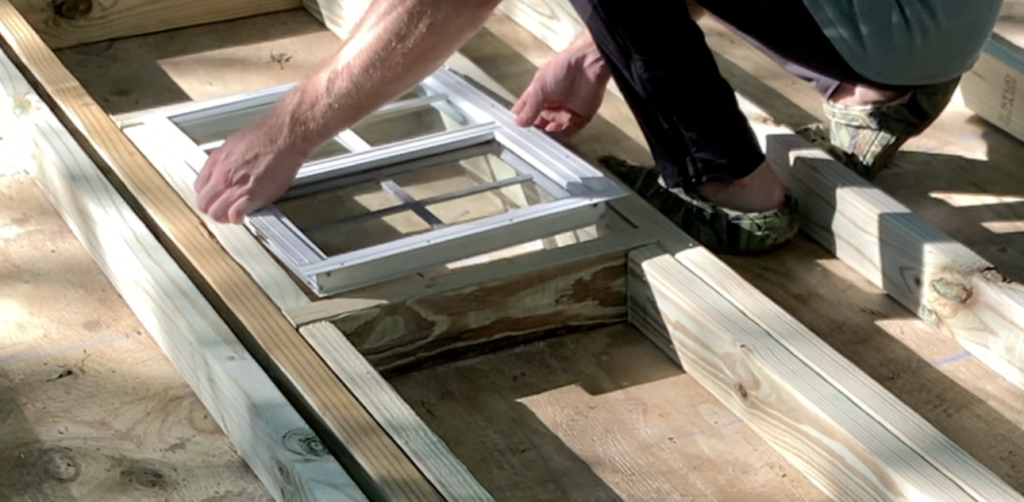
When performing a dry-fit of the shed window, check for the following:
- Ensure that the Shed Window will fit within the Rough Opening
- Confirm that the Shed window flanges will “catch” on the rough opening frame
- Confirm that window can be installed level and plumb
After you have completed the shed window dry-fit and you are satisfied with the fit, you can pause the shed window installation and finish constructing your shed. Before you can proceed with the window installation, the shed’s sheathing and/or siding needs to the installed.
4. Install the Shed Siding Around The Shed Window Frame
Before you can proceed with the shed window installation, the shed’s sheathing and/or siding needs to be installed. Typically, T1-11 or SmartSide paneling is used for shed siding. Therefore, this guide will focus on cutting 4’x8′ SmartSide Siding around the Shed Window Rough Opening.
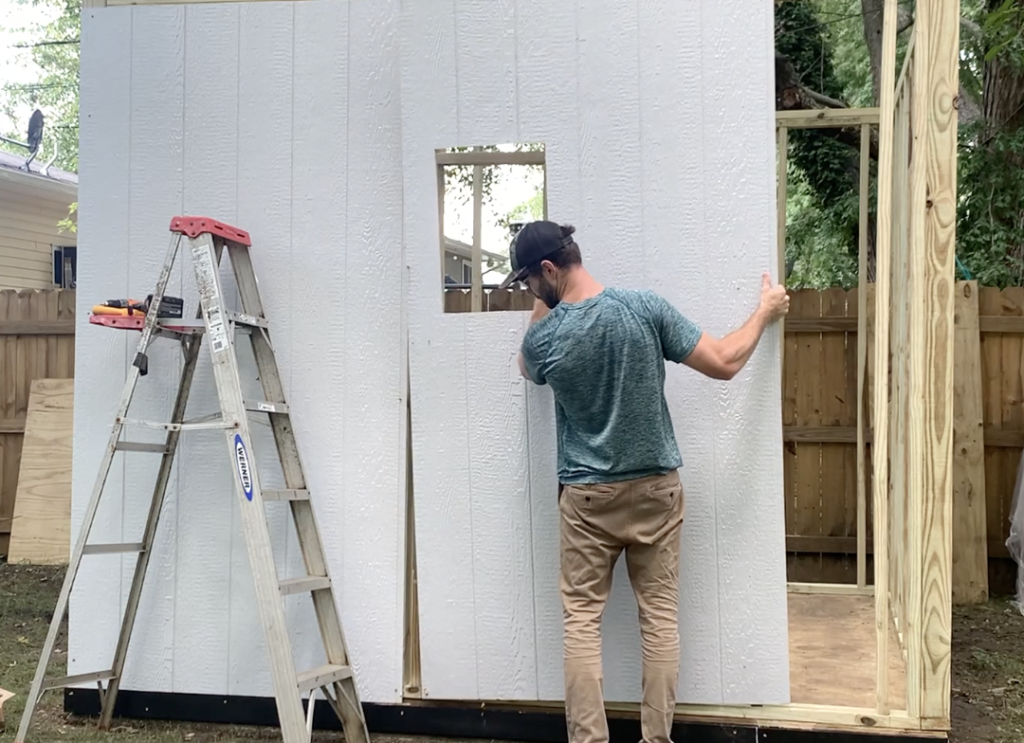
To cut the shed’s siding around the shed window rough opening, it is recommended that you temporarily position the siding panel in place in front of the window as shown.
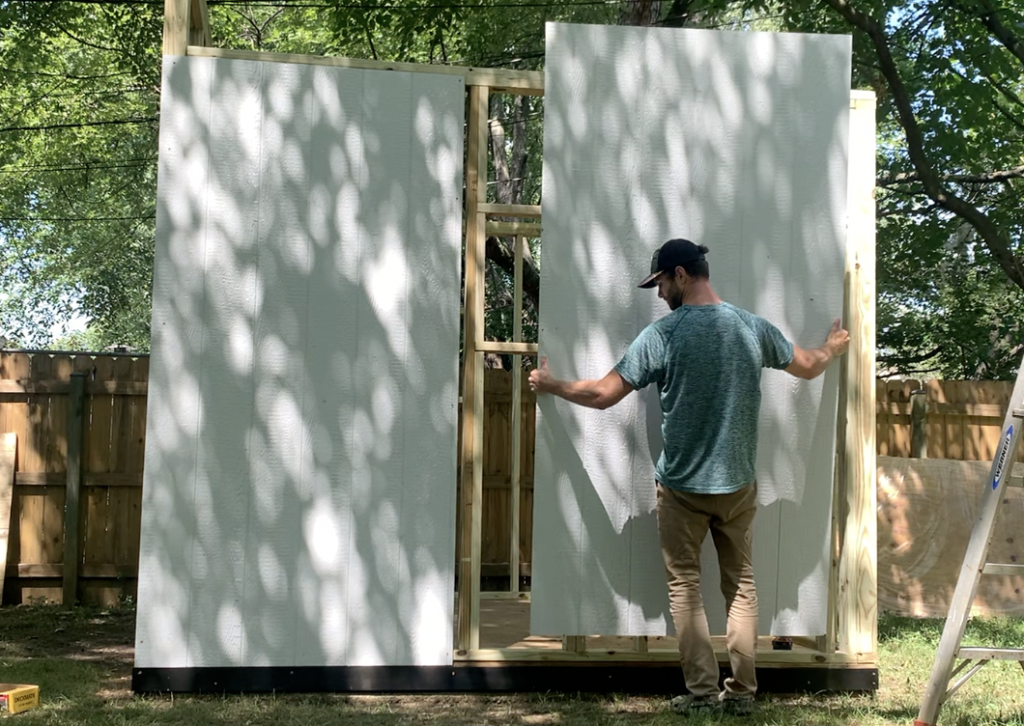
PRO TIP – Use bar clamps to temporarily hold the siding in place (as shown below)
After positioning the siding in place, move to the inside of the shed and mark the outline of the shed window rough opening – as shown below:
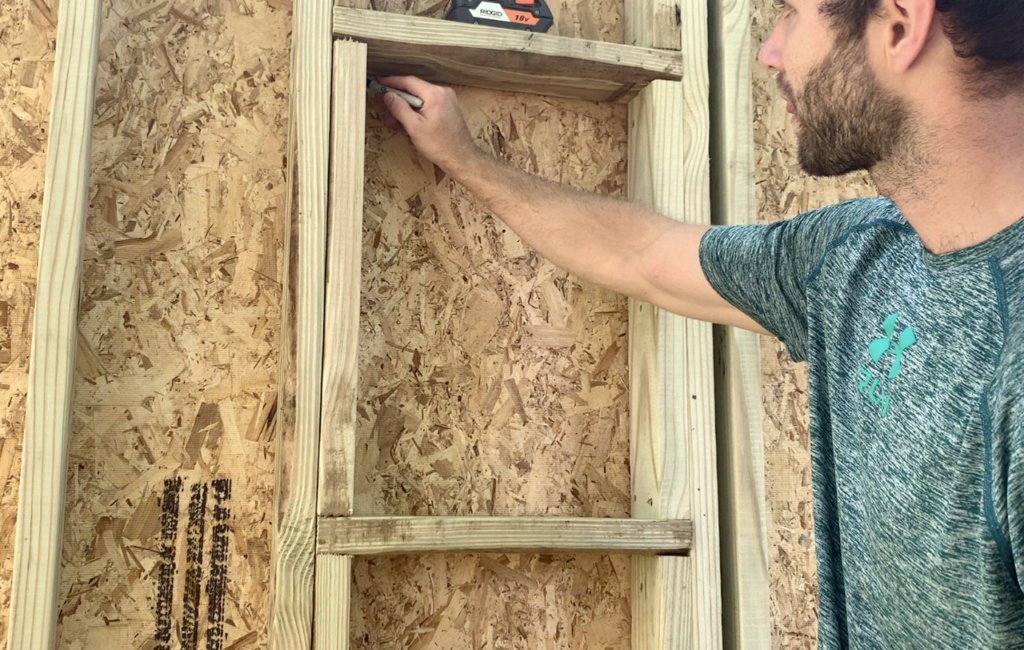
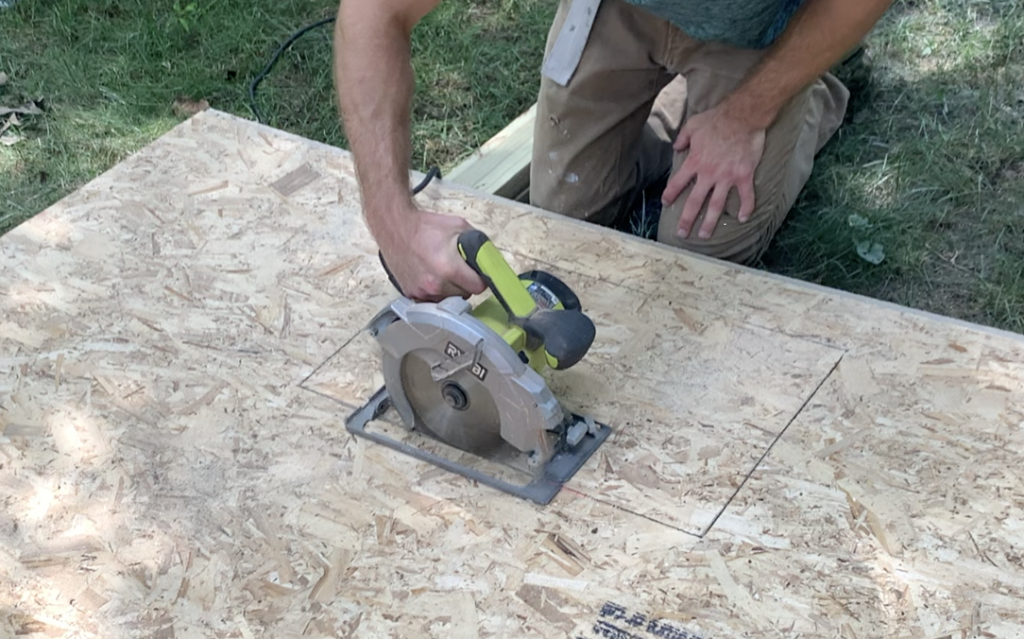
Next, remove the piece of siding from the shed and cut out the window’s rough opening along the marked line using a circular saw, as shown:
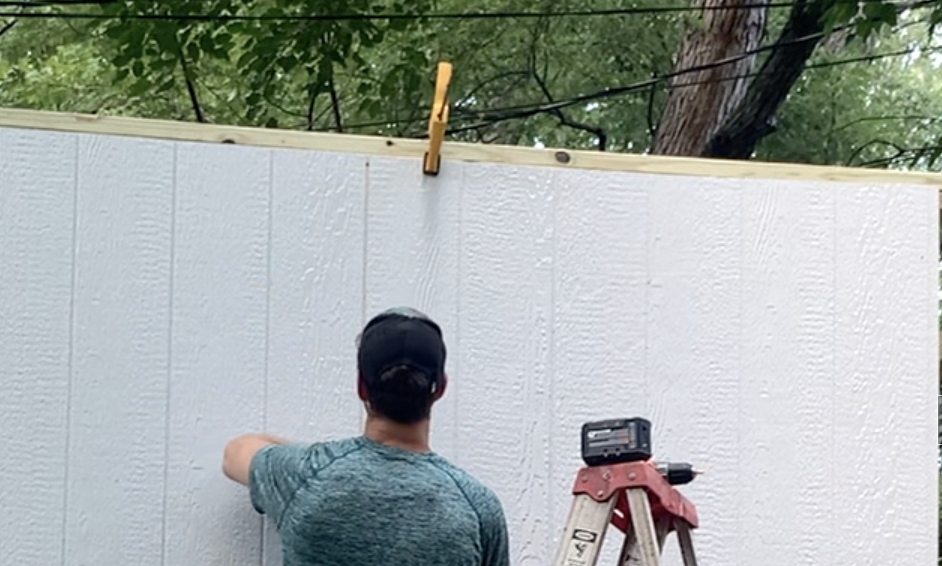
After cutting out the window’s rough opening, place the the siding back in place on the shed and permanently fasten the 4’x8′ panel (with the window rough opening cut out) to the shed.
Secure the siding to the shed per the manufacturer’s instructions using exterior rated screws/nails.
Once the siding is installed on the shed, you can complete your shed window installation.
5. Apply Flashing to the Window’s Rough Opening
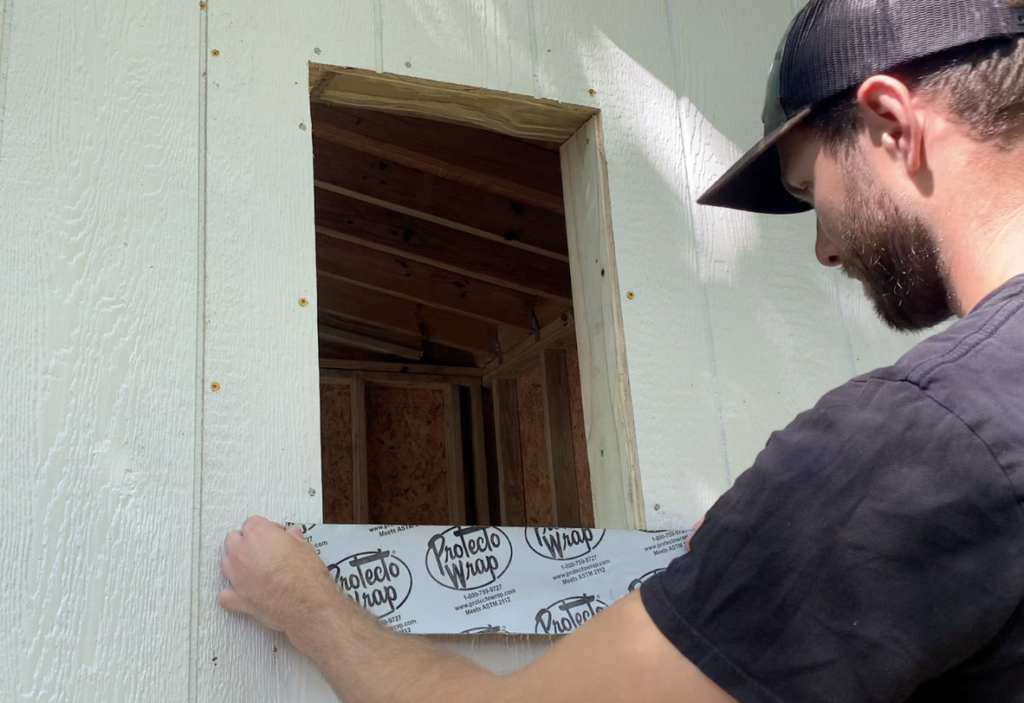
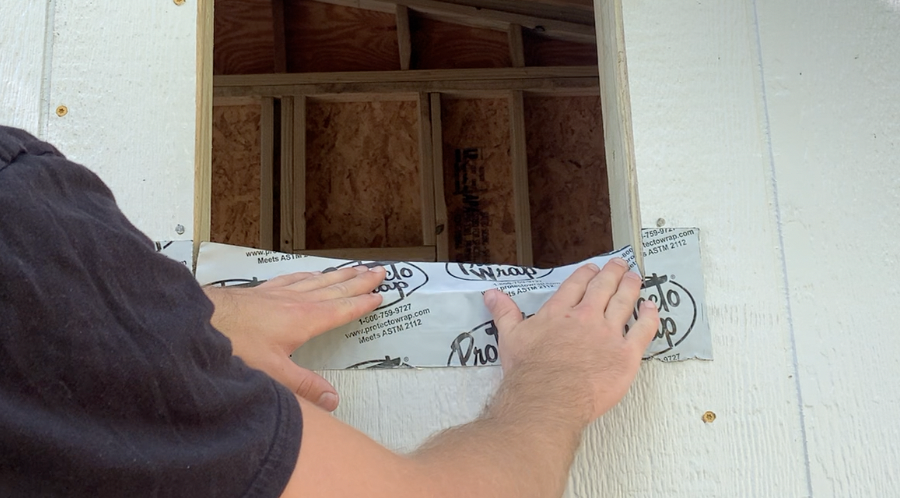
At this stage, apply a high quality flashing tape to the bottom of the shed window’s rough opening. Place the tape so that it overlaps the rough opening by approximately 1″, as shown:
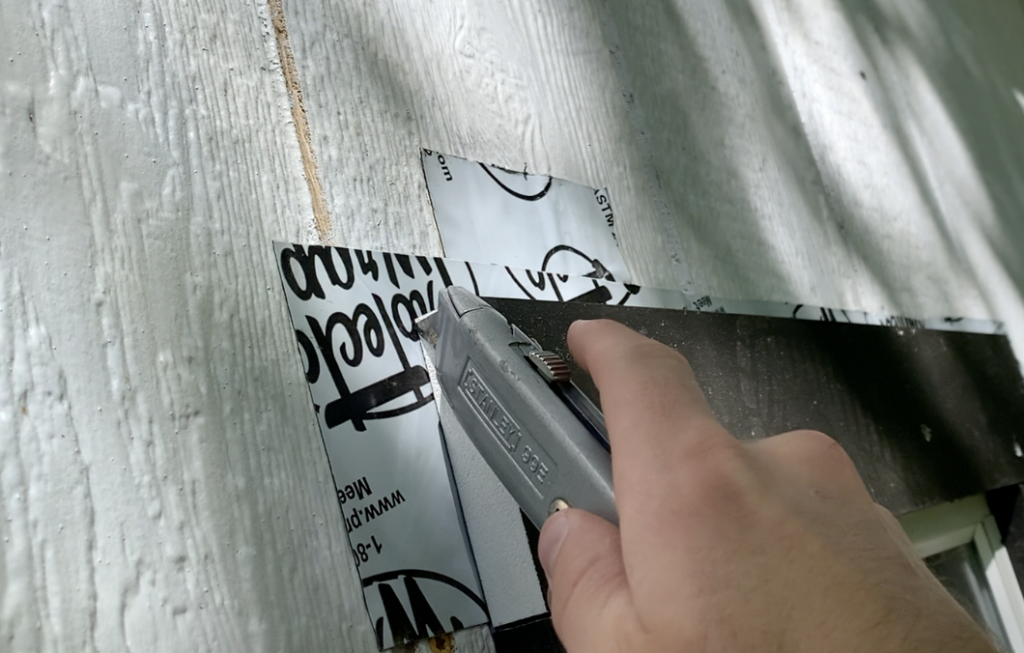
Next, use a utility knife to cut the sides of the flashing tape along the inside frame of the window’s rough opening as shown below:
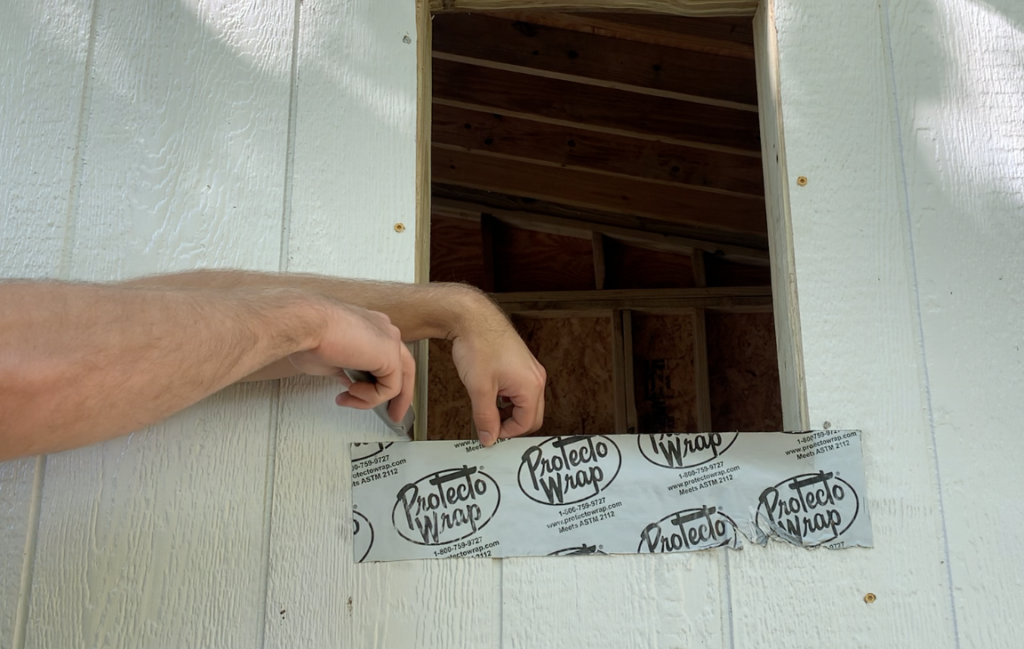
Fold the flashing tape over and secure it to the window’s sill plate, as shown.
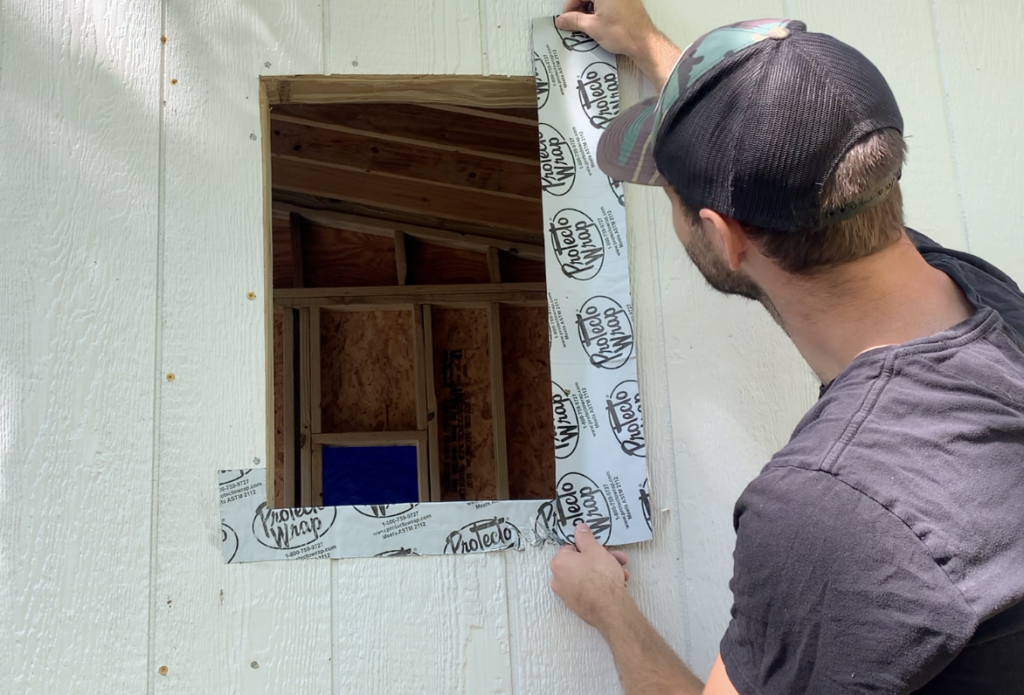
Next, apply flashing tape to the sides of the shed window rough frame. Again, overlap the window’s rough frame by 1″ and be sure to overlap the flashing tape installed at the bottom of the window.
As done with the flashing tape on the bottom of the shed window, cut the flashing tape (as shown) using a utility knife.
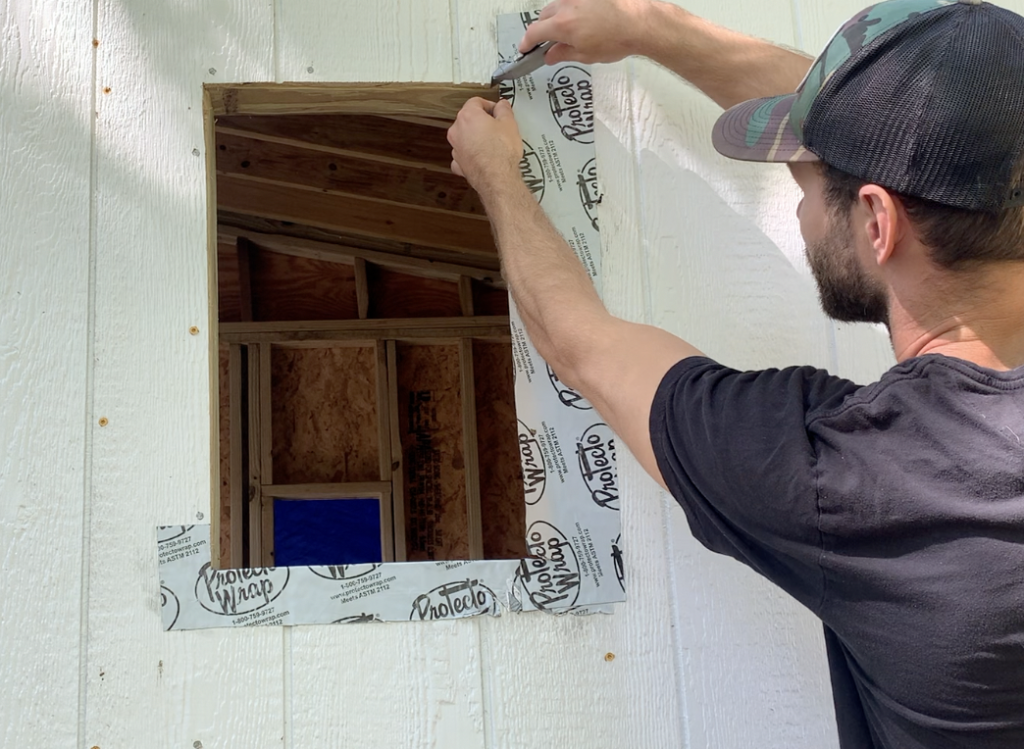
As done previously, fold the flashing tape against the inside of the window’s rough opening.
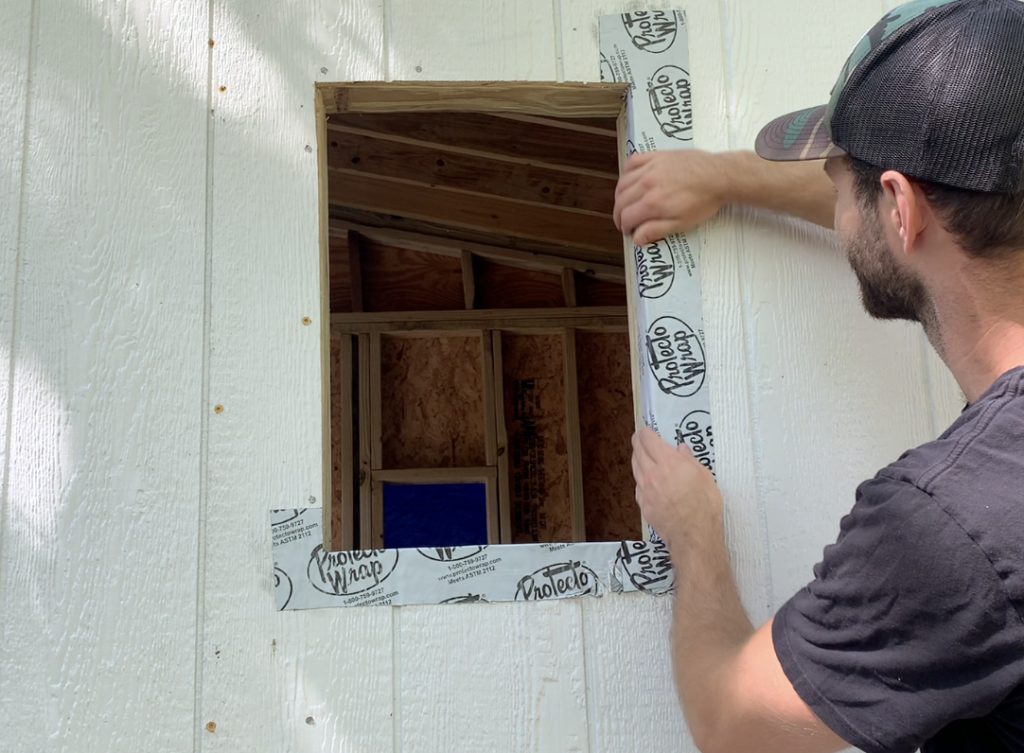
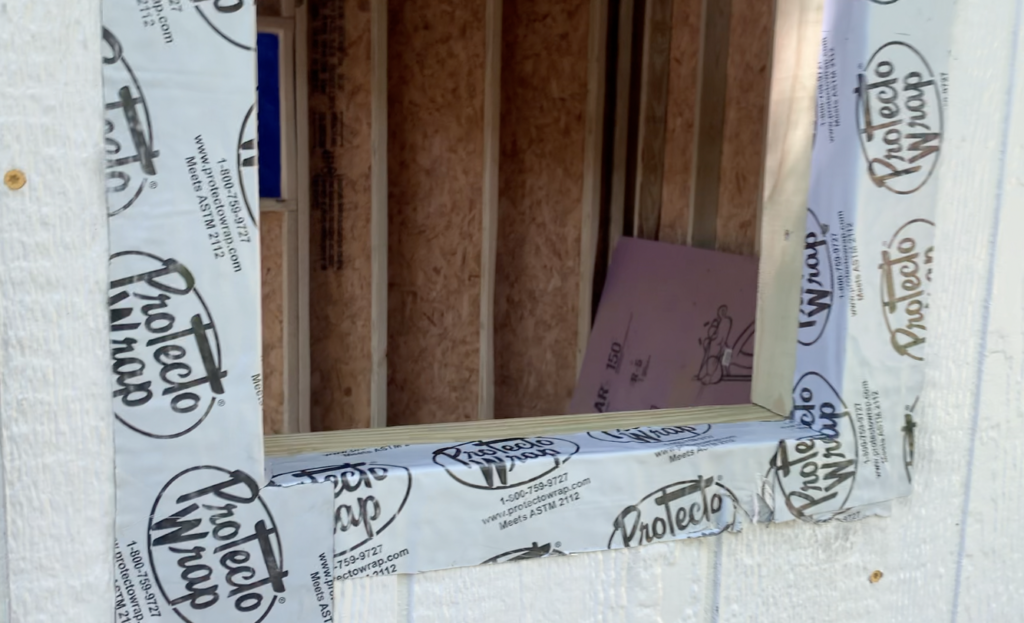
Repeat this process for the other side of the shed window’s rough opening. Below is a preview of what the shed window should look like after the flashing tape is installed on the bottom and sides of the shed window’s rough opening.
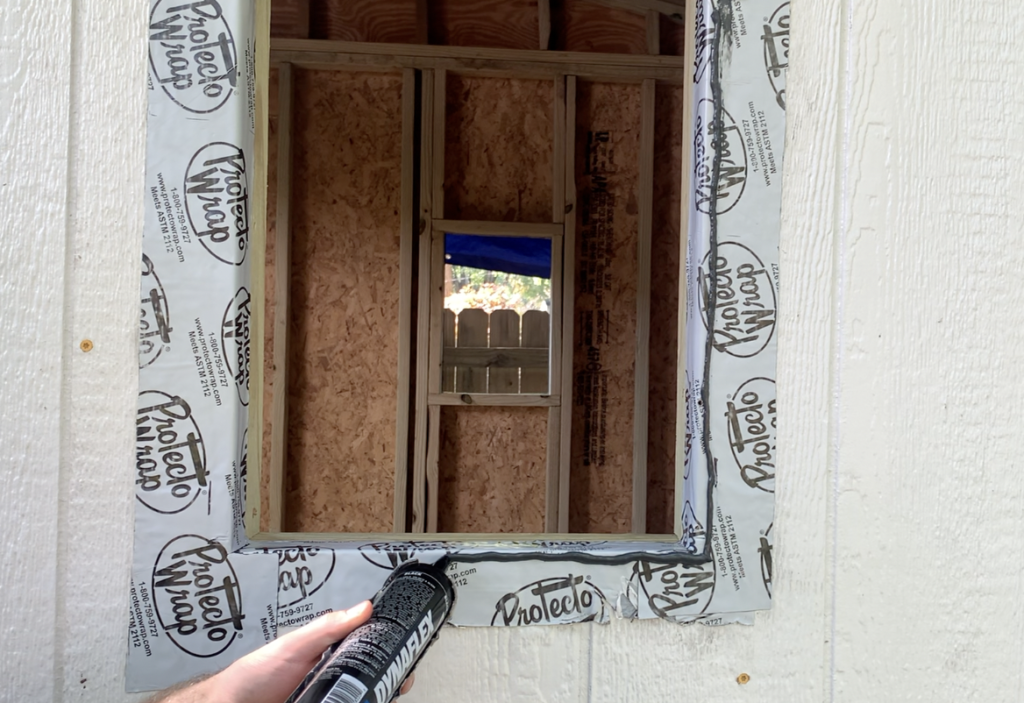
6. Apply Sealant Around the Window Perimeter
After applying flashing tape to the bottom and sides of the shed window rough opening, apply sealant around the entire perimeter of window. Be sure to apply a copious amount of sealant at the top of the window.
7. Install the Shed Window
After applying sealant around the entire perimeter of the shed window’s rough frame, install the shed window by placing it within the rough opening.
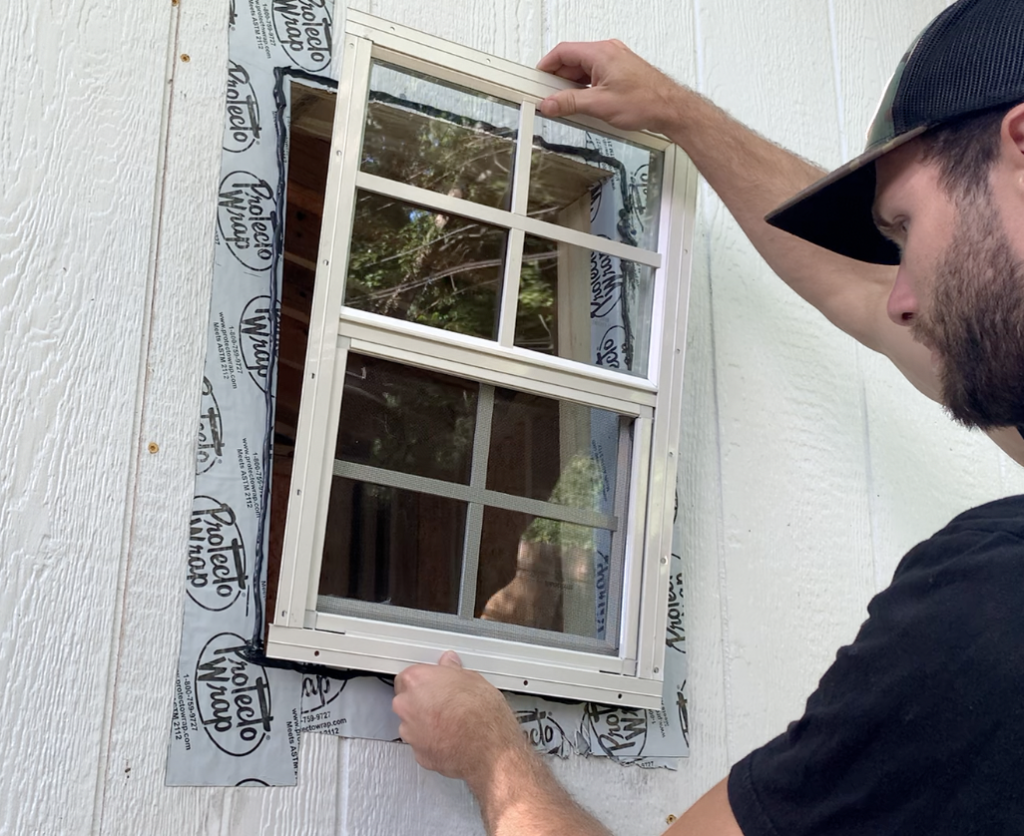
Firmly press the window into the sealant and center the window within the rough opening frame.
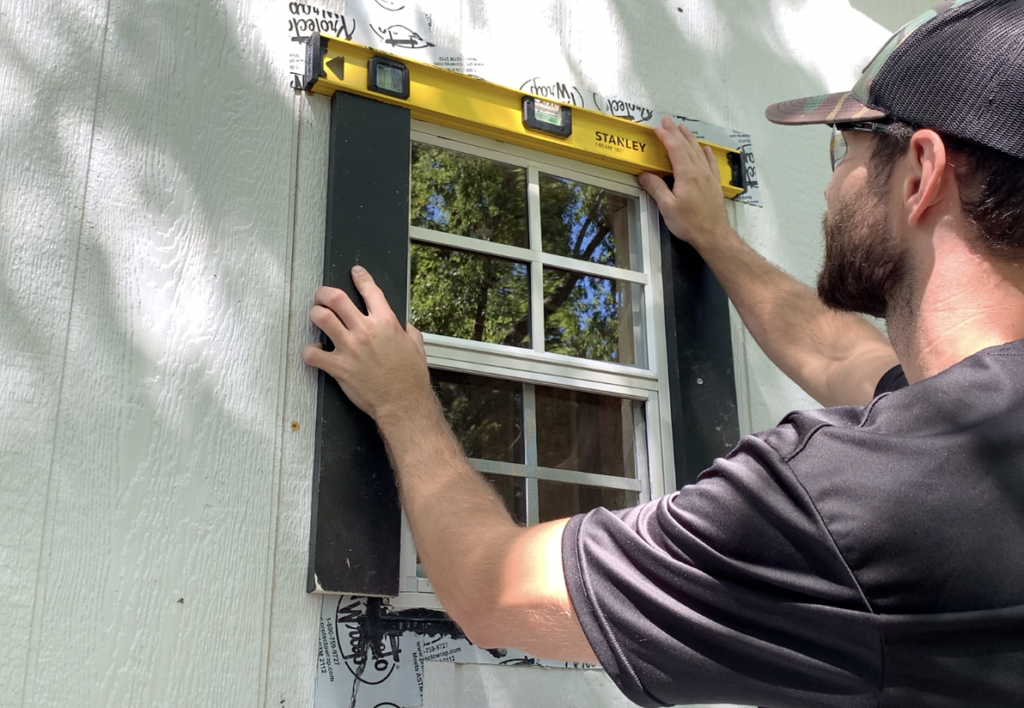
Once the window has been centered, check for level and plumb.
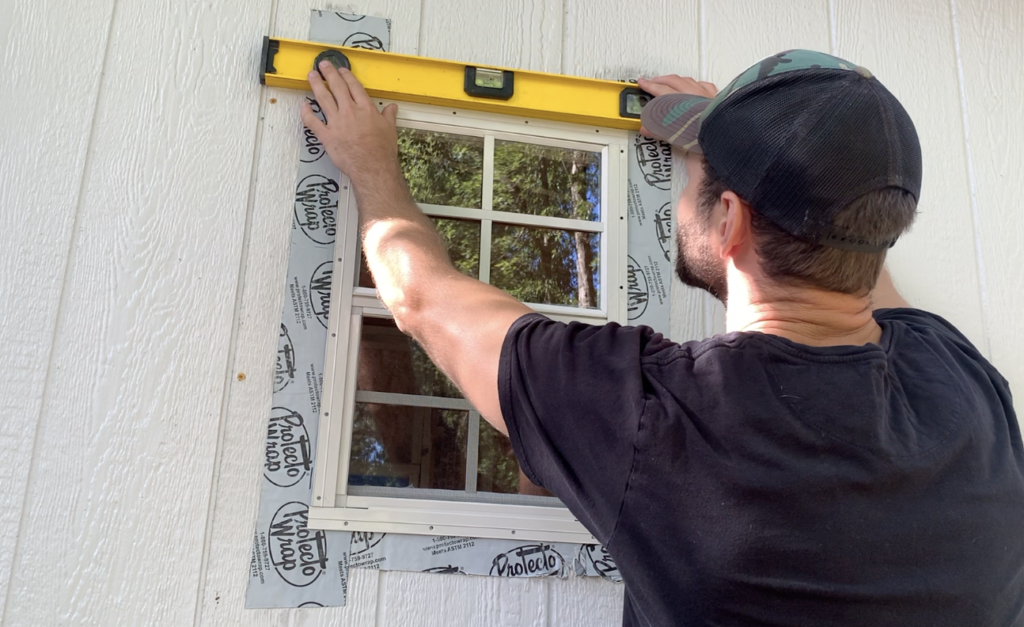
After confirming that the shed window is centered, level, and plumb, install fasteners through the window flange and into the shed’s framing as shown.
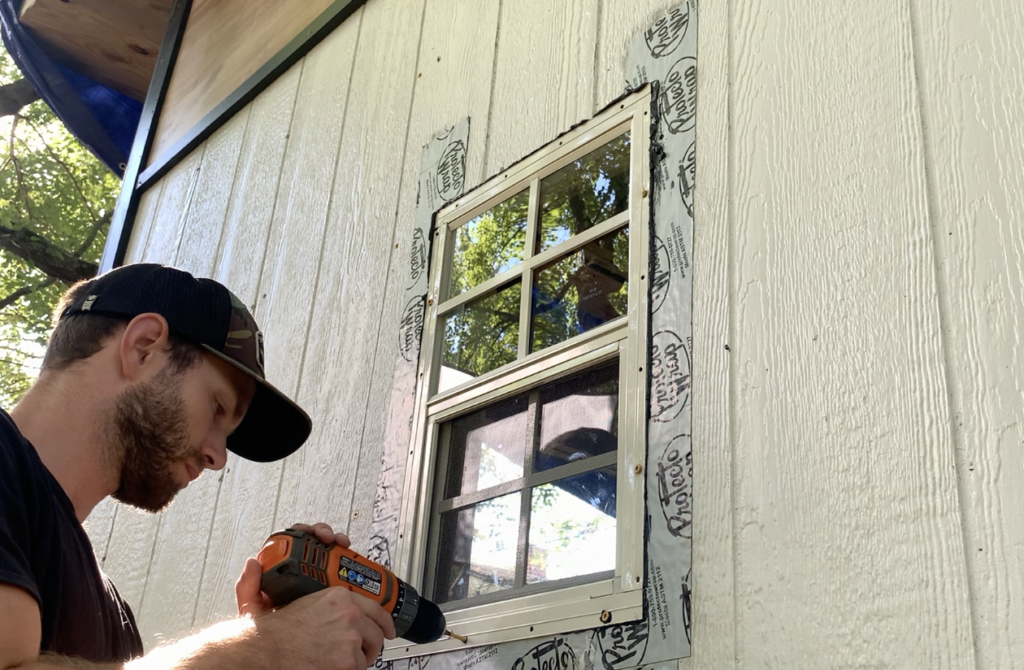
Install screws through each pre-drilled opening in the shed window’s flange. After securing the shed window to the shed’s framing, your installation is nearly complete.
8. Apply Flashing at the Top of the Shed Window
After securing the Shed Window to the Shed, apply a piece of flashing tape at the top of the shed window such that is overlaps the window flange. See below:
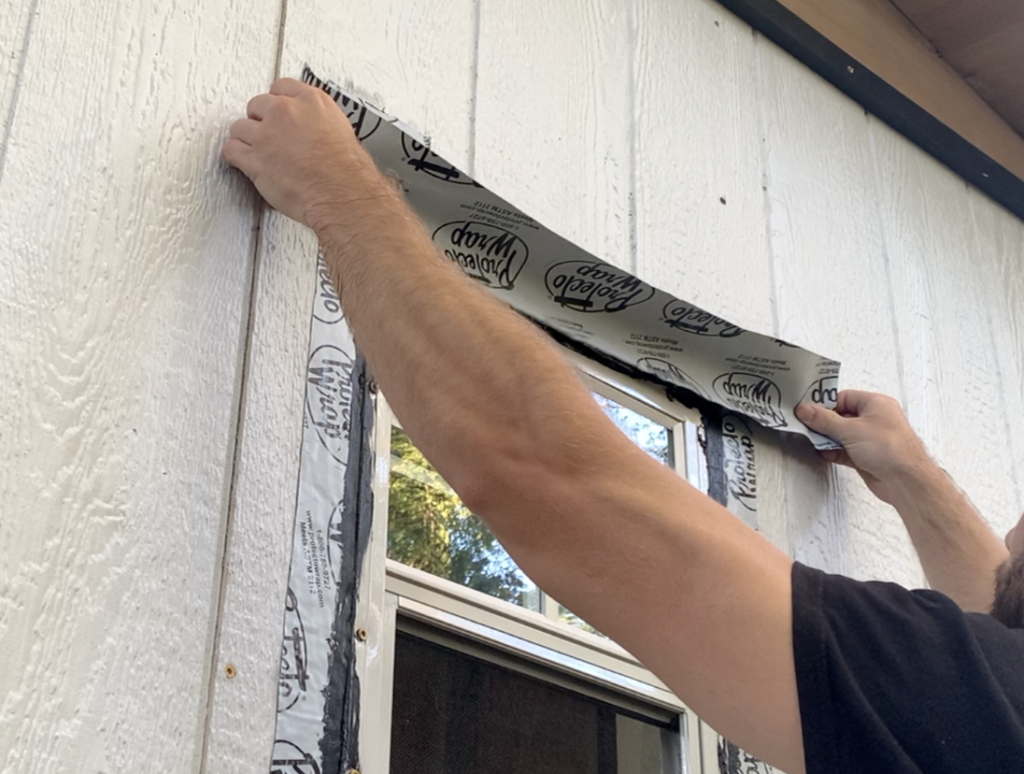
Refer to the Figure below showing how the window’s top flange is covered by the flashing tape.

9. Install Window Trim
Once the top strip of flashing tape has been installed, simply measure and cut you window trim casing to size. For this shed window installation 3/4″x4″ PVC trim was used for the window casing. Cut the trim to size such that the shed window’s mounting screws are completely concealed.
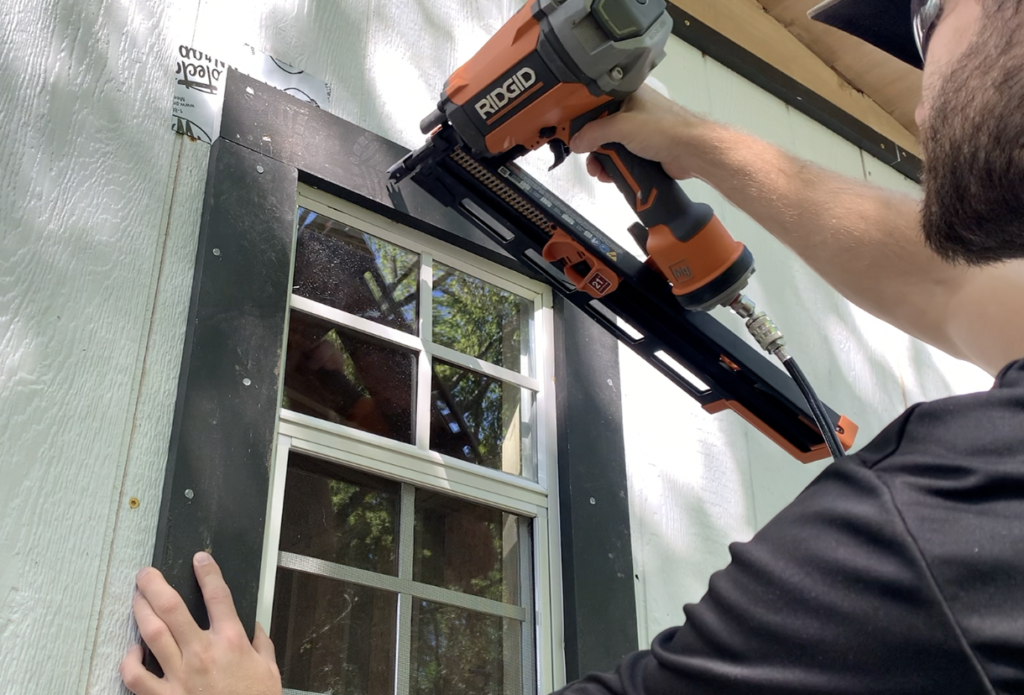
Secure the Shed Window casing to the shed using framing nails or brad nails (recommended).
10. Caulk Around the Window Trim and Paint
At this stage, trim off any excess flashing around the window trim casing with a utility knife.
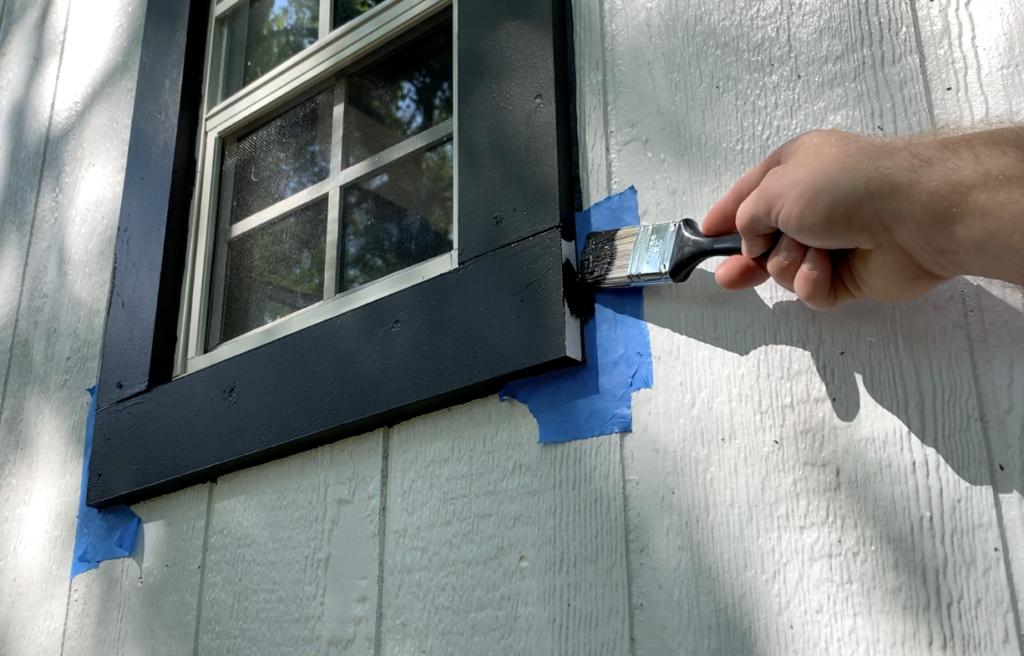
Next, apply a thin bead of sealant/caulk between the shed window trim casing and the shed’s siding to prevent any water from infiltrating behind the window. It is recommended that you do NOT apply sealant to the bottom of the window. This is to allow for any water that gets behind the window to have a way to drain out.
Finally, paint the shed window trim to your desired color. In this case, the shed window trim casing was pre-painted and only touch-up paint was required.
At this stage, your shed window installation is complete! For more tips, tricks, and installation videos and articles on how to build a modern shed from start to finish, check out ATimprovements.com or my YouTube Channel!
Thanks so much for checking out ATImprovements! If you learned something from this project, you might also like these other DIY Projects:
- How to Build a Concrete Slab Shed Foundation: https://atimprovements.com/how-to-build-a-shed-base-concrete-slab-step-by-step-diy-guide/
- How to Build a Fence: How to Build a Fence (DIY Guide) – AT Improvements
- How to Build a Fence Gate: How to Build a Fence Gate (7 Steps with Pictures & Video) – AT Improvements
- How to Install a DIY deck Wire Railing: DIY Cable Railing – How to Install Cable Railing Step-by-Step – (atimprovements.com)
- How to Build a Concrete Paver Patio: DIY PAVER PATIO – Easy DIY Paver Patio Ideas – (atimprovements.com)
Thanks!
DISCLAIMER: This is a reference guide only. Consult local code requirements. Links included in this article might be affiliate links. If you purchase a product or service with the links that I provide, I may receive a small commission. There is no additional charge to you! Thank you for supporting ATimprovements so I can continue to provide you with free content each week!