
DIY Hexagon shelves are a great way to add character to any room. As a bonus, they are super easy to build. By following these five steps, you will be able to successfully build your own DIY Hexagon Shelves:
- Step 1: Cut the board into 6 identical pieces at a 30 angle.
- Step 2: Sand down the cut pieces with 120 grit sand paper.
- Step 3: Form the “honeycomb” shape using tape and wood glue.
- Step 4: Sand down your DIY Hexagon Shelves and stain as desired.
- Step 5: Hang the Hexagon Shelves on the wall.
You will need the following Materials and Tools for this project:
MATERIALS NEEDES
- Common Wood (Pine)
- Wood Glue
- Sawtooth Hangers
- Small nails or Screw
- Drywall Anchors (if necessary)
- 120 grit sandpaper
- Wood Filler (optional)
- Painter’s Tape
TOOLS NEEDED
- Miter Saw, Circular Saw, or Table Saw
- Hammer or Drill
- Brad Nailer (Optional)
If you are more of a visual learner, feel free to check out my DIY Hexagon Shelves Build on Youtube:
Let’s get Started Building these DIY Hexagon Shelves!
Step 1: Cut Boards for your DIY Hexagon Shelves

For this project, I recommend that use 1″x5″ Common Wood or Pine, but feel free to select a wood type and size that is most suitable for the look you are trying to achieve. Once you have selected the wood for your hexagon shelves, you will need to cut it into 6 identical pieces.
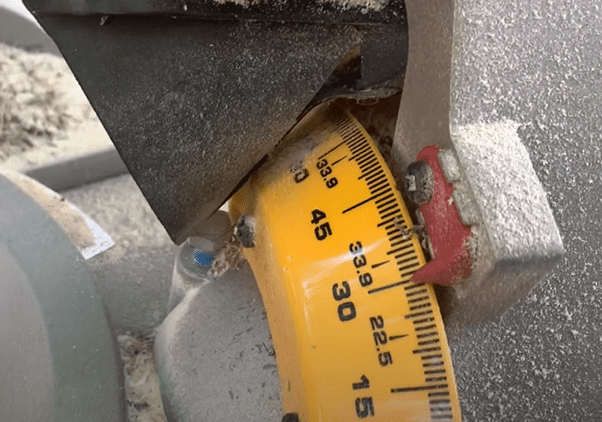
To cut the hexagon shelves, you will need to set the angle on your miter saw to 30 degrees.
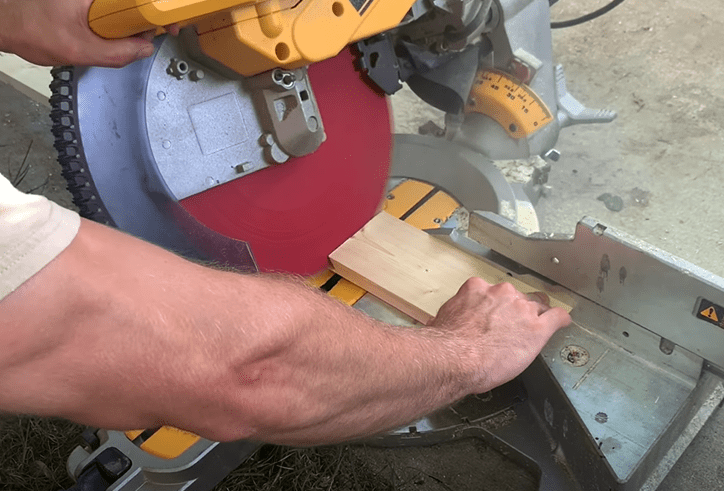
Next, make your first cut on the board to establish the starting point. Once the first cut is made at 30″, flip the board over and Measure 9″ (or whatever length you desire) from the end of your cut. Mark the 9″ mark on the board and then make another 30 degree cut. Repeat this process until you have 6″ identical pieces.
**Pro Tip: You can also use a stop-block on your miter saw so that you don’t need to measure every board**
In my video, I breakdown how I build a custom corner shelf. For details, please watch the video (Skip ahead to 1:34 If you want to skip straight to the corner hexagon shelf part).
Step 2: Sand down the cut pieces with 120 grit sand paper.
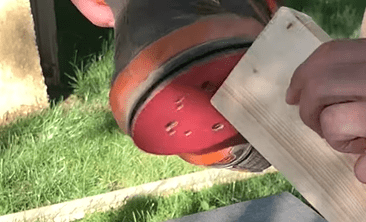
Sand down each piece of the hexagon shelf one-by-one to remove any jagged edges from the cut. This will make your life much simpler when you move on to Step 3.
If you need to, add wood filler to any major gaps. Let the wood filler dry before sanding down the hexagon pieces.
Step 3: Form the “honeycomb” shape using tape and wood glue.

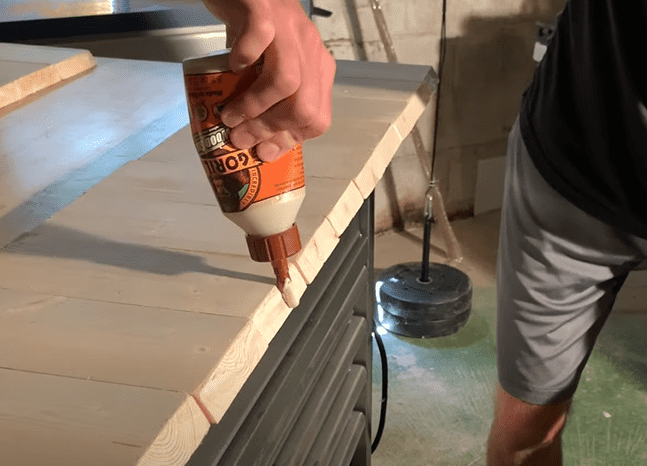
Once the individual pieces of wood have been sanded to 120 grit, I recommend that you apply a “seal coat” of wood glue to the end grains of the wood. Because the intersection of each piece of wood will be an “end-grain” to “end-grain” connection, the wood glue tends to absorb into the wood like a sponge – leaving little glue on the surface to bond the two pieces together.
By applying a thin layer of wood glue as a seal coat, you effectively “clog the pores” of the wood. This will allow the wood glue you apply later to form a much stronger bond.
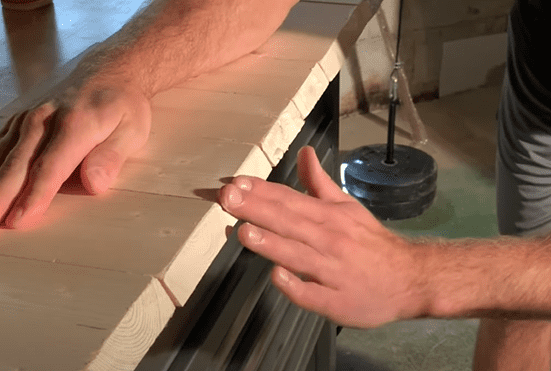
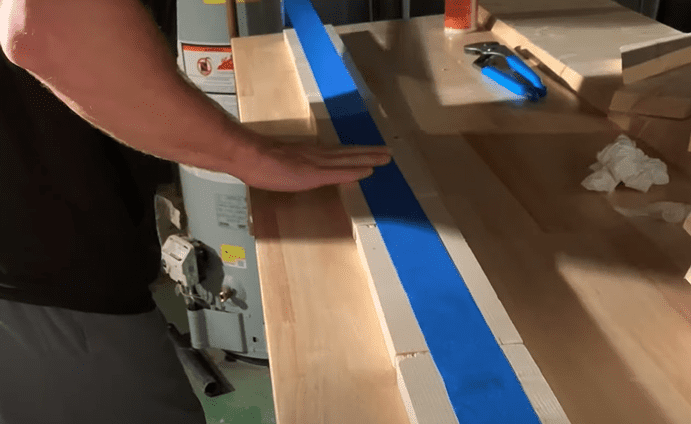
After applying the seal coat of wood glue, lay out the 6 pieces of your shelf end to end with the mitered side facing down. Now, run painter’s tape along each piece of shelf as shown below, leaving a little extra overhanging at one of the ends.
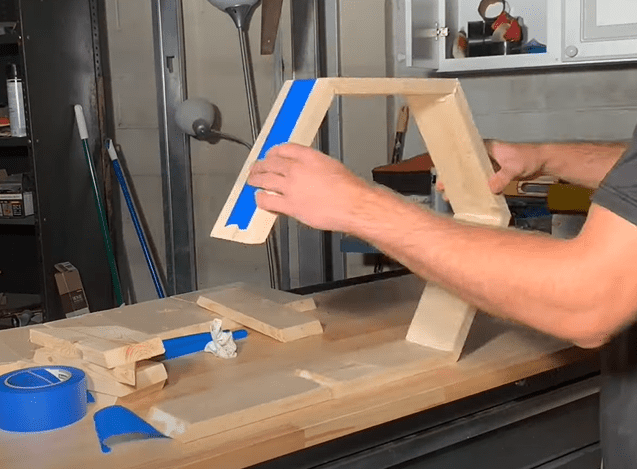
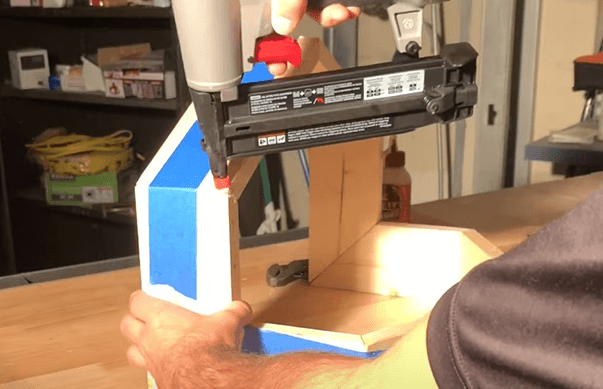
Next, flip the boards over and apply wood glue between the joints. At this point, form the “honeycomb” shape by folding the shelf together. This will happen naturally thanks to the tape that you applied previously. See images below:

Next use a ratchet strap to “pull” the hexagon shelf together and keep it in place while the glue dries.
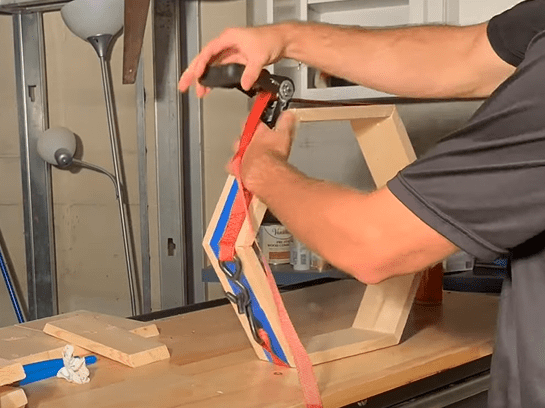
If you have access to a brad nail gun, I recommend nailing each board intersection for additional durability.
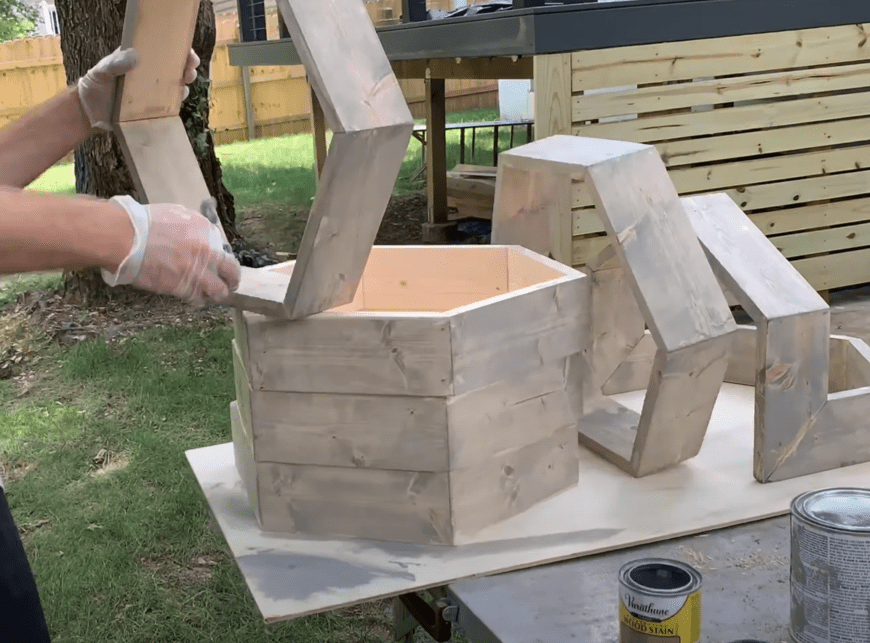
Step 4: Sand down your DIY Hexagon Shelves and stain as desired.
After allowing the wood glue to thoroughly dry, remove the ratchet straps and inspect the shelves for any imperfections. You may find that you will need to use wood filler to conceal the brad nail marks (if any) or to fill any gaps where the boards intersect. After making any finishing touches, Sand down the hexagon shelves to make sure that they are smooth and ready for staining.
Stain the hexagon shelves as you see fit. The color and type of stain are completely dependent on the design/look that you are going for. I went with a “Weathered Oak” stain by Varathane.
Step 5: Hang the Hexagon Shelves on the wall
Once your shelves have been stained, it is time to hang them on the wall. I recommend that you use saw toothed hangers, but other hanging methods would also be fine. Attach the saw tooth hangers to the center of the shelves at the top.
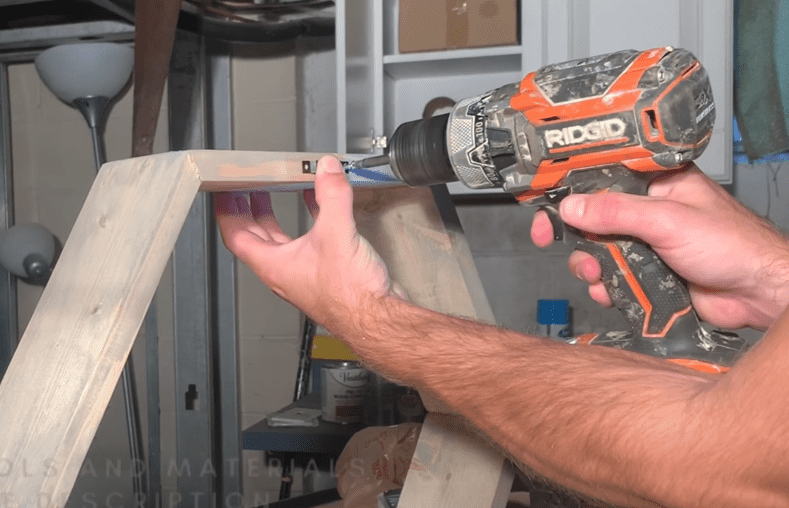
Next install a nail/screw at the desiring hanging location for your shelf. It is recommended that the hanging nail/screw be secured directly to a stud, but using a drywall anchor is also perfectly fine.
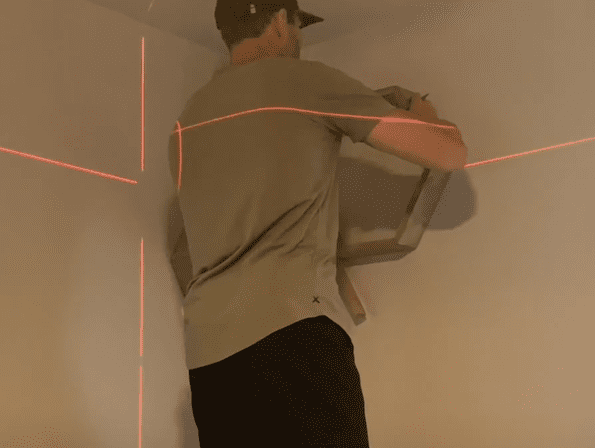
Use a laser level (if you have one) to establish a level hanging surface and simply hang the shelves on the wall. I use the Cigman Laser Level and absolutely love it!
At this point, you have completed your DIY Hexagon Shelves (honeycomb shelves) project! If you are more of a visual learner, feel free to check out my tutorial video below:
If you liked this project, consider checking out some of my other DIY projects:
How to Build a Fire Pit: How to Build a DIY Fire Pit Table (And save hundreds of dollars in the process!) – (atimprovements.com)
How to Install a DIY wire / Cable Railing: DIY Cable Railing – How to Install Cable Railing Step-by-Step – (atimprovements.com)
Thanks!
DISCLAIMER: This is a reference guide only. Links included in this article might be affiliate links. If you purchase a product or service with the links that I provide I may receive a small commission. There is no additional charge to you! Thank you for supporting ATimprovements so I can continue to provide you with free content each week!