

Asbestos shingles were a commonly used siding material for homes built before 1978. If you own a home that has a few damaged asbestos siding shingles, they can be easily repaired and replaced by following a few simple steps.
To repair damaged asbestos siding, start by removing the damaged shingle from your house. To do this, remove the siding nails with a pry bar and hammer. Next, install a replacement shingle, ensuring that it is level with the adjacent shingles. Finally, attach the replacement shingle to your house using three siding nails.
Although replacing damaged asbestos siding is a relatively easy DIY project that the average homeowner can tackle, there are a few tips and tricks that are helpful to be aware of before you begin. This article will tell you everything you need to know for a successful asbestos shingle replacement project.
1. Ensure That You Have the Proper Tools and Safety Equipment

Before you can begin replacing your damaged asbestos siding, you need to ensure that you have the right equipment and materials. To successfully remove damaged asbestos shingles and replace them with new shingles, you will need the following:
Although asbestos shingles are not dangerous as full shingles, the fibers are very harmful if inhaled. As a result, care should be taken to avoid damaging the shingles and releasing the fibers into the air. Additionally, ALWAYS wear a respirator when working with or handling asbestos siding.
Once you have the required tools and safety equipment on hand, the damaged asbestos shingles can be removed.
2. Remove the Damaged Asbestos Shingles
Before removing any damaged asbestos shingles, be sure to put on gloves and a respirator.
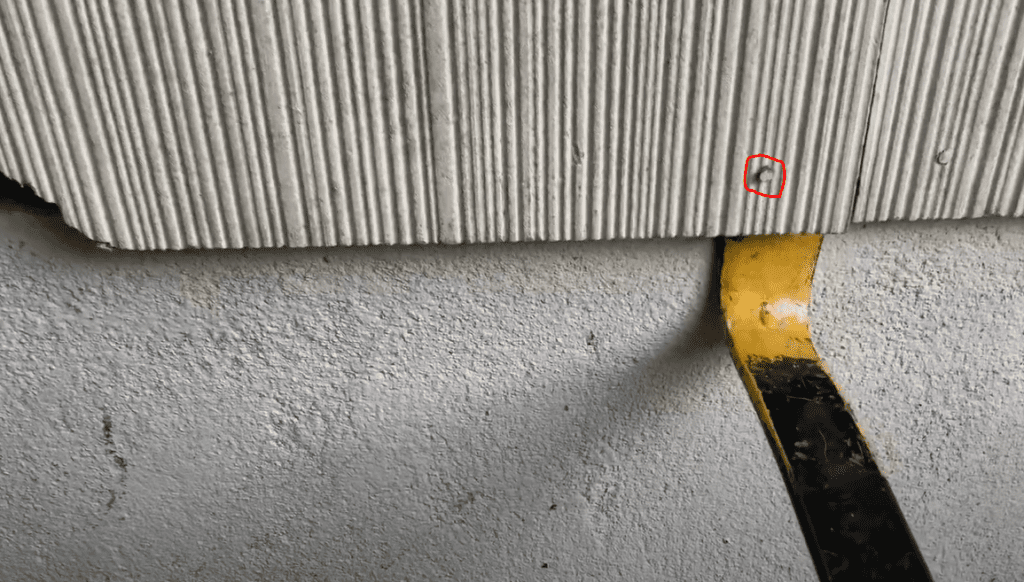
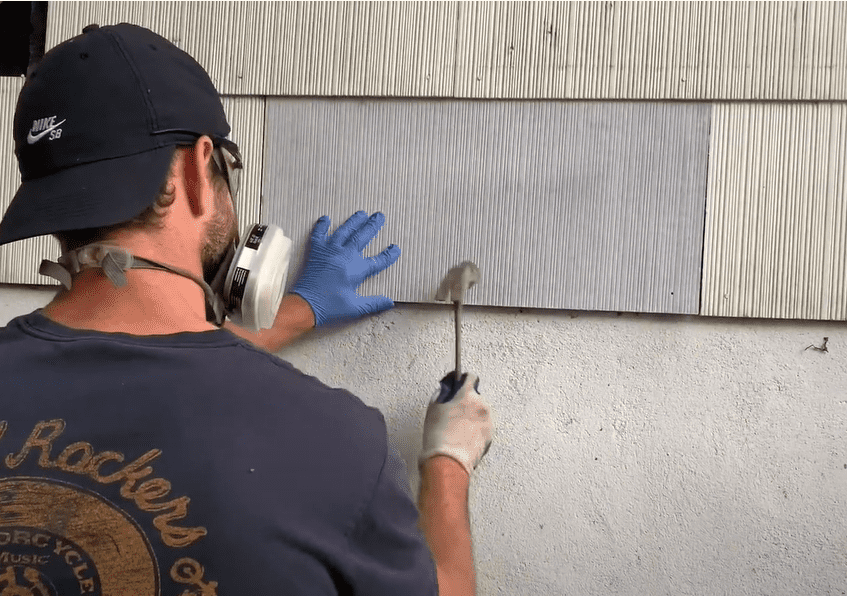
Each asbestos shingle is typically attached to the home by three siding nails located at the bottom of the shingle. To remove the damaged asbestos shingle, use a prybar (or hammer) to lightly loosen the nails.
Be sure to pry on the asbestos shingles very gently to avoid breaking the shingles and potentially releasing asbestos fibers into the air.
After loosening each nail, use your hands and gently shake the asbestos shingle free from the house. It should be very easy to remove at this point.
After removing the damaged asbestos shingle, immediately dispose of the shingle in a double lined trash bag. Repeat the shingle removal process for all of the damaged asbestos shingles on your home.
3. Clean the Area and Remove any Debris
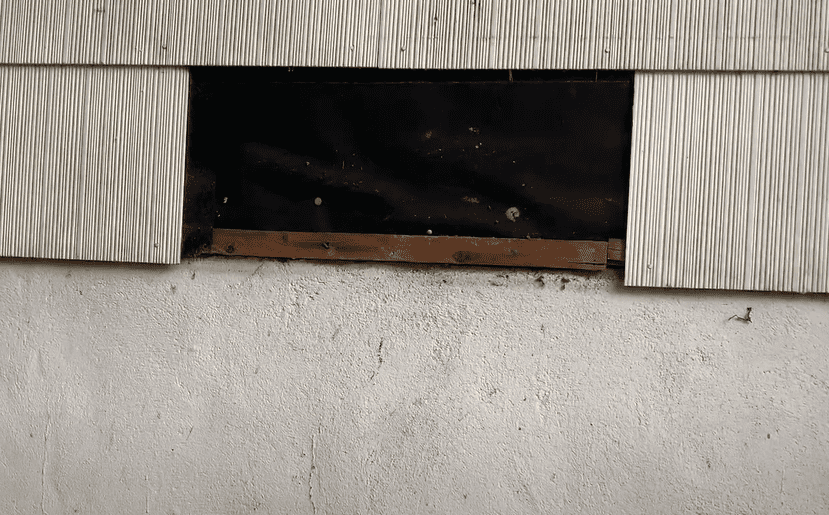
After removing the damaged shingles, spend a few moments making sure the area is clean. Remove any dust or debris that has accumulated between the shingles and the house wrap. Additionally, remove any nails or staples that may impact the installation of your replacement shingle.
With the area clean, the new replacement siding shingle can be installed.
4. Install the Replacement Siding Shingle
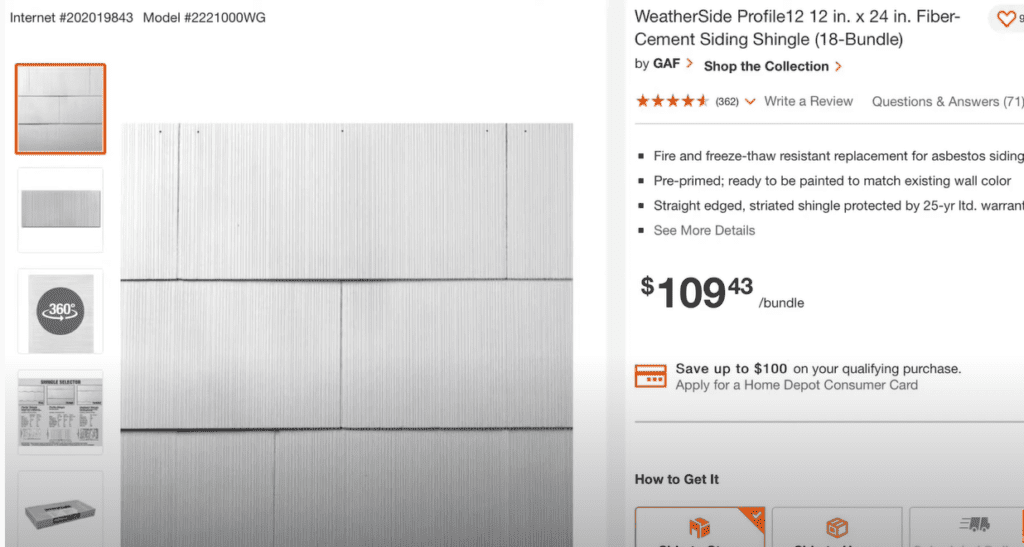
Because asbestos siding is no longer used due to the health concerns, fiber cement siding shingles are typically used to replace damaged asbestos shingles.
Be sure that the asbestos shingles you removed from your home are the same size as the fiber cement shingles you order. The standard size for these shingles is 12″x24″.
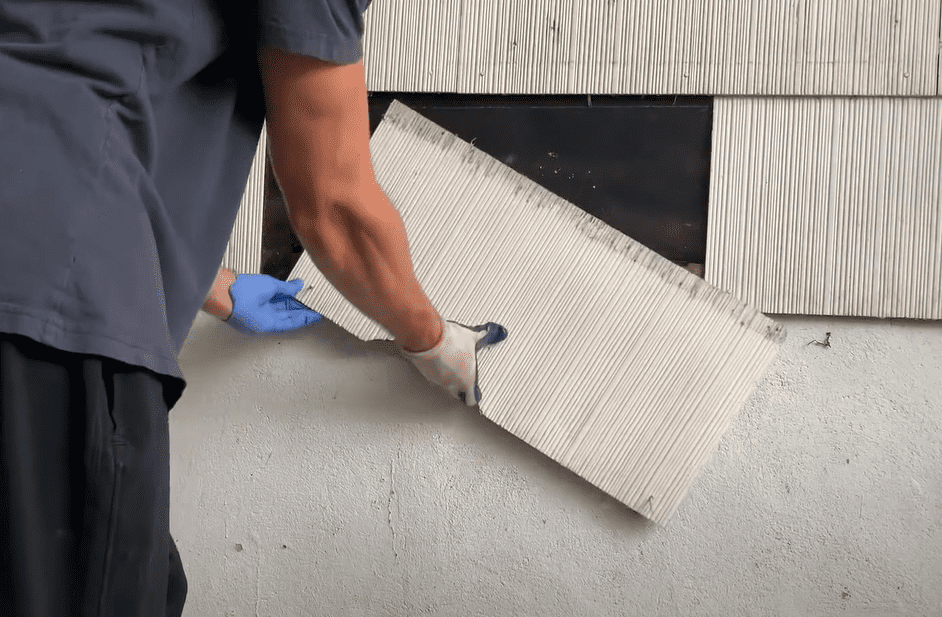
At this point, take one of the replacement fiber cement siding shingles and position it appropriately.
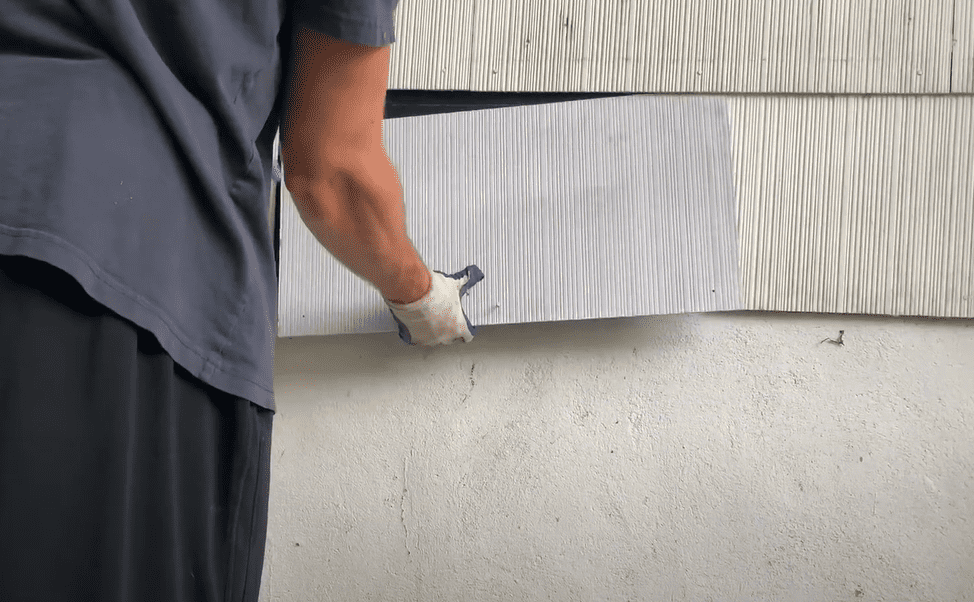
After preliminarily placing the replacement shingle in place, ensure that it is perfectly level with the adjacent shingles as shown below:
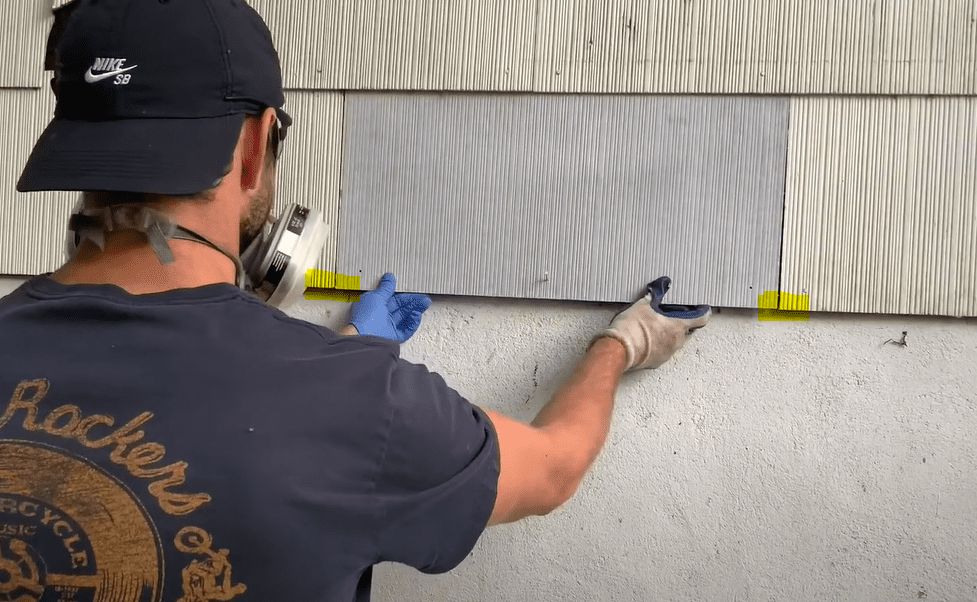
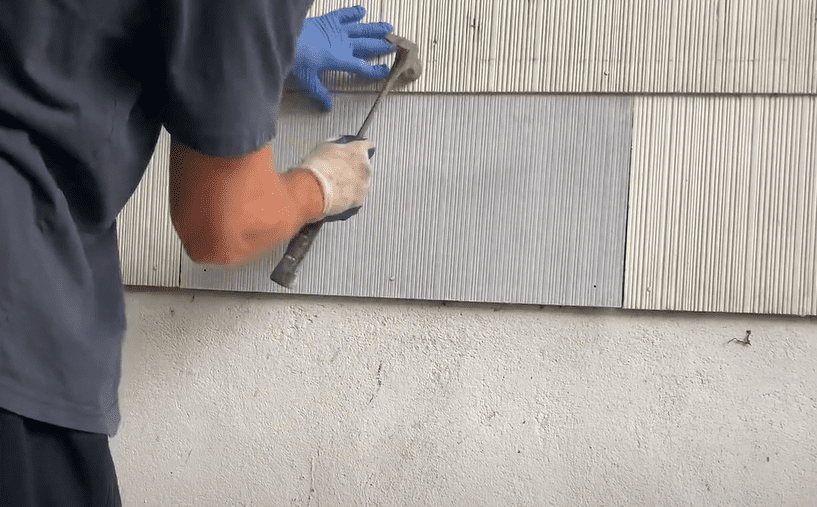
Once you are happy with how your replacement fiber cement siding shingle is lining up, use siding nails (3) to secure the replacement shingle to your home. Be gentle when hammering the siding nails in place to avoid damaging the replacement shingle.
Lastly, re-check any surrounding nails to ensure that they did not become loose during the installation of the replacement fiber cement siding shingle.
At this stage, you have successfully replaced a damaged asbestos siding shingle with a new fiber cement siding shingle. Repeat this shingle replacement process for all of the damages asbestos shingles on your home.
5. Paint the Replacement Shingles to Match
After replacing the damaged asbestos siding shingles with new fiber cement siding shingles, you will likely need to paint the new shingles to match the rest of your home.
Most big box stores are able to perform a color match. However, be sure to use a high quality, exterior rated 100% acrylic paint.
After you have selected the best paint to match your existing home color, apply the paint to the replacement shingles using a paint brush or paint sprayer.
At this stage, your siding replacement project is nearly complete. The only thing left to do is safely dispose of the discarded asbestos shingles.
6. Safely Dispose of the Discarded Asbestos Shingles

Because asbestos siding fibers are considered hazardous, you most dispose of them in accordance with the law. Most landfills have a “hazardous waste day” in which you can safely discard asbestos shingles. Typically, you are required to double-bag the asbestos shingles and ensure that there are not rips or tears in the bags.
Check with your local requirements for more information on how to safely and lawfully dispose of your asbestos shingles.
Once you have safely disposed of your discarded asbestos siding shingles, your project is complete!
If you are more of a visual learner, you can watch my complete asbestos siding replacement tutorial on Youtube. Video below:
Thanks so much for checking out ATImprovements! If you learned something from this project, you might also like these other DIY Projects:
- How to Install a DIY deck Wire Railing: DIY Cable Railing – How to Install Cable Railing Step-by-Step – (atimprovements.com)
- How to Build a Concrete Paver Patio: DIY PAVER PATIO – Easy DIY Paver Patio Ideas – (atimprovements.com)
Thanks!
DISCLAIMER: This is a reference guide only. Links included in this article might be affiliate links. If you purchase a product or service with the links that I provide I may receive a small commission. There is no additional charge to you! Thank you for supporting ATimprovements so I can continue to provide you with free content each week!