
I recently removed a metal chimney (click here for that project) from the side of my house which left me with a dilemma… After I removed the chimney, I was left with a large (almost 18”) hole in my cinderblock/concrete foundation that needed to be patched. This article will show you how to patch a hole in your cinder block / concrete foundation.
The steps to repairing and patching a hole in a cinderblock or concrete foundation wall are as follows:
- Step 1: Clean out the hole and make sure that it is free of any loose debris, dust, or dirt.
- Step 2 (Optional): For a stronger bond between the new concrete and the existing cinderblock/concrete, apply a bonding agent.
- Step 3: Mix up your concrete repair mortar to a ‘clay’ consistency and apply it to the hole.
- Step 4: Use a concrete trowel to smooth out the concrete surface and make it flush with the surrounding foundation wall.
- Step 5: Paint the repaired area to match the existing foundation color.
If you follow these steps, you’ll be left with a repair that will have your concrete/cinderblock foundation looking good as new!
P.S. If you are more of a visual learner, you can check out my “How to patch a hole in concrete foundation” video on Youtube:
Step 1: Clean out the hole and make sure that it is free of any loose debris, dust, or dirt.
After removing my metal chimney, there was a lot of dirt, debris, and loose concrete chunks left within the hole. Be sure to remove all of the debris and any “impurities” from the hole. If left in the hole, these ‘contaminants’ will weaken the bond between the old concrete and the new concrete that you will apply in Step 3. This is a quick step, but it is very important for the success of the whole repair.
Step 2 (Optional): For a stronger bond between the new concrete and the existing cinderblock/concrete, apply a bonding agent.
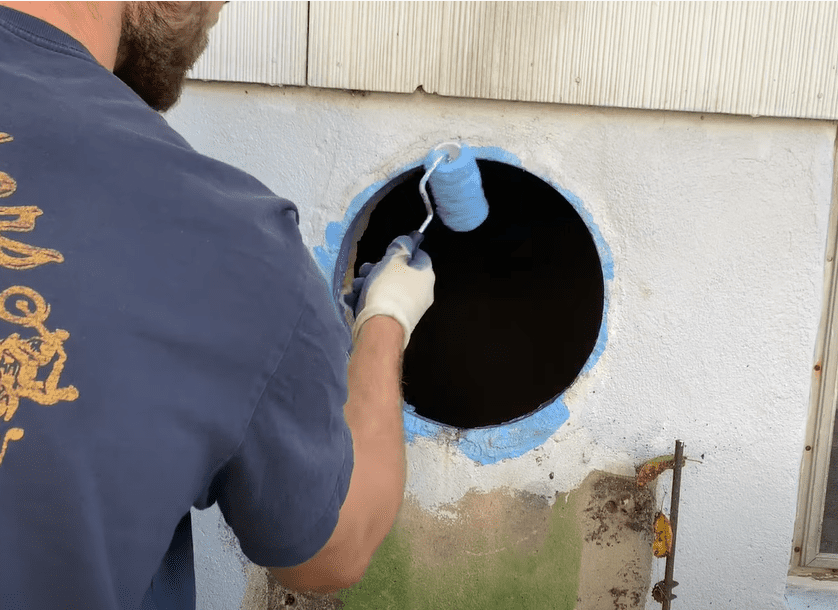
For my repair, I used a concrete bonding agent called Weld-Crete and applied it to the surface area within the existing hole in the foundation. I applied it using a paint roller which made it easy to apply quickly.
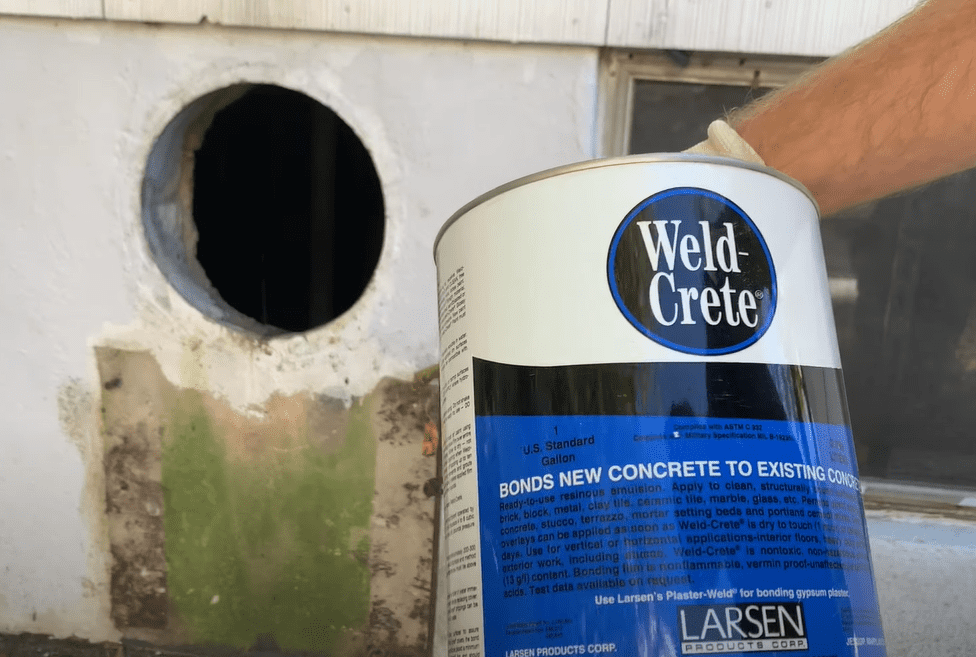
This bonding agent is used to form a stronger bond between the existing concrete and new concrete. Although this step is probably not entirely necessary, I had some Weld-Crete leftover from my slab extension project – so I figured it wouldn’t hurt to apply it here. If you want to see how I used Weld-Crete to extend the concrete slab in my backyard, check out the article!
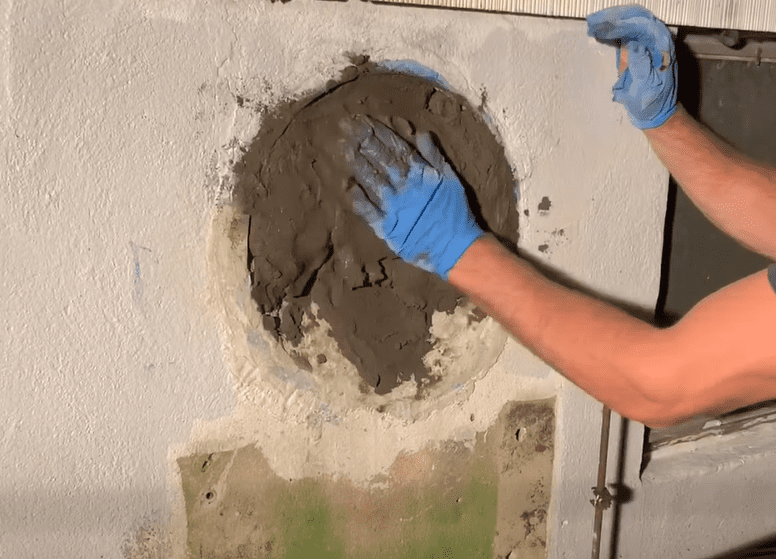
Step 3: Mix up your concrete repair mortar to a ‘clay’ consistency and apply it to the hole.
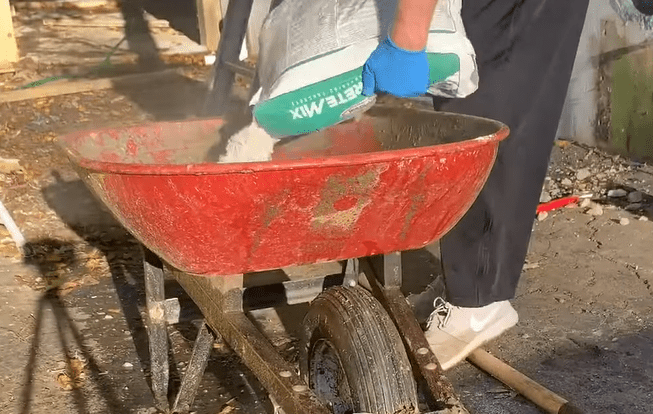
To actually repair/fill the hole, I chose to use Rapid Set Concrete Mix. Although this rapid setting concrete is a little more pricey than standard concrete, it sets up in 15 minutes, which makes it much easier to work with for this repair.
Mix up your concrete in a wheelbarrow or bucket using slightly less water than the manufacturer recommends. By doing this, you will be left with concrete that has a “clay-like” consistency – which will make it easy to work.
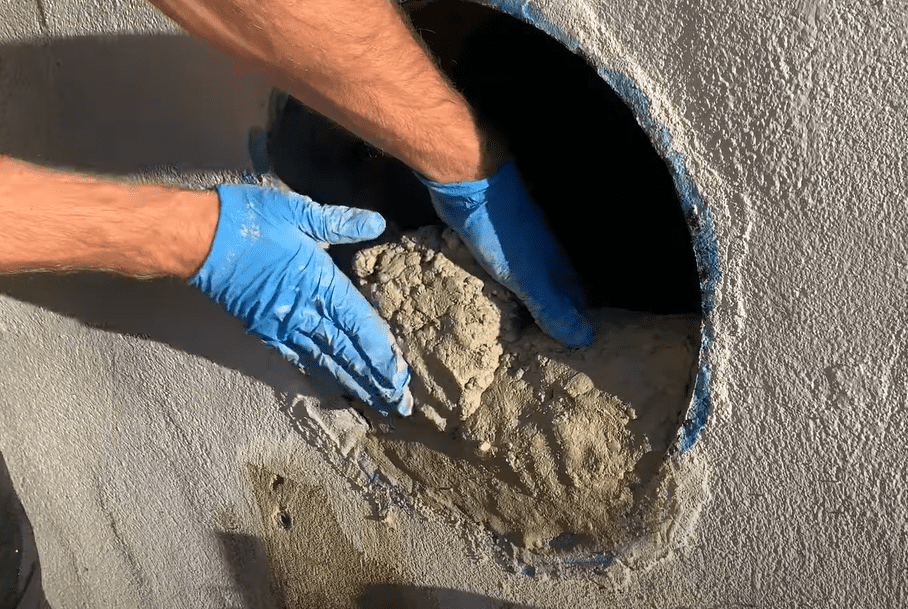
Once your concrete is mixed up, I recommend that you grab some gloves so that you can work with your hands to apply the concrete directly to the foundation hole. I applied the concrete, handful by handful, until I filled up around 50% of the hole. Make sure that there is no concrete protruding out past the existing wall. – It is WAY easier to add more concrete later than try and grind down excess concrete that bulges out past your existing foundation wall. Be sure to check this on both the interior side and exterior side of the foundation.
At this point, I waited 15 minutes to let the first layer of concrete harden. If you don’t give the bottom portion of concrete time to set up, the additional weight of the concrete on top will “flatten” the concrete you placed on the bottom – causing it to lose shape.
Once the first “batch” of concrete has had a chance to set up and harden, apply concrete to the remaining void. At this point, you should be able to apply concrete to the entire foundation wall hole, effectively patching the void.
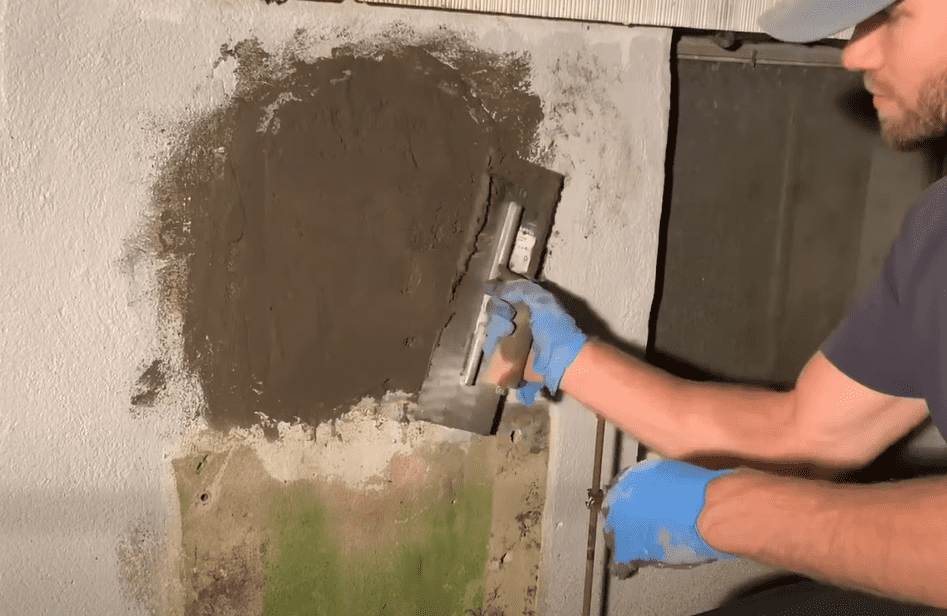
Step 4: Use a concrete trowel to smooth out the concrete surface and make it flush with the surrounding foundation wall.
Although you can usually to get a decent concrete finish by using only your hands (and gloves, of course), I recommend that you ensure that your repair is completely flush with your existing foundation wall by using a concrete trowel. Use the concrete trowel to smooth out any imperfections and blend the new concrete into the existing foundation. Basically, make it smooth.
Do this for both the interior and exterior sides of the repair. At this point, simply give the concrete repair time to set-up and dry.
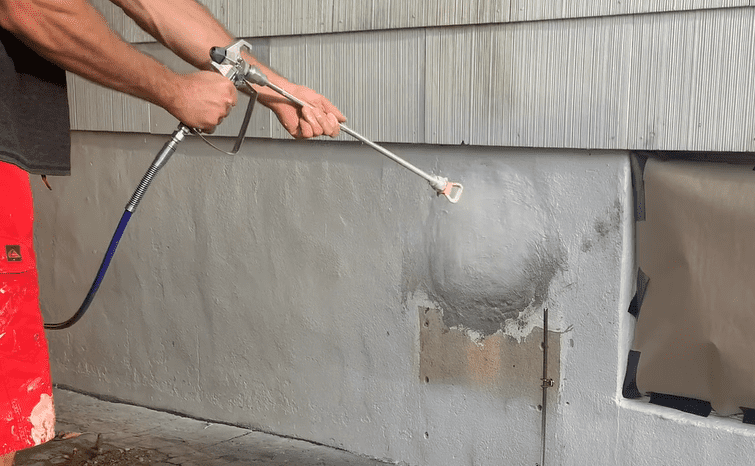
Step 5: Paint the repaired area to match the existing foundation color.
Once you have given your concrete foundation repair sufficient time to dry, the last step is to simply paint your repair to match the existing foundation color. However, I understand that finding an exact color match may be difficult. I actually ended up re-painting my entire foundation for a uniform color/finish. I used my Graco Project Painter Plus which made this painting process super quick and easy.
After painting, your cinderblock/concrete repair project is complete. If you follow the steps above, you will be left with a neat repair that makes your foundation look good as new!
Bonus tip: I did not apply re-bar or steel mesh to my concrete foundation repair, but this may be a good additional step to add increased strength to your concrete/cinder block foundation repair.
Thanks for checking out ATImprovements!
If you liked this project, consider checking out some of my other DIY projects:
How to Build a Fire Pit: How to Build a DIY Fire Pit Table (And save hundreds of dollars in the process!) – (atimprovements.com)
How to Install a DIY wire / Cable Railing: DIY Cable Railing – How to Install Cable Railing Step-by-Step – (atimprovements.com)
Thanks!
DISCLAIMER: This is a reference guide only. Links included in this article might be affiliate links. If you purchase a product or service with the links that I provide I may receive a small commission. There is no additional charge to you! Thank you for supporting ATimprovements so I can continue to provide you with free content each week!