

If you have an older home, there is a high possibility that your basement exterior door might be in need of replacement. Things like water damage, rot, and discoloration are a good indicator that it’s time to replace your existing basement door with a new one. If you have a new home, you may need to install a basement exterior door for the first time.
To install a basement exterior door, start by measuring the rough opening dimensions to determine your door size. Next, remove the existing basement exterior door by removing screws and cutting any nails that may be attaching the door to the surrounding frame. After removing the old door, apply silicone and construction adhesive to the floor slab at the base of your door sill and then position the pre-hung doorframe in place. After ensuring the door is level and plumb, use shims to ensure that the door’s reveal is consistent across the entire door. Finally, attach the pre-hung door to the frame using screws.
This article will show you how to install a basement exterior door, step by step. If you are more of a visual learner, consider checking out my “How to Install a Basement Exterior Door” Youtube Video linked at the end of this article.
Tools and Materials Needed to Install or Replace a Basement Exterior Door

To tackle a basement exterior door installation project, you will likely need the following tools and materials:
- Pre-hung exterior door (fiberglass, steel, etc.)
- Level
- PPE (Hearing protection, Eye Protection, Respirator)
- Hammer
- 5-1 painter’s tool or putty knife
- Framing square
- Caulking gun
- Two 10oz tubes of high quality elastomeric sealant (i.e. caulk or construction adhesive)
- Shims
- Tape Measure
- Drill
- Razor Blade
- Spray foam insulation (or similar)
- Tapcon Bit
- Tapcon Screws
Now that we have established what tools and materials are needed to complete a basement exterior door installation project, let’s proceed with replacing the door.
1. Determine Your Basement Exterior Door Rough-in Opening

Before you can replace your basement exterior door, you need to purchase a replacement door. However, you need to know what size door to buy before you can purchase it.
To determine your door’s rough opening, I recommend that you measure the door width and height. JUST measure the door, not the jamb and not the trim. Once you have your door width, add 2 inches to get your rough opening width. To get your rough opening height, take your door height dimension and add 2.5”. These are general rules of thumb to get the rough opening for your existing door. Obviously, you can check this once you have removed your door, but you will want to have your new door on site before removing the existing door.
2. Remove Your Existing Basement Exterior Door.
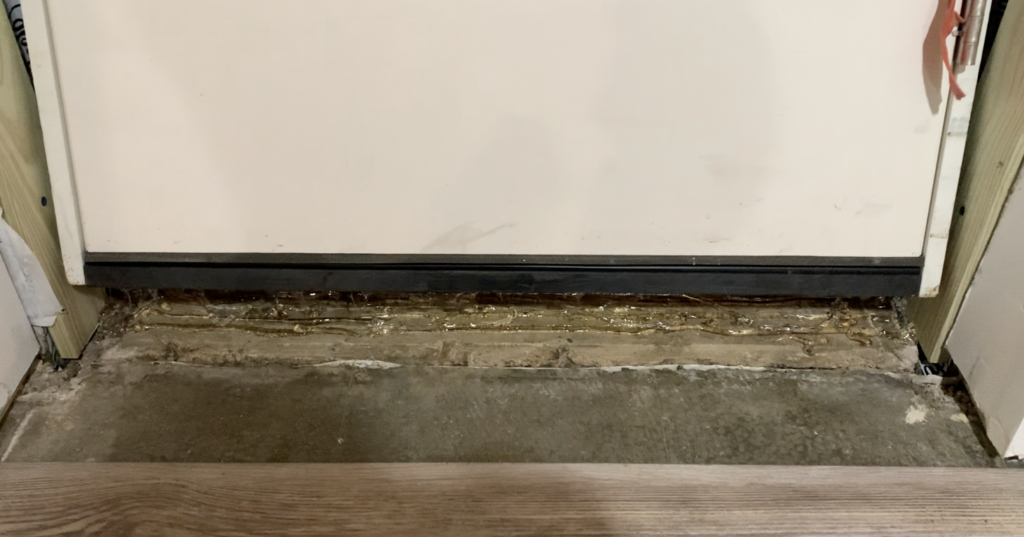
Once you have determined your basement door rough-in dimensions and purchased your replacement door, it’s time to remove the existing door. To do this, start by removing any obvious screws that are attaching the existing door to the frame. Typically, screws will be placed behind the weather strip, so be sure to peel that back when looking for screws. Additionally, remove any screws in the threshold that are attaching the door sill to the slab (if applicable).
After removing any screws, use a prybar to pry the door casing off. Remove the door casing, trim, and brickmold using a prybar and hammer.
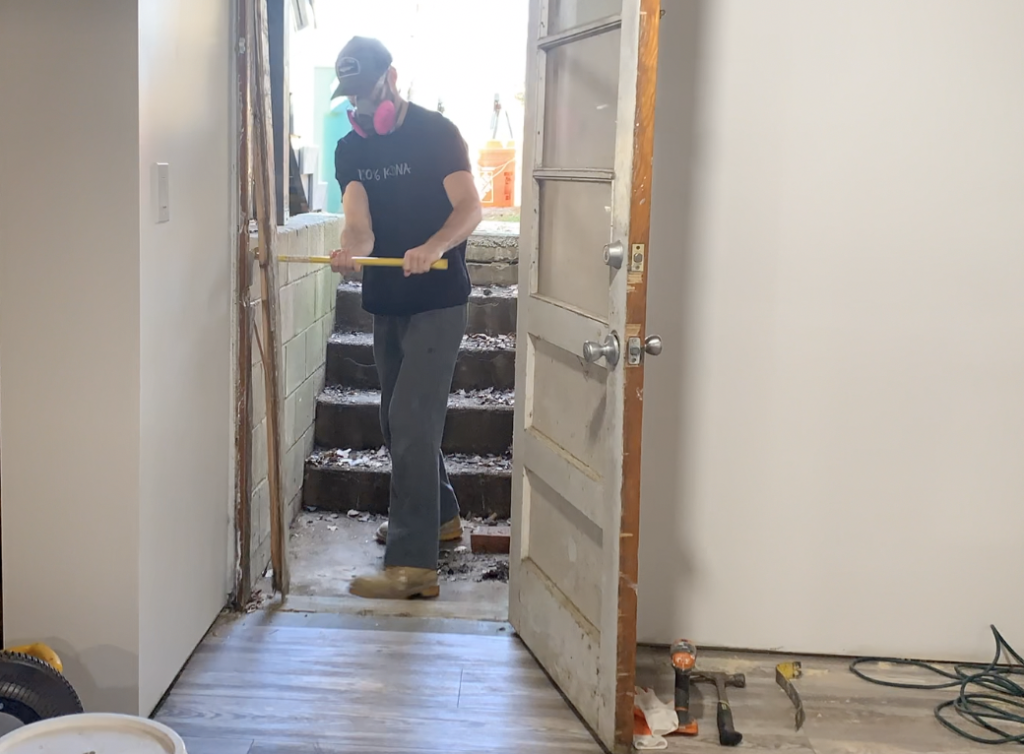
Pro Tip: You may need to use a reciprocating saw to cut any additional nails that are holding the door jamb to the door frame.
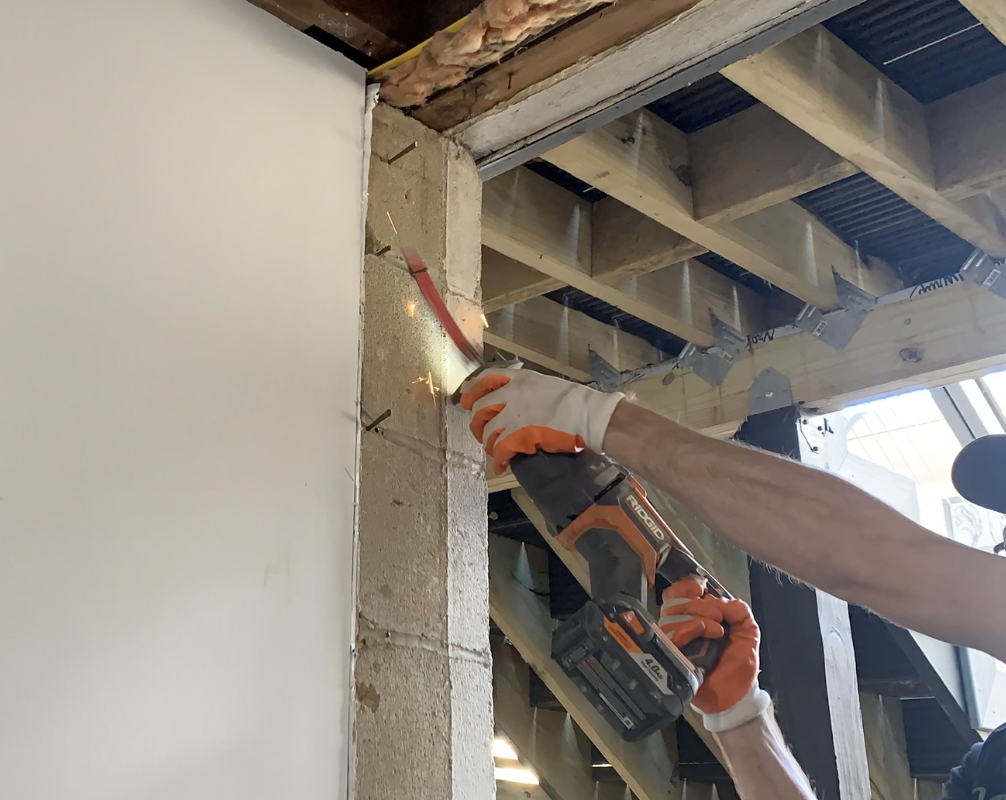
3. If Necessary, Replace the Door Framing Attached to the Cinder Block or concrete foundation.
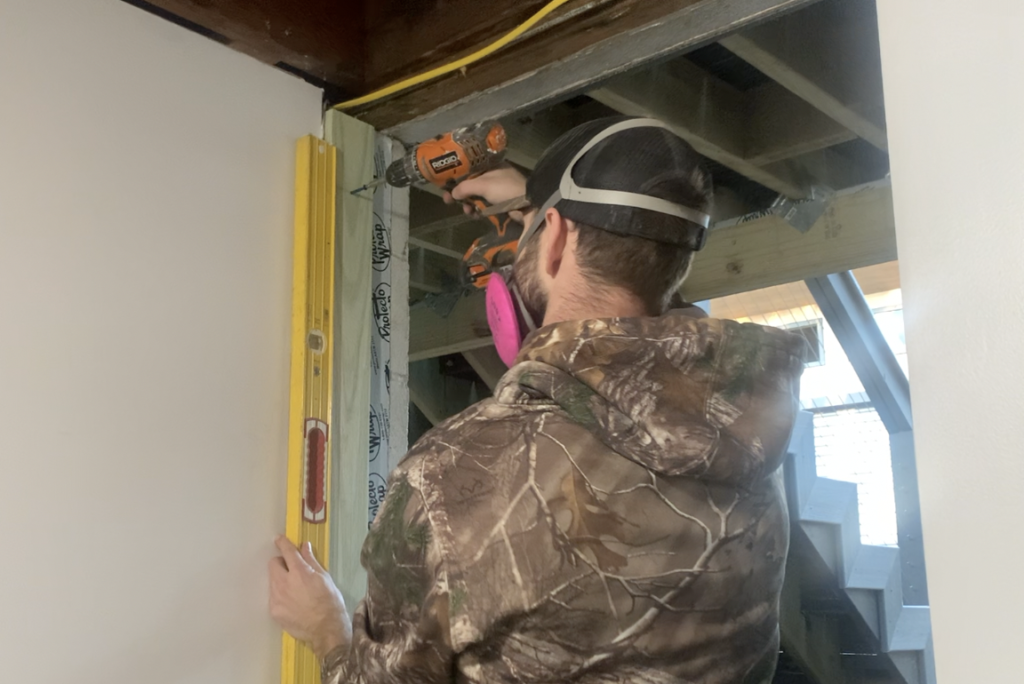
In my case, the 1” x 4” lumber door framing that was attached to the cinderblock was rotted and needed to be replaced. To remove the existing framing, I pried the rotten door frame from the wall and cut off any nails with a reciprocating saw. Next, I installed a piece of flashing tape to the cinderblock to act as a waterproof barrier before attaching new pressure treated lumber to the cinderblock to act as the door frame.
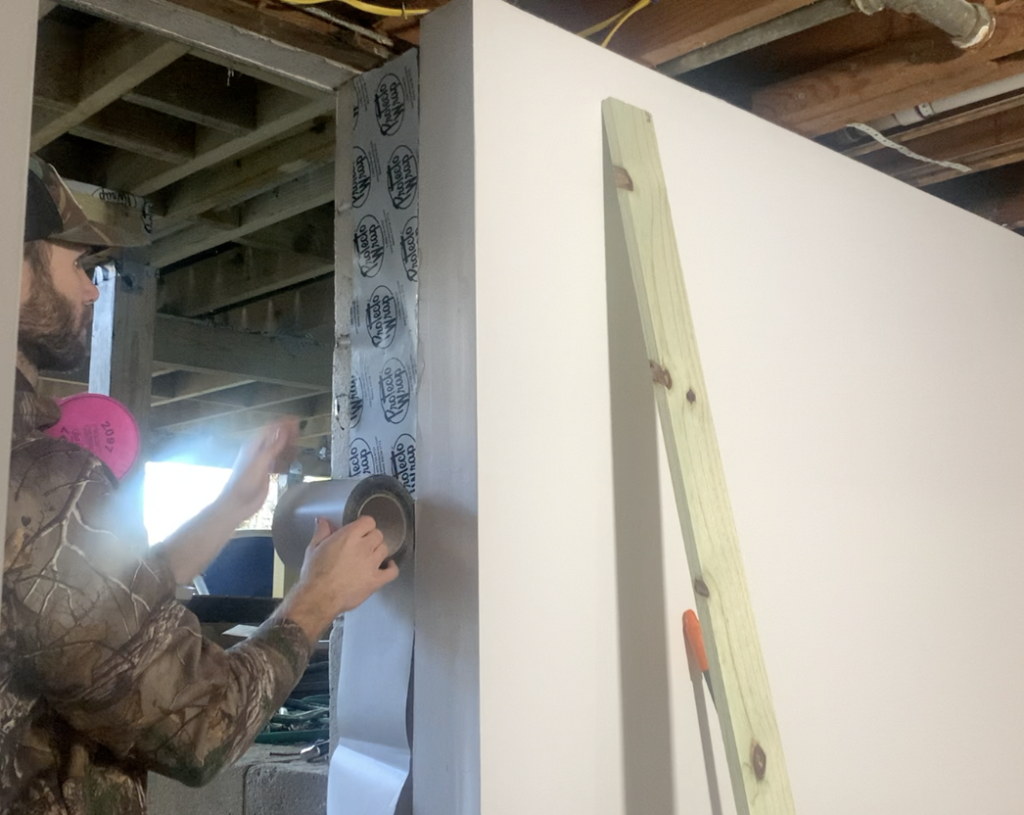
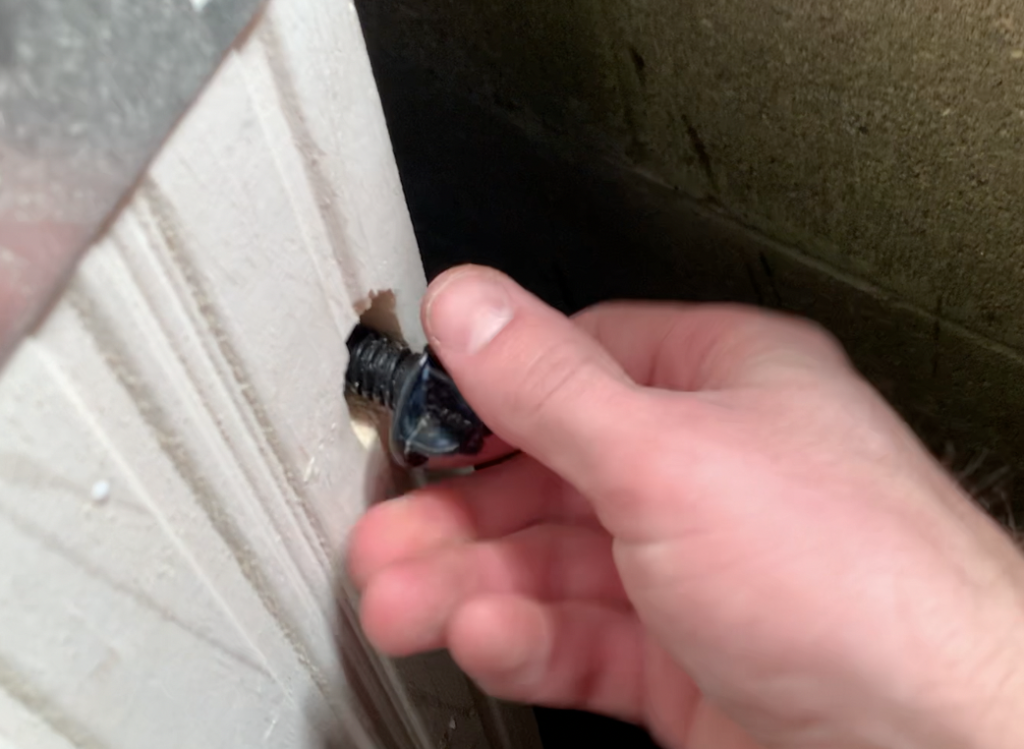
At this point, I attached pressure treated 1”x4” lumber to the cinderblock wall use Tapcon Concrete screws. I predrilled the concrete screw holes using a carbide tipped drill bit and a rotary hammer.
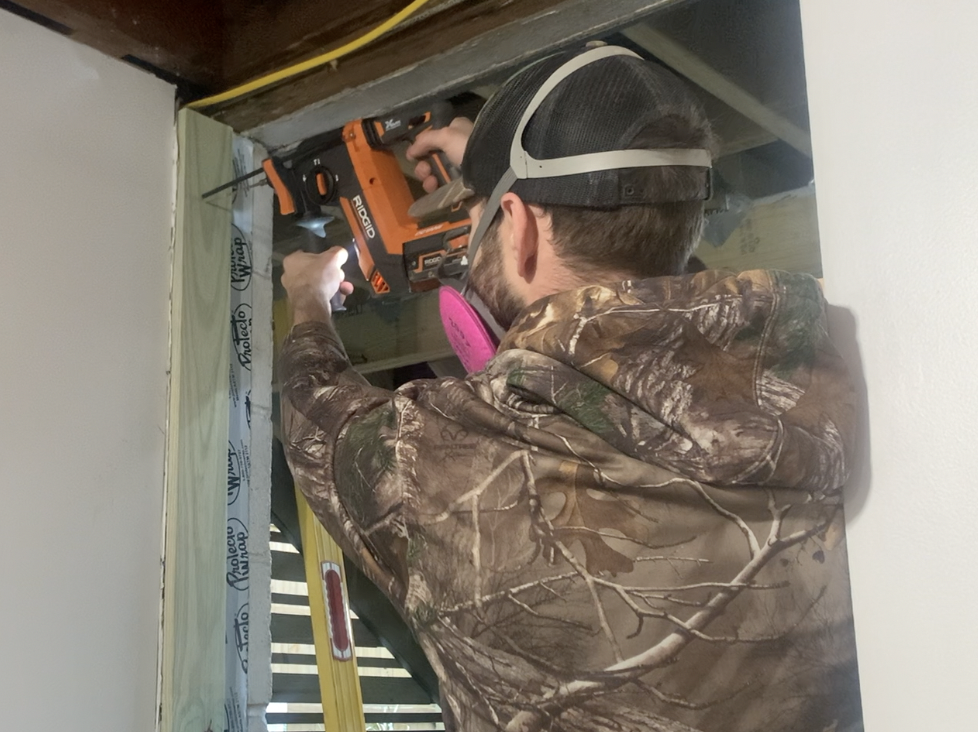
After pre-drilling, install Tapcon masonry screws to fasten the pressure treated door frame to the cinderblock.
After attaching the pressure treated lumber to the cinderblock, you can begin installing the replacement door.
4. Ensure the Rough-In opening is level and plumb
At this stage ensure that your rough opening is perfectly level and plumb. First, check to make sure that your subfloor (slab) is perfectly level beneath the sill. If not, you will need to shim under the door sill in the upcoming steps.
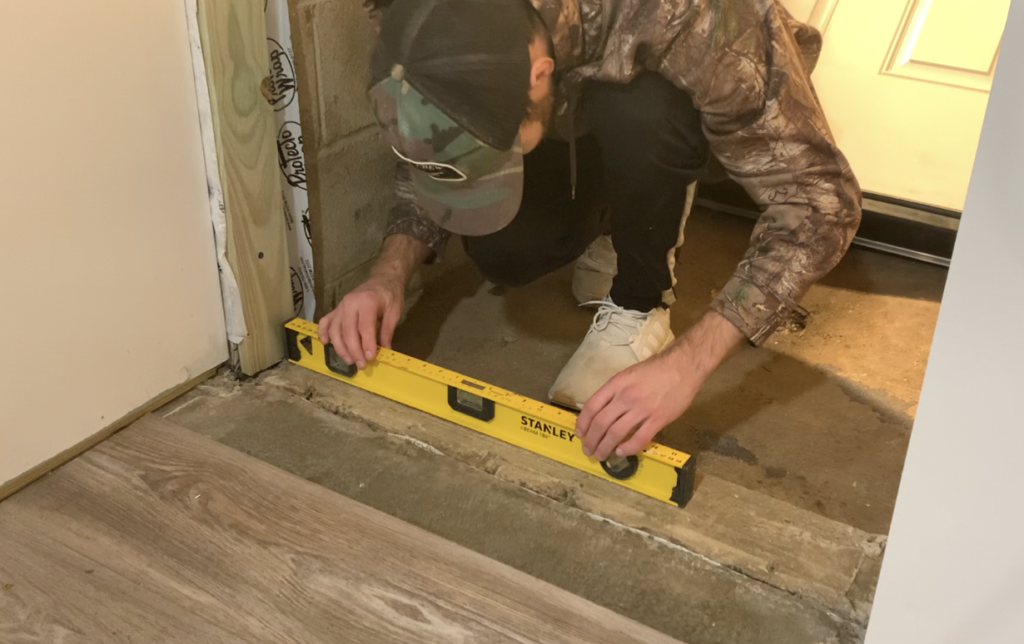
Next, check each vertical wall of the rough opening to make sure that the walls are plumb. To do this, use a 6’ level. Finally, use a framing square to ensure that the corners are perfectly 90 degrees. If you find any issues at this stage, correct them before proceeding.
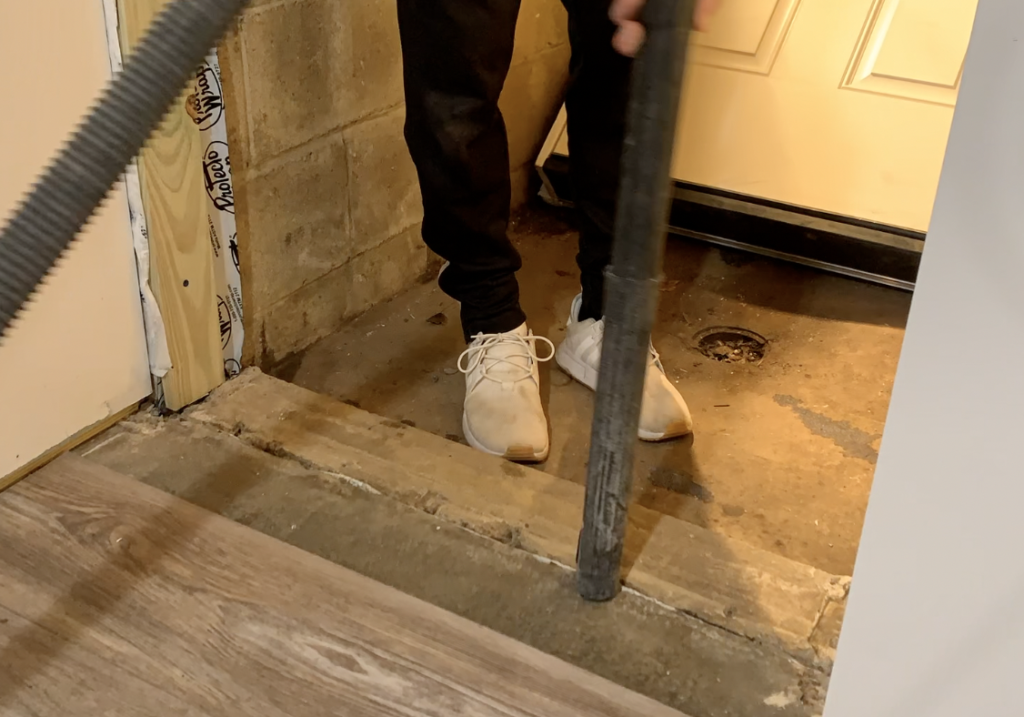
Next, take this time to ensure that there are no nails, screws, or debris that may affect the installation of your door.
5. Caulk the Sub Floor / Concrete Slab
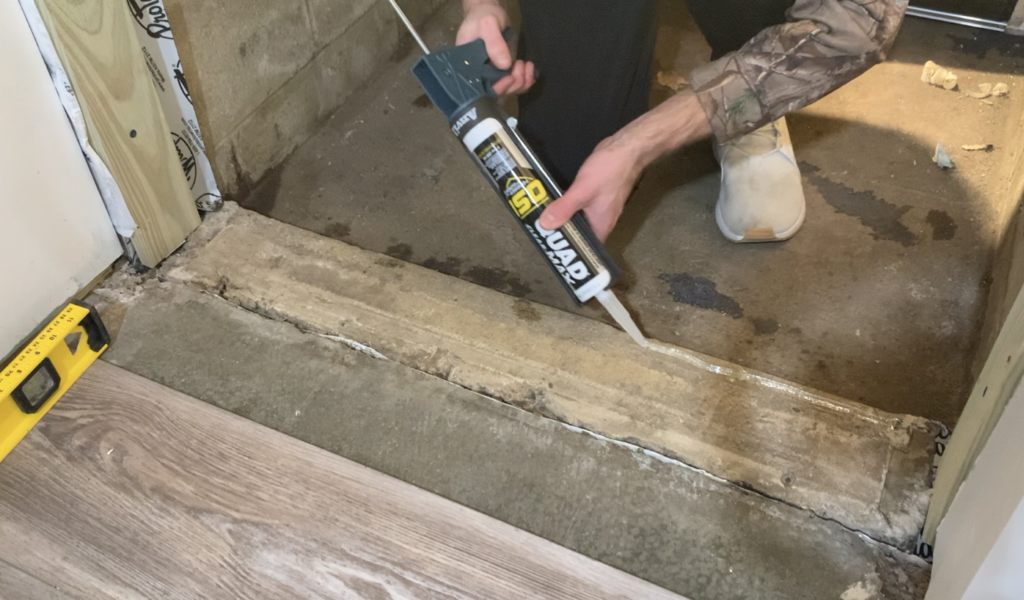
Before positioning your pre-hung door within the rough opening, you will need to apply caulk to the subfloor. First, clean the concrete slab basement floor to ensure that there is no dust, debris, or residue that will impact adhesion of the door sill to the concrete sub floor.
Next, apply a copious amount of caulk to the sub floor in the area where the door sill will rest. It is recommended that you apply ¼” beads of sealant until an entire 10 oz tube of caulk has been used.

Be sure to apply a copious amount of caulk to the slab sill base.
Next, apply a bit of additional caulk to the bottom surface of the door sill (bottom of the door). Apply ¼” beads of caulk across the full width of the sill substrate. Although this seems like a lot of caulk, this is necessary to ensure a watertight seal at the bottom of the door.
Lastly, Caulk along the back side of the brickmold casing around the entire perimeter of the door unit. The Brickmould is the door trim that will contact the exterior of your home.
6. Position the Pre-hung Door in the rough-in Opening and Temporarily Fasten the Door to the Frame with Screws.
Once your pre-hung exterior basement door and subfloor have been caulked, you can position your pre-hung door in place.
With the top of the door tilted away from the opening, center the pre-hung door and place the sill down onto the caulked area of the subfloor.
Pro Tip: If the prehung door is equipped with a screw type “chick plug” (which keeps the door from opening during transit) remove it before lifting the door into place.
Once the door sill has been placed on the caulk, tilt the top of the door in place. Once the door is preliminarily in place, partially drive exterior rated screws through the door hinges and into the door frame. DO NOT FULLY TIGHTEN SCREWS. It is likely that you will need to make adjustment further along in the installation.

Once the door is preliminarily secured with three screws on the hinge side, use a 6 foot level to ensure that the hinge side of the door jamb is perfectly plumb in both directions (right to left and inside to outside).
Once the hinge side of the jamb is perfectly plumb and level, attach the jamb into the framing (or cinderblock) using exterior rated screws. Install a screw at each hinge, but do not fully tighten.
7. Shim Door at Screw locations and secure Hinge Jambs.
Once screws have been preliminarily placed at each hinge location and attached loosely to the door framing, place shims at each hinge location. Place the shims behind the hinges and above the screws. The screws will help to keep the shims from falling down while adjustments are being made.
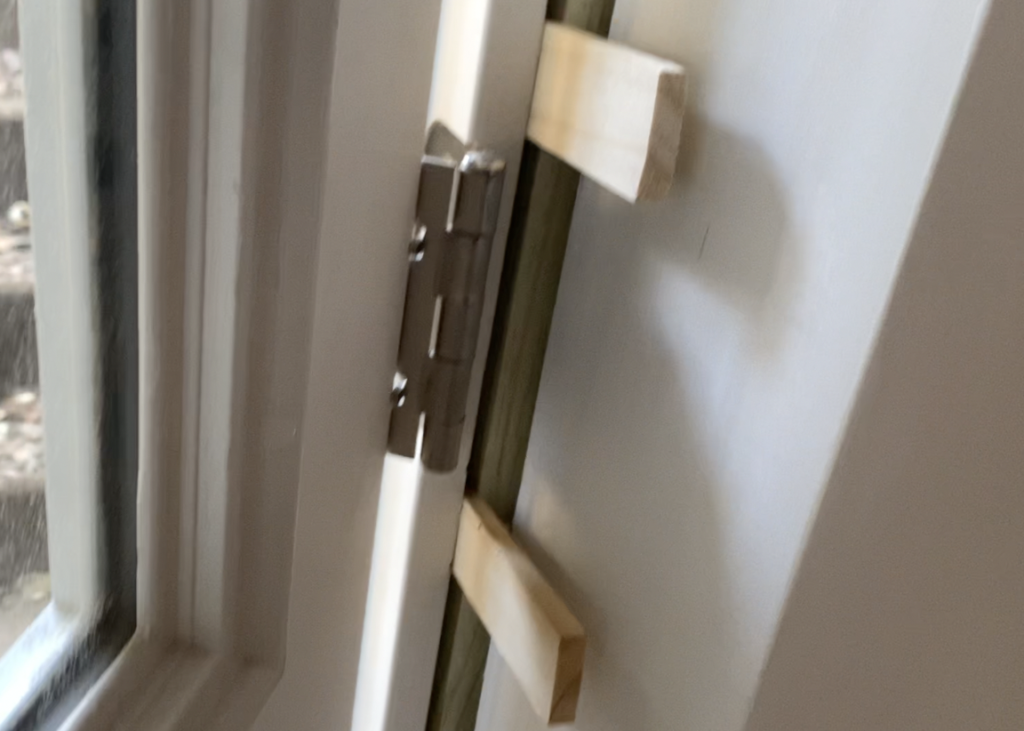
Place shims behind each hinge location as required for a plumb jamb installation. You may need to use multiple shims at each location if there is a large gap between the jamb and the rough opening.
Finally, re-check the hinge jamb to ensure that it is still perfectly plumb and straight. If it is, finish driving the screws at each hinge location to fully secure the jamb to the studs.
Adjust the rest of the door frame and fasten the jamb to studs.
Once the hinge side of the jamb has been secured in place, check margins and make any adjustments needed at the top and lock side of the door jamb.
Note: By design, most doors will have the hinge side of the door closer to the jamb than the lock side. If there is a slightly larger gap between the door and the jamb on the lock side of the door, don’t worry.
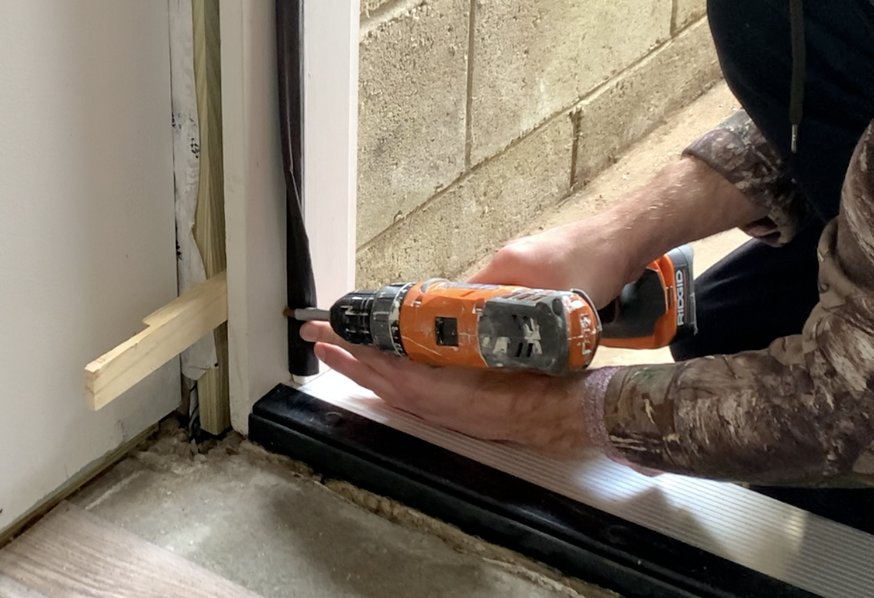
After positioning the lock side of the door jamb in place, temporarily secure the jamb to the studs (or cinderblock) using 2.5”-3” exterior screws. It is recommended that all screw holes be pre-drilled and positioned behind the weather stripping – so they are hidden from sight.
Next, shim above the screw locations and make any adjustments necessary to ensure that the reveal is even across the entire height of the door. The “reveal” is the gap between the door and the jamb.
Pro Tip: Ensure that the margins between the door and the jamb are even at the top, middle and bottom of the door. In other words, ensure that your “reveal” is consistent and even.
After you are satisfied with the position of the lock side jamb, re-check the entire pre-hung door unit to ensure that everything is positioned properly (i.e. confirm level and plumbness) and that there is even weatherstrip contact along each side of the door.
Once everything is positioned properly, finish driving the lock side screws tight – fully secureing the entire door jamb to the studs.
8. Check for Smooth Operation of the door.
At this stage, open and close the basement exterior door to check for smooth operation. Your door should open an and close freely, without contacting the jamb. Additionally, check to make sure that the door contacts the weatherstripping evenly at all locations.
9. Check the Basement Exterior Door Sill Height
Once your basement exterior door has been has been fastened to the frame on both the hinge and lock side of the door, take some time to test the seal between the bottom of the door and the and the sill threshold. To do this, place a dollar bill over the sill threshold and close the door. Next, pull on the dollar until it is pulled free. If the dollar bill is very difficult to remove (or if it tears), the sill is too high and needs to be lowered. If the dollar bill is very easy to remove, the sill may be too low, possibly allowing for a draft.
To adjust the sill, remove the screw plugs on the sill and tighten or loosen the screws as necessary. Re-perform the pull test to ensure that the sill height is appropriate.
10. Install Corner Seal Pads (in-swing units only)
One of the last steps in the prehung basement exterior door installation process is to install corner seal pads. To do this, remove the adhesive backing paper from the corner seal pads and place additional caulking/sealant on the seal pad (if necessary). Apply the seal pad to the bottom of the door jamb with the bottom lined up with the top of the threshold cap.
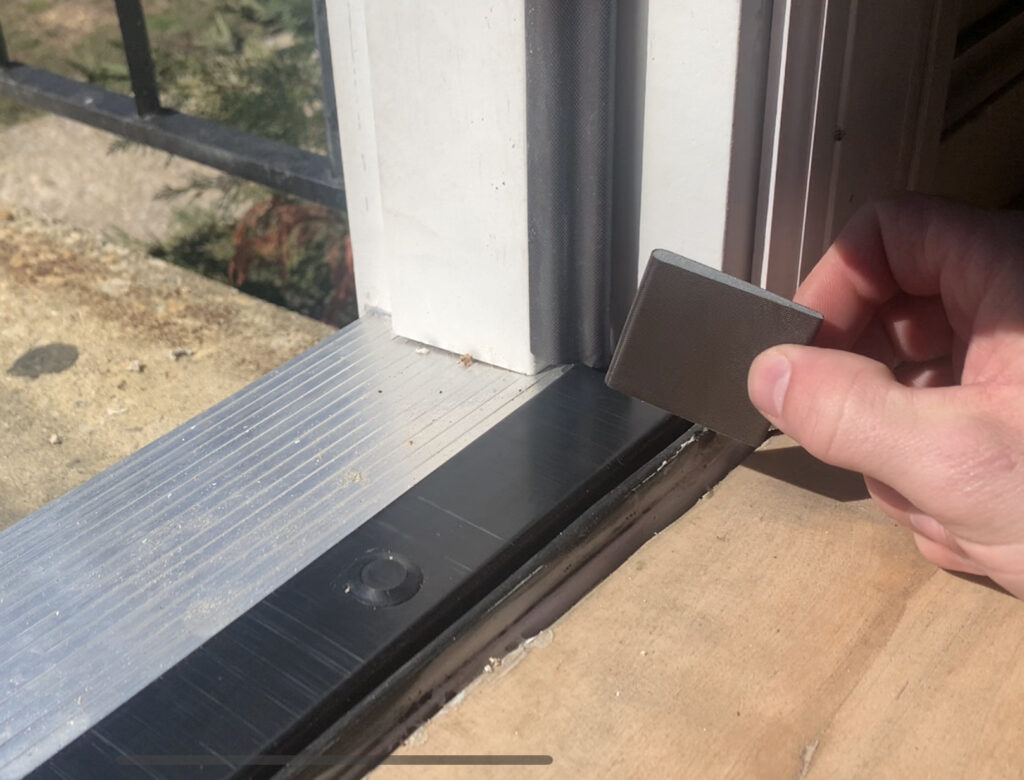
The seal pad may help to prevent a draft in bottom corners of the door. Once your seal pads have been installed. Your pre-hung door installation is nearly complete.
If you are more of a visual learner, you can watch how I completed every step of the DIY Privacy Screen project on Youtube!
Thanks so much for checking out ATImprovements! If you learned something from this project, you might also like these other DIY Projects:
- How to Build a Fence: How to Build a Fence (DIY Guide) – AT Improvements
- How to Build a Fence Gate: How to Build a Fence Gate (7 Steps with Pictures & Video) – AT Improvements
- How to Install a DIY deck Wire Railing: DIY Cable Railing – How to Install Cable Railing Step-by-Step – (atimprovements.com)
- How to Build a Concrete Paver Patio: DIY PAVER PATIO – Easy DIY Paver Patio Ideas – (atimprovements.com)
Thanks!
DISCLAIMER: This is a reference guide only. Links included in this article might be affiliate links. If you purchase a product or service with the links that I provide I may receive a small commission. There is no additional charge to you! Thank you for supporting ATimprovements so I can continue to provide you with free content each week!