
If you have a concrete slab or concrete patio in your backyard that you wish you could extend, you are a lot like me two years ago. When I bought my most recent fixer-upper, there was a super small concrete slab/patio in the backyard that was too small and in too much disrepair for any practical use.
In order to get a usable backyard concrete slab, I decided to take on the challenge of extending the existing concrete patio slab by roughly four feet. Although you might think that four feet of extension is hardly worth it, it was absolutely necessary in order to have a safe landing for my deck.
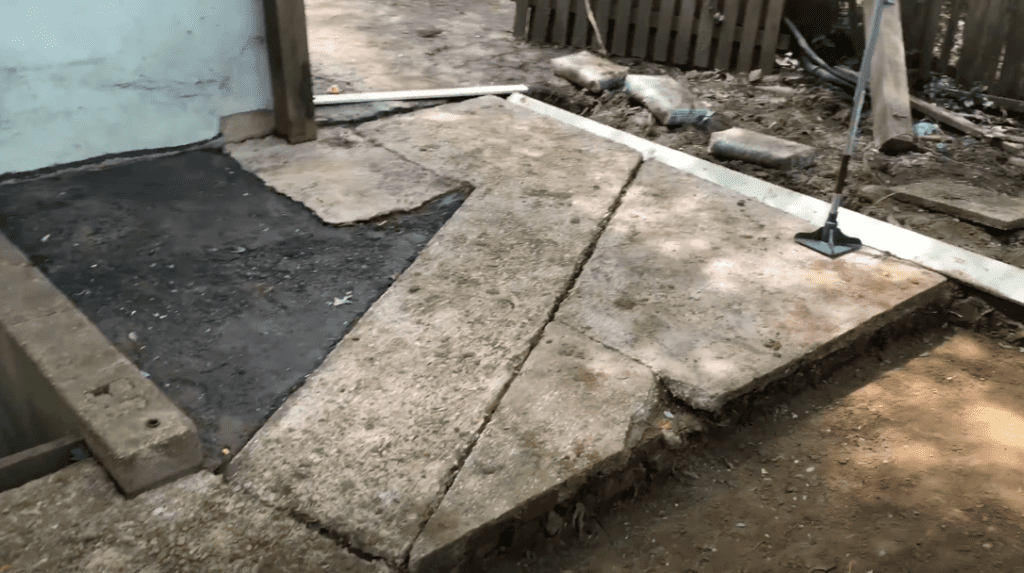
Before this project, I had ZERO concrete experience. However, after a lot of research and a can-do attitude. I took the existing concrete slab you see below (it was horrible, wasn’t it..)
And I turned it into this extended concrete patio:

This article will outline both the successes and failures that were experienced as part of this existing concrete slab extension. I definitely made some mistakes, and I hope that you can learn from them. At the very end of this article, I will answer the question of How much does it cost to extend concrete patio.
If you are more of a visual learner, you can watch my step-by-step Youtube Video That shows every step in the process of extending a concrete patio (including many of my lessons learned):
I have broken down the process of extending a concrete patio into the following steps:
- Step 1: Plan out your project
- Step 2: Prepare the sub-base for your slab extension
- Step 3: Install concrete forms
- Step 4: Install steel reinforcement
- Step 5: Mix up and Pour your Concrete
- Step 6: Finish your Concrete
- Step 7: Conclusions and Lessons Learned
Now, let’s get into the nitty-gritty of how to extend an existing concrete slab.
Step 1: Plan out your project
Before you even start thinking of mixing any concrete, there is a lot of planning that needs to be done in order to extend a concrete patio.
Will you reuse your existing concrete slab? Will you put a re-surfacing skim coat on your existing slab? Will you raise the patio or slab? Will you demolish and remove your existing slab because the condition is so poor? How thick will your new concrete slab be? Will it match the thickness of your existing slab?
These are just a few of the questions you will need to ask yourself as you plan to extend an existing concrete slab.
Although my existing concrete patio was in pretty bad condition, I decided to poor a new 2” concrete layer on top of the existing concrete instead of ripping out all of the concrete and starting with a clean slate. In hindsight, it would have been WAY smarter to demolish the existing concrete slab and start from scratch – but you live and you learn. Once I decided that I was going to be putting a 2” concrete topper layer on top of my existing concrete, I started thinking about how I was going to actually extend the slab.
Because the primary reason for extending my concrete slab was to allow for an adequately sized landing for my stairs, I determined that extending my existing concrete slab by 4’ would be sufficient. Once I decided how much larger I was going to make my slab, it was time to start thinking about preparing the sub-base for my concrete patio extension.
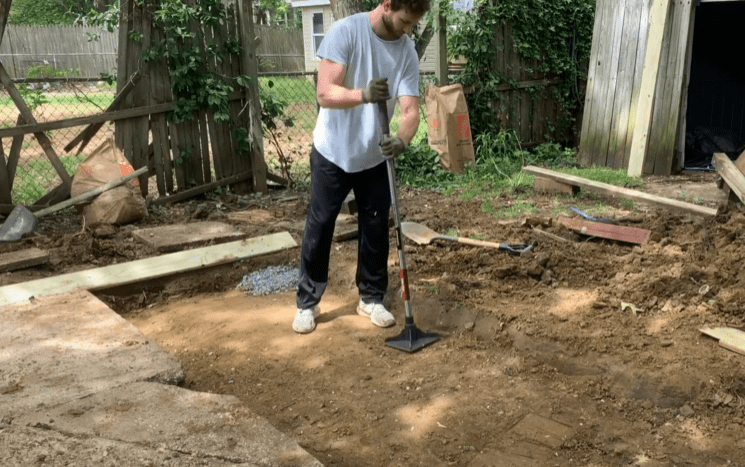
Step 2: Prepare the sub-base for your slab extension
Based on the research I performed, I decided that I was going to have 4″ thick slab with a 4” sub-base of gravel. Therefore, I started excavating the area where I was going to extend my slab. After excavating down approximately 8”, I compacted the soil using a hand tamp.
If you have a larger excavation area, you may want to consider renting a gas powered or electric compactor from your local hardware store.
After compacting the soil, you will want to pick up a load of 57 stone (or crusher run) from your local stone supplier. You could also use crushed stone for the sub-base since it generally compacts a little better. Add a bit of water to the stone (to help with compaction) and then compact it.

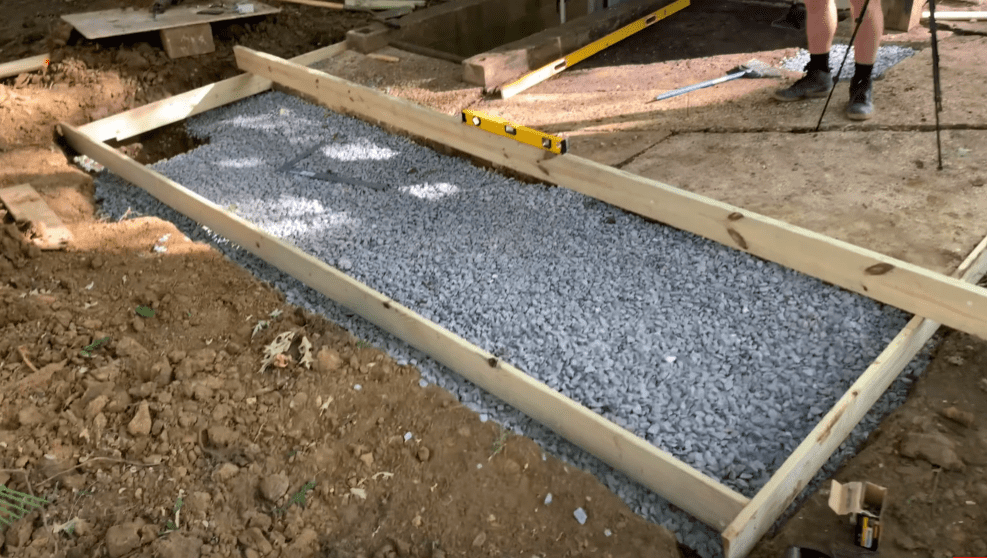
Step 3: Install concrete forms
Once the sub-base of stone has been compacted, you will need to set up your “concrete forms”. For my concrete forms, I simply used a 1”x6” pieces of lumber and arranged them in a rectangle as needed to get my shape for the new section of slab. You will need to adjust the forms to the desired height (you might need to rearrange some of the stone), and then secure them in place using stakes on the backside of the form. Refer to photo below:
Installing concrete forms takes a bit a patience to make sure that everything is lined up, square, and at the right height (i.e. level). You are basically creating a mold for the concrete. Installing the concrete forms properly is imperative to successful slab extension project, so take your time to get it right!
Make sure that you take drainage into account when you are setting up your forms. You want to ensure that your newly extended concrete patio will drain AWAY from your home. Check out my Youtube Video for additional info and tips on drainage and establishing your form slope.
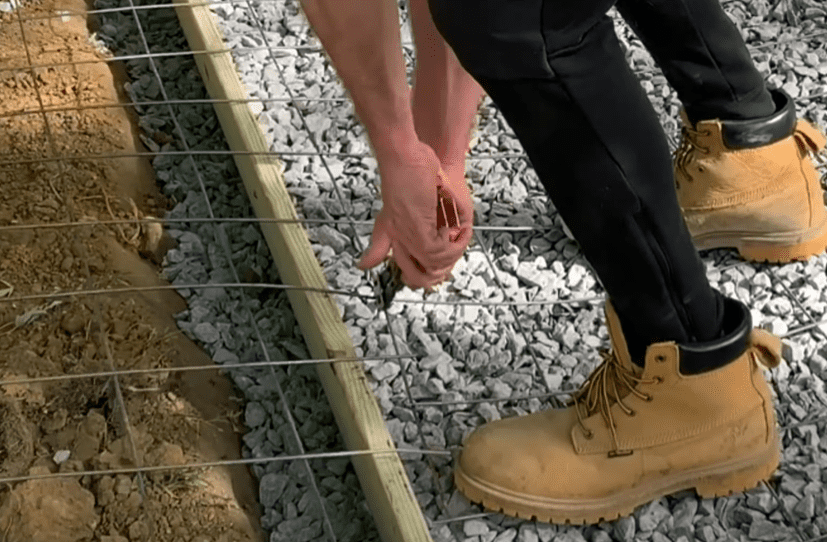
Step 4: Install steel reinforcement
Although concrete has outstanding compressive strength, it is actually quite weak when subjected to shear and tension forces. In order to compensate for this, steel rebar or wire mesh is typically added to the center of slabs to provide additional strength to the concrete.
Because my extended concrete slab is only going to be exposed to foot traffic, I decided to use steel mesh instead of rebar for the majority of my slab extension. I cut the steel mesh using metal snippers and performed a dry fit within the concrete forms to make sure that everything fit properly.
To try and minimize the possibility of a crack forming where the new concrete slab meets the existing concrete slab, I decided to drill into the existing concrete and insert a piece of rebar. I understand that this is hard to explain, so refer to the photo below:

To do this, I used a 5/8” carbide tipped masonry bit to drill about 6” into the existing slab. A hammer drill will make this much, much easier. Once the 6” hole was drilled, I injected some epoxy into the hole and then inserted a 12” piece of rebar (1/2” diameter) into the existing slab about 6” – leaving 6” to extend into the new concrete.
Although this may have been overkill, my logic was that this piece of rebar would help to tie the existing slab into the new slab – minimizing the possibility for a concrete crack along the joint.
Step 5: Mix up and Pour your Concrete
Before you start mixing up your concrete, calculate the approximate amount you will need. Concrete is typically measured in cubic yards (CY). In order to calculate the CY of concrete you will need, multiply the length of you slab extension (ft) by the width of your slab extension (ft), by the depth of your new concrete slab (ft). This will give you the Cubic Feet of Concrete you need. To get Cubic Yards, divide your cubic feet by 27. There are also many online calculators that will calculate your volume of concrete for you. I recommend this one.
Once you have your CY of concrete calculated, you can either order concrete to be delivered by a concrete truck or you can mix the concrete by hand using bags. Obviously, I do not recommend mixing a bunch of concrete by hand, but this will likely be your cheaper alternative (and the one that I went with).

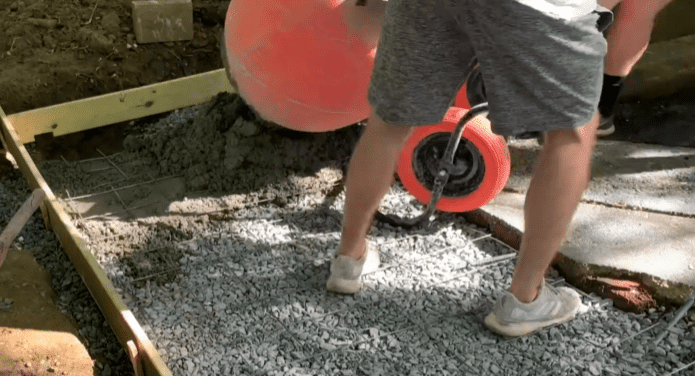
For my project, we rented a concrete mixer from our local box store and mixed around 85 bags of concrete. It was pretty brutal.
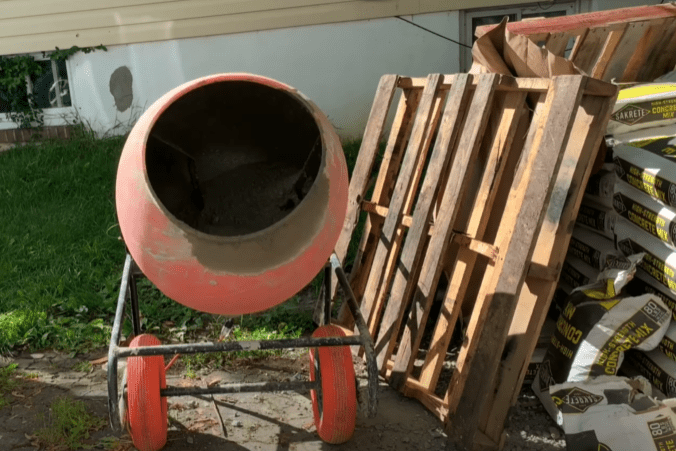
In hindsight, I would have called in a truck delivery. We continued to mix the concrete, bag after bag, and then dumped the concrete on top of the prepared sub-base.
Step 6: Finish your Concrete
After applying all of the mixed concrete to the extended concrete patio area, I placed a piece of lumber across the top of the concrete forms and used it to “screed” the surface of the concrete. This screeding step removed any of the large lumps and filled any of the voids.
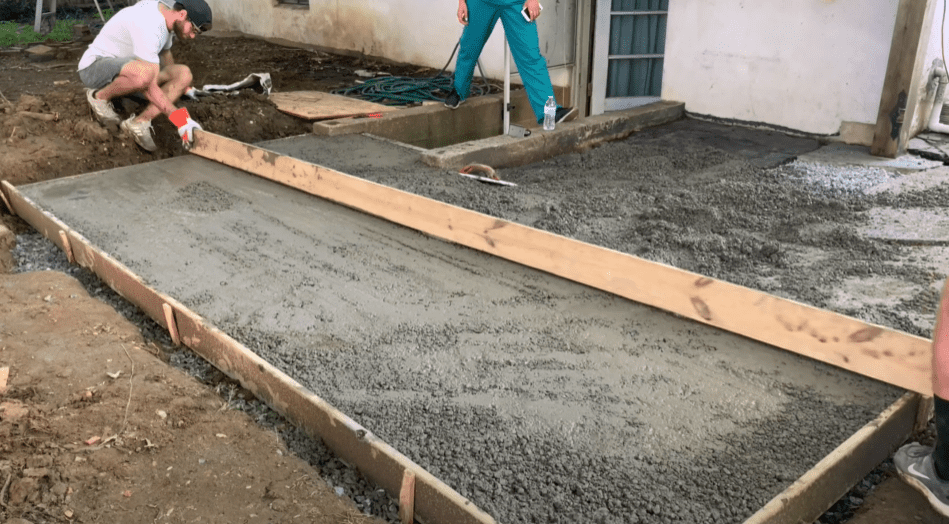
After screeding, it was time to move on to concrete “finishing”, which is where things started to go down hill. Finishing concrete is difficult and is an art…
I am not an experienced concrete finisher and I made a lot of mistakes during this process. I highly recommend that you perform some research on how to finish concrete properly. However, I will outline my mistakes so that you can hopefully avoid them yourself.
First, because we were mixing bag after bag, the first batches of concrete mixed were setting up rather quickly by the time we had had mixed the last bag. This is another reason why having a concrete delivery truck may be a good idea.
Second, I did not rent the necessary finishing tools in order to give myself a good chance of providing a smooth finish. I did not rent a bull-float, which was a huge mistake looking back. Instead, I tried to finish the entire area of concrete using a hand trowel. It did not go very well…

In order to provide a rounded edge, I used a concrete edger tool and ran it along the edge of the concrete forms. Overall, the roundover edge turned out pretty well.
After doing my best to make the slab as uniform and smooth as possible, I used a broom to give the surface of the concrete a “broom finish” texture and then I let it dry overnight.
Step 7: Conclusions and Lessons Learned
As you may have guessed from my tone in Step 6, the extended concrete slab surface looked really rough. It was not a smooth finish at all. I ended up having to apply a concrete surface coating to get a more uniform and smooth finish. In order to do this, I used a product called “Newcrete” and I applied it over the whole concrete surface. This definitely helped to improve the look of my slab and gave me a final result that I was happy with.
Overall I learned the following from my concrete patio extension project:
- Make sure that you do your research ahead of time – there are a lot of nuances to concrete
- Be sure to rent the right tools – renting a bull float would have been a game changer for my concrete patio extension project
- Consider having your concrete delivered by a a concrete truck – mixing concrete by hand is strenuous and can be difficult to finish once the first few batches start to cure.
Overall, this was a pretty difficult DIY project. I learned a lot, but I would definitely think twice before attempting this one on on your own.
How much does it cost to extend concrete patio
As promised, here is a breakdown of how much it costs to extend a concrete patio:
- The 85 bags of concrete cost $358
- The concrete mixer rental cost $48 (for a 4 hour rental)
- Allowance for Misc. tools, rebar mesh, etc: $100
Therefore, the approximate cost for my ~55 square foot concrete patio extension was around $500.
Thanks so much for checking out ATImprovements! If you learned something from this project, you might also like these other DIY Projects:
How to Build a Fire Pit: How to Build a DIY Fire Pit Table (And save hundreds of dollars in the process!) – (atimprovements.com)
How to Install a DIY wire / Cable Railing: DIY Cable Railing – How to Install Cable Railing Step-by-Step – (atimprovements.com)
How to Build Hexagon Shelves: DIY Hexagon Shelves (Honeycomb Shelves) – (atimprovements.com)
How to Patch a Hole in Concrete Foundation: How to Patch a Hole in Concrete Foundation – (atimprovements.com)
Thanks!
DISCLAIMER: This is a reference guide only. Links included in this article might be affiliate links. If you purchase a product or service with the links that I provide I may receive a small commission. There is no additional charge to you! Thank you for supporting ATimprovements so I can continue to provide you with free content each week!