
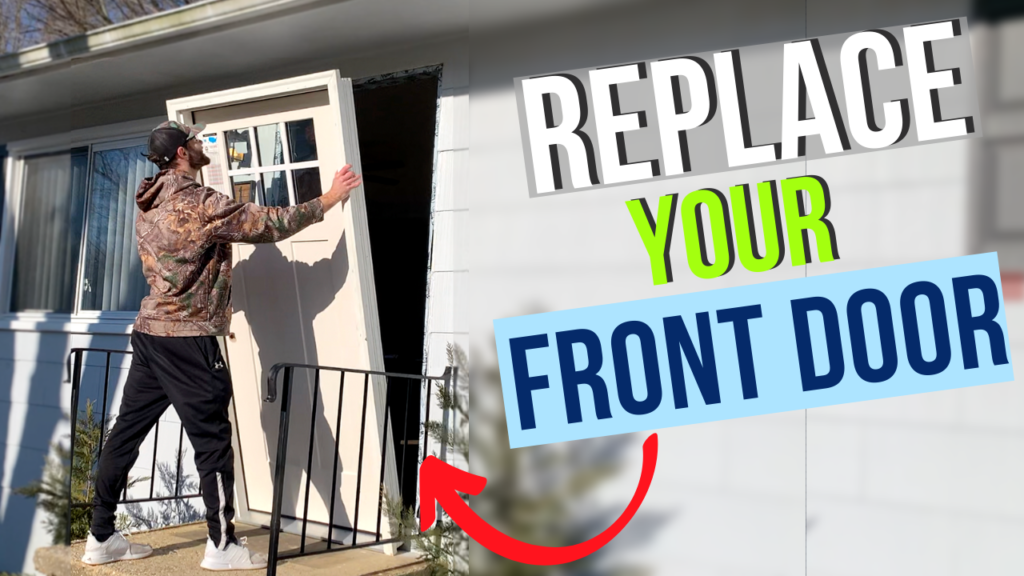
Replacing the front door on your home is a relatively easy DIY project that can dramatically increase curb appeal. Whether you are replacing your existing front door or installing a front door for the first time on a new construction home, this guide will show you every step in the DIY front door replacement process.
To replace a front door, start by removing the existing door. Remove the trim, screws, nails, etc. that are attaching the existing front door jamb to the home. Lift the existing front door out of the rough opening and clean up any dirt, dust, or caulk that may be left behind. Next, apply flashing and install a new PVC sill plate at the base of the door’s rough opening to prevent water infiltration beneath the door. Position the new front door in place, shim as necessary, and fasten the door jamb to the surrounding framing. Finally, caulk around the door’s exterior brickmould, replace the door casing and molding, and paint as necessary.
Replacing a front door can be an intimidating project. With this guide, you can replace your front door with confidence – leaving a brand new front door that dramatically increases your home’s curb appeal.
If you are more of a visual learner, check out my “How to Replace a Front Door” Youtube Video at the end of this article ⬇️.
Tools and Materials Needed to Replace a Front Door

To successfully replace a front door, you will need the following tools and materials:
- Safety Equipment (Glasses, gloves, boots, etc.)
- Tape Measure
- Drill
- Exterior Screws
- Circular Saw OR Miter Saw
- Reciprocating Saw
- Air Compressor and Brad Nailer (optional)
- SureSill Sloped PVC Sill Pan
- Flashing Tape
- Level
- Lumber Sealer (optional)
- 5-1 painter’s tool or putty knife
- Caulking gun
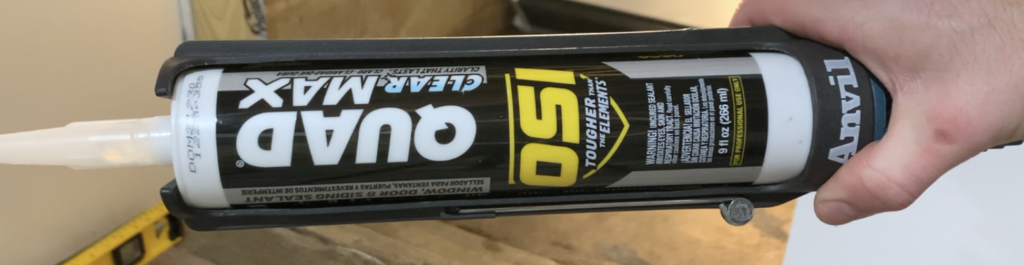
- Two 10oz tubes of high quality elastomeric sealant (i.e. caulk or construction adhesive)
- Shims
- Razor Blade
- Spray foam insulation (or similar)
- Replacement Front Door
- Replacement Door Handle
With all necessary tools and materials on hand, you can now begin replacing your front door.
Measure Your Existing Front Door and Purchase a Replacement Door
Before you can remove your existing front door, you need to purchase a new replacement front door.
To determine your replacement front door size, measure the width and height of your existing door panel. Measure the door only – not the jamb and not the trim.

Purchase a replacement front door that has the same width and height dimensions as your existing front door. Typically, this will be 36″x80″, but there are various other front door sizes as well.
When purchasing a replacement front door, there are low-end ($) and high-end ($$$) options. Purchase a door that fits your needs.
Front door’s typically come “pre-hung”, meaning that the door sill, door jamb, door, and brickmould are all included.
PRO TIP – The brickmould is the exterior door casing trim that comes pre-attached to most door jambs. Consider purchasing a door with a PVC or composite brickmould to prevent premature rotting or water damage.
Another aspect of selecting a new front door is the “swing” of the door. When researching front doors, you will likely come across the terms “right-hand inswing” or “left-hand inswing”. What this means is simple: If you are pushing the door open towards the inside of your home to open it, the door is called an “inswing unit”. A few additional notes:
- If you push the door on the left side to open it inwards, the door has a “right-hand inswing”.
- If you push the door on the right side to open it inwards, the door has a “left-hand inswing”
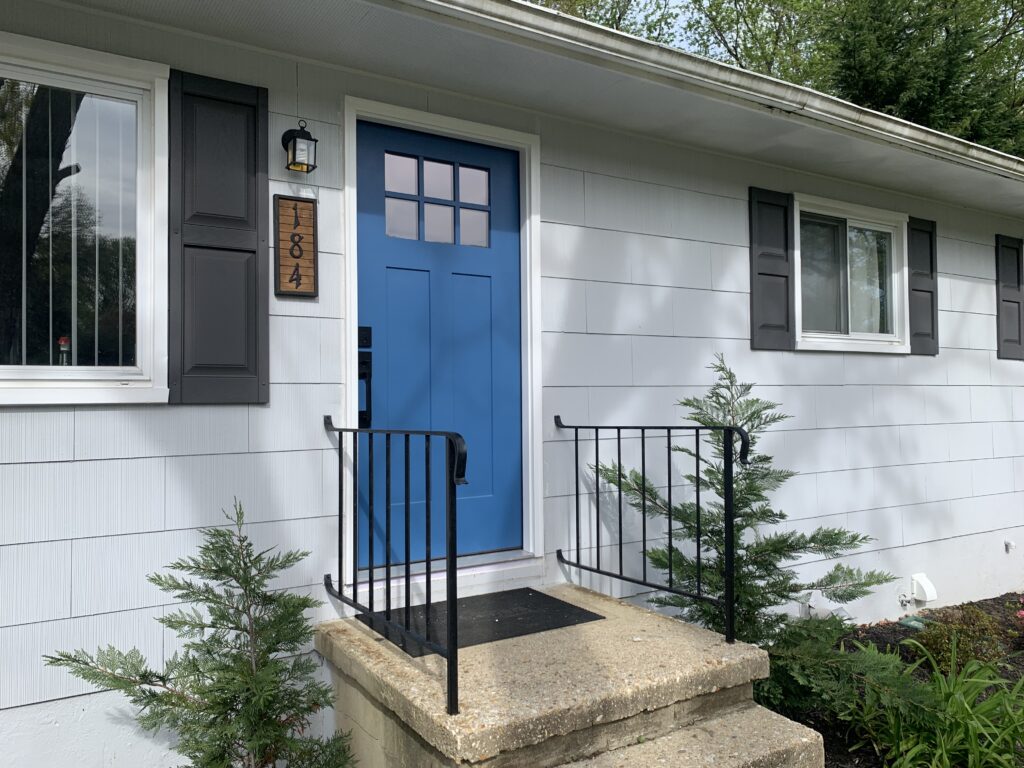
I replaced my existing wooden front door with a Therma-Tru 36″x80″ Fiberglass Prehung Door.
Remove the Existing Front Door
Once you have purchased your replacement front door and have it ready on site, you can begin removing your existing front door.
To begin removing the existing front door, remove the door casing on the interior side of the door using a prybar and hammer.
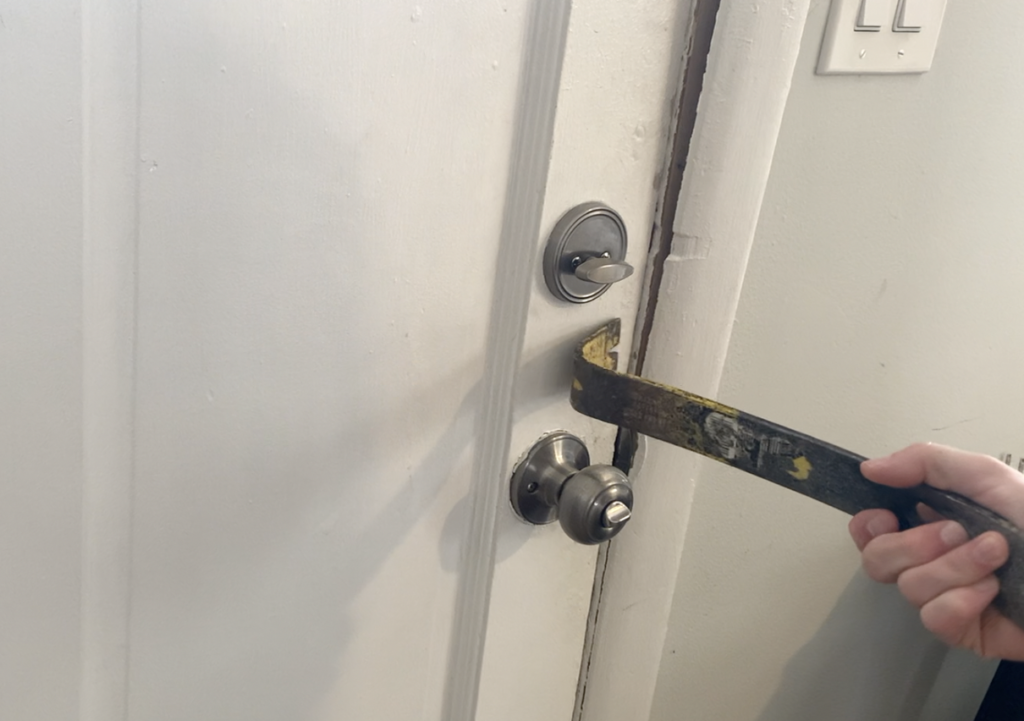
PRO TIP – Take your time with demolition to ensure that you do not damage your drywall – creating more work for you to repair later.
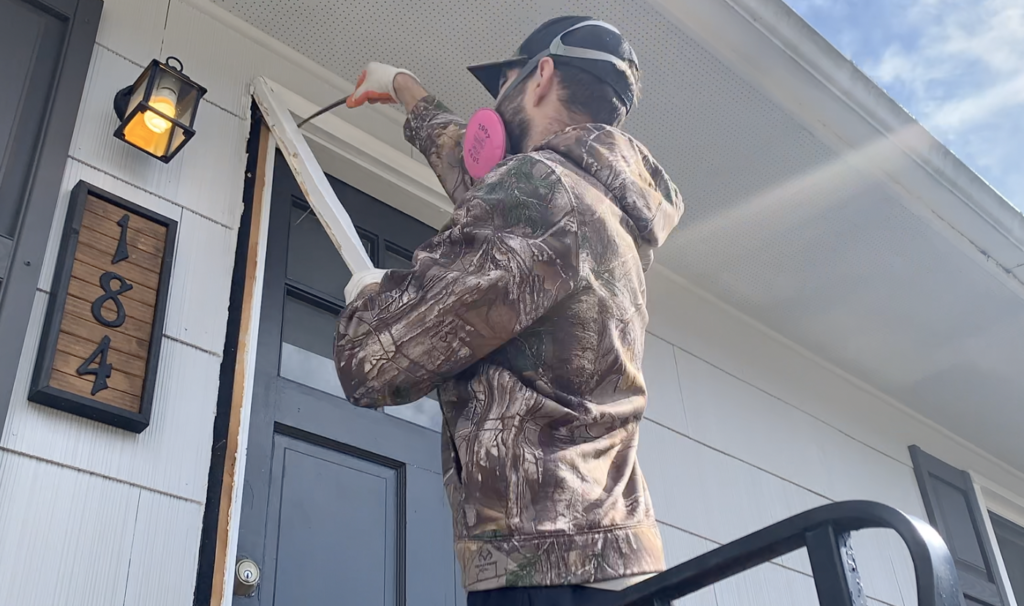
After removing the door casing from the inside of the home, begin removing the brickmould trim on the exterior side of the front door. Again, use a prybar and a hammer to remove the brickmould. Be careful not to damage the surrounding siding.
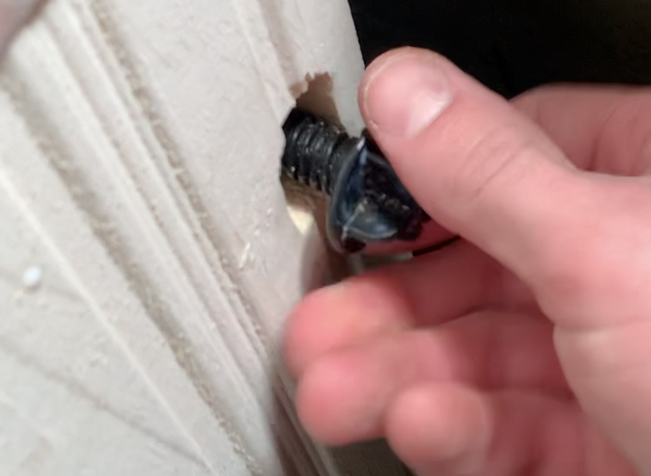
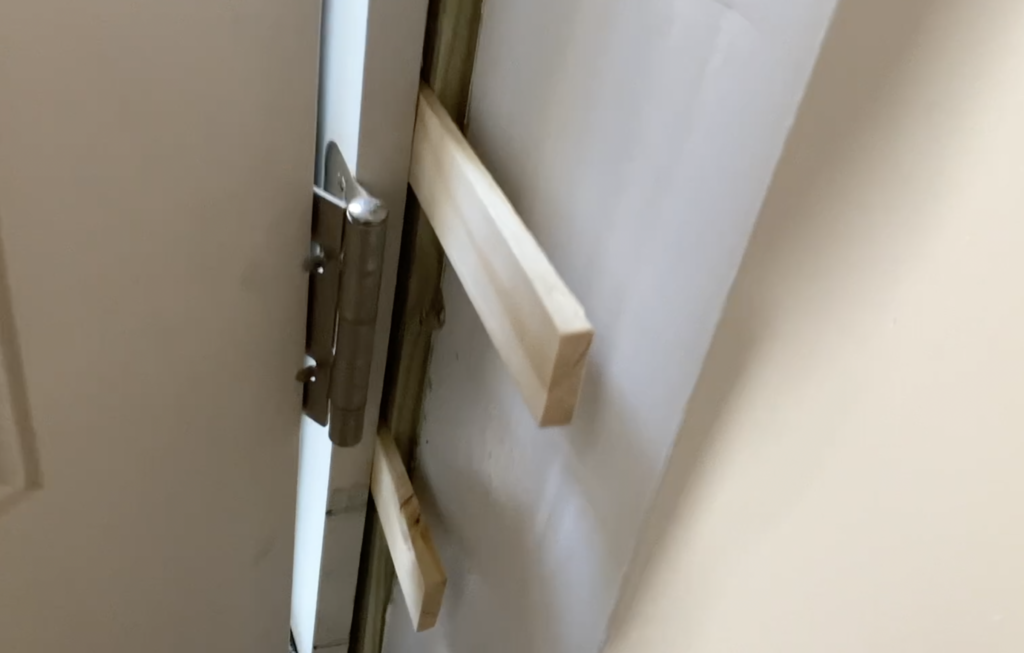
After removing the door casing on the inside of the door and the brickmould on the outside of the door, you can begin removing the screws and nails that attach the existing door jamb to the home’s framing.
Since most front door’s have a rough opening that is a few inches wider and a few inches taller than the prehung door installed within it, there will typically be a gap visible gap between the door jamb and the surrounding rough framing.
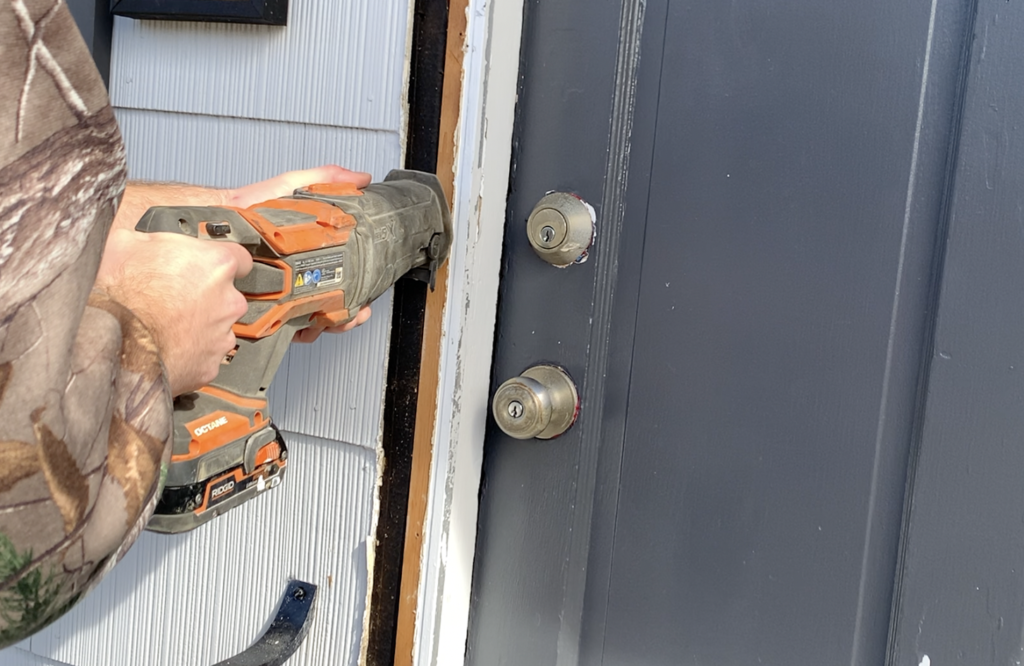
There will typically be 6-8 screws attaching the front door’s jamb to the surrounding door frame.
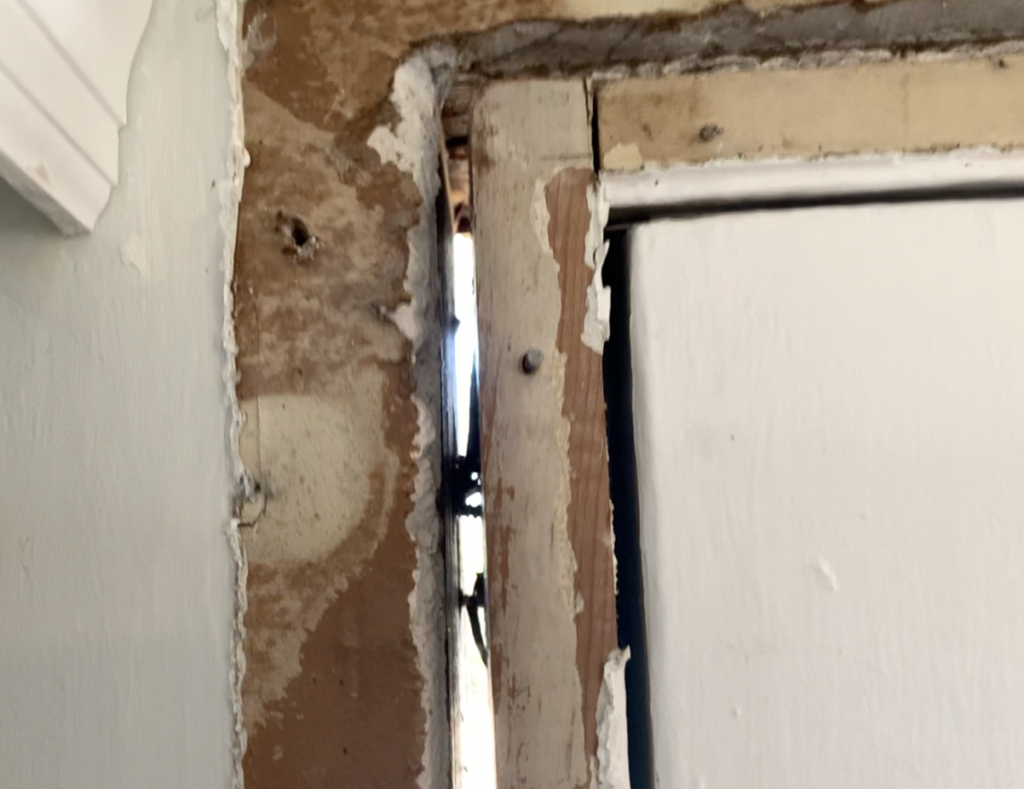
Identify the screw/nail locations and use a reciprocating saw to cut them off.
After cutting off all of the screws, the prehung door and jamb can be removed from the rough opening.
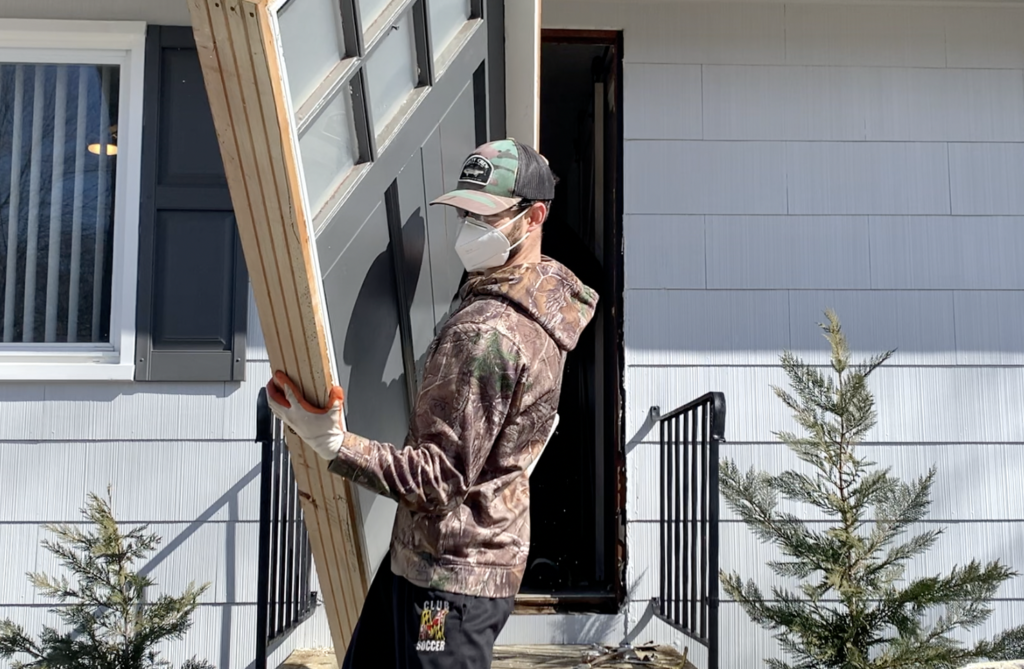
Carefully remove the existing front door from the rough opening by tilting the door towards the home’s exterior.

Carry the door away from the rough opening to allow for the new front door to be installed.
Prepare The Front Door’s Rough Opening for the Installation of a new Front Door.
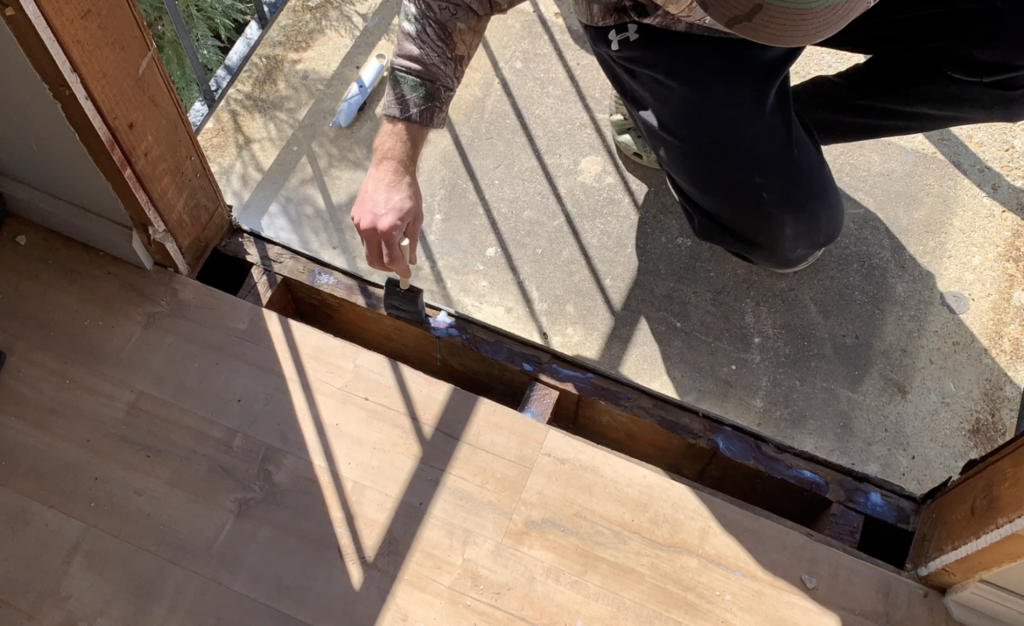
After removing the existing front door from the rough opening, inspect the rough opening for any damage, dirt, debris, etc. Remove any screws or nails that may impact the installation of the new front door and vacuum up any dirt and debris.
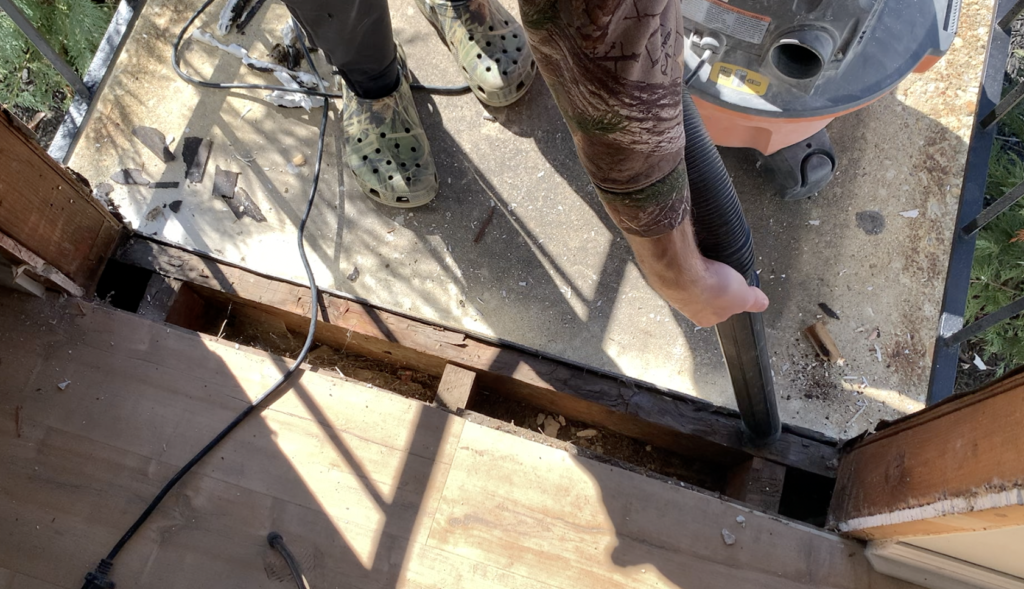
Inspect the front door rough opening for any signs of rot or water damage. If water damage is observed, replace any rotted lumber appropriately before proceeding.
As an extra precaution, I applied a bit of lumber sealer to the lumber at the base of the front door rough opening. This will help to protect the lumber in the event that it is ever exposed to water or moisture in the future.
After ensuring that front door’s rough opening is in good condition and free from any protruding screw or nails, you can begin preparing to install the new front door.
Install The Sill Pan at the Base of the Front Door’s Rough Opening
Although this step is not 100% required, installing a sill pan it is highly recommended in order to safeguard your home’s rough opening lumber from water damage. A Sill Plate (also called a Sill Pan) is a PVC threshold pan that prevents any water that comes in contact with the front door from ever coming in contact with your home’s lumber frame. Some contractor’s achieve a similar waterproofing effect with flashing tape, but a PVC Sill Plate is best practice for maximum water protection.
PVC Sill Plates can be purchased at most Big Box Stores (or online) and come in various different lengths to accommodate different door widths. Most sill plates are trimmable to fit your specific door application and rough opening, however.
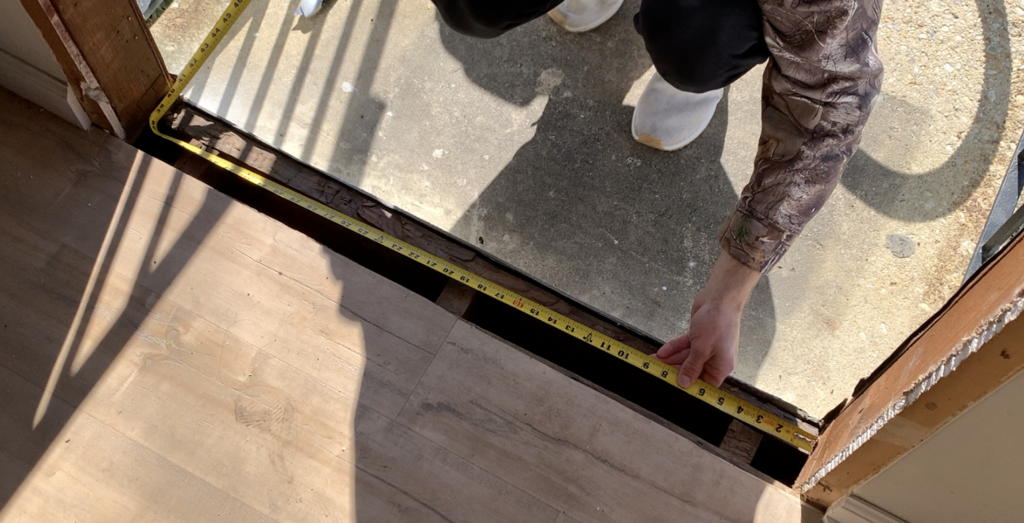
Measure the front door’s rough opening at the base of the door and cut the sill plate to size (if needed) using a miter saw or heavy duty tin snips.
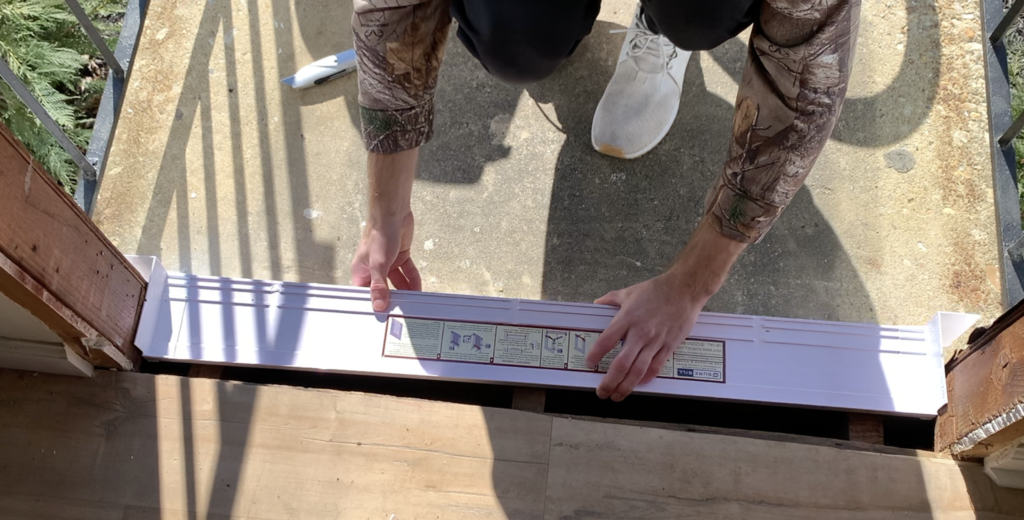
Next, install the end caps on the sill pan (refer to the sill pan installation instructions) and dry fit the sill pan in place within the existing front door’s rough opening.
After confirming fit, permanently attach the sill plate end caps to the sill pan using the PVC cement that is included with the sill plate.
Next, apply construction adhesive and/or sealant to the bottom of the door’s rough opening in preparation for the sill pan installation.
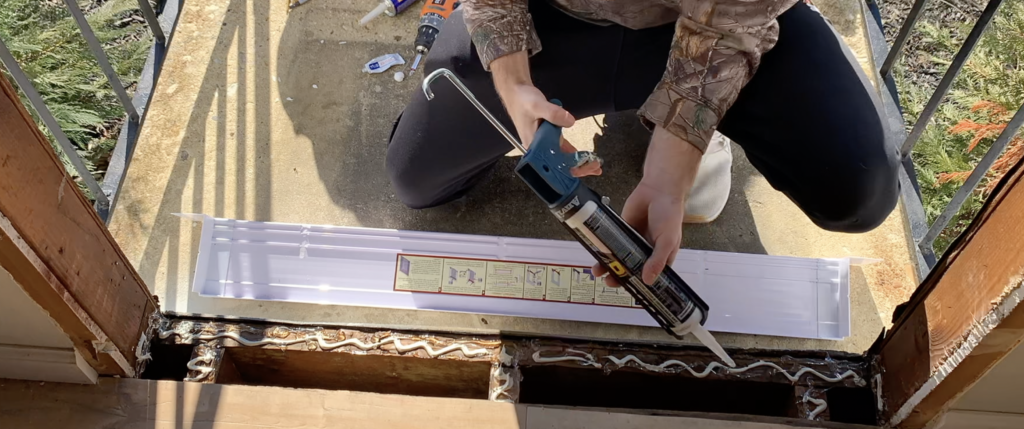
Position the Sill Pan in place at the bottom of the door’s rough opening and firmly embed the sill plate into the construction adhesive/sealant. Check that the sill plate is level and positioned correctly at the bottom of the door’s rough opening.
PRO TIP – Follow the Sill Pan manufacturer’s installation instructions. Ensure that the sill pan will not impede the new front door from being positioned properly within the rough opening.
After confirming the position and level of the sill pan, use screws to attach the sill pan to the door’s rough frame.
Now, you can move on to the next step in the front door installation process.
Install Flashing Around the Front Door’s Rough Opening
Before installing the new front door within the rough opening, it is highly recommended that you apply waterproof flashing tape to the front door’s rough opening frame. By applying waterproof flashing tape to the frame, you will greatly reduce the likelihood that moisture will ever infiltrate behind the new front door.
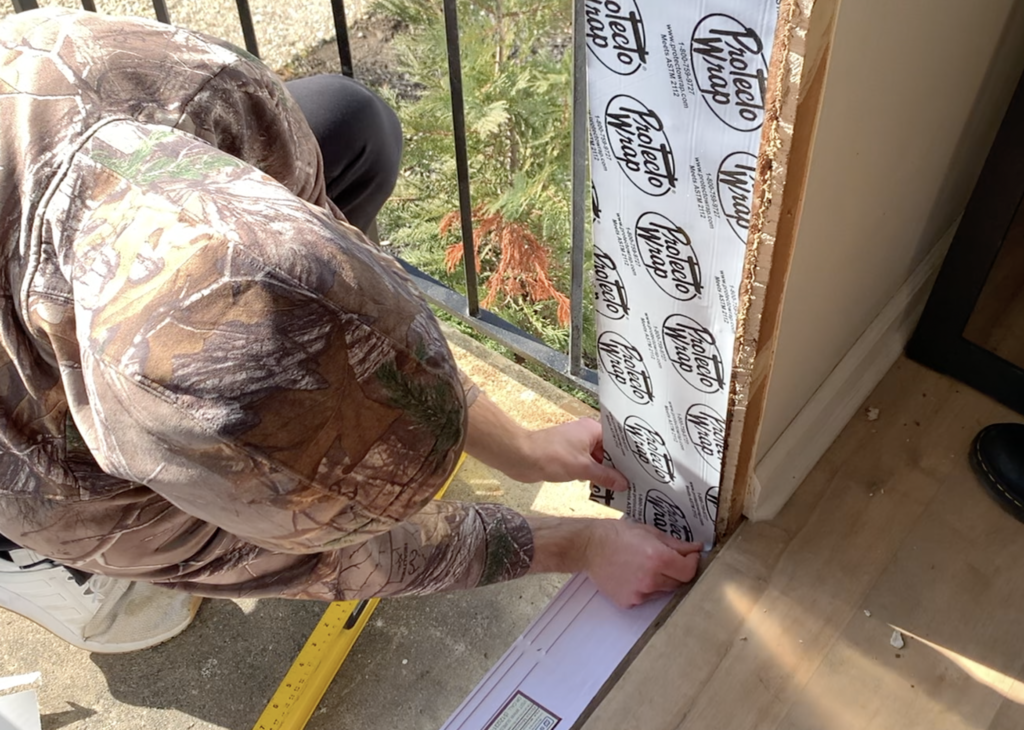
Starting at the bottom of the new front door, apply self-adhesive flashing tape to the rough opening frame such that the flashing overlaps the sill plate.
Continue applying flashing tape around the entire rough opening of the door, trimming as necessary.
Dry Fit the New Front Door Within the Rough Opening
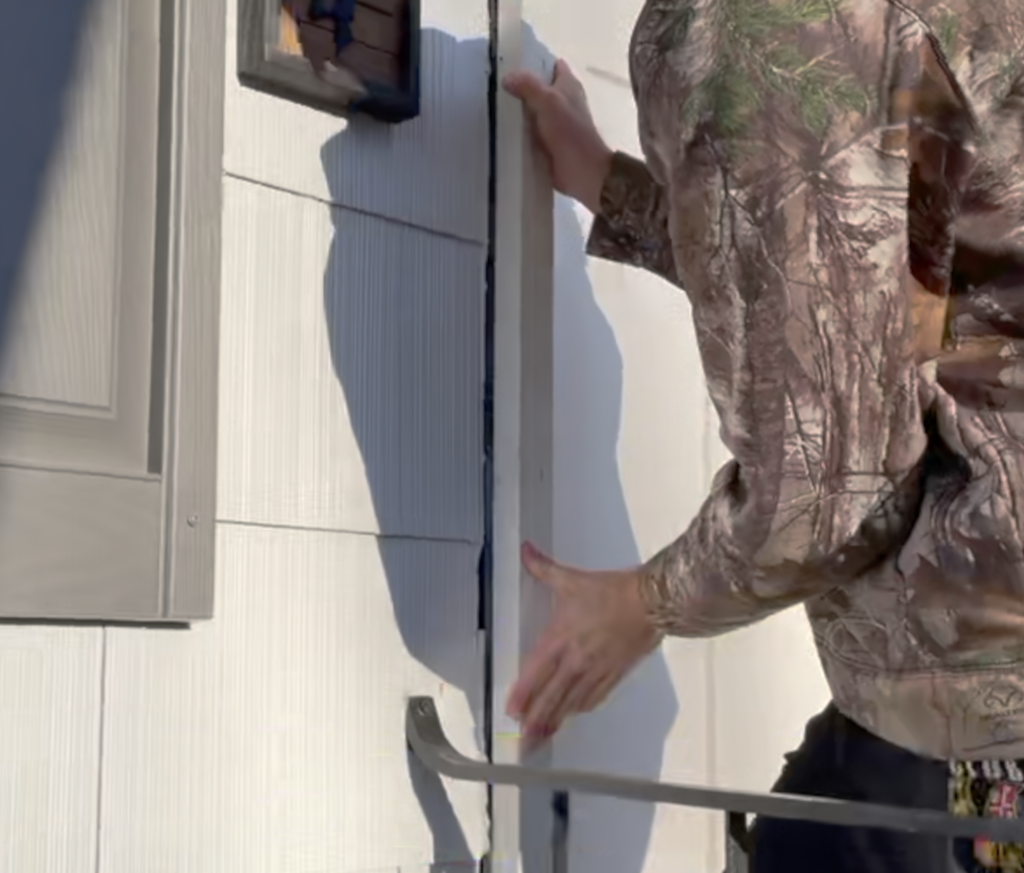
After installing the Sill Plate and Flashing, dry fit the new front door in place within the rough opening in order to confirm fit. Place the bottom of the front door on the sill plate and carefully lift the front door into place.
Confirm that the door fits in place correctly. Specifically, confirm the following:
- Ensure that the Brickmould is flush against the home
- Ensure that the front door’s jamb is even with the drywall on the homes interior
- Ensure that the Door Sill is level
- Confirm that the Door sits plumb within the rough opening
After performing a dry-fit and confirming that the new front door sits correctly in the rough opening for the door, the new front door can be installed.
Apply Caulk Sealant to the Sill Plate, Brickmould, etc.
After dry-fitting the front door, remove the front door from the rough opening and lay it down such that the back side of the Brickmould is accessible. Apply a bead of Caulk or Sealant to the back side of the brickmould to ensure that the brickmould will seal against the home’s exterior sheathing once it is pushed into place.
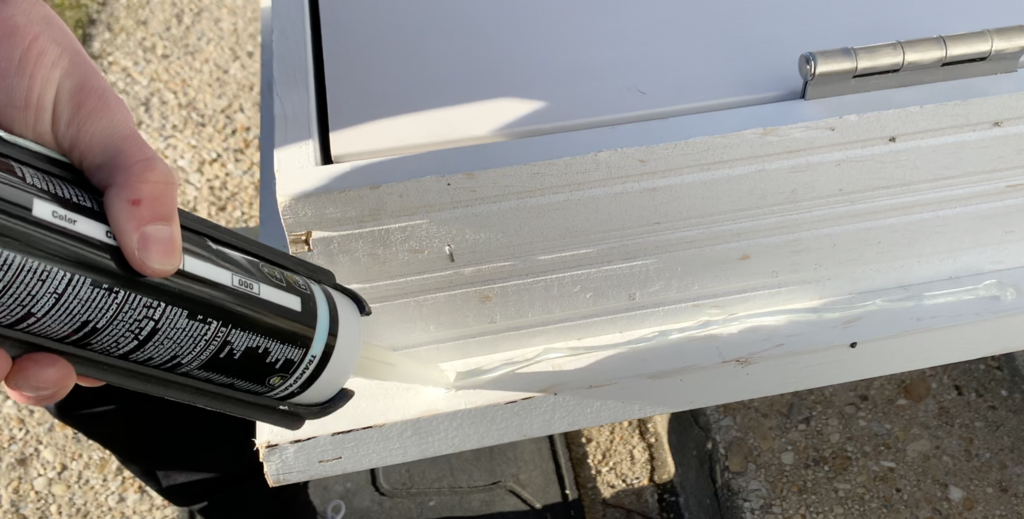
Be sure to run calk or sealant around all three sides of the brickmould.
With sealant applied to the brickmould, the new front door can be lifted into place.
Lift the New Front Door in Place Within the Rough Opening
After applying sealant to the brickmould and sill plate, lift the new front door into place within the rough opening. To do this, position the bottom of the door so that it rests on the sill plate. Next, carefully tilt the door upwards, lifting it into place.

Pro Tip – If the prehung front door is equipped with a screw type “chick plug” (which keeps the door from opening during transit) remove it before lifting the door into place.
After lifting the door in place, press the new front door towards the house until the brickmould is pressed firmly against the homes sheathing/housewrap. At this stage, confirm that the door is sitting correctly within the sill plate and that the door jamb is even with the drywall on the inside of the home.
Install temporary fastening screws (provided with door) through the door hinges and into the surrounding door rough opening frame.
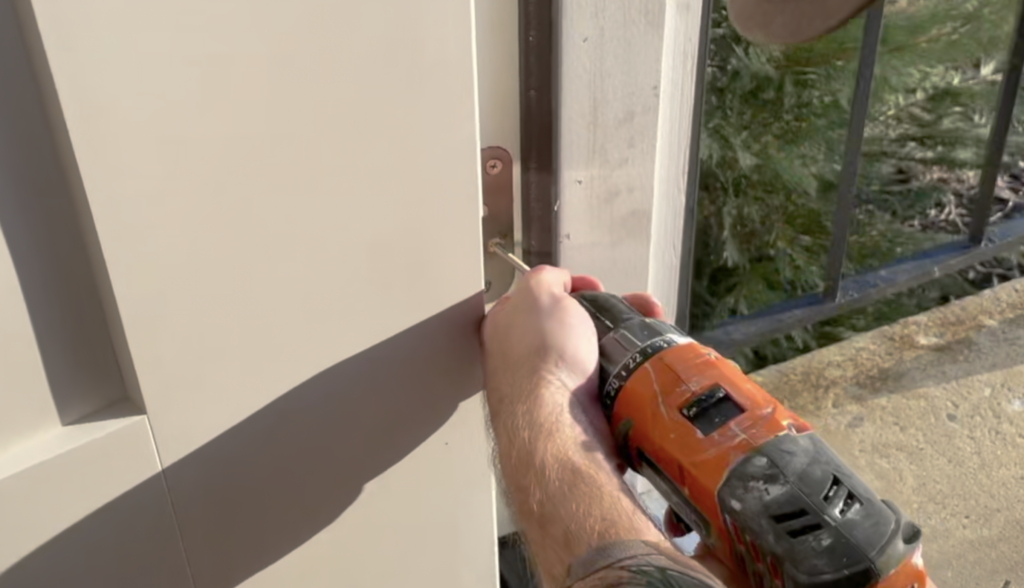
Do no fully tighten the screws at this time – These screws are simply to hold the door in place while you make adjustments.
Shim the Front Door and Check for Plumb
Starting on the hinge side of the jamb, use a 6′ level to confirm that the jamb is perfectly plumb.
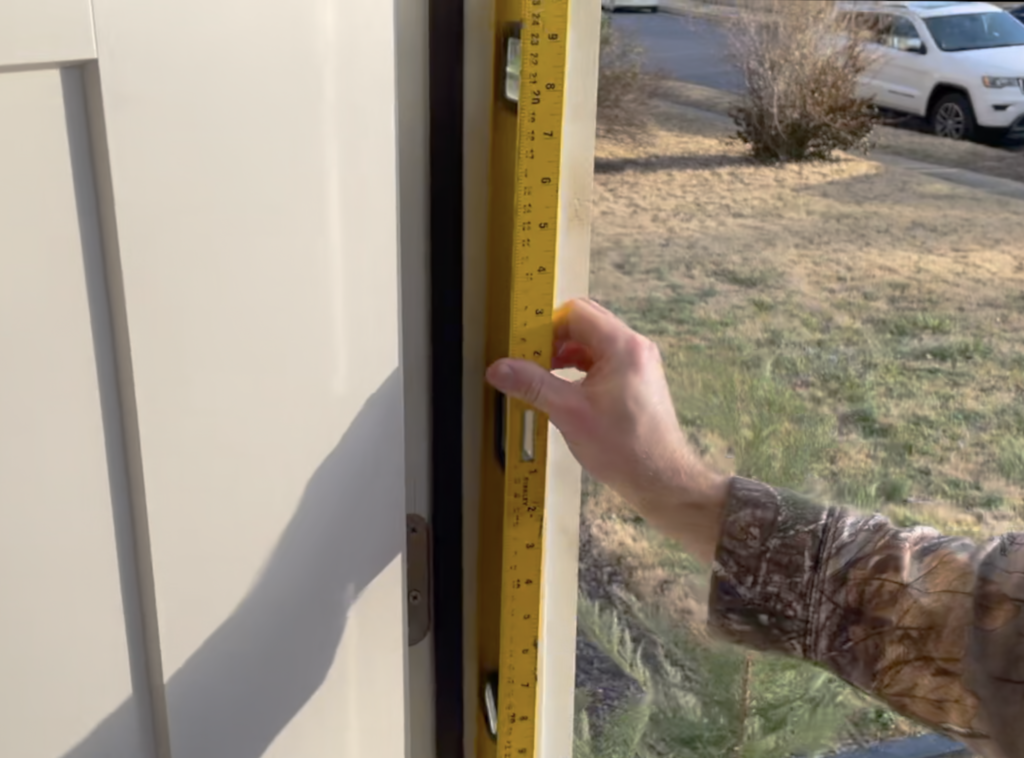
Additionally, check to make sure that the exterior Brickmould is flush against the home and that the inside of the door jamb is in line with the drywall.
Next, install shims above the screws at each hinge location to achieve a perfectly plumb jamb.
Attach the new front door to the rough-in opening framing
After installing the shims and confirming that the jamb is level, fully tighten the screws in the hinges. Re-check that the jamb is plumb after fully tightening the screws and make any adjustments as need.
Next move to the lock side of the front door jamb and check to make sure the jamb is positioned correctly and plumb. Install shims as needed.
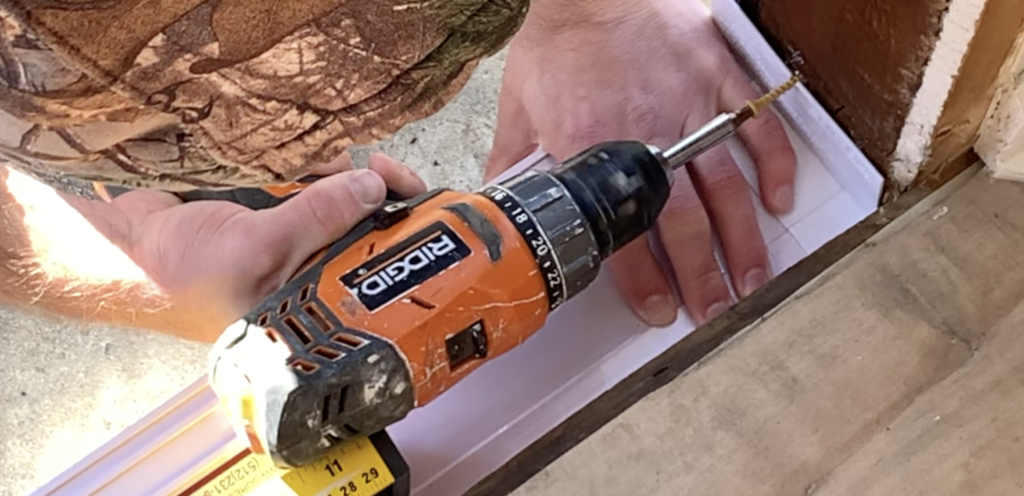
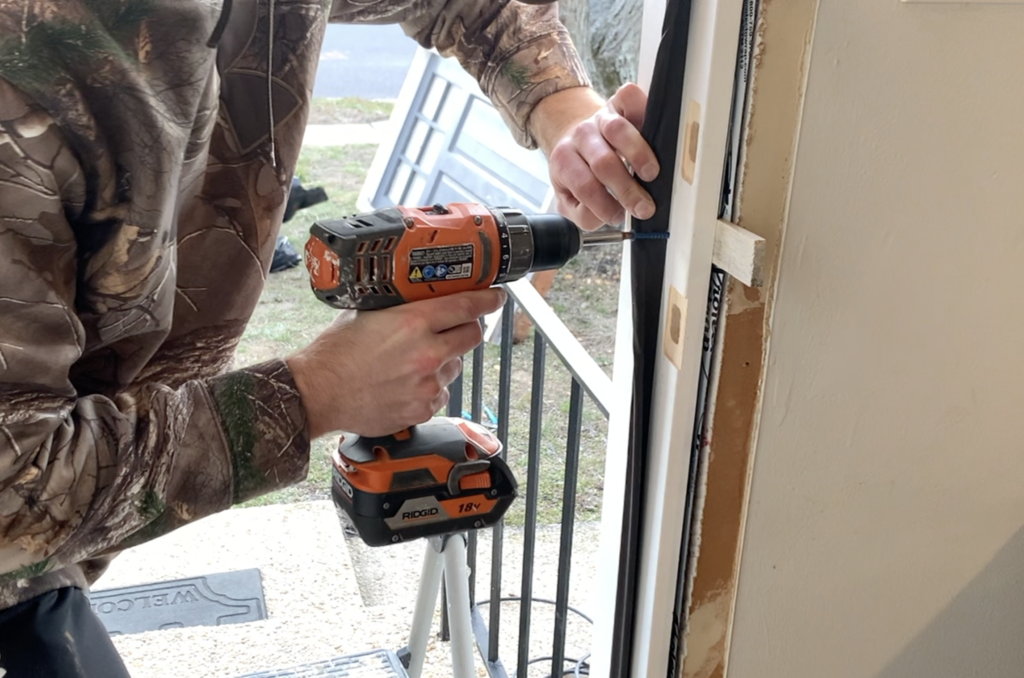
Next, pre-drill holes behind the weather stripping to allow for you to attach a few screws through the jamb and into the door’s rough framing.
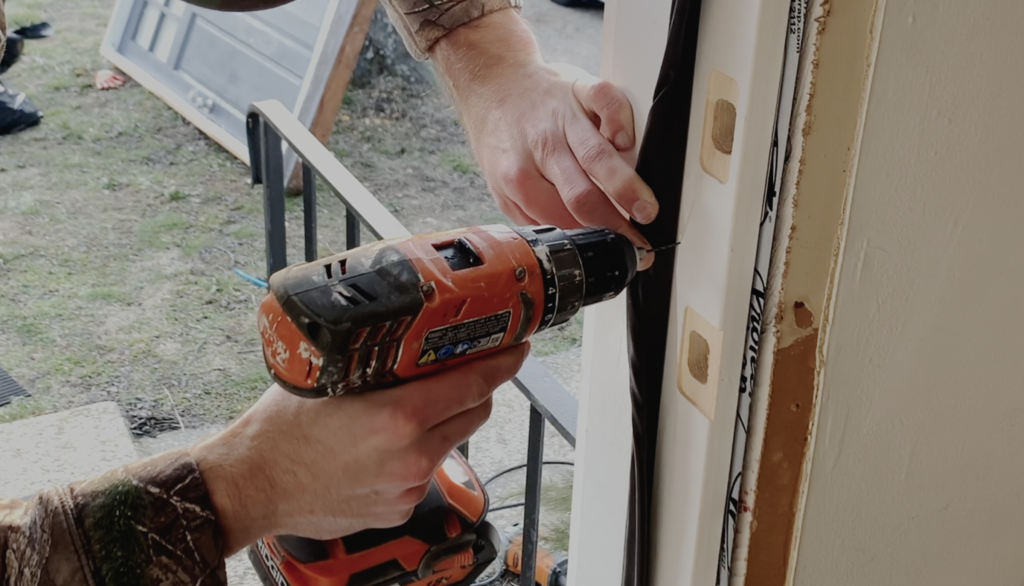
Typically, you will install one screw at the bottom, one at the top, and two screws near the deadbolt of the front door. Pre-drill as necessary.
Attach the lock side of the jamb to the frame using 2.5″ – 3″ screws at all of the pre-drilled locations.
Partially tighten all screws and the re-check the door’s position and plumbness. After confirming that the door is positioned correctly, fully tighten the screws.
At this stage, open and close the front door to check for smooth operation. Your door should open an and close freely, without contacting the jamb. Additionally, check to make sure that the door contacts the weatherstripping evenly at all locations.
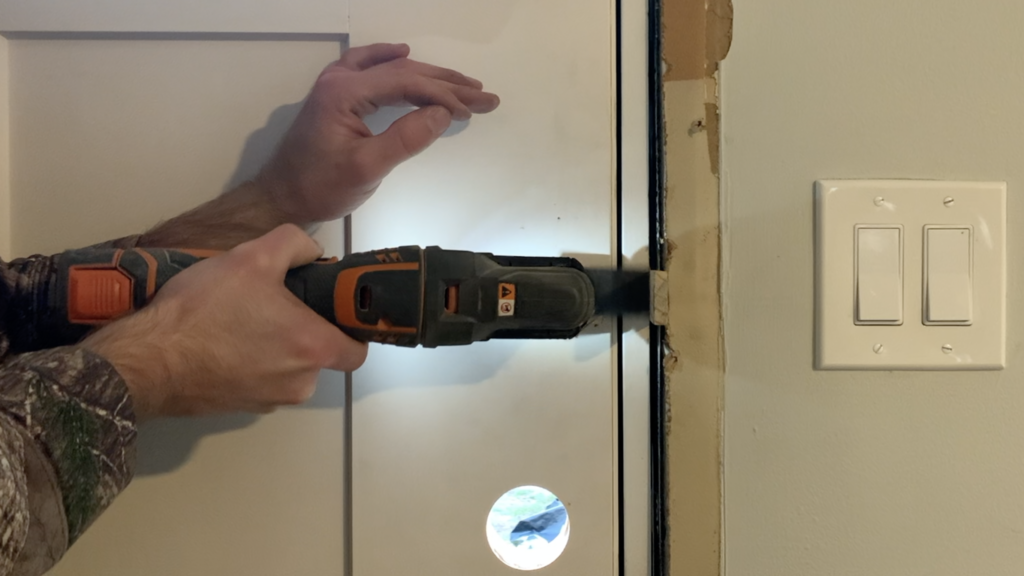
Once you have confirmed that the door closes properly, trim the excess shim length off with an oscillating tool or a utility knife.
Apply Expanding Spray Foam Insulation in the Gap Between the Door and the Rough-in Framing
Once you have installed the new front door and confirmed that it is positioned correctly, that the jambs are plumb, and that the door opens and closes correctly, you can apply foam insulation between the door jamb and the door’s rough frame.
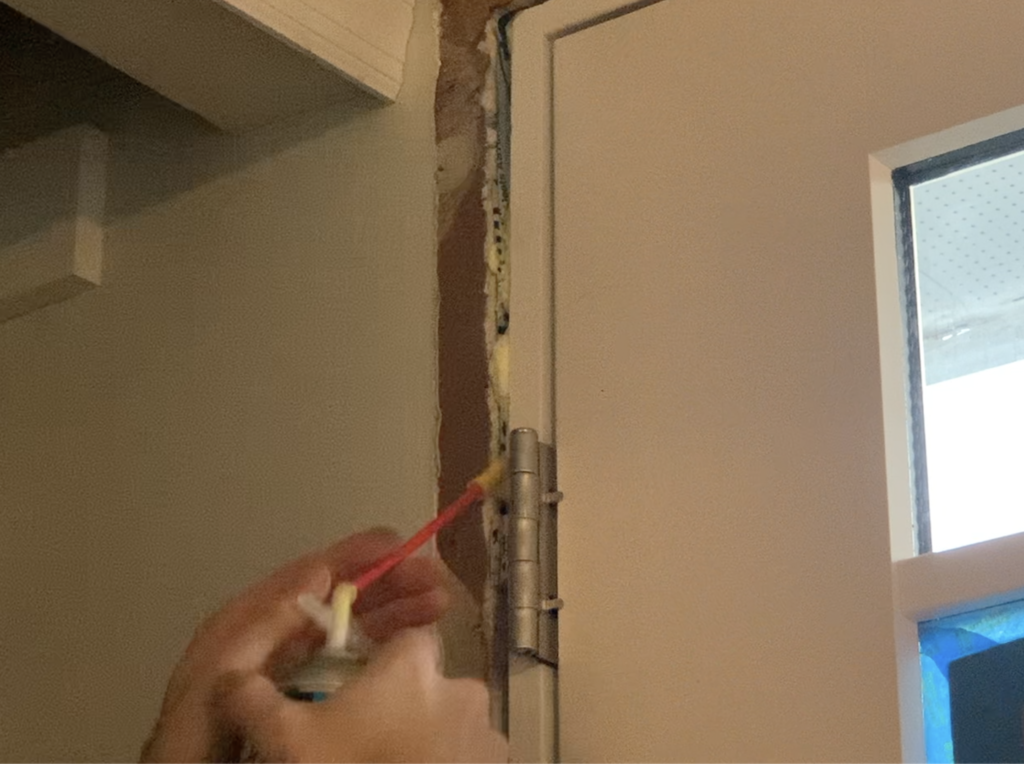
Nobody likes a drafty front door, so be sure that you insulate your new front door properly. To apply spray foam insulation, position the spray nozzle in between the door jamb and the rough frame and carefully apply spray foam until the gap is completely filled. Ensure that adequate spray foam is installed, but be sure not to apply too much – potentially causing the door to bow or warp.
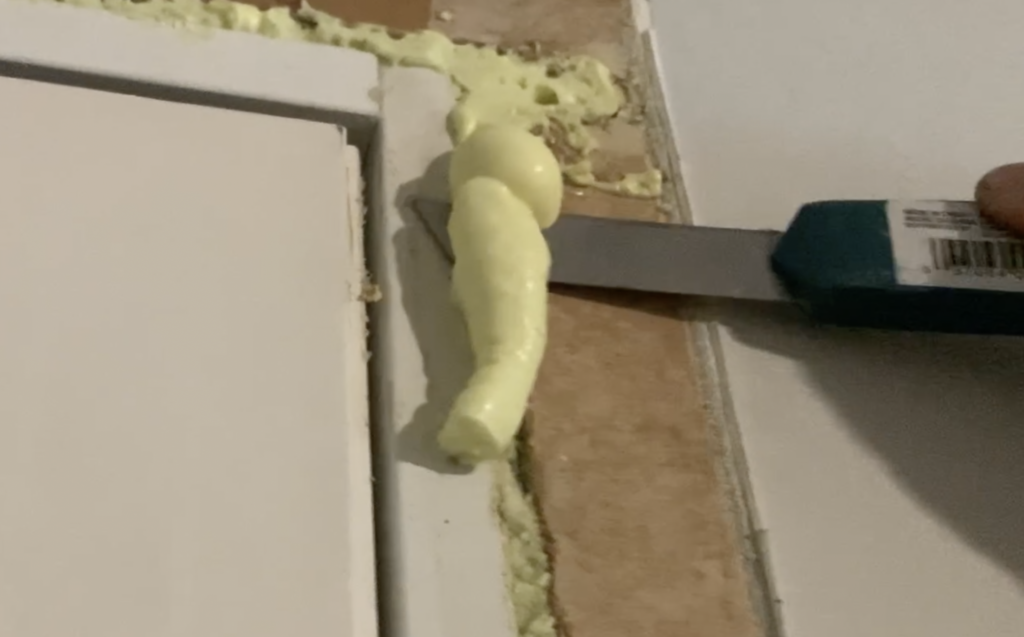
Any excess spray foam can be cut off flush with the door jamb by using a utility knife as shown.
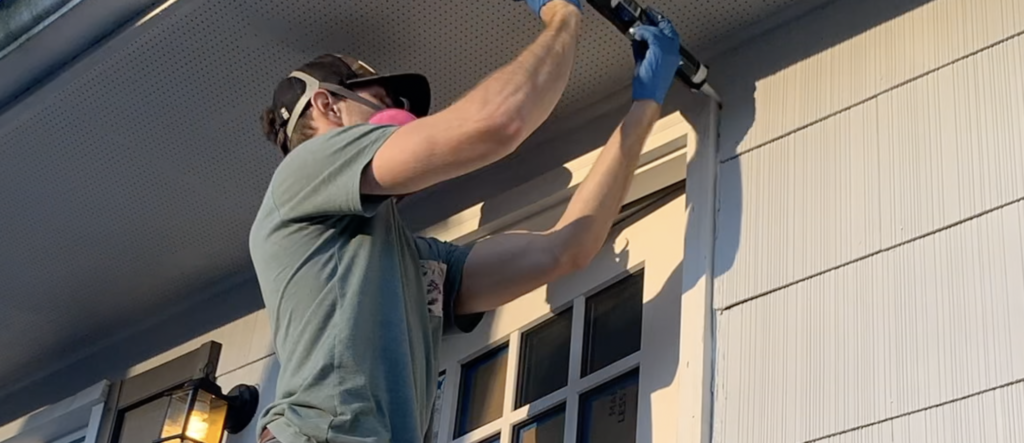
Caulk Around the Brickmould to Prevent Water Infiltration Behind the Front Door
After insulating the front door, move to the door’s exterior and apply a bead of caulk/sealant around the entire Brickmould. The bead of sealant will prevent any water from getting behind the brickmould – which could result in water damage to your home.
Replace the Front Door Casing on the Inside of the Home
At this stage, install new door trim around the inside of your new front door. To do this, establish the reveal using a carpenters square and mark this distance around the entire jamb.
Next, cut the vertical pieces of trim so that they are flat at the bottom (contacting the floor) and so that there is a 45 degree miter at the top. The bottom of the 45 degree miter should be even with the reveal mark that was marked on the jamb previously.
Finally, cut the top piece of trim to size with 45 degree miter cuts on both sides.
Attach the door casing to the wall with construction adhesive and/or brad nails.
Caulk between the door casing and the surrounding wall for a professional looking result.
Finally, paint the interior door trim casing. Ultra-pure white semi-gloss paint is typically used for most trim applications.
At this point, also paint the exterior brickmould with a high quality exterior rated paint that matches the color of the interior door casing (usually Ultra-pure white semi-gloss).
Install a new Door Handle on the front door.
One of the final steps in a front door replacement project is to install new door hardware (handle, dead bolt, etc.). Follow the door hardware manufacturer’s instructions and install the door handle on the new front door accordingly.
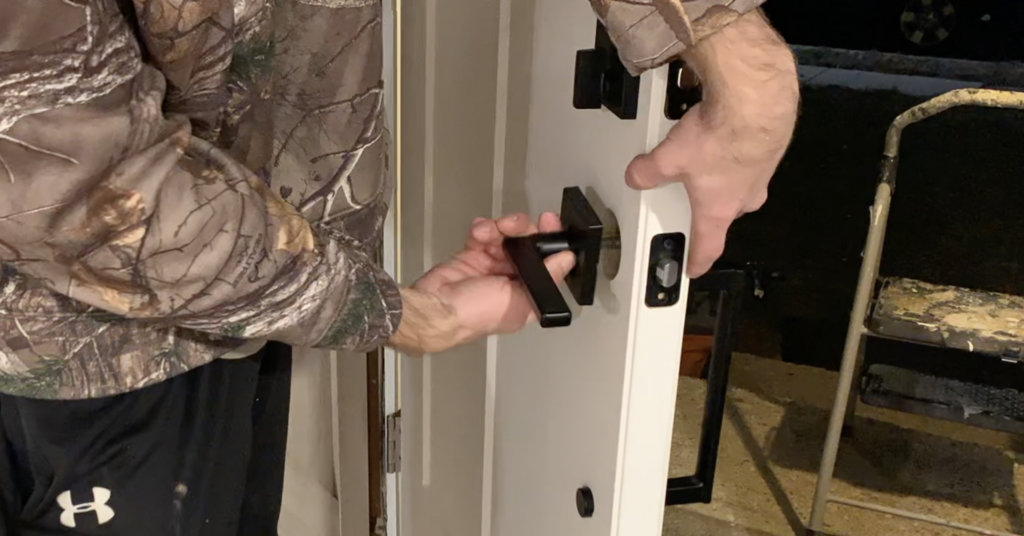
PRO TIP – If you plan on painting your front door, you can save time by painting the door before you install the door hardware.
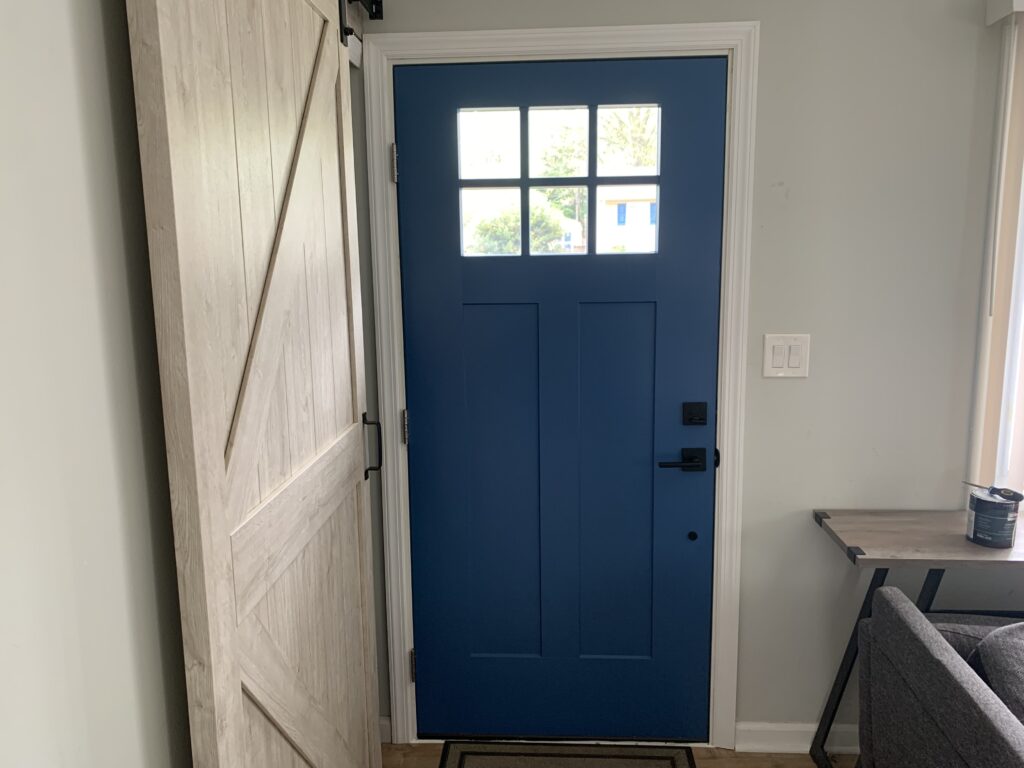
Paint the Front Door (if desired)
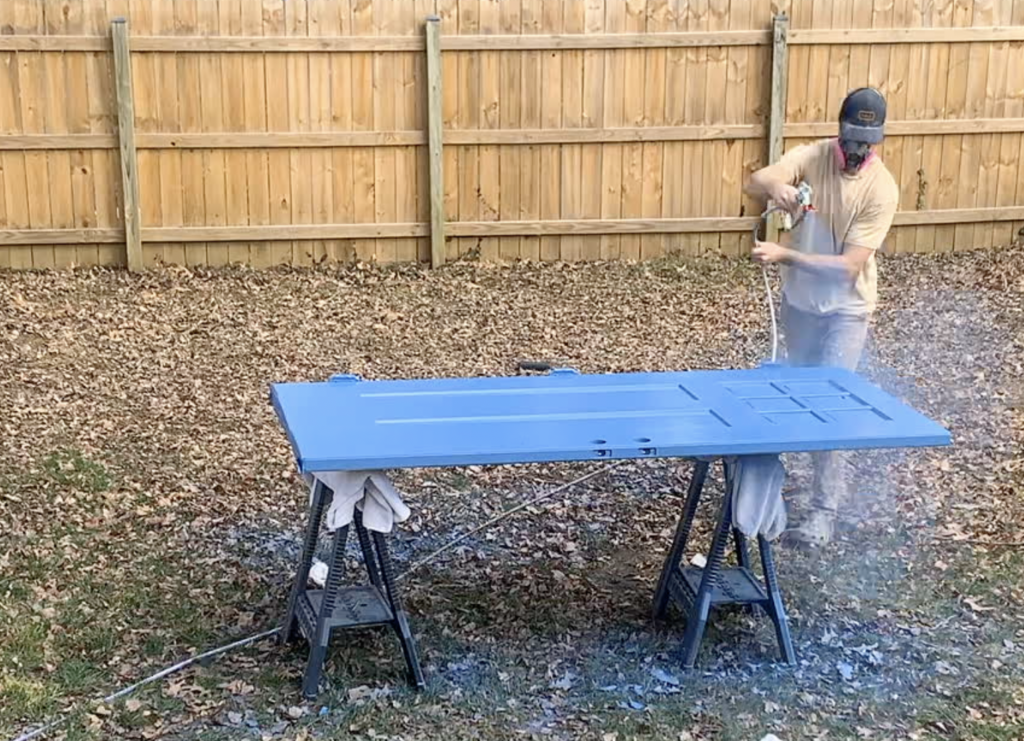
If your front door is paintable and you desire a new color, a fresh coat of paint can dramatically transform the exterior look of your home. To paint a front door, it is recommended that you remove the door from the jamb by removing the hinge pins and lifting the door out of the jamb.
Next, consider taping off the hinges and glass panels (if applicable for your door) to prevent paint from getting on parts of the door that it shouldn’t.
PRO TIP – it is highly recommend that you remove door hardware (handle, deadbolt, etc.) before painting. You can simply re-install the hardware after the front door is painted.
Next, clean the door to ensure that there is no dirt, dust, or oily substances that will prevent the paint from adhering to the door.
Use a high quality exterior rated 100% acrylic paint and apply it to the front door using a paint brush, roller, or a paint sprayer (recommended).
Paint all sides of the door, using as many coats as required to achieve sufficient coverage. Allow the paint to dry, remove any tape, and install (or re-install) the door hardware. Lift the door back into place and re-insert the hinge pins.
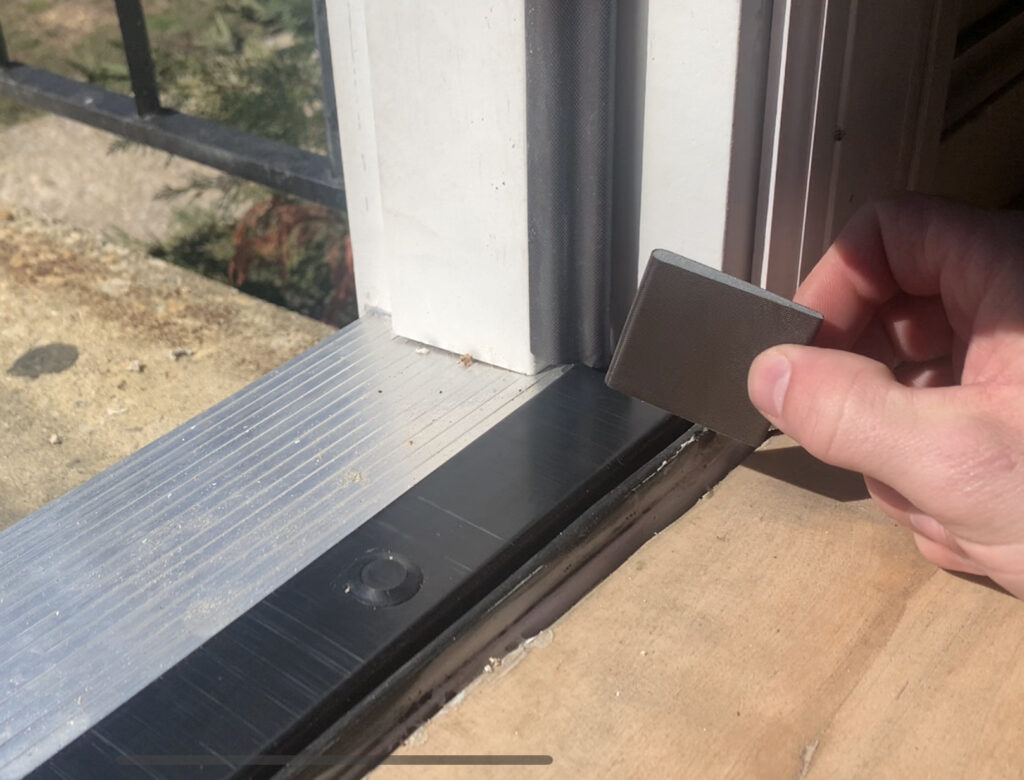
Install Corner Seal Pads (in-swing units only)
One of the last steps in the prehung front door installation process is to install corner seal pads(included with the door). To do this, remove the adhesive backing paper from the corner seal pads and place additional caulking/sealant on the seal pad (if necessary). Apply the seal pad to the bottom of the door jamb with the bottom lined up with the top of the threshold cap.
The seal pad may help to prevent a draft in bottom corners of the door. Once your seal pads have been installed, take some time to test the seal between the bottom of the door and the sill threshold. To do this, place a dollar bill over the sill threshold and close the door. Next, pull on the dollar until it is pulled free. If the dollar bill is very difficult to remove (or if it tears), the sill is too high and needs to be lowered. If the dollar bill is very easy to remove, the sill may be too low, possibly allowing for a draft.
To adjust the sill, remove the screw plugs on the sill and tighten or loosen the screws as necessary. Re-perform the pull test to ensure that the sill height is appropriate.
Your pre-hung front door installation is now complete!

By following the steps in this article, you will be able to replace the front door on your home successfully (and save a whole lot of money in the process by doing it yourself). Enjoy you new front door and the increased curb appeal that goes with it.
Thanks so much for checking out ATImprovements! If you learned something from this project, you might also like these other DIY Projects:
- How to Build a Concrete Slab Shed Foundation: https://atimprovements.com/how-to-build-a-shed-base-concrete-slab-step-by-step-diy-guide/
- How to Build a Fence: How to Build a Fence (DIY Guide) – AT Improvements
- How to Build a Fence Gate: How to Build a Fence Gate (7 Steps with Pictures & Video) – AT Improvements
- How to Install a DIY deck Wire Railing: DIY Cable Railing – How to Install Cable Railing Step-by-Step – (atimprovements.com)
- How to Build a Concrete Paver Patio: DIY PAVER PATIO – Easy DIY Paver Patio Ideas – (atimprovements.com)
Thanks!
DISCLAIMER: This is a reference guide only. Consult local code requirements. Links included in this article might be affiliate links. If you purchase a product or service with the links that I provide, I may receive a small commission. There is no additional charge to you! Thank you for supporting ATimprovements so I can continue to provide you with free content each week!