
A beautiful, green lawn is desired by nearly every homeowner with a yard. Unfortunately, however, most lawns are patchy, thin, and full of weeds. If you have a lawn that needs improvement (or if you are growing a new lawn completely from scratch), this article will show you all the steps in planting a beautiful lawn from grass seed.
To plant a lawn from scratch, start by removing any weeds, sticks, debris etc. from your yard. In some cases, you may want to apply a chemical week killer. Next, test the soil to determine if any pH adjustments or fertilizer is needed. Till or aerate the soil in order to loosen the dirt and prepare it for the sowing of grass seed. Select a grass seed that is suitable for your climate and evenly apply grass seed using a broadcast seed spreader. After applying grass seed, gently rake the seed into the soil and then water the application area two times per day. Be sure to keep the soil and grass seed moist during the entire germination period – which is typically two weeks.
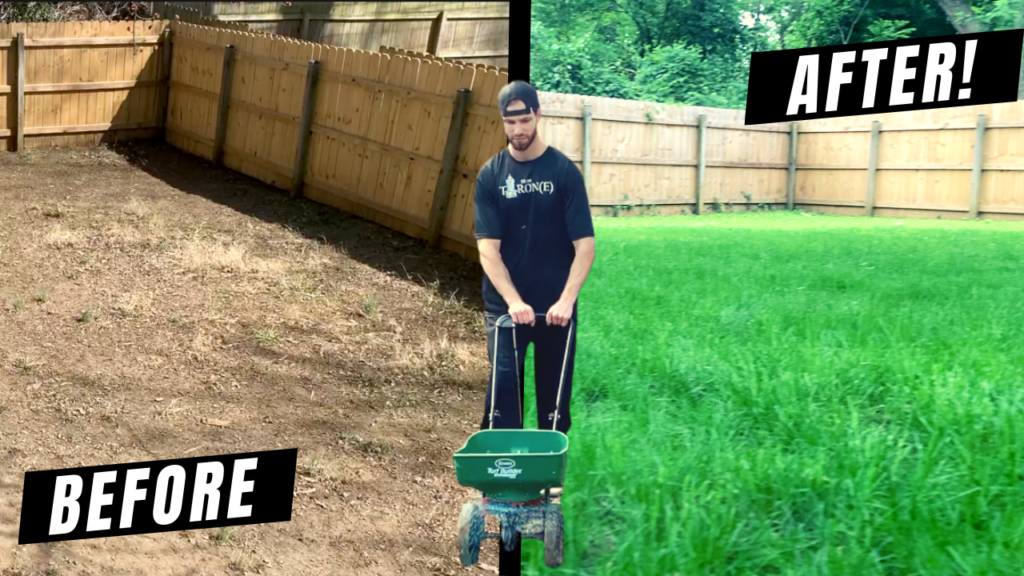
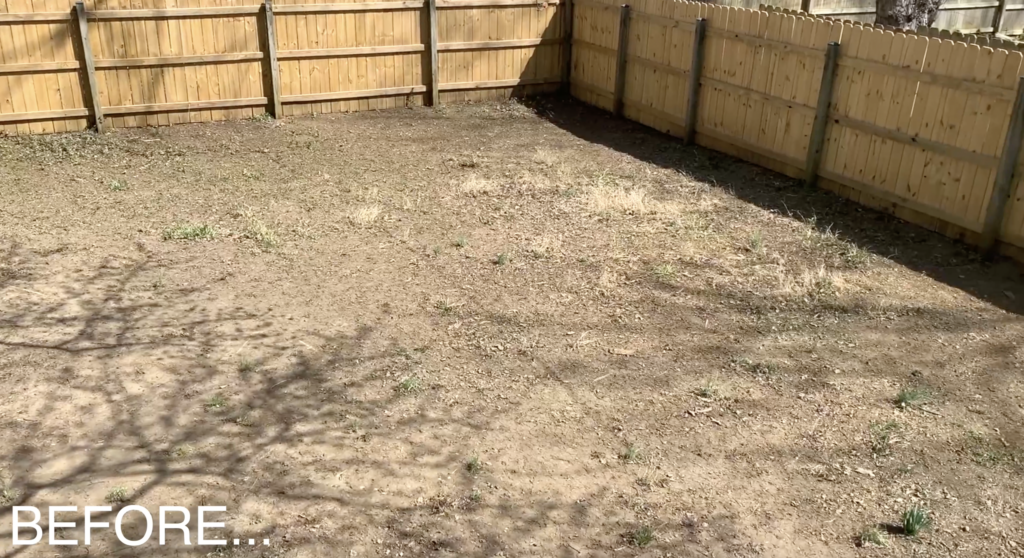
This article will teach you how to plant a new lawn from scratch – so that you can go from this:
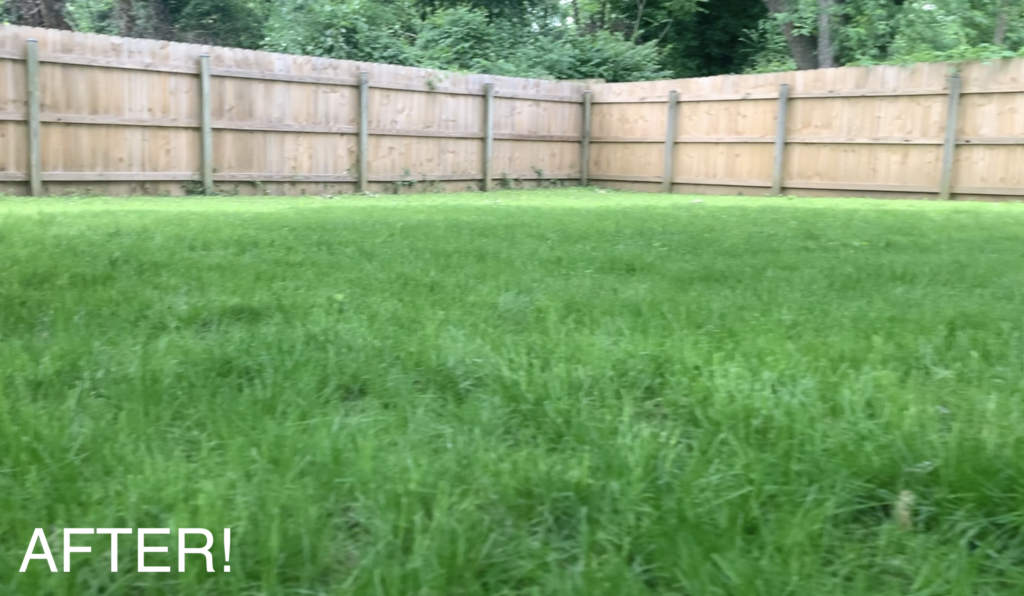
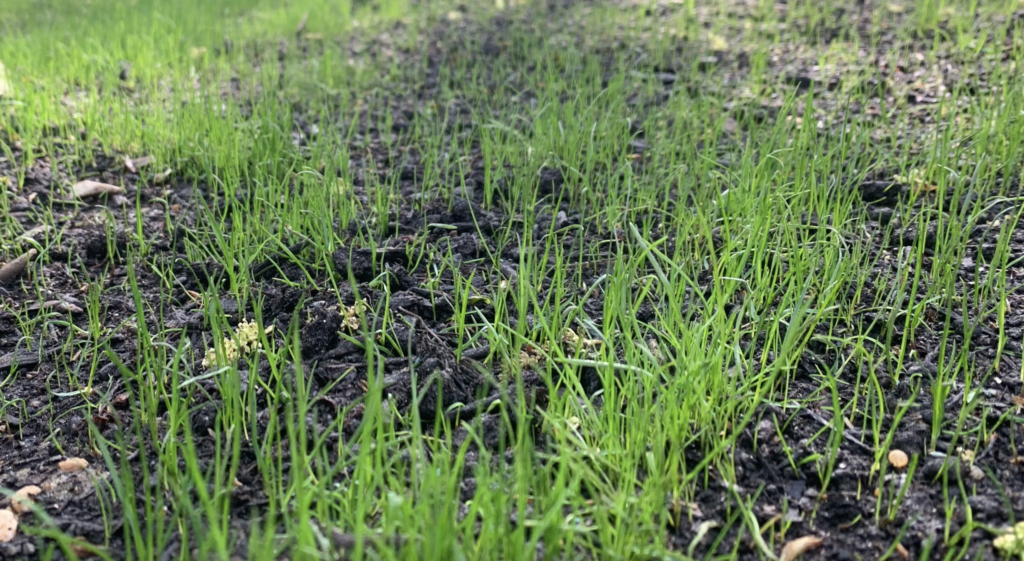
To This:
Before getting started, here are some “MUST HAVE” Tools and Materials for your grass seed planting project:
Now, let’s begin planting a new lawn from scratch. If you are more of a visual learner, you can watch my “How to Grow Grass” Video on YouTube!
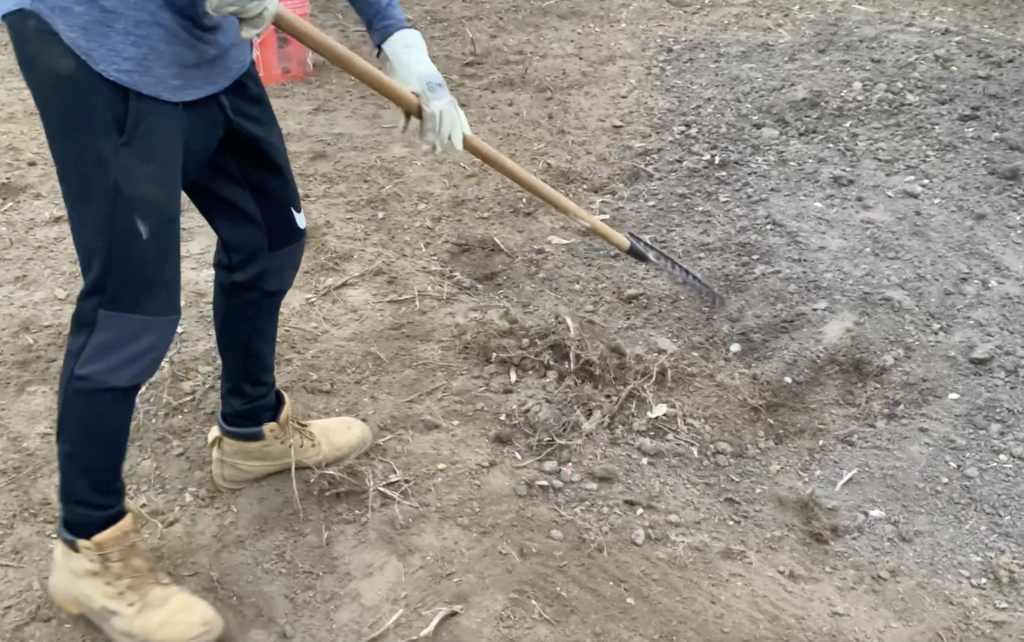
1. Remove Existing Weeds and Debris From Your Lawn
Although it goes without saying, you want to remove any sticks, rocks, debris, etc. from your existing lawn before you can begin thinking about planting new grass. Use a rake to remove roots, leaves, weeds, sticks, or anything else that might hinder your ability to grow new grass.
If your existing yard has a lot of weeds, you may want to consider using a chemical weed killer or herbicide. For my lawn, I chose to go “all natural” and I skipped the chemical week killer. As a result, my yard is far from weed-free – but it is chemical-free.
If you want to go with a chemical weed killer, I recommend that you perform your own research. Some of the products and chemicals used to kill weeds may be harmful.
After removing the weeds and debris from your existing yard, you can move on to the next step.
2. Test the Soil for pH and Nutrient Deficiencies
If your native soil is unhealthy, you are going to have a very hard time trying to grow healthy, green grass. As a result, I highly recommend that you test your soil for pH, nutrients, etc. You can buy a cheap soil tester on Amazon that will help you to diagnose any issues (if any) with your existing soils.

For example, if you find that your existing soil is too acidic (pH below 7), you may need to add lime to your soil. Additionally, nutrients such as nitrogen may need to be added.
Test your soil and perform research as necessary to ensure that your soil is healthy prior to proceeding with the next steps.
3. Till or Aerate the Soil
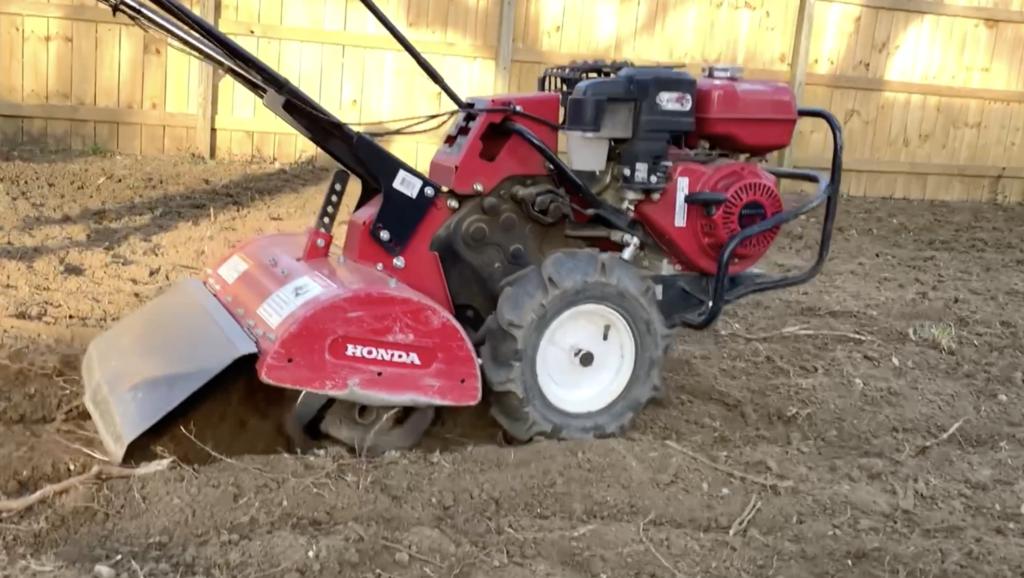
In most cases, you will want to till your existing soil in order to loosen it up prior to the planting of grass seed. You can rent a soil tiller from most big box stores (Home Depot, Lowes, etc.). Choose a soil tiller that is suitable for the size of your lawn and till the soil in accordance with the manufacturer’s recommendations.
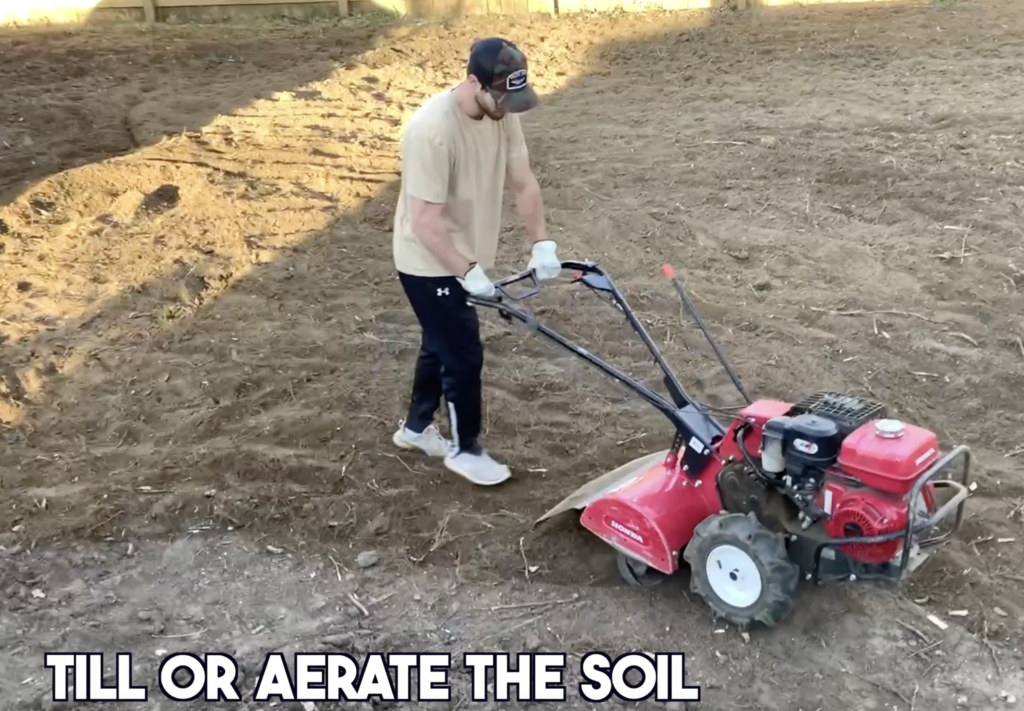
Soil tilling is especially important if your soil is dry, compacted, or clay-like. You want to ensure that you have a loose soil layer before planting your grass seed.
If you have an existing lawn that you are simply trying to improve, you may not need to till your soil. Instead, you may want to consider aerating the soil. Aerating is similar to tilling in that it helps to loosen and aerate the soil. However, it accomplishes this by making a bunch of “plug”-like holes into the lawn.
Do some research to determine if tilling or aerating is better for your soil.
4. Apply Top Soil and Level the Dirt
After aerating or tilling the soil, spend some time leveling the dirt to ensure that you have an even layer of soil. Use a rake to evenly distribute the soil and add additional top soil to fill in low-spots (if needed).
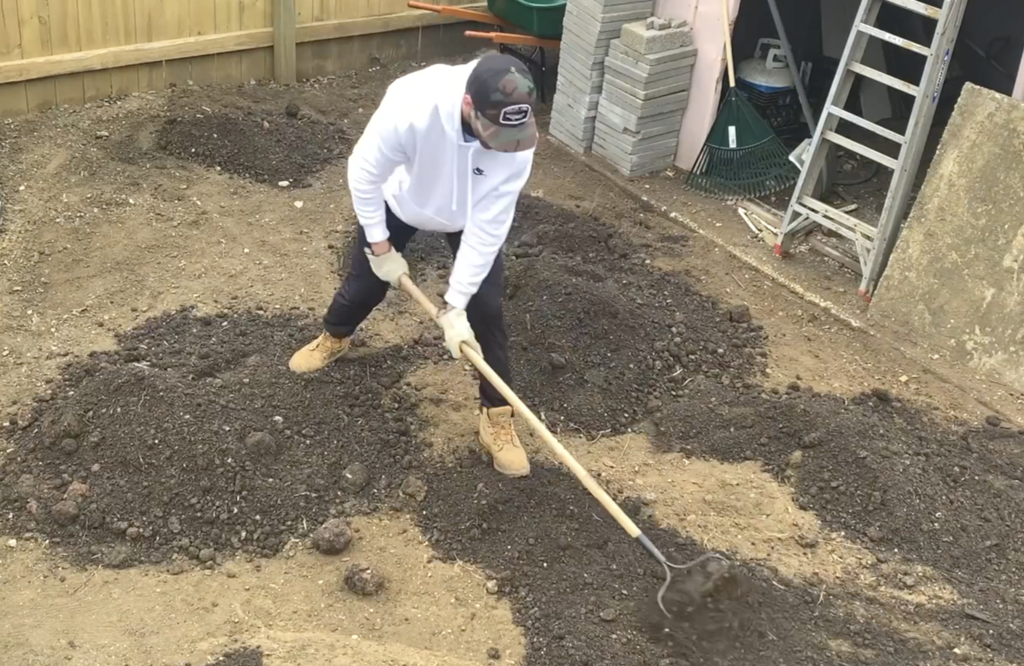
You want to ensure that your lawn is flat and even before moving on to the next step.
5. Apply Grass Seed
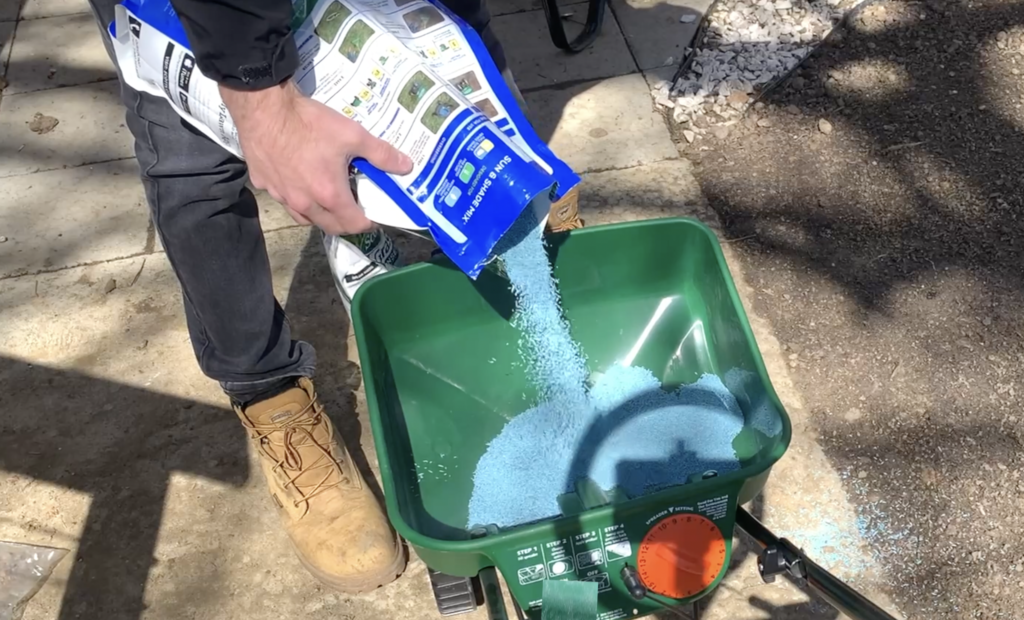
After leveling the soil, it is time to apply grass seed. There are many different types of grass seed available and you want to select a type that is suitable for your climate and application area. Spend some time researching the various different types of grass seed and select a seed blend that is suitable for your lawn. In my case, I have a relatively shady lawn – so I selected a sun and shade mix.
In order to evenly distribute the grass seed over the application area, you will need to use a broadcast spreader. There are various different options available for spreading your grass seed, so pick a spreader that is best for the size of your lawn.
Finally, you want to ensure that you plant your grass seed at a time of year that is conducive for grass growth. The time of year you plant your grass will depend heavily on the climate in which you live and the type of grass seed you are trying to grow.

An article that covers the best time of year to plant grass is linked here.
After deciding on what grass seed to use and determining the best time of year to plant grass seed, you can begin the seed sowing process.
To apply grass seed, start by loading the broadcast spreader with grass seed.
Next, adjust the seed spreading rate based on the seed manufacturer’s instructions.
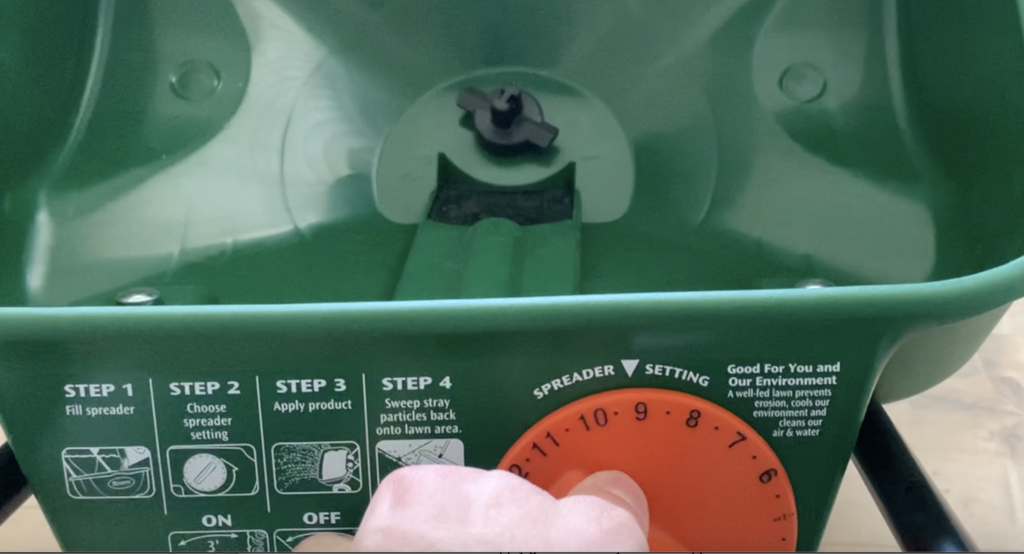
After adjusting the seed spreading rate, walk back and fourth over the application area with the broadcast spreader. Be sure to slightly overlap each row so that there is no gap between rows of grass seed.
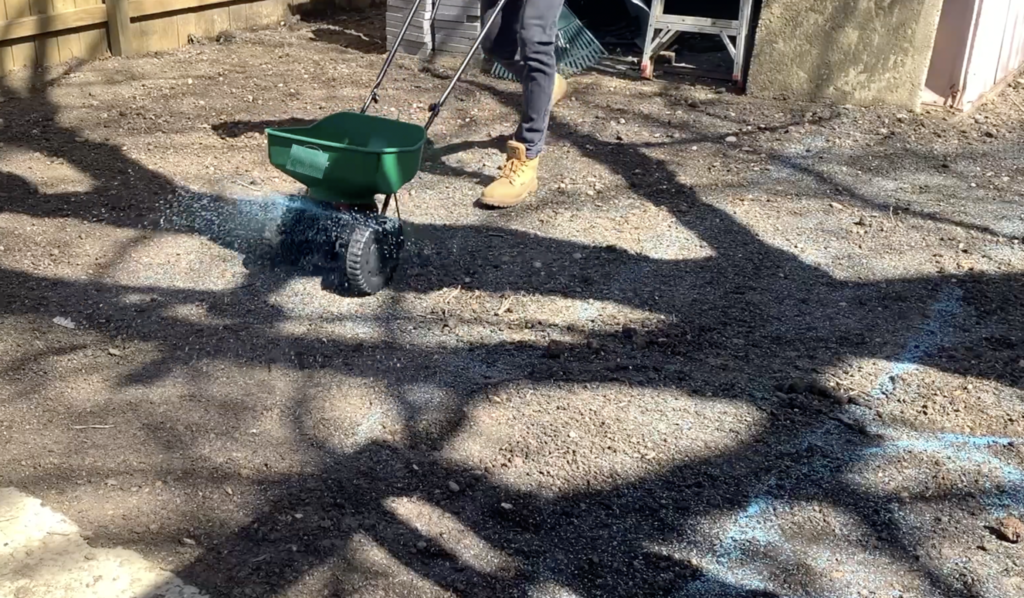
Continue to apply grass seed to your entire application area.
6. Rake the Grass Seed Into the Soil
After applying grass seed to the application area, use a rake to lightly rake the grass seed into the soil. The goal is not to completely bury the grass seeds under the soil. The goal is to simply ensure good seed/soil contact.
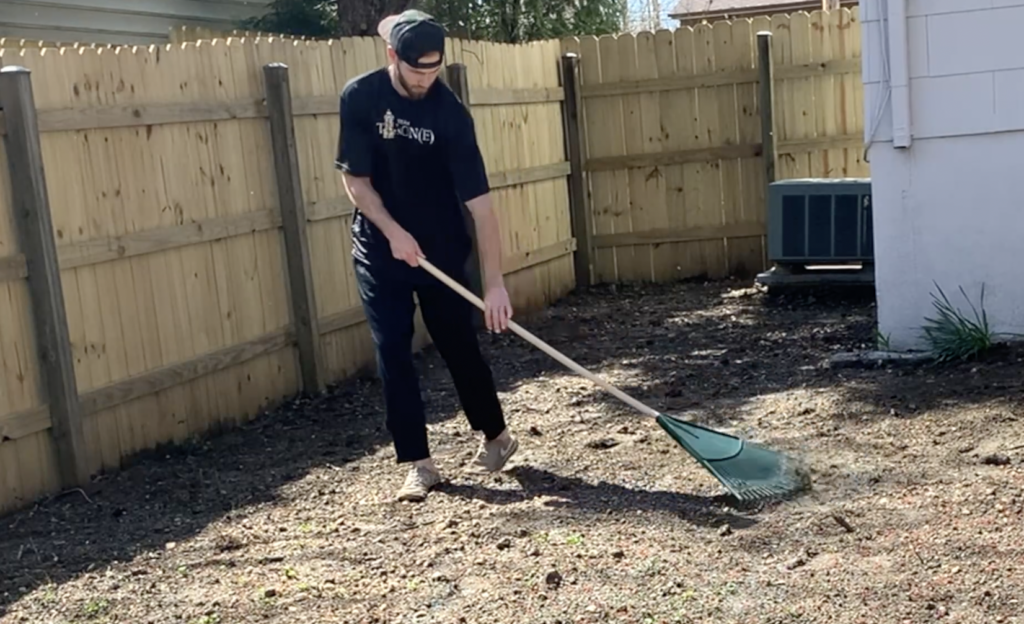
Continue to rake the seeds into the soil as needed.
7. Water the Grass Seed
After raking the grass seeds into the soil, immediately begin watering the grass seed. At a minimum, you will want to water the newly planted grass seed two times per day.
The goal is not to flood the grass seed, but to keep the soil moist during the entire germination period.
Seed germination (sprouting) typically takes place within 10-21 days. However, the seed germination timeframe will vary by climate, grass seed type, etc.
Continue to water the newly planted grass seed a minimum of two times per day.
PRO TIP: Do not allow the grass seeds to dry out. Lack of watering newly planted grass seed is the leading reason that new lawns will fail.
8. Overseed Bare or Thin Areas (if necessary)
After three weeks, examine your new lawn for any bare or thin areas. If you observe areas of the lawn the require additional grass seed or thickness, you will need to “overseed” that area.
“Overseeding” is accomplished by applying additional top soil and grass seed to specific areas of the lawn that need thickening. Overseed any areas of your lawn that require it.
Below is a look at the final result of growing grass seed from scratch.
At this point, you have successfully grown a new lawn from scratch. If you are more of a visual learner, you can watch my “How to Grow a Lawn from Scratch” video on Youtube.
Thanks so much for checking out ATimprovements! If you learned something from this project, you might also like these other DIY Projects:
- How to Build a Fence: How to Build a Fence (DIY Guide) – AT Improvements
- How to Build a Fence Gate: How to Build a Fence Gate (7 Steps with Pictures & Video) – AT Improvements
- How to Install a DIY deck Wire Railing: DIY Cable Railing – How to Install Cable Railing Step-by-Step – (atimprovements.com)
- How to Build a Concrete Paver Patio: DIY PAVER PATIO – Easy DIY Paver Patio Ideas – (atimprovements.com)
Thanks!
DISCLAIMER: This is a reference guide only. Links included in this article might be affiliate links. If you purchase a product or service with the links that I provide I may receive a small commission. There is no additional charge to you! Thank you for supporting ATimprovements so I can continue to provide you with free content each week!