
Installing Rigid Foam Board insulation is typically one of the first steps in finishing a basement. Rigid foam board insulation is ideal for basement walls since it is durable, waterproof, and easy to install. Although Owens Corning FOAMULAR Rigid foam insulation is the most common type of rigid foam insulation, there are many different manufacturers and thicknesses of rigid foam insulation available.
To install rigid foam board insulation, start by cutting the rigid foam boards to length using a utility knife and a straight edge to score the face of the board. Next, snap the board along the scored line. Attach the Rigid foam insulation to the basement walls using special foam board insulation adhesive or with masonry screws. Seal the gaps between rigid foam boards with sheathing tape or with spray foam insulation.
Overall, installing rigid foam board insulation is an easy DIY project that the average homeowner can tackle. This article will show you how to install rigid foam insulation (on basement concrete foundation walls), step-by-step.
If you are looking to finish a your entire basement, I encourage you to check out my Youtube Channel and Website. I have detailed step-by-step tutorial videos and blogs that will show you exactly how to finish your basement, from start to finish.
Before we begin installing Rigid Foam Board insulation, let’s take a few moments to define what rigid foam board insulation actually IS and why it is a great insulation option for your basement walls.
What is Rigid Foam Insulation?
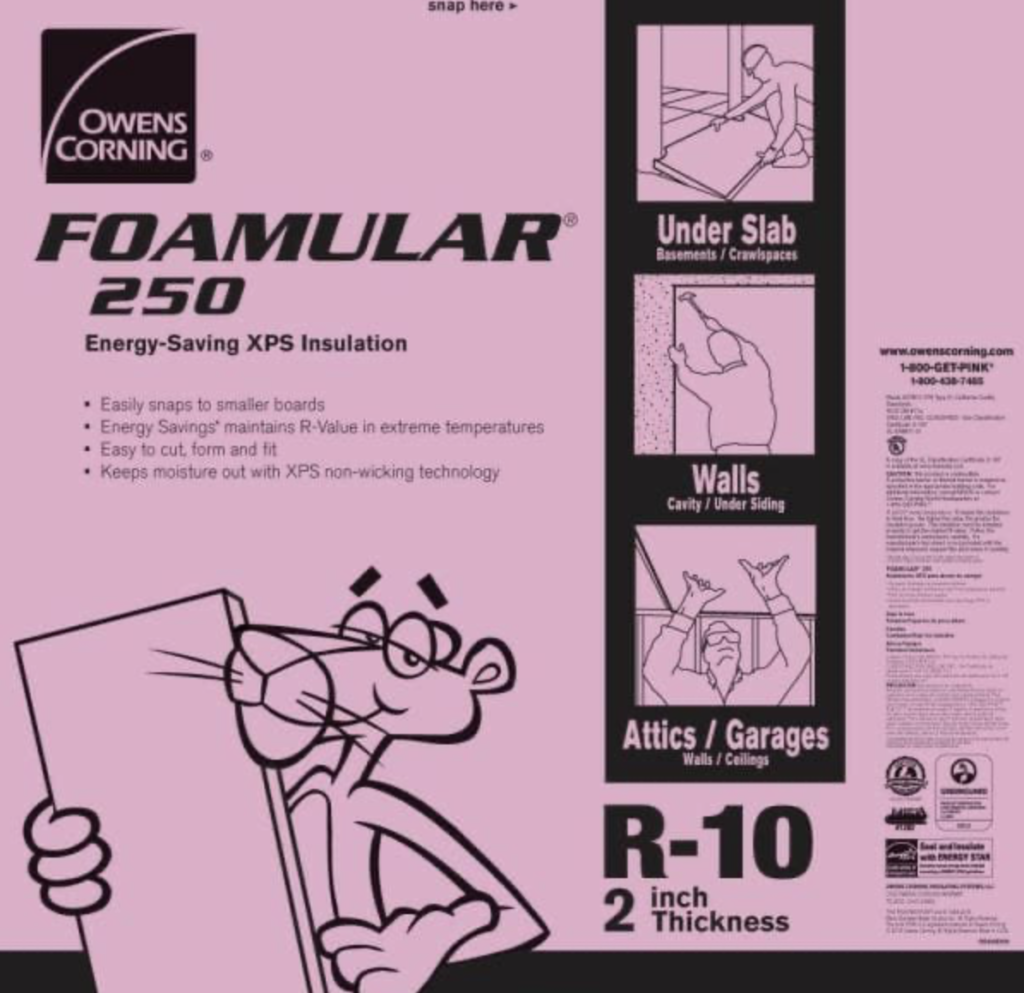
Rigid foam board insulation is a durable, waterproof insulation board that is used for adding thermal resistance to a building’s walls, foundation, etc. Rigid foam board is typically made of polystyrene, polyiso foam, or sheets of polyurethane. Foam board can be easily cut to fit any opening. Rigid foam insulation board comes in many different thicknesses and R-values (which is the capacity of an insulating material to resist heat flow). There are many different manufacturers of rigid foam board insulation. However, Owens Corning FOAMULAR Rigid Foam Insulation is the most commonly used.
Why should you use Rigid Foam Insulation for Basement Exterior Walls?
Rigid Foam Insulation is a great solution for basement applications since it is inherently waterproof, easy to install, and durable. Additionally, it can be easily cut and attached to concrete foundation walls using adhesive.
Tools and Materials Needed to Install Rigid Foam Board Insulation

To successfully install rigid foam board insulation, you will need the following tools and materials:
- Safety Equipment (Glasses, gloves, boots, ear protection, etc.)
- Tape Measure
- 6’ Level (for use as a straight edge)
- Utility Knife
- Caulk gun (for adhesive – Option 1)
- Caulk adhesive (Option 1) – Locktite PL 300 VOC Foamboard Adhesive
- 4-6″ serated knife
- Drill (Option 2)
- Owens Corning HomeSealR Foam Joint Tape (to seal joints between boards)
- Spray Foam (to seal gaps)
With all necessary tools and materials on hand, you can now begin the rigid foam board insulation process.
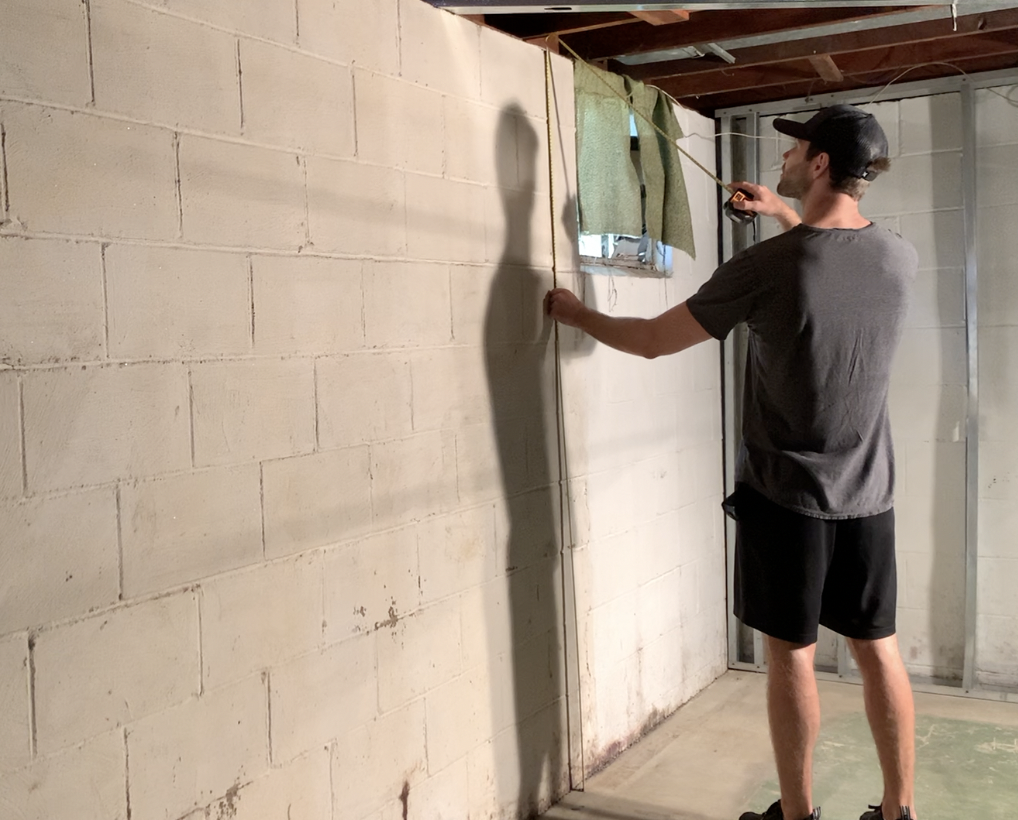
Rigid Foam Board Installation Preparation
Before beginning to install rigid foam insulation on your basement concrete walls, ensure that there are no water or foundation issues in your basement. Check for any water or leaks and repair them prior to installing the cement board. If you foundation appears to have any cracks, consult a qualified structural engineer to assess the basement wall prior to installing any rigid foam insulation.
You want to ensure that any underlying foundation issues such as water leaks or structural cracks are repaired prior to beginning your foam board installation project.
Additionally, remove any nails, screws, etc. on your concrete walls that may interfere with your rigid foam installation. Once the preparation work is completed, you can begin installing rigid foam insulation.
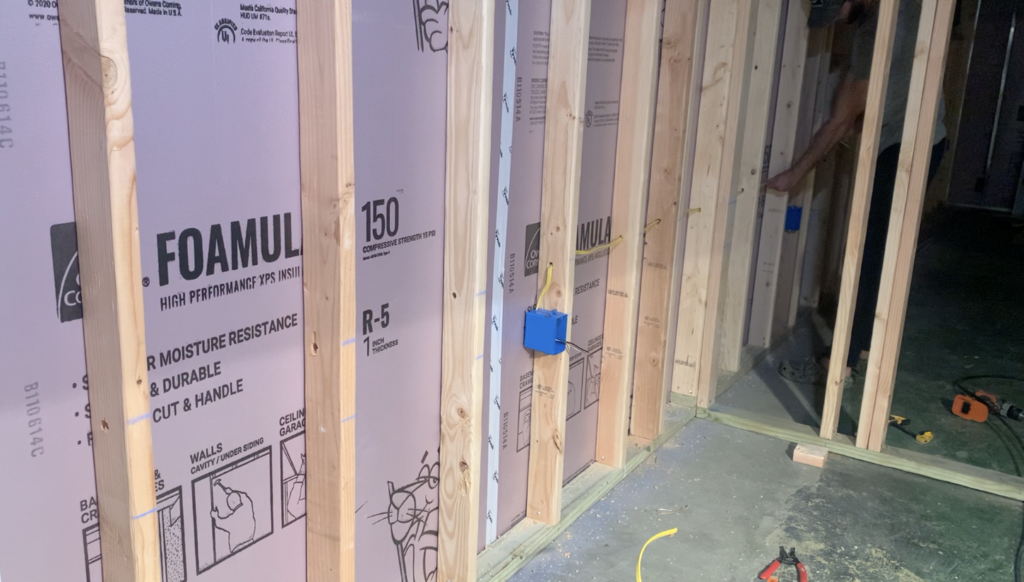
How to Install Rigid Foam Insulation to Concrete Foundation Walls
Install rigid foam insulation boards oriented vertically from the top of basement floor to the sill plate. Ensure that the rigid foam board insulation edges are tightly butted together.
Depending on your ceiling height, it is highly likely that you will need to trim some of you rigid foam boards to size. To cut rigid foam board insulation follow these steps:
How to Cut Rigid Foam Board Insulation
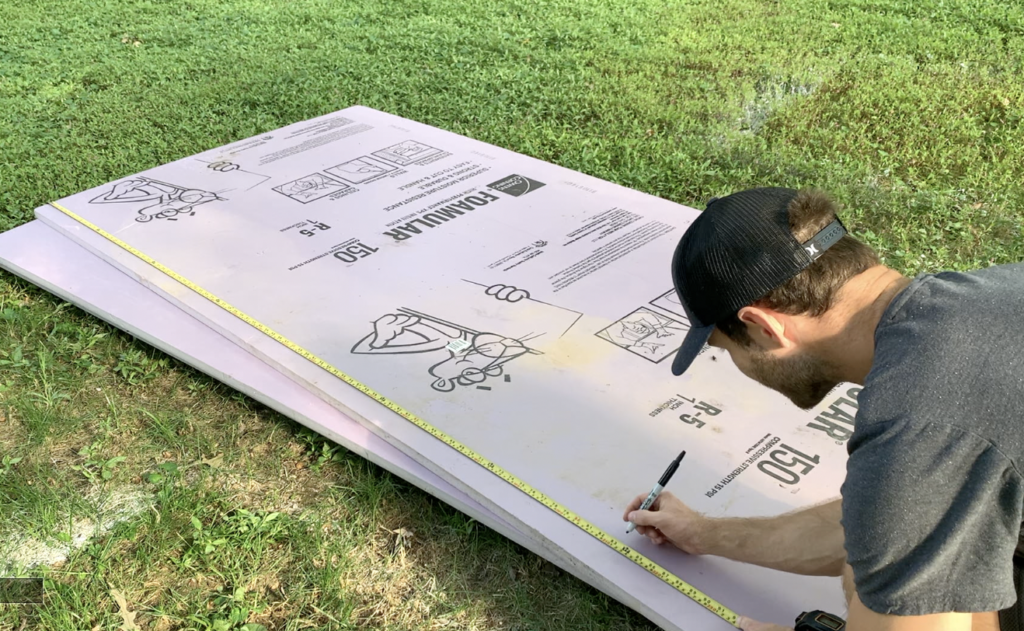
To cut rigid foam board insulation, mark the cut line on both sides of the rigid foam board with a marker.
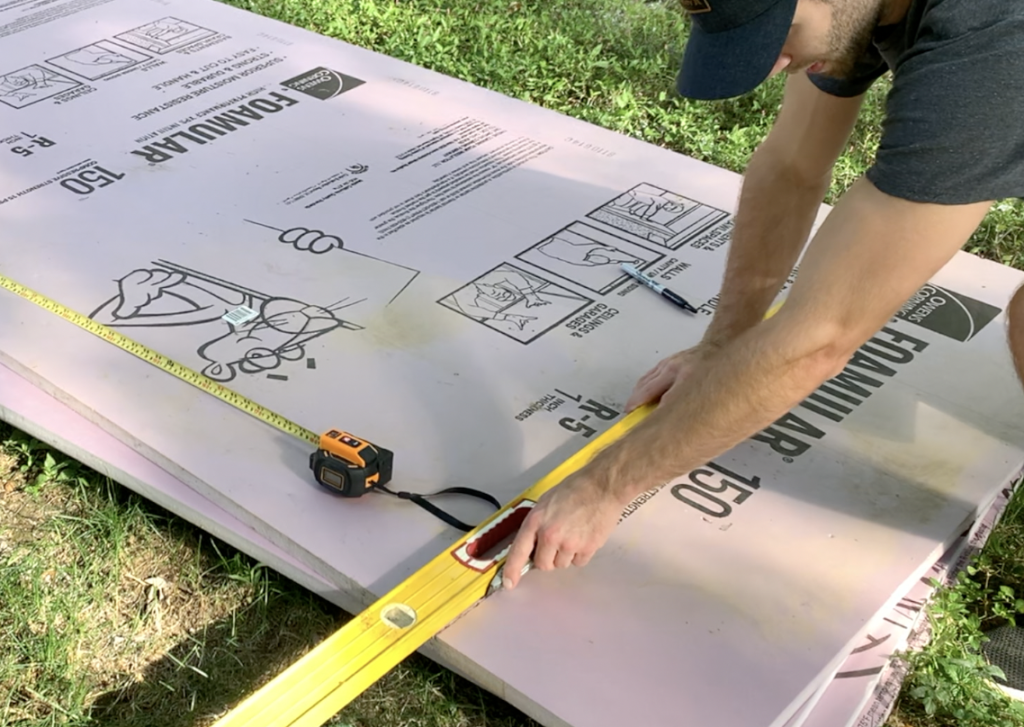
Use a straight edge to establish a straight line between the marks made on the cement board.
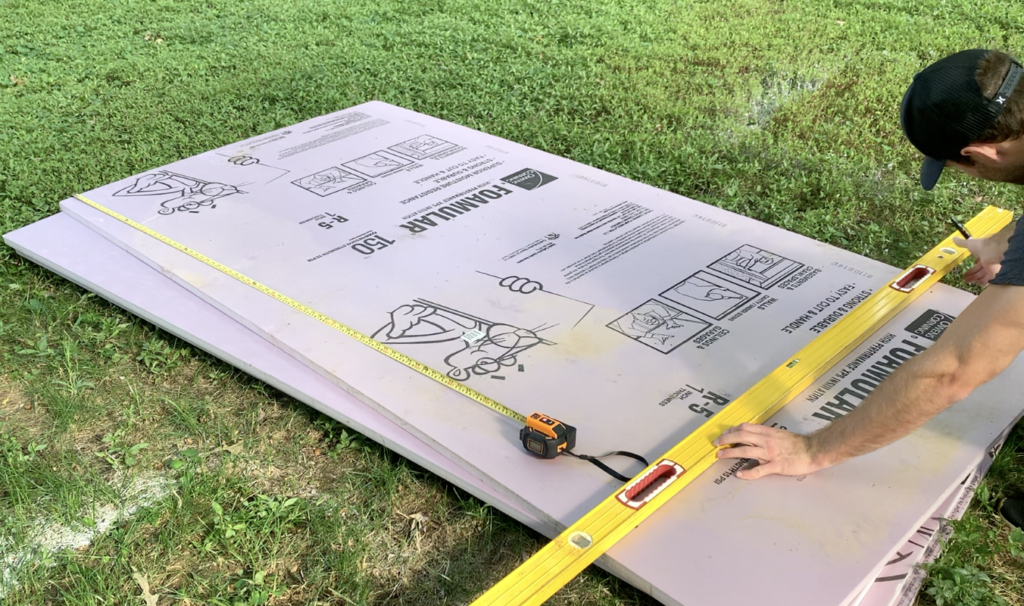
Next, run a utility knife along the foam board (using the straight edge as a guide) to score the face of the rigid foam board.
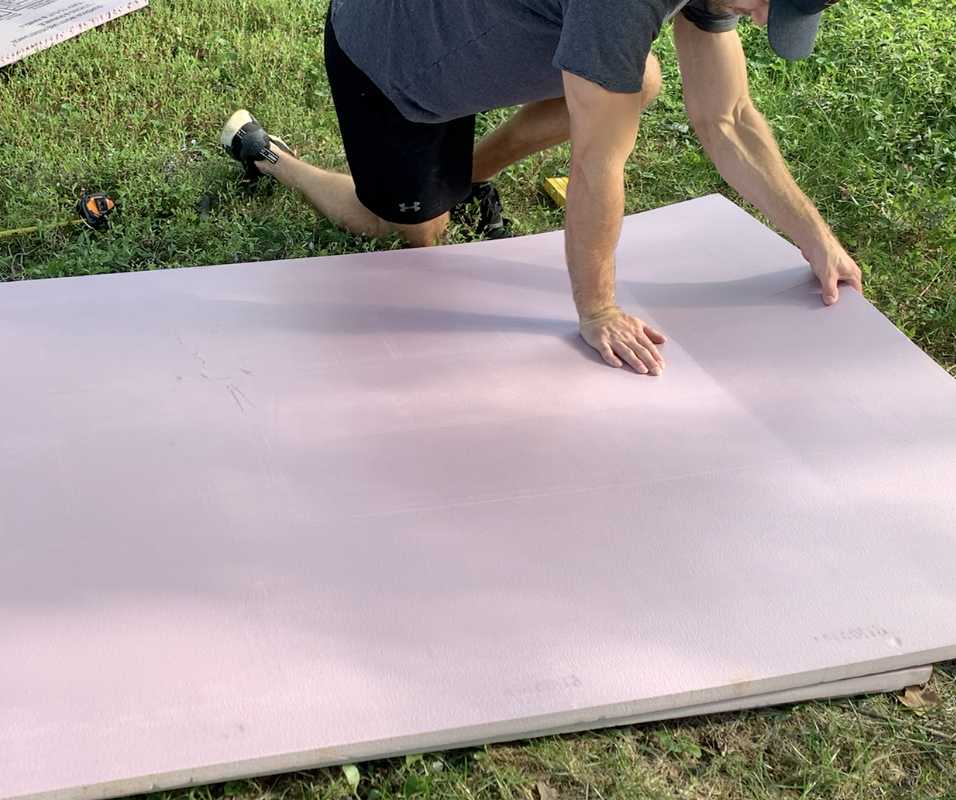
Finally, snap the rigid foam board along the scored line.
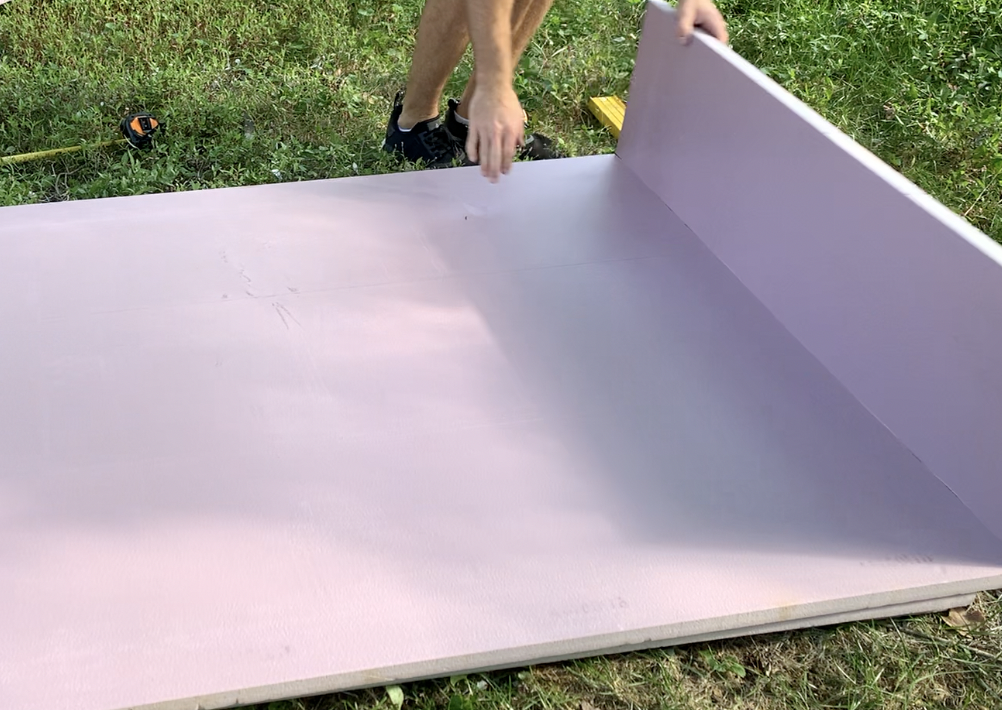
PRO TIP – Rigid foam insulation board is manufactured with “scored snap lines” at 12”, 24”, and 36”. If you need to cut your foam board insulation at any of these existing lines, simply snap the rigid foam board along the line. No additional scoring with a utility knife is needed at these locations.
How to Secure Rigid Foam Board to Basement Concrete Foundation Walls
After trimming your rigid foam board insulation to size, secure the rigid foam board insulation to the foundation walls. In order to attach and secure rigid foam board insulation to your basement foundation walls, you have two options.
Attaching Rigid Foam Board Insulation to Basement Foundation Walls Using Adhesive
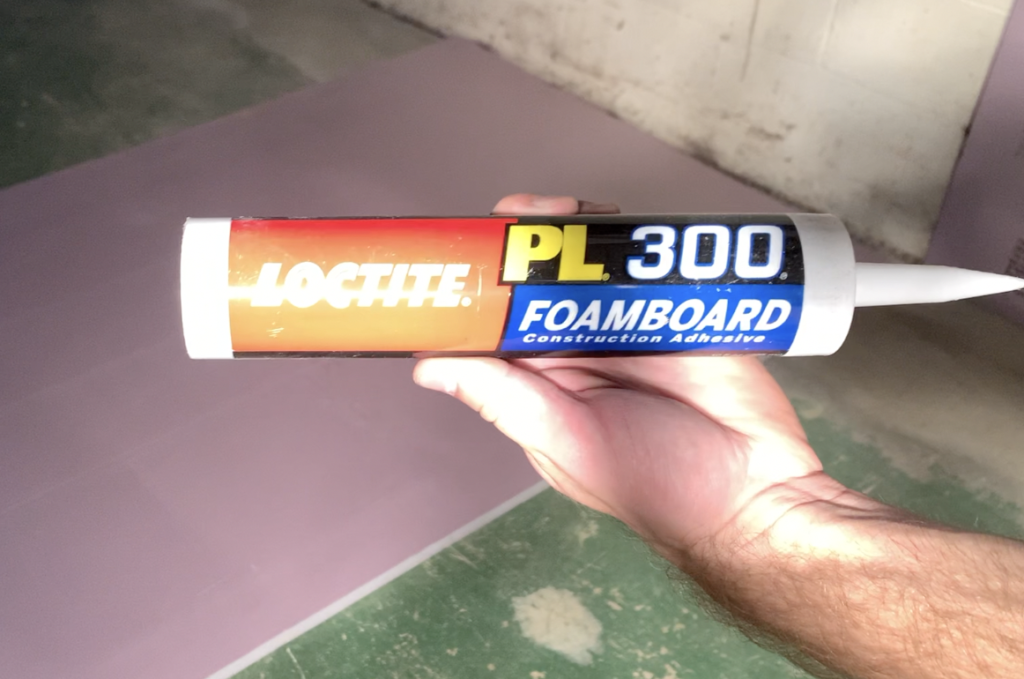
Secure the rigid foam board insulation to the foundation walls using construction adhesive compatible with polystyrene or foamed plastics as noted by its manufacturer. For Owens Corning Foamular Insulation, the manufacturer recommends the following adesives:
- LOCTITE® PL® 300 VOC Foamboard Adhesive
- Liquid Nails® Projects and Foamboard Adhesive
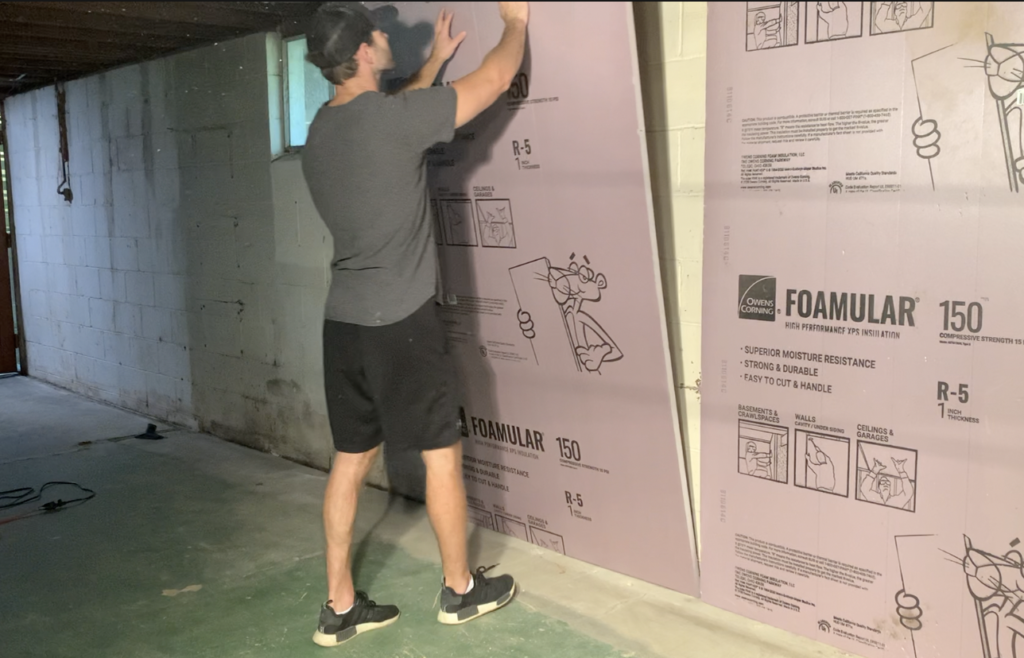
Apply 3/16″ beads of adhesive (with lines 6-12″ apart) to the back of the rigid foam board insulation.

Next, press the rigid foam board into place on the foundation wall. Be sure to follow any specific instructions from the adhesive manufacturer.
Use a wooden board (or similar) to hold the rigid foam insulation up tightly to the foundation wall while the adhesive sets up.
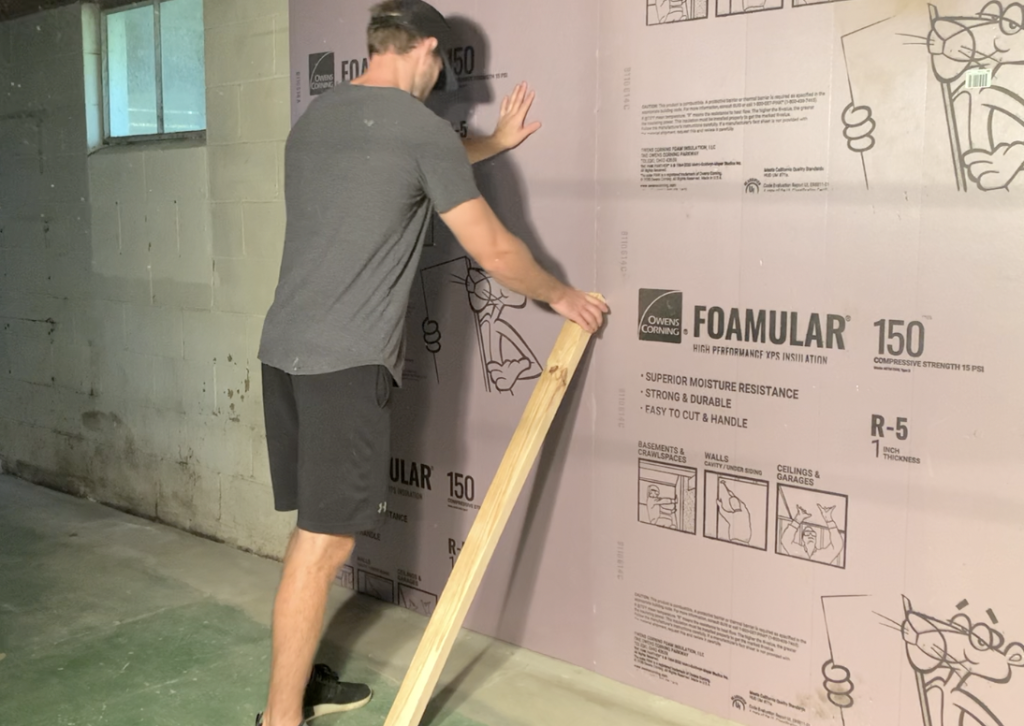
Be sure to apply rigid foam boards to foundation walls within 15 minutes after the adhesive is applied.
Attaching Rigid Foam Board Insulation to Basement Foundation Walls Using Masonry Screws
You can also attach rigid foam board insulation to concrete foundation walls using masonry screw anchors and a special foam board washer. Ensure that masonry screws are long enough to go through the insulation foam board and into the concrete wall by at least 1”.

Pre drill the masonry screw holes with a hammer drill (with an appropriately sized carbide tipped masonry bit) and then tighten the concrete screws (I recommend Tapcon Screws) sufficiently.
Although attaching rigid foam board to concrete walls using masonry screws is feasible, I recommend that you attach rigid foam insulation to concrete walls using adhesive, since it is significantly easier than drilling into your concrete foundation.
Sealing the Gaps between the Rigid Foam Board Insulation
After installing all of the Rigid Foam Board Insulation, seal all of the gaps between the adjacent insulation foam boards. By doing this, you will prevent drafts of cold air from infiltrating through the gaps.
It is recommended that you apply a Foam Board Joint Tape (Such as Owens Corning HomeSealR Foam Joint Tape). Other products that reduce air flow and are waterproof (Such as Tyvek Tape) are also suitable.

For large gaps that may exist in the corners, it is recommended that you apply spray foam insulation. Ensure that you utilize a spray foam insulation that is compatible with you rigid foam board insulation.
Next Steps

Once you have completed your rigid foam board insulation installation in accordance with the steps above, you are ready to proceed with the next steps of your project. Typically, the next steps will be:
- Framing walls
- Adding additional fiberglass insulation between studs (if a greater R value is desired)
- Installing Gypsum Bard (Drywall)
- Painting Walls
If you are looking for additional information on how to complete the steps above (or how to finish a basement from start to finish), check out my DIY Youtube Channel Linked Here.
Thanks for reading and good luck with your Rigid Foam Board Insulation Project!
Thanks so much for checking out ATImprovements! If you learned something from this project, you might also like these other DIY Projects:
- How to Build a Fence: How to Build a Fence (DIY Guide) – AT Improvements
- How to Build a Fence Gate: How to Build a Fence Gate (7 Steps with Pictures & Video) – AT Improvements
- How to Install a DIY deck Wire Railing: DIY Cable Railing – How to Install Cable Railing Step-by-Step – (atimprovements.com)
- How to Build a Concrete Paver Patio: DIY PAVER PATIO – Easy DIY Paver Patio Ideas – (atimprovements.com)
Thanks!
DISCLAIMER: This is a reference guide only. Links included in this article might be affiliate links. If you purchase a product or service with the links that I provide, I may receive a small commission. There is no additional charge to you! Thank you for supporting ATimprovements so I can continue to provide you with free content each week!