
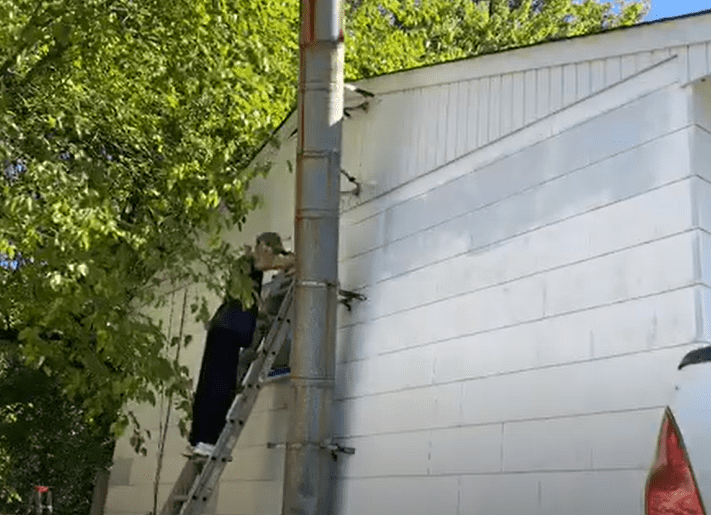
When I bought my most recent fixer-upper, there was an old abandoned metal chimney that was connected to my basement through the cinderblock foundation. Here is a photo of what it looked like:

Since this chimney was abandoned a long time ago, all I was left with was a terrible eye-sore that needed to be removed. This article will explain how to remove a chimney, specifically a metal chimney, step-by-step.
The steps to remove a metal chimney are:
- Step 1: Remove the straps holding the chimney to your house.
- Step 2: Cut/Disassemble the chimney into manageable sections.
- Step 3: Remove the chimney in pieces until all of the chimney is removed.
Although these steps seem simple enough, I will explain each step in detail so that you will be able to easily remove your own metal chimney without spending $$$ on a handyman.
Please be sure to wear all of the proper safety gear before attempting this project! Gloves, respirator, and a spotter for when you are on the ladder are highly recommended.
If you are more of a visual learner, feel free to watch the whole chimney removal process on Youtube!
Step 1: Remove the Straps Holding the Metal Chimney to your House.
More likely than not, your metal chimney is attached to your home by several straps that are spaced every few feet along the entire length of your chimney. The straps used to hold my chimney in place looked like this:
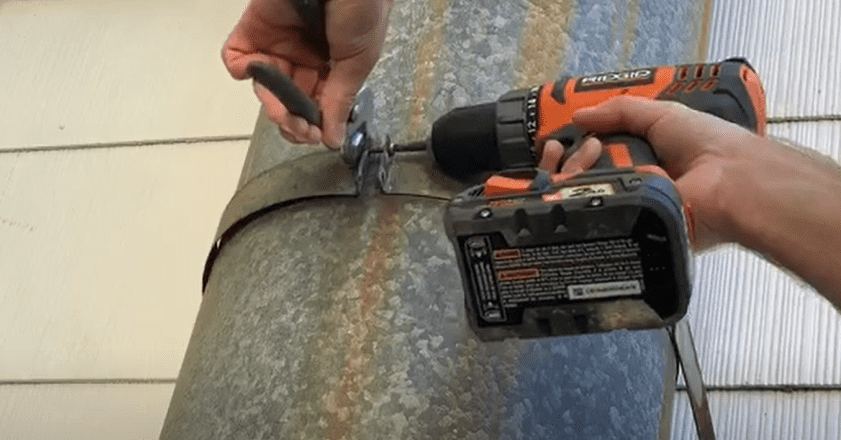
To remove these straps, you can either unscrew them using a screwdriver/drill OR you can simply cut them off using metal snippers. I found that it was faster and easier to simply cut off all the straps rather than unscrewing them. You will likely still need to unscrew the straps where they connect to your house, however.
Use a ladder as required to remove all of the straps that connect your chimney to the house.
You may find that there are holes left in your siding from where you removed the screws. To patch these small holes, I recommend that you use some exterior rated caulk that matches the color of your siding.

With all the straps removed, you can now move on to Step 2!
Step 2: Cut/disassemble the metal chimney pipe into manageable sections.
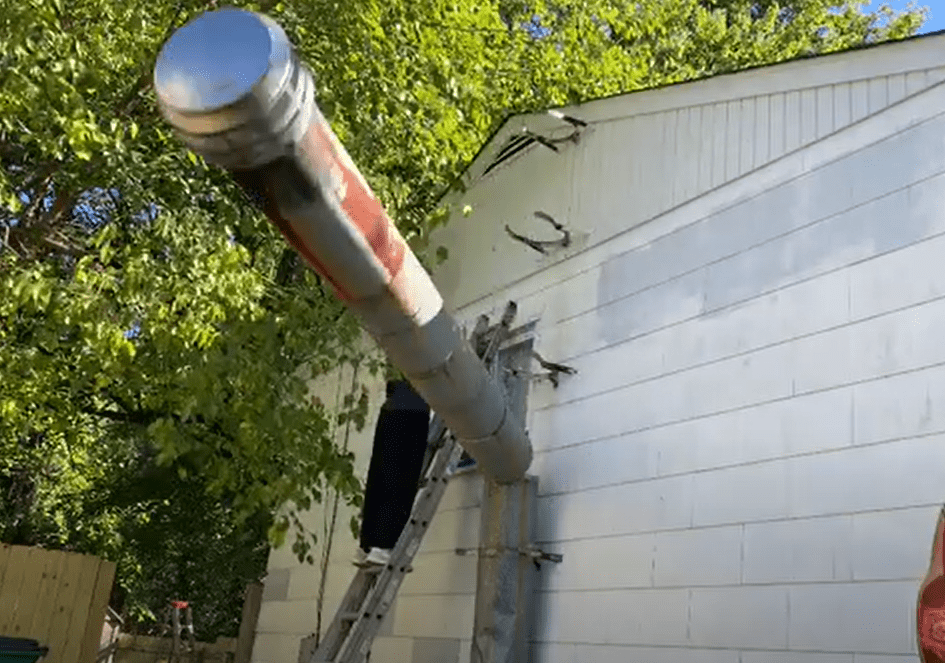
In order to start removing the metal chimney, check to see if there are removable joints that can simply be “slipped off” in small sections. If so, start at the top and start disassembling the individual segments of your chimney.
If there are no clearly defined joints in the chimney (or if they are rusted together and difficult to remove), you have the option to cut the chimney into pieces by using a reciprocating saw equipped with a metal blade. I recommend that you cut off manageable sections of the chimney (3-4ft segments) starting at the top and working your way down. You might also be able to get away with making one cut at the bottom of the metal chimney and controlling the way the chimney falls. Whatever you decide to do, be safe and get help if you need it. I cannot overstate the importance of have someone spot you while you are using a ladder!
Step 3: Remove the chimney in pieces until all of the chimney is removed.
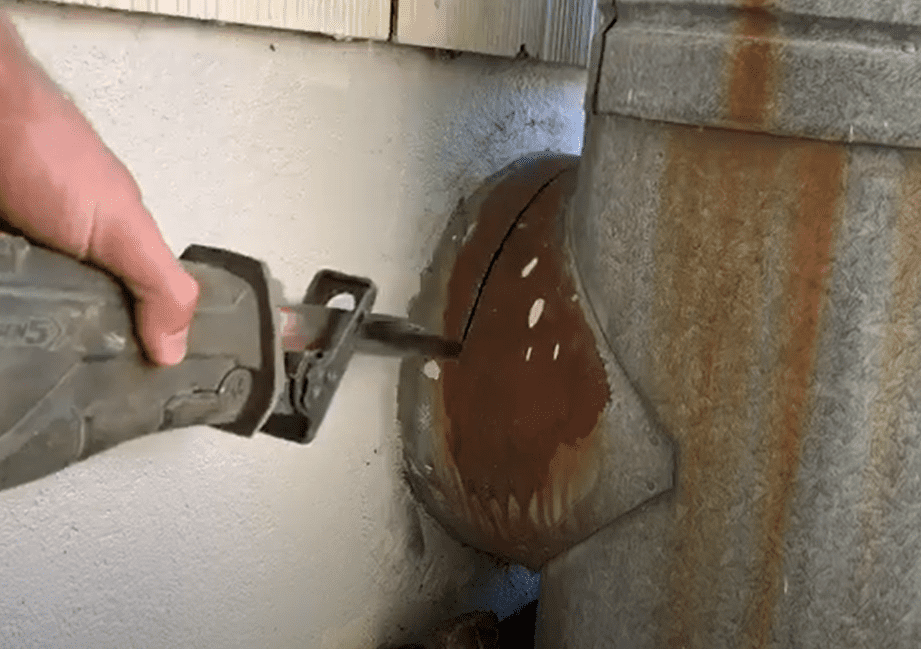
Continue to use your reciprocating saw to cut the metal chimney into pieces. For my chimney, there was a support bracket that attached to the foundation at the bottom of the chimney. To remove this, I removed the screws from the support bracket and cut off the horizontal 90 degree bend that ran horizontal into my house.
Most of the demolition process is pretty intuitive. And let’s be honest, there is very little demolition work that can’t be handled by heavy use of a reciprocating saw lol.
Once you remove the horizontal metal casing that extends through the foundation, you will (regrettably) be left with a pretty large hole in your cinderblock/concrete foundation wall. Depending on the size of your chimney, this could be as large as 18” diameter hole!
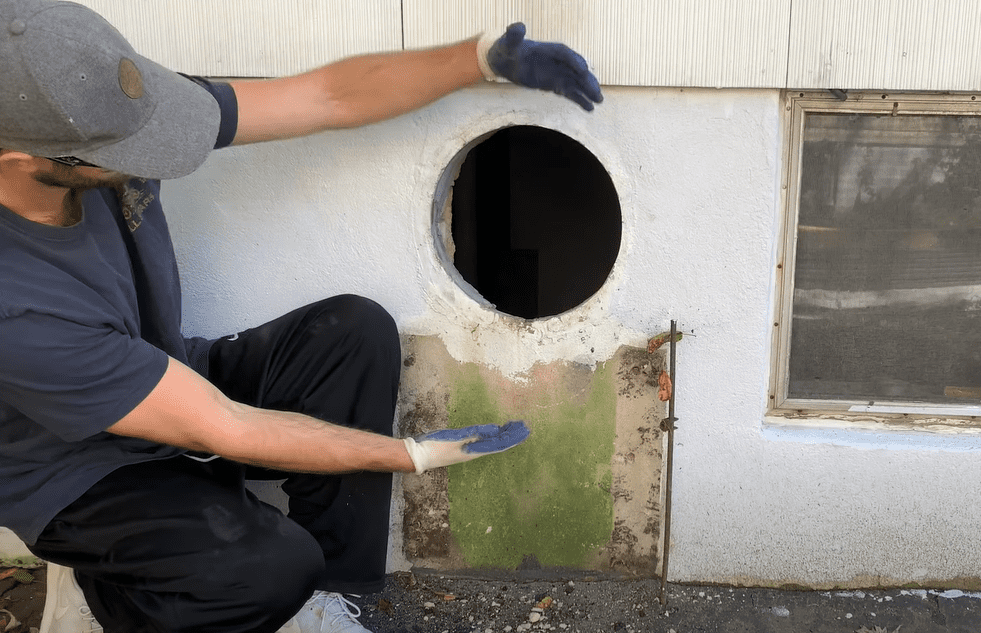
If you want to learn how I repaired the large hole in my cinderblock/concrete foundation that was left as a result of my chimney removal, check out my “How to repair a large hole in concrete foundation” article! Or, if you are more of a visual learner, you can watch my step-by-step tutorial video on Youtube.
Thanks so much for checking out ATImprovements! If you learned something from this project, you might also like these other DIY Projects:
How to Build a Fire Pit: How to Build a DIY Fire Pit Table (And save hundreds of dollars in the process!) – (atimprovements.com)
How to Install a DIY wire / Cable Railing: DIY Cable Railing – How to Install Cable Railing Step-by-Step – (atimprovements.com)
How to Build Hexagon Shelves: DIY Hexagon Shelves (Honeycomb Shelves) – (atimprovements.com)
How to Patch a Hole in Concrete Foundation: How to Patch a Hole in Concrete Foundation – (atimprovements.com)
Thanks!
DISCLAIMER: This is a reference guide only. Links included in this article might be affiliate links. If you purchase a product or service with the links that I provide I may receive a small commission. There is no additional charge to you! Thank you for supporting ATimprovements so I can continue to provide you with free content each week!