
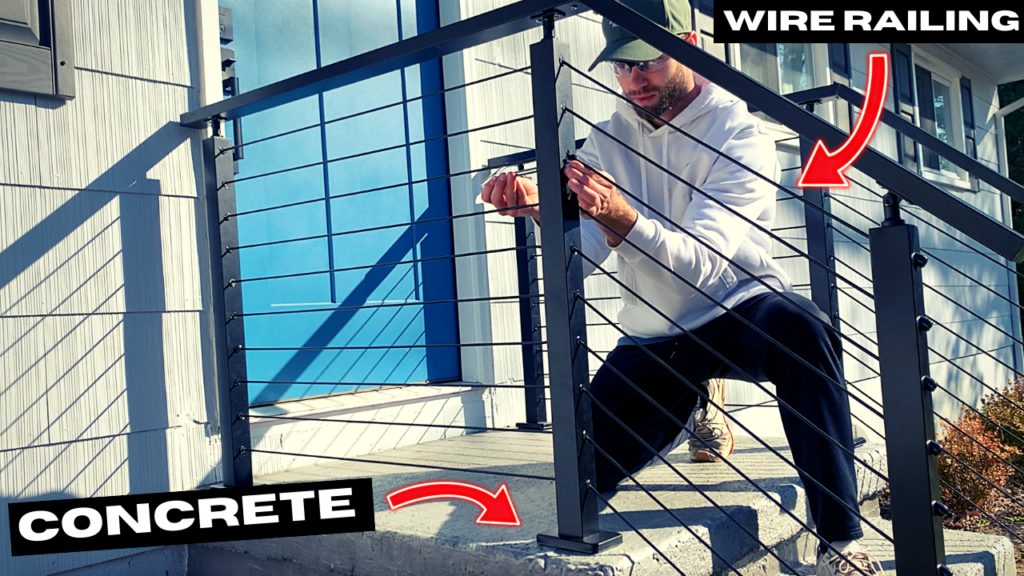
Installing a railing on a concrete porch or patio can greatly improve the overall curb appeal of a home. A new wire or cable railing will look especially attractive if you are replacing an old, worn-out railing. Installing a wire railing on concrete is very similar to installing a wire railing on a deck – the only real difference is that the mounting hardware used for concrete is different that the hardware used for wood mounting.
To Install a wire railing on concrete, start by marking the railing post locations with a chalk line or laser level. Mark the locations for the railing post anchors on the concrete and use a carbide tipped masonry drill bit to pre-drill the holes in the concrete. Insert concrete expansion anchors through the railing posts and into the concrete and tighten them, ensuring that the posts are perfectly level and plumb. After installing the posts, cut the railing to size and install it on top of the railing posts using the manufacturer provided hardware and in accordance with the manufacturer’s instructions. Finally, install the wire/cable railing or balusters as needed.
This article will outline every single step of the cable/wire railing installation from start to finish. Additionally, if you are more of a visual learner, you can check out my “How to install a wire railing in concrete” YouTube video linked at the end of this article.
🧰 TOOLS AND MATERIALS NEEDED TO INSTALL A RAILING:
- Cable Railing Set – Posts, wire/cable, railing (Muzata, etc.): https://amzn.to/3WPaXFr
- Hammer Drill: https://amzn.to/3PXN6kI
- Carbide Tipped Masonry Bits: https://amzn.to/3I1Wp18
- Concrete Expansion Anchors: https://amzn.to/3FZ411M
- Post level: https://amzn.to/3C99GBk
- Plastic Shims: https://amzn.to/3VuFoQh
- Socket Wrench Set (Optional): https://amzn.to/3jyT67r
- Angle Finder (for railing angle): https://amzn.to/3C7Uwfp
- Miter Saw (to cut angle): https://amzn.to/3I8231z
- Cable Cutters: https://amzn.to/3VvjHzz
Now that you know what tools and materials you will need to install a railing on concrete, here are the steps needed to complete the project.
Plan out your Project and order Materials
As with all DIY projects, a successful project starts with proper planning. Before beginning your project, start by planning out your wire railing layout so that you can determine the quantity of materials needed.
- Will you have two railing posts at corners, or one?
- Does you railing project involve stairs?
These are a few of the questions that you will need to address in the planning stages of your railing project.
After determining the scope of your railing project and determining the quantities of materials needed for your project, go ahead and order all of your materials. For my DIY cable railing project, I needed the following railing materials.
- Railing Posts
- Metal Railing
- Coated Wire/Cable
- Cable Hardware
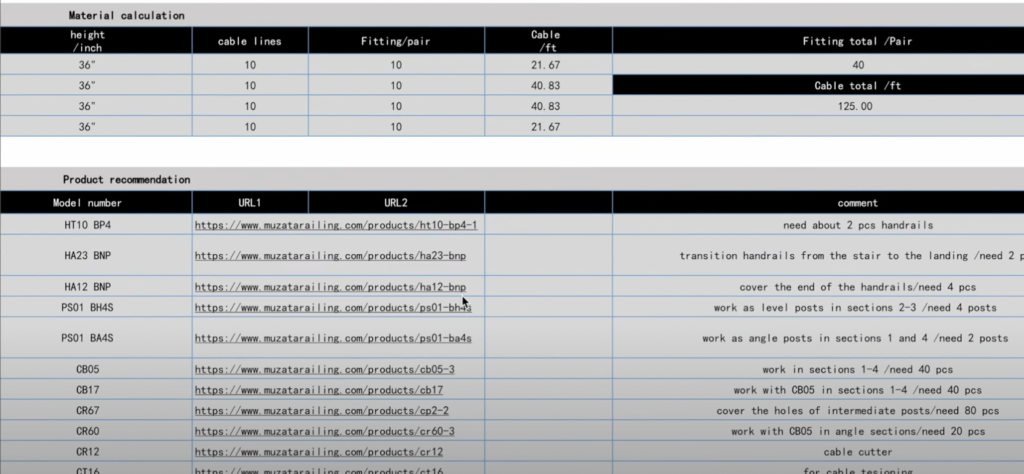
For my project, I simply sent a sketch of my porch (with dimensions) to a cable railing company called Muzata, and they planned out my entire project and sent me all of the required materials for my specific cable railing project.
After ordering all of your cable railing materials, you can begin the installation process.
Mark you Railing Post Locations
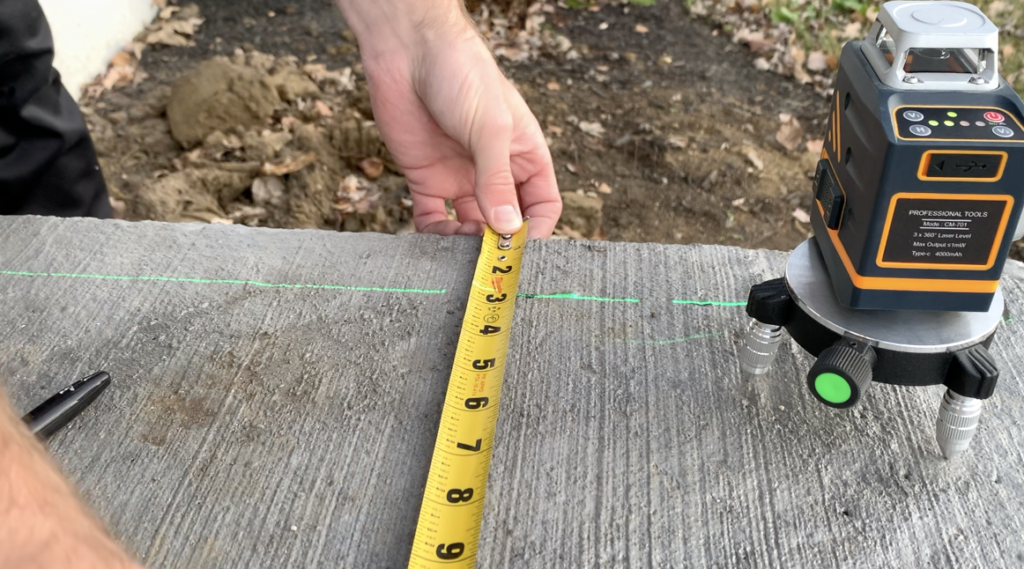
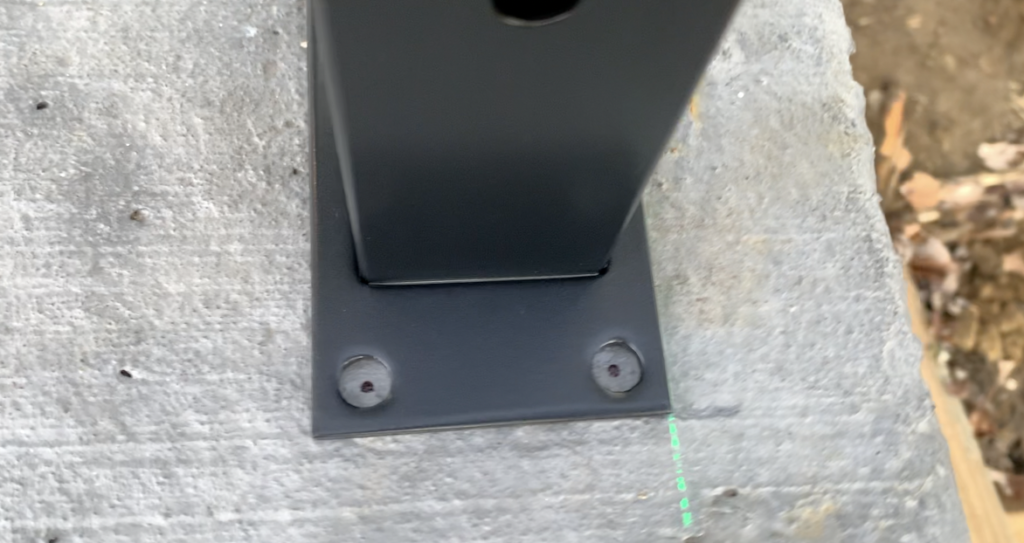
Before installing your railing posts, you want to ensure that your railing posts will be in a straight line and evenly spaced. In order to mark a straight reference line for your railing posts, I recommend that you use a laser level or a chalk line. Next, use a pencil or marker to mark the location of each post based on the desired railing length and the desired spacing between railing posts.
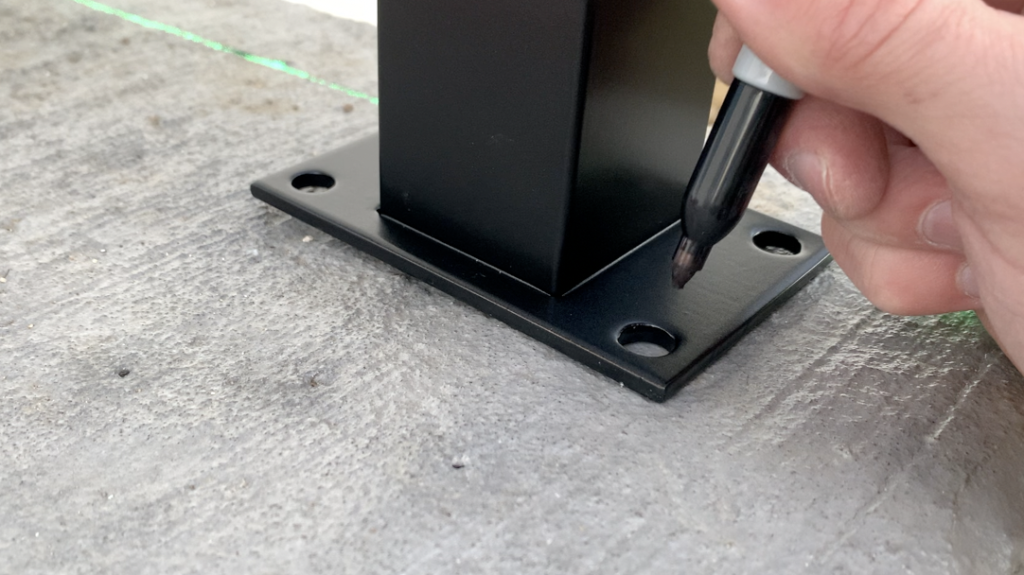
After marking the overall layout of the posts, go back and preliminary position each railing post in place. Next, use a sharpie (or similar) to mark the anchor bolt locations (typically 4 per post) for each post. These marks will be used in the next step for the pre-drilling process. Typically, there will be four bolt locations per post. Mark each bolt location on the concrete using a pencil or marker and then remove the post.
Pre-Drill Railing Post Mounting Locations
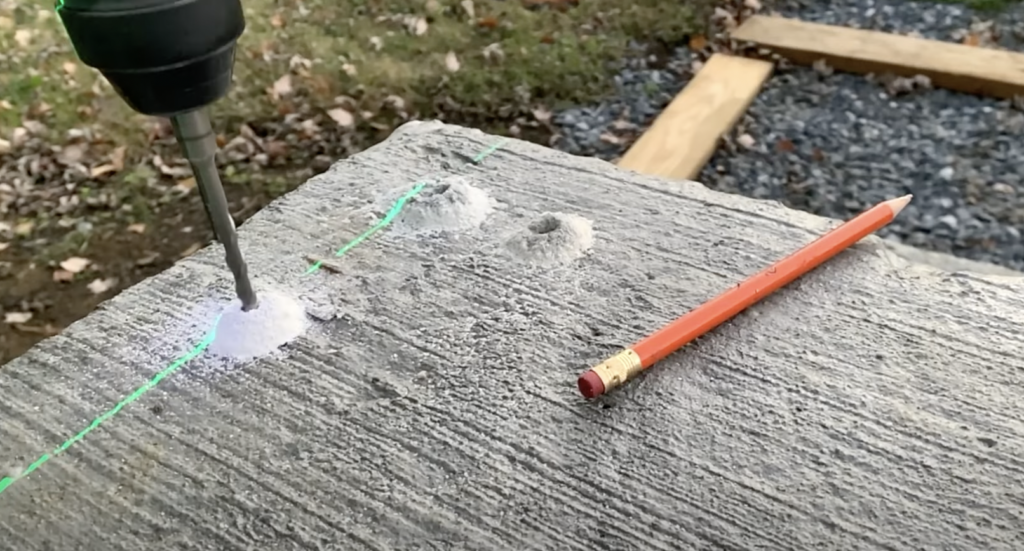
After marking the anchor bolt locations for each post, use a hammer drill and a carbide tipped masonry bit to pre-drill into the concrete at each marked location.
Be sure to coordinate your carbide tipped masonry bit diameter with the concrete expansion anchor bolts (to be installed in the next step). Typically, you will want your masonry bit and your concrete expansion anchors to be the same size (Approx ¼”) so that the bolts will fit snugly within the pre-drilled concrete hole.
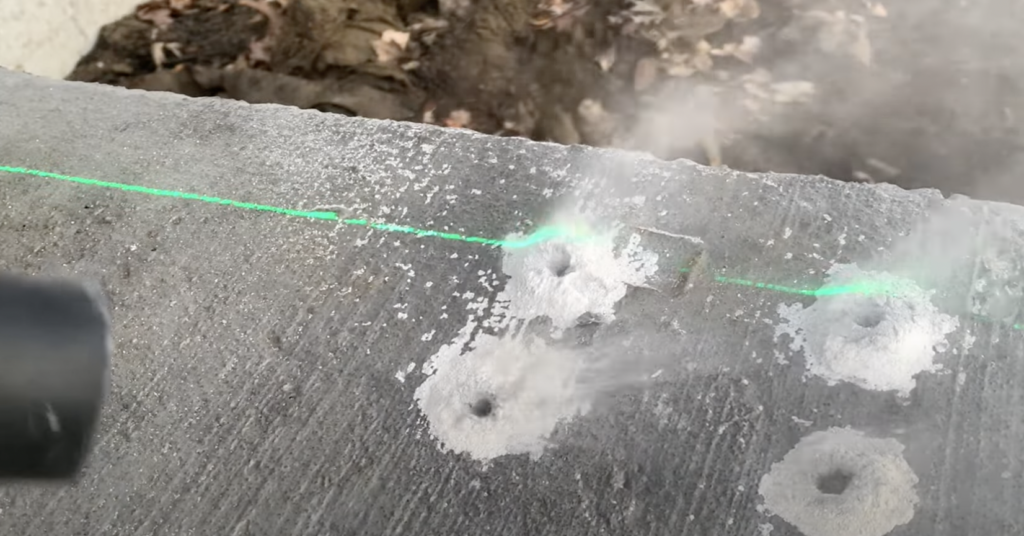
Use your hammer drill and carbide tipped masonry bit to drill into the concrete at each pre-marked post hole location. Your pre-drilled concrete hole should be slightly deeper than the total length of your concrete expansion anchor.
After drilling each railing post hole, use a vacuum (or similar) to remove any dust or debris from the pre-drilled holes.
Insert Concrete Expansion Anchors through Railing Posts and into Concrete
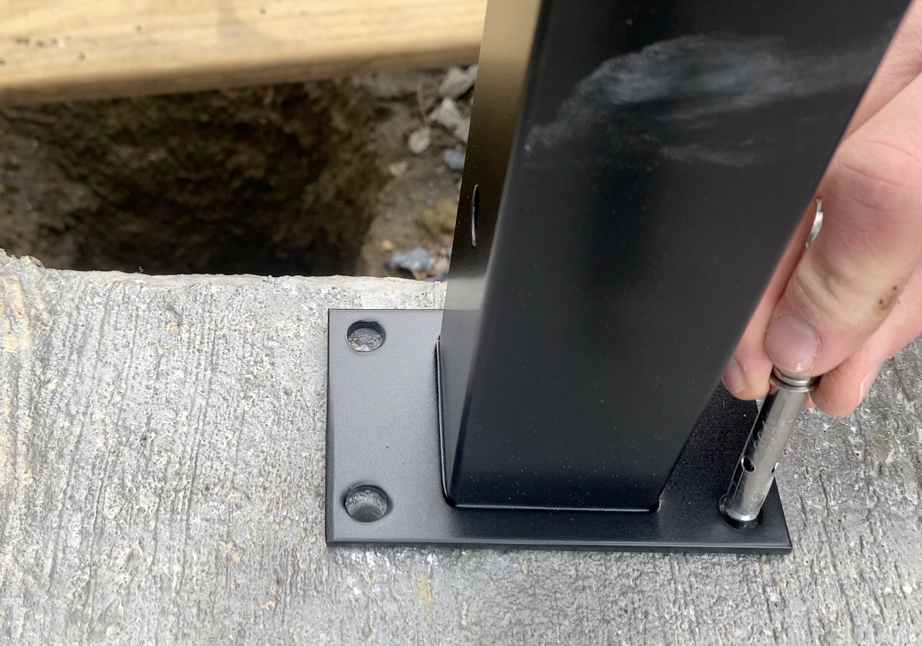
After drilling the holes in the concrete, re-position the post in place and then insert the concrete expansion anchors through the railing post and into each pre-drilled hole. If needed, use a hammer to force the concrete expansion anchor down into the hole.
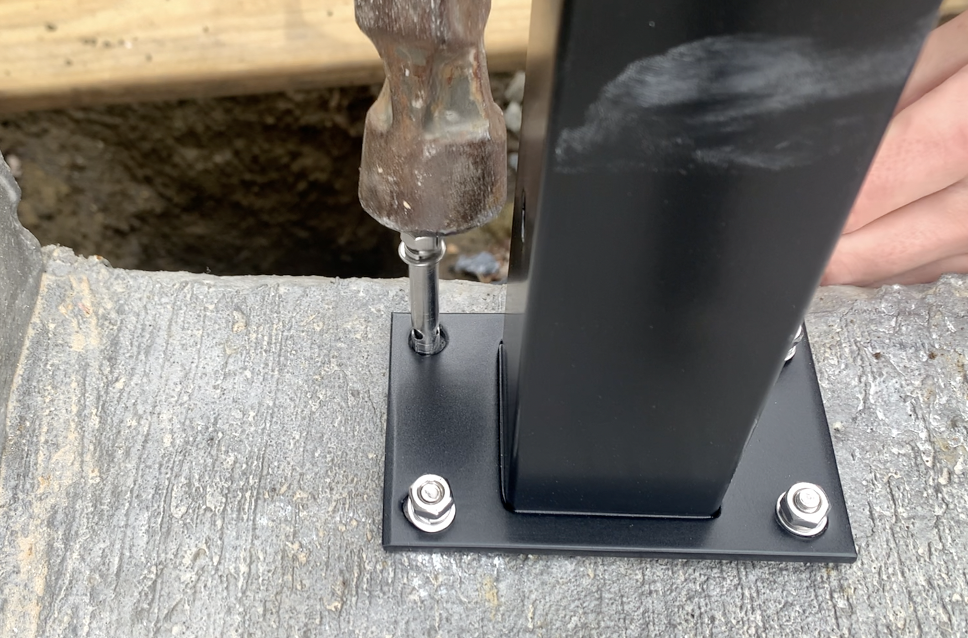
After placing each expansion anchor into place (and ensuring that they are as deep as possible) you can proceed to the next step.
Level Railing Posts and Shim as Needed
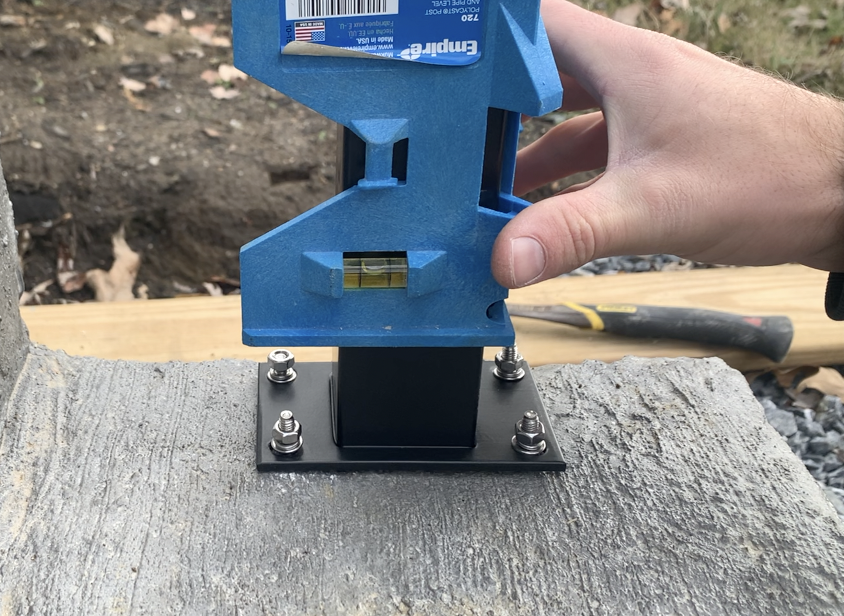
If you are working on a level concrete surface, your railing posts should be relatively level once positioned in place. However, you may find that plastic shims are needed in some cases to get the posts perfectly level.
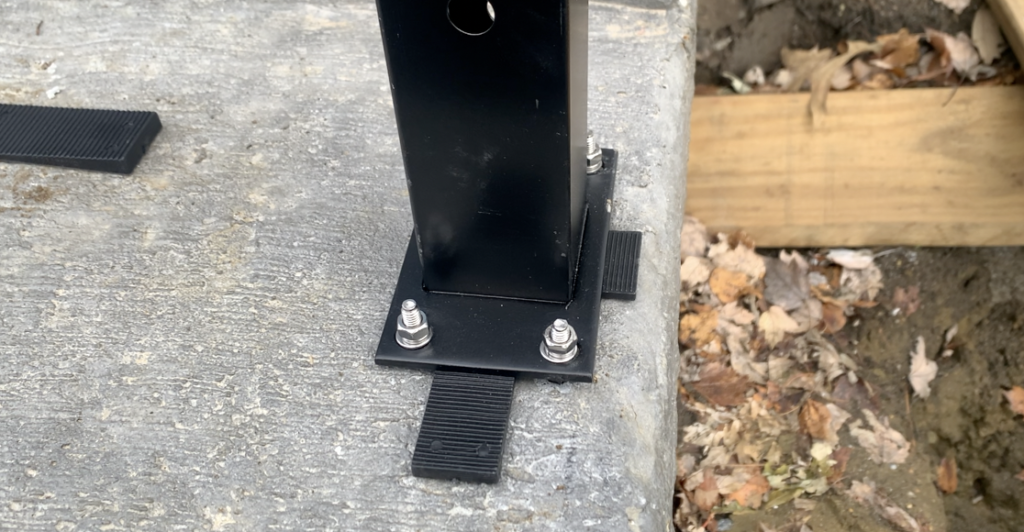
Use plastic shims and a post level to ensure that each post is plumb. After getting the shims installed so that the post is level, you can begin to tighten the concrete expansion anchors.
Install and Mount Railing
After installing the railing posts, you will need to mount the railing in place on top of the posts. Depending on what railing system you purchase, the hardware and railing installation may look a bit different.
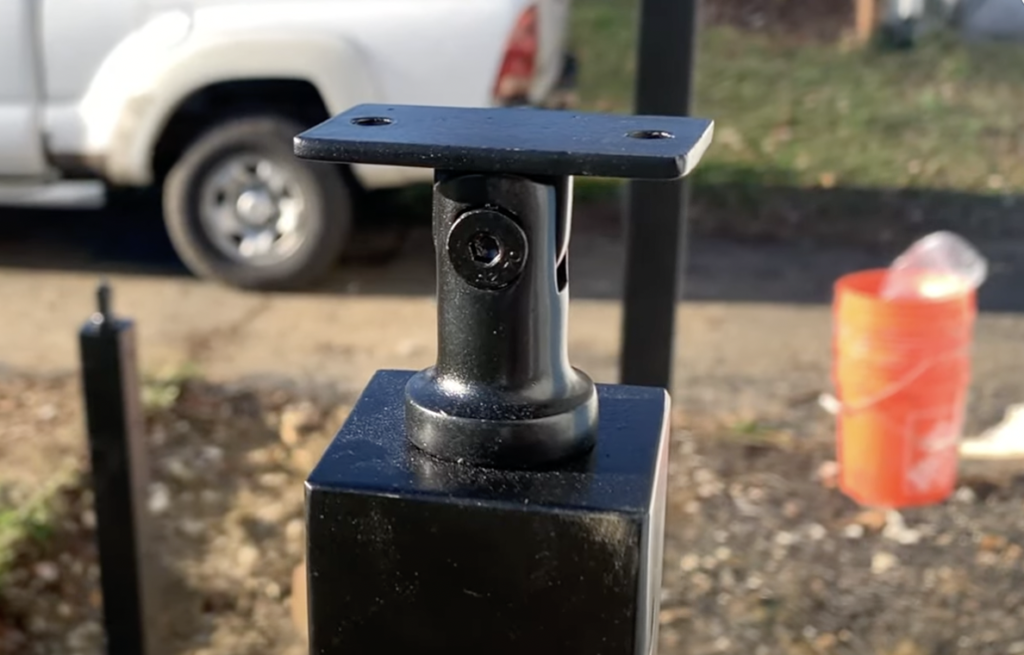
Typically, there will be a mounting bracket that gets installed on top of the railing posts.
Next, it is recommended that you preliminarily place the railings in place on top of the railing posts so that you can determine the railing angle.
To determine the railing angle, it is recommended that you place the horizontal and the angled portion of the railing in place so that the angle can be measured.
Next, position the angle finder in place and determine the angle.
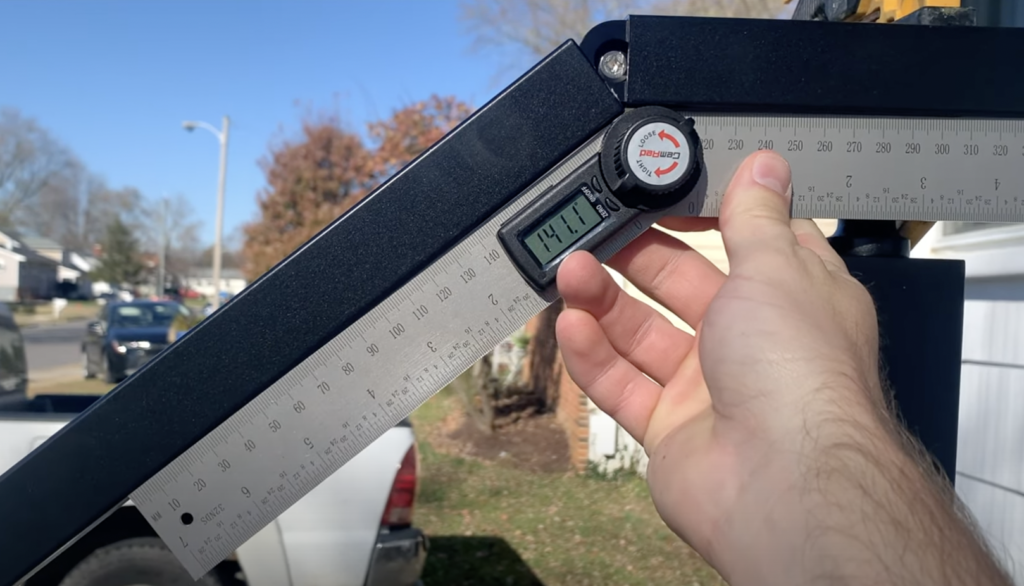
You will need to do a bit of math to determine the exact angle to cut your railing (e.g. there is a mitered joint so you will need to divide by 2, etc.) and I recommend that you watch my Youtube video linked here for more information on determining and cutting your railing angle.
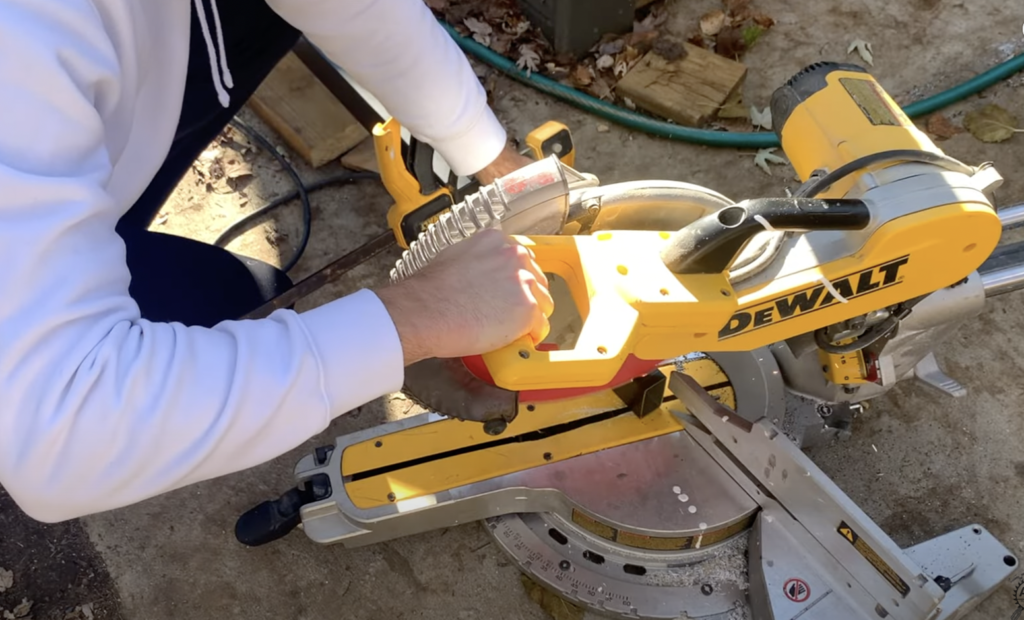
After cutting you railing to length, install it on top of the railing posts using the provided hardware.
Install Cable Wires or Balusters
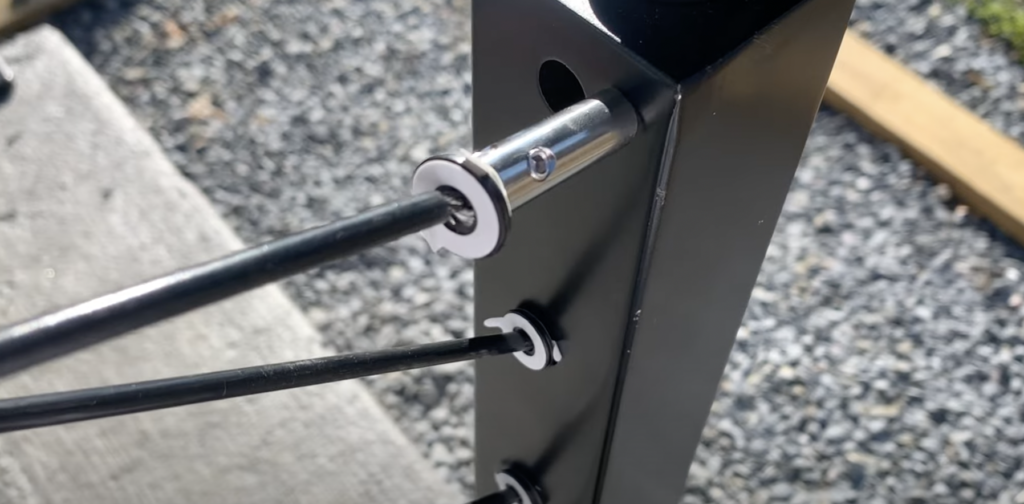
After installing the railing posts and railing, you will need to install the balusters or cable (depending on your railing type). For my railing, I had to install cables and hardware in accordance with the manufacturer’s instructions.
For the Muzata BlackCool Railing, there are a few different pieces of hardware that were included.
Additionally, I installed a vinyl coated cable that I trimmed to length using cable cutters.
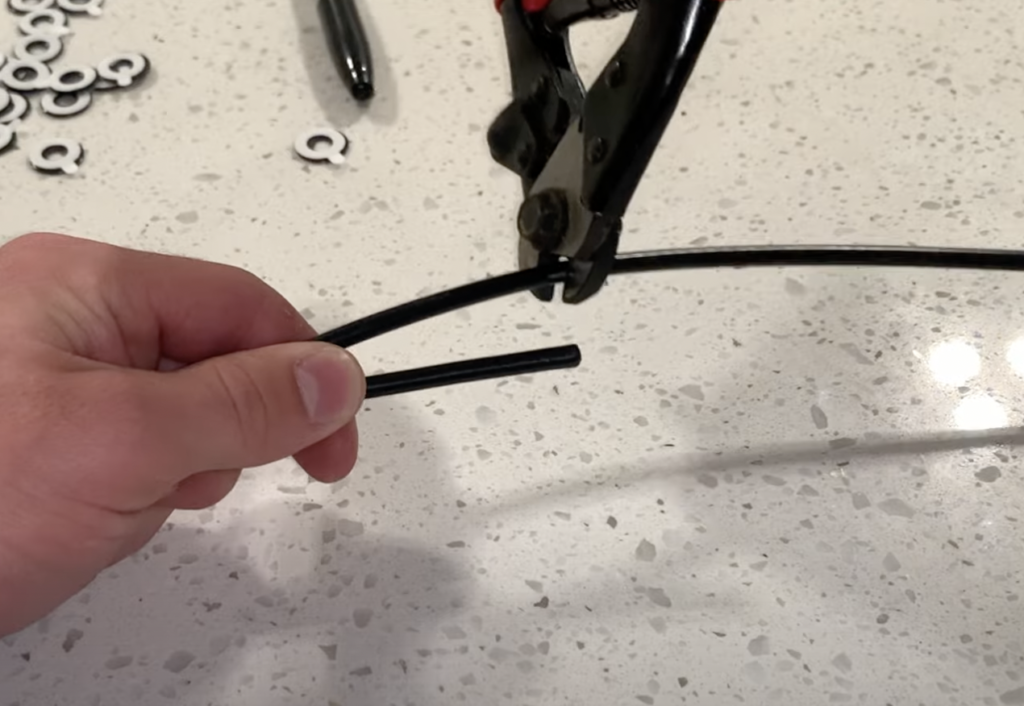
After installing the hardware and the securing the cable within the hardware, you can begin the wire tensioning process.
Tighten Cable Wires as Needed for Desired Tension
After installing the hardware in place and anchoring the cable within the hardware, tension the cable as desired using the provided tools.
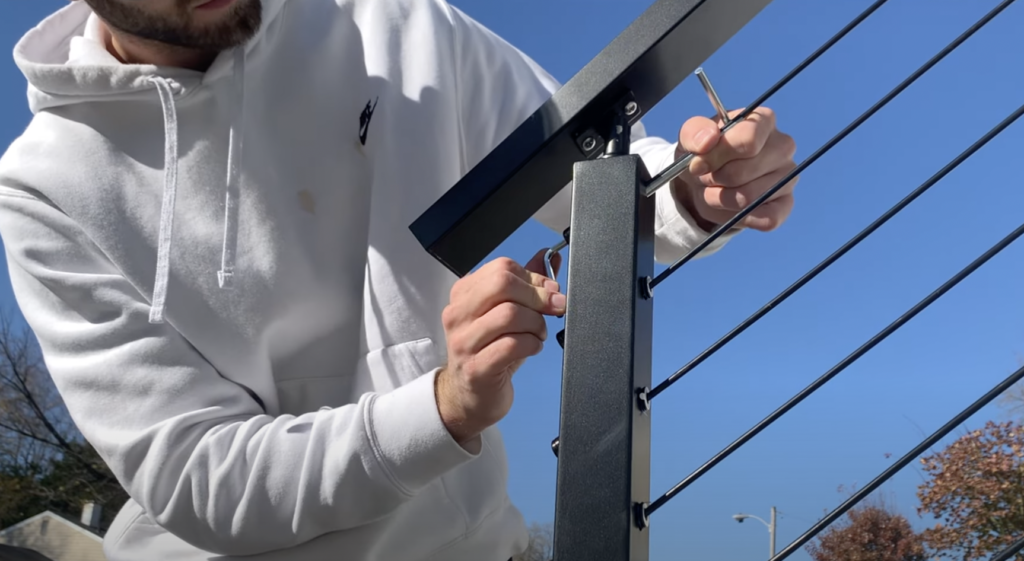
Gradually tighten each cable until the desired tension is achieved.
Test Wire Railing to Ensure Durability and Safety
Finally, test each cable for the appropriate tension and make any adjustment as needed.

At this point, your railing installation is complete! If you are more of a visual learner, you can check out my “How to Install a Cable Railing on Concrete Front Porch” video on YouTube!
Thanks so much for checking out ATImprovements! If you learned something from this project, you might also like these other DIY Projects:
- How to Apply Epoxy to a Shed Subfloor: https://atimprovements.com/epoxy-on-wood-floor/
- How to Add Electricity to a Shed: https://atimprovements.com/how-to-run-electricity-to-a-shed/
- How to Build a Concrete Slab Shed Foundation: https://atimprovements.com/how-to-build-a-shed-base-concrete-slab-step-by-step-diy-guide/
- How to Frame a 10’x10′ Shed Base: https://atimprovements.com/how-to-build-a-shed-floor-base-diy-step-by-step-guide/
- How to Frame Shed Walls:https://atimprovements.com/how-to-frame-a-shed-how-to-frame-walls-for-a-10×10-modern-shed-step-by-step-with-pictures/
- How in Install a Shed Window: https://atimprovements.com/shed-window-installation-how-to-install-a-window-in-a-shed-diy/
- How to Install a Roll Up Door in a Shed or Garage:https://atimprovements.com/roll-up-door-installation/
Thanks!
DISCLAIMER: This is a reference guide only. Consult local code requirements. Links included in this article might be affiliate links. If you purchase a product or service with the links that I provide, I may receive a small commission. There is no additional charge to you! Thank you for supporting ATimprovements so I can continue to provide you with free content each week!