
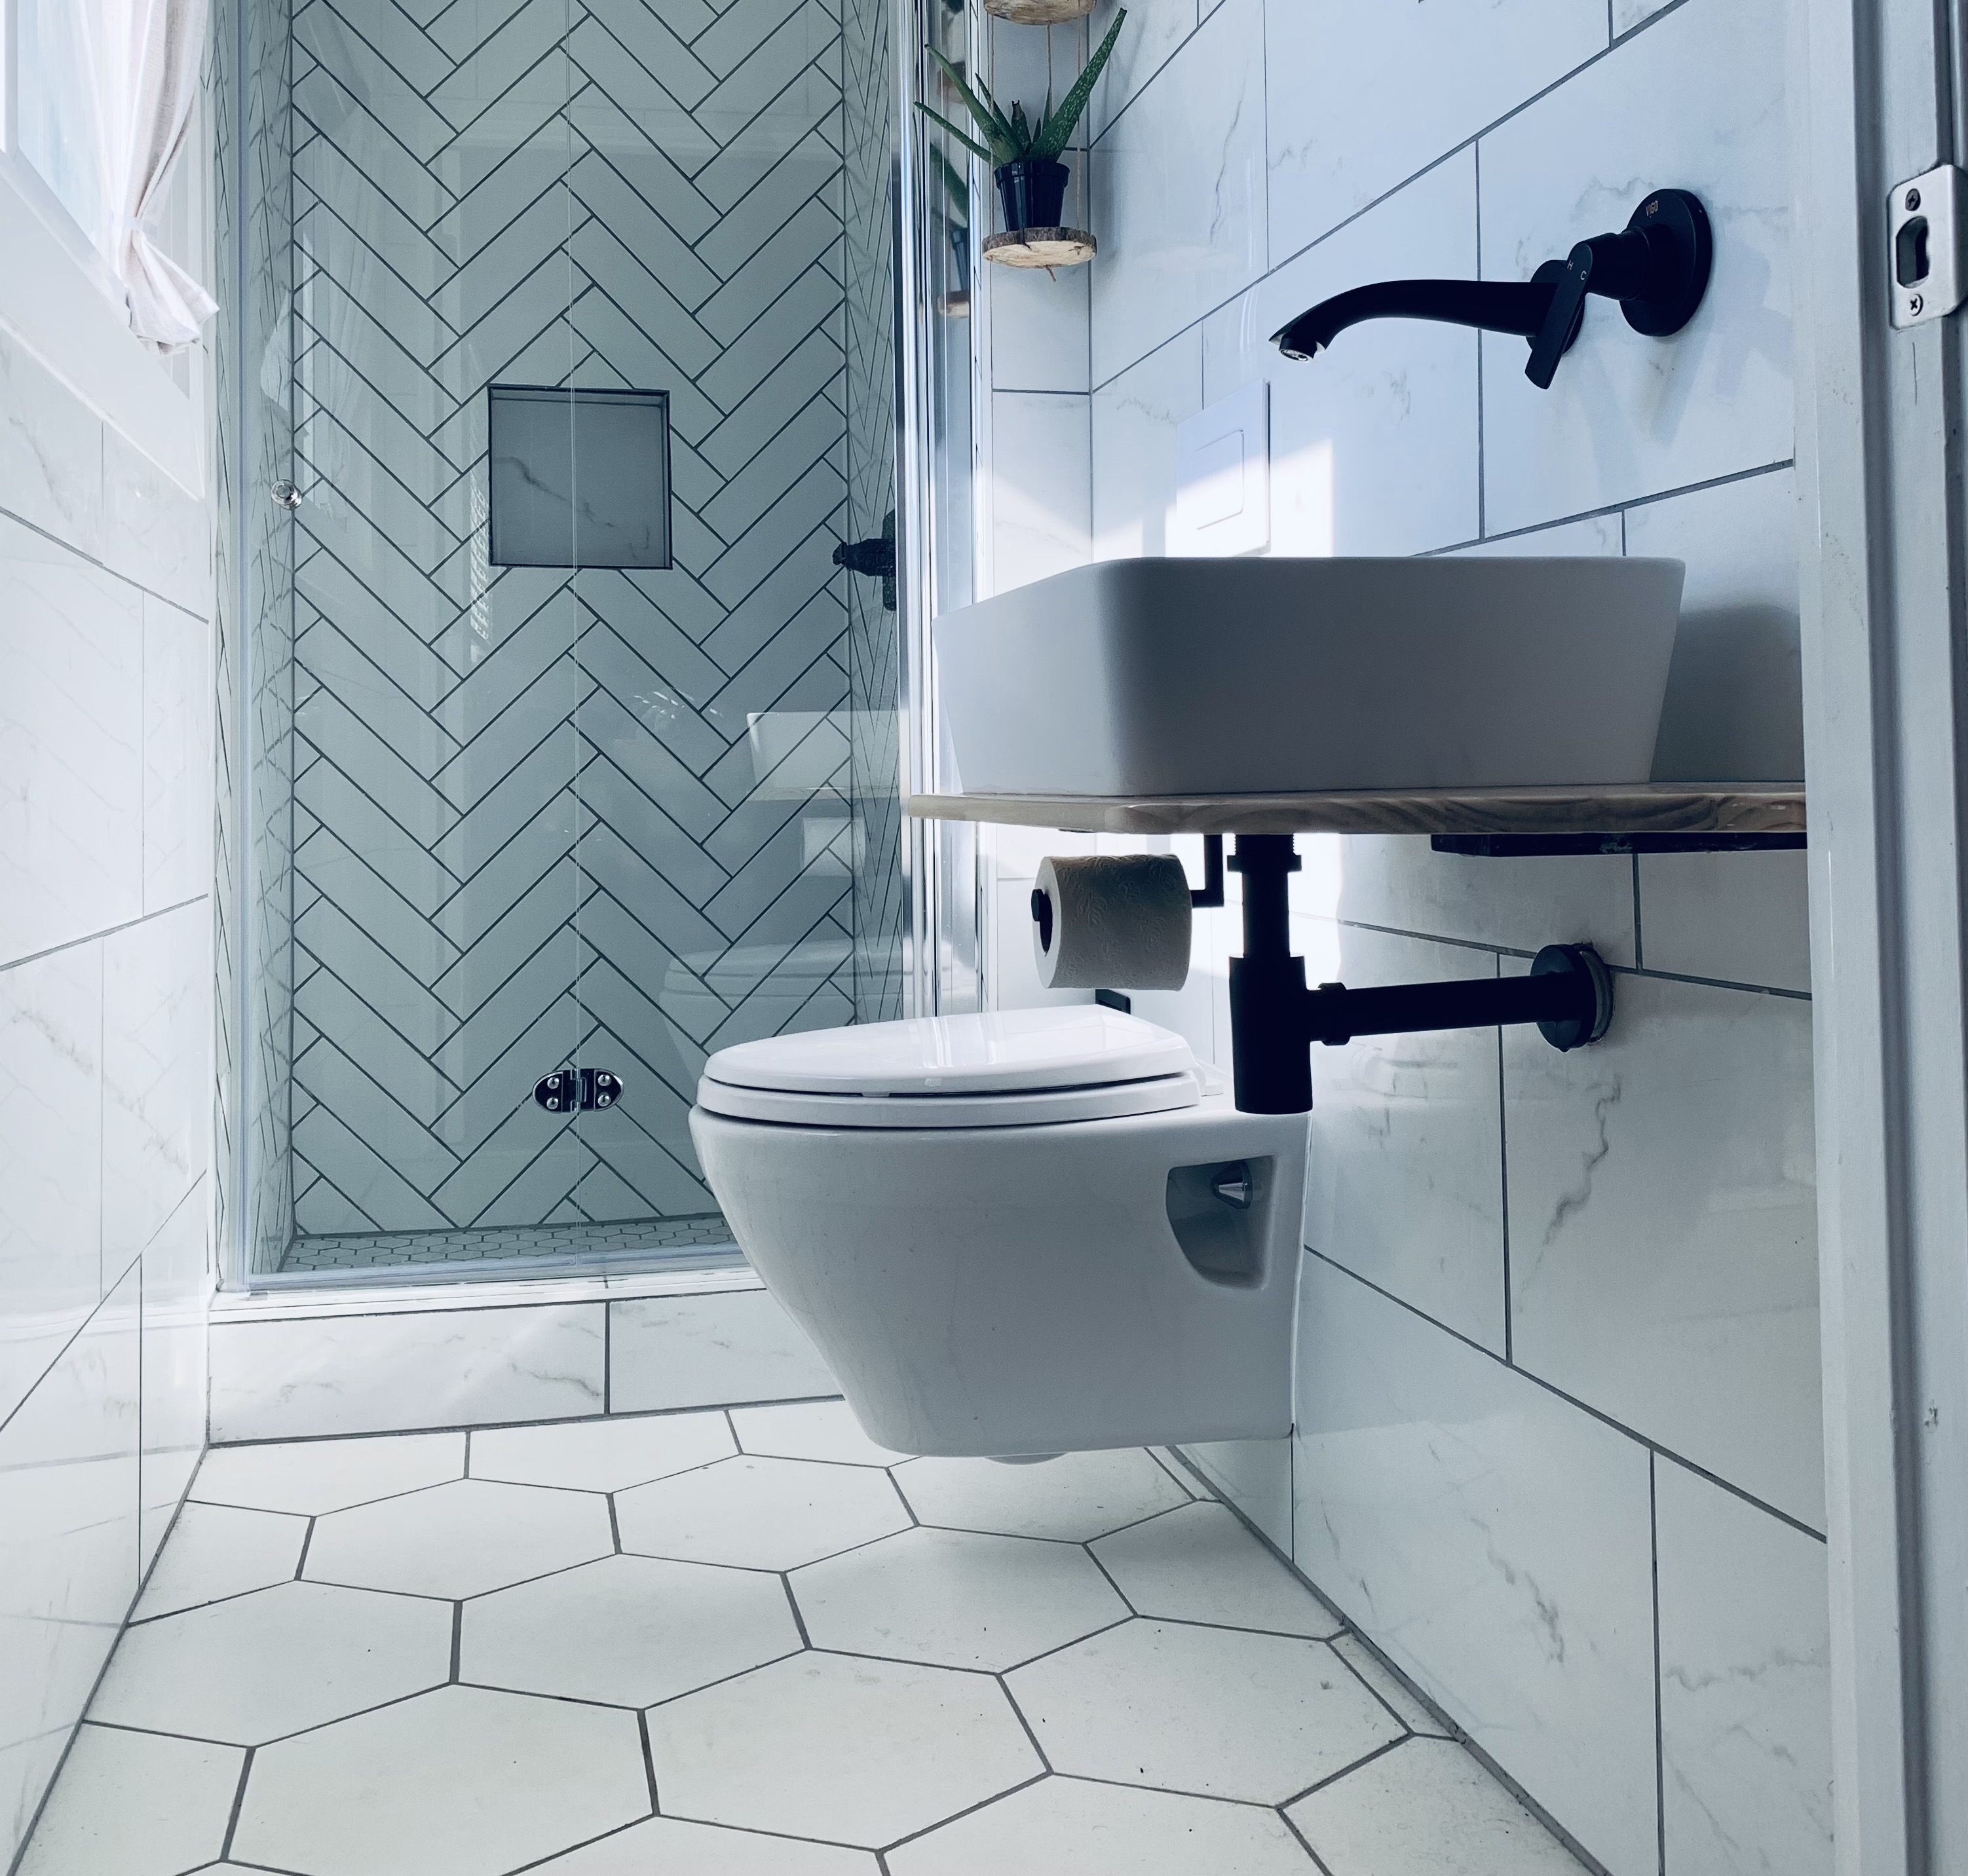
Installing wall tile in your bathroom is a great way to add style and functionality to your bathroom remodel. Wall tile is durable, easy to clean, and (most of all), way more beautiful than drywall.
To install wall tile in a bathroom, start by preparing the cement board substrate on the bathroom walls. Next, attach the wall tiles to the cement board substrate using a high quality thinset mortar. Start at the bottom of your bathroom walls and work your way up, installing tile spacers and tile levelers as needed. Grout your tile joints and seal all intersections with a high quality silicone.
Although the installation of bathroom wall tiles is a generally straightforward process, there are numerous tips and tricks that are vital for a successful installation. This article will demonstrate how to to install bathroom wall tiles from start to finish.
Let’s get started!
1. Prepare the Cement Board Substrate
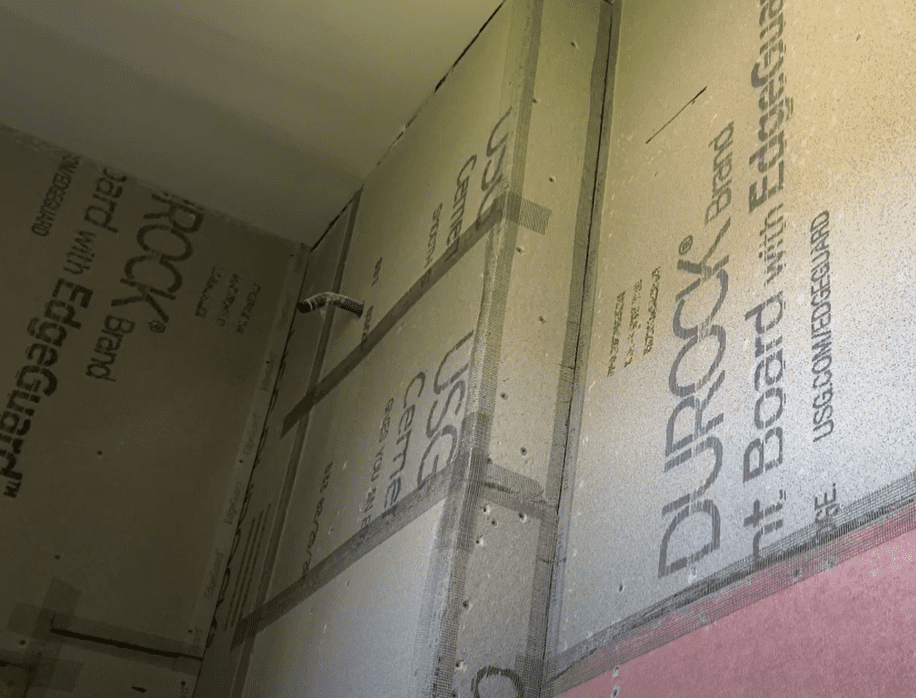
Before you can begin tiling your bathroom walls, you need to install a cement board substrate. A properly installed cement board substrate is crucial to for any bathroom wall tile project and the installation can be accomplished relatively easily by the average homeowner.
Before we talk about installing cement board, let’s answer a few of the common questions about Cement Board.
What is cement board?
Cement board is a building material made of a mixture of cement, glass fibers, and reinforcing fibers that is formed into a sheet. Cement board sheets are typically 3 feet by 5 feet in length, but also come in 4 foot by 8 foot sheets as well. Cement board sheets typically come in ¼”, ½” and even 5/8” thicknesses.
½” and 5/8” thickness cement board is required for wall applications. The additional thickness provides strength and durability when spanning between wall studs.
What is cement board used for?

Cement board is most commonly used as the backing or substrate for tiled walls or floors.
Cement board is much more durable and water resistant than gypsum board and is, therefore, used in most applications where water will be present
How to install cement board
Now that you know what cement board is, let’s talk about installing it. To install cement board on your bathroom walls, you will need the following materials:
- Cement board (Square footage based on your application)
- Cement Board Screws (Rock-on, Backer-on, etc.)
- Alkali Resistant cement board tape.
- Thinset Mortar
- Drill
- Putty knife or Trowel
To install cement board on your bathroom walls, follow these general steps:
- Plan out your Cement Board Layout to Maximize Full Sheets
- Screw Cement Board Sheets to the Wall
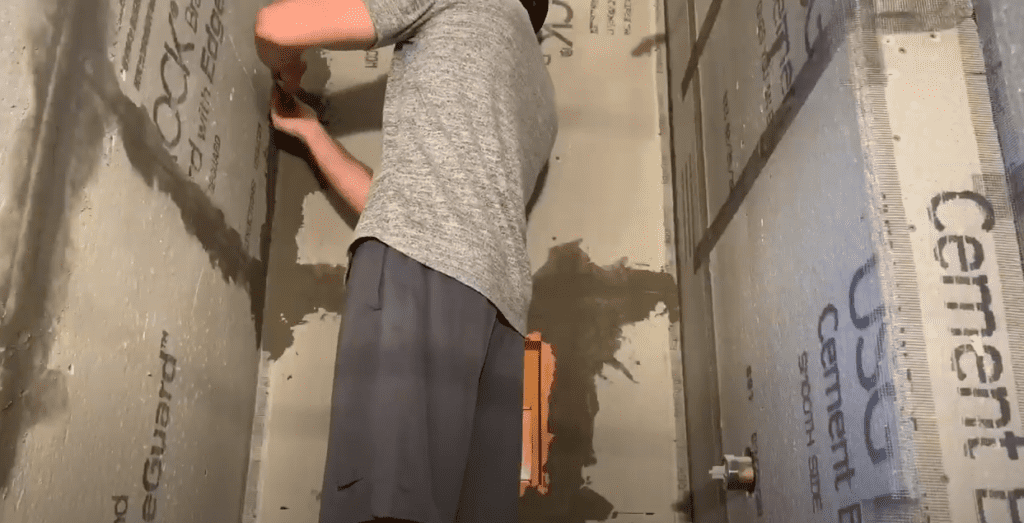
- Tape the cement board joints with fiberglass mesh tape
- Fill Cement Board joints with Mortar
- Allow mortar to dry and prepare for tile installation
For extremely detailed cement board installation instructions, I recommend you read my article linked here and watch my “How to Install Cement Board on Walls” Youtube Video below:
Once you have installed your bathroom wall tile cement board substrate, you can begin installing your bathroom wall tile.
2. Purchase your Bathroom Wall Tile Installation Materials

Before you can begin installing your bathroom wall tile, you will first need to purchase all of the necessary materials. To successfully install wall tiles on your bathroom wall, you will need (at a minimum) the following materials and equipment:
- Tile
- Thinset Mortar
- Tile Spacers and Tile Leveling System
- Trowel
- Grout
You will also need other miscellaneous items such as a bucket, mixer, gloves, etc. Let’s take a minute to discuss each material.
Tile
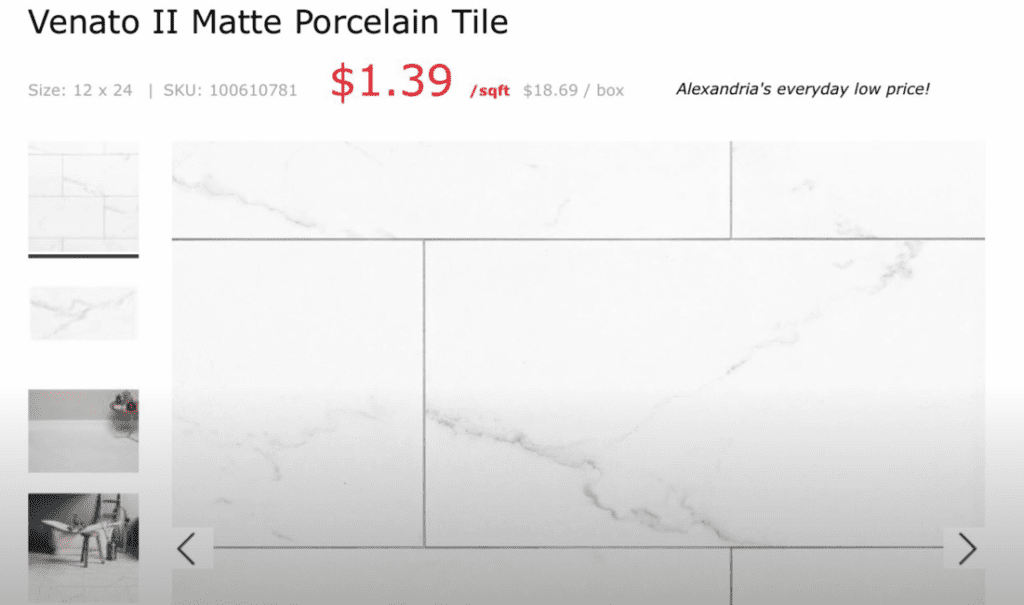
When selecting your bathroom wall tile, ensure that you are using a tile that can be installed vertically. Additionally, I recommend that you use a porcelain tile that is durable and moisture resistant.
For my bathroom wall tile installation, I used a 12″x24″ porcelain tile (pictured below).
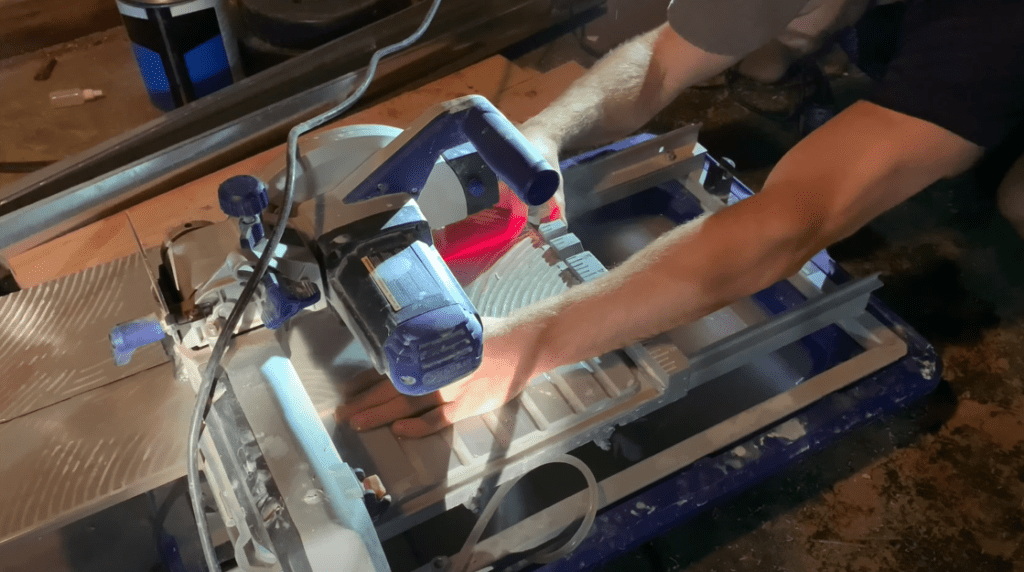
For nearly every bathroom wall tile installation, you will also need to cut some of your tiles. There are many different methods for cutting tile (Wet Saw, Dry-cutter, Angle Grinder, etc.) that can be used depending on the tile type and installation method.
Spend some time thinking about which tile cutting method is best for your application and purchase/rent the necessary equipment.
Various methods for cutting tile are discussed later in this article.
Thinset Mortar
Once you have purchased your tile, it’s time to select your thinset mortar which will bond your tiles to the substrate.
The type of thinset mortar you select will depend on a variety of factors such as:
- Size of tile
- Type of tile
- Substrate Material
- Miscellaneous other factors
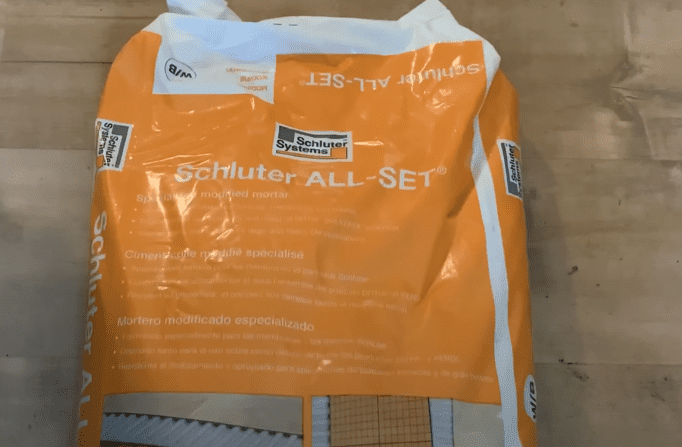
Be sure to check with the tile manufacturer to determine if there are any specific thinset mortar requirements. I recommend the following Schluter Thinset Mortar types – depending on your application:
Check with the tile manufacturer if you have any questions about tile and and thinset mortar compatibility.
Tile Spacers and Tile Leveling System
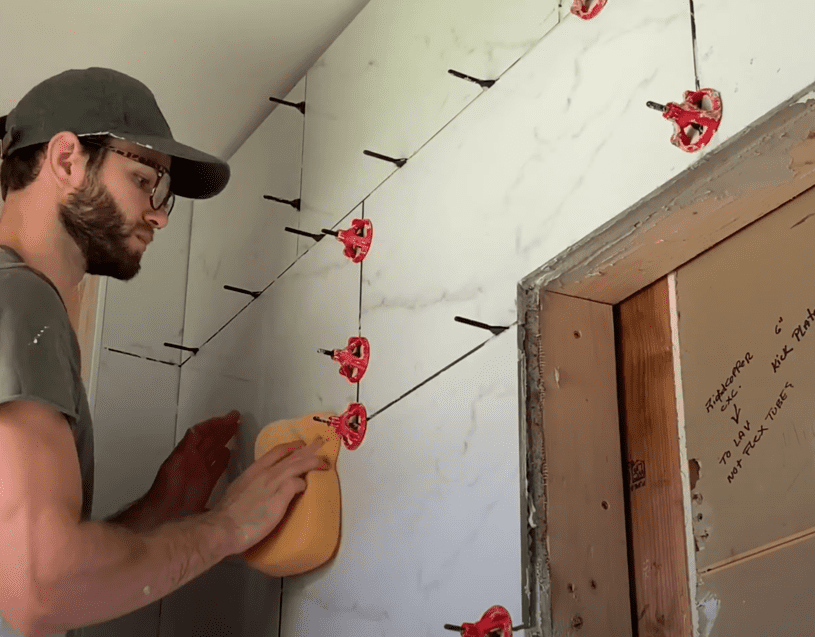
For all tile installations, you need to use tile spacers to maintain uniform spacing between tiles. For wall tile installations, it is highly recommended that you use a two-in-one tile spacer and leveling system.
For my bathroom wall tile installation, I used the Spin Doctor Tiling Spacer and leveling system (pictured below)
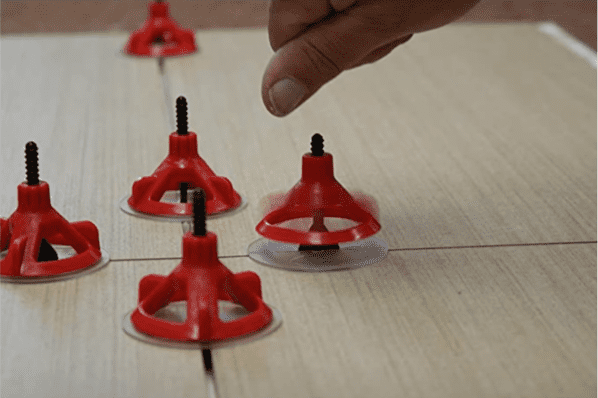
This system (or similar) will ensure that all of your tiles are evenly spaced and that there is no “lippage” (unevenness) between any two adjacent tiles.
Trowel
In order to apply your thinset mortar to your tiles and cement board substrate, you will need to use a trowel. The size and type of trowel used will depend on the bathroom wall tile and thinset mortar you select. Check with the tile manufacturer to determine what trowel size is right for your bathroom wall tile application.
Grout
Lastly, you will need to purchase grout to fill all of the wall tile joints. I recommend epoxy grout for wall tile installations. Grout will be discussed in more detail later on in this article.
With all of your bathroom wall tile materials and equipment selected, we can now begin the bathroom wall tile installation.
3. Establish Your Wall Tile Layout
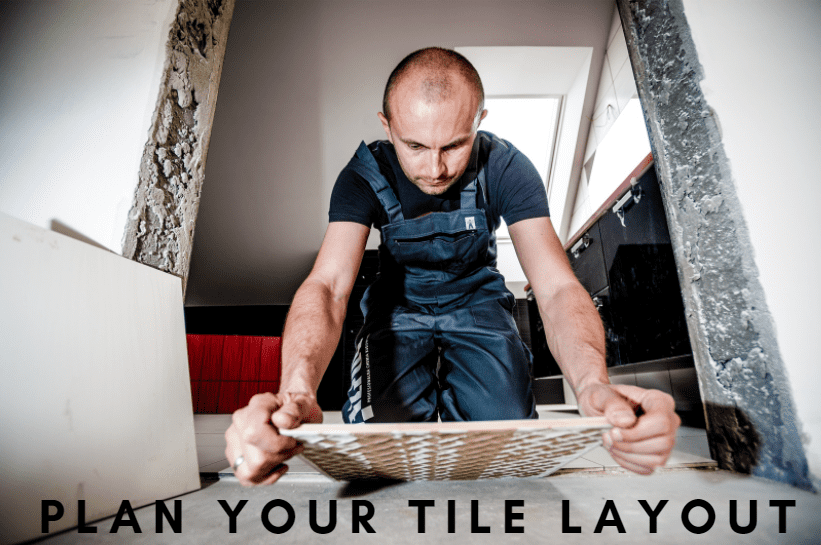
Before placing your first bathroom wall tile, you need to plan out and establish your tile layout.
PRO TIP: The key to a successful bathroom wall tile installation begins with establishing your Tile Layout
Because there are so many different tile patterns and tile sizes, there is no “best” way to plan out your tile layout. However, there are a few things you should keep in mind when establishing your tile layout:
- Account for tile spacer size in your tile layout.
- Try and maximize the amount of full tiles in your layout. This will make the installation process simpler and reduce the amount of tile waste.
- Stagger your grout lines. Having grout lines that are tastefully staggered gives tile installations a more cohesive look.
- Avoid having small “slivers” of tiles on one side of the room and full tiles on the other. When measuring for your tiles (be sure to account for the tile spacers!) determine if you will be left with a small “sliver” of tile. If so, consider cutting the full tile on the other side so that there is a larger tile on the opposite wall.
- Avoid having a full tile at the floor and a small sliver of tile at the ceiling. When measuring your wall height (be sure to account for the tile spacers!) determine if you will be left with a small “sliver” of tile. If so, slightly cut your floor tile so that you will be left with a larger tile at the ceiling.
- Take into account any recessed vanities, light fixtures, etc. It is sometimes desired to have these centered in the tile layout.
As stated above, there is really no “one size fits all” tile layout approach. However,
By following the guidelines above and giving your layout a bit of forethought, you will set yourself up for more professional looking installation.
4. Install Your First Row of Bathroom Wall Tile
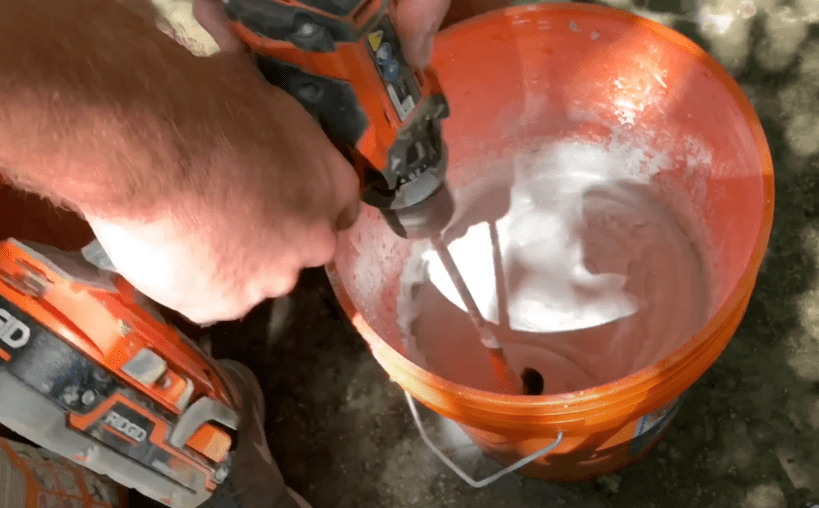
After establishing your tile layout, it’s time to install the the first row of bathroom wall tile. To get started, mix up your thinset mortar according to the manufacturer’s instructions. It is recommended that you use a drill and a paddle mixer for best mixing results.
Once the thinset has been mixed up, apply thinset mortar to the application area using a trowel. Only apply as much thinset mortar as you need for the first row of tile.
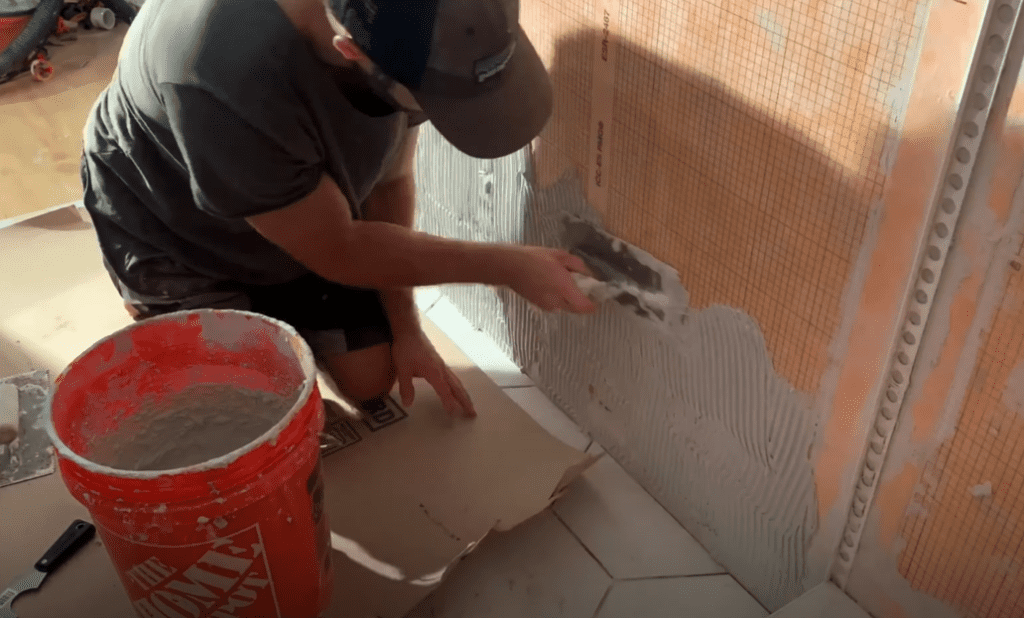
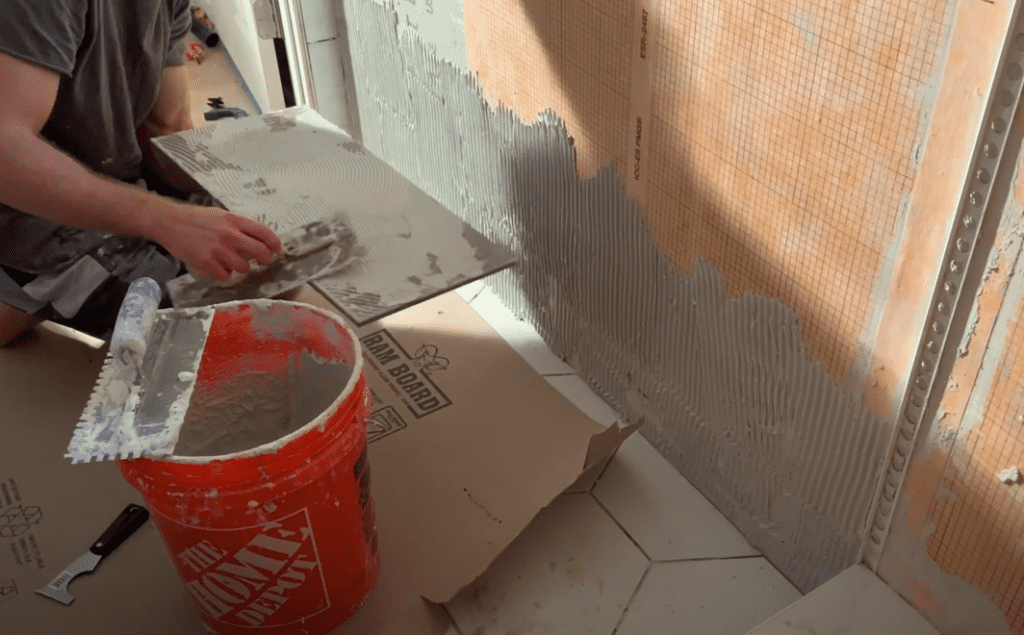
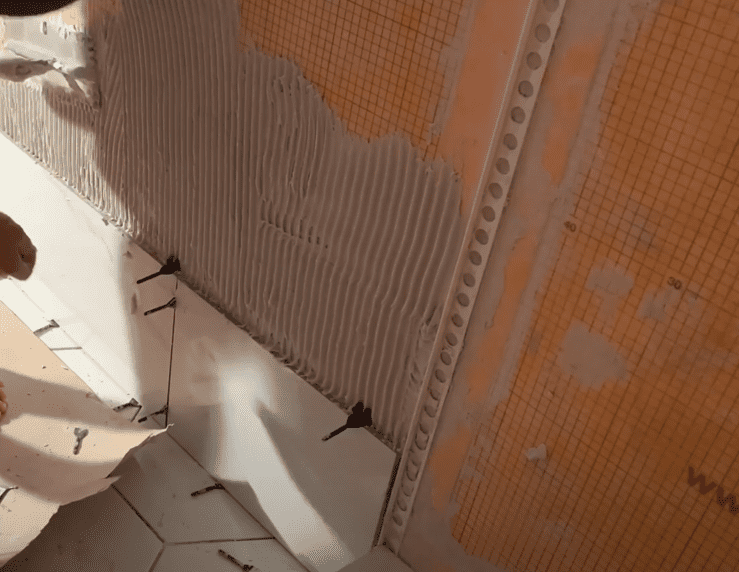
It is recommended that you begin applying thinset mortar to the wall using the flat side of the trowel to ensure good coverage on the bathroom wall.
Next, comb notches into the thinset mortar using the notched side of the trowel. Apply thinset mortar to the bathroom walls using “directional troweling” – meaning that all trowel lines run in the same direction.
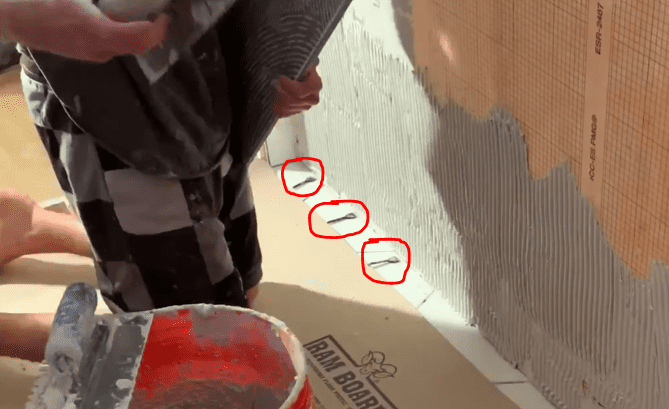
Before placing the first tile, you want to maintain an expansion gap (usually 1/8″) between the bathroom floor tile and the first row of bathroom wall tile. This gap will allow for expansion and contraction in the future, minimizing the possibility of your tiles cracking. To achieve this expansion gap, install spacers between the bathroom floor and the first row of wall tiles as shown below:
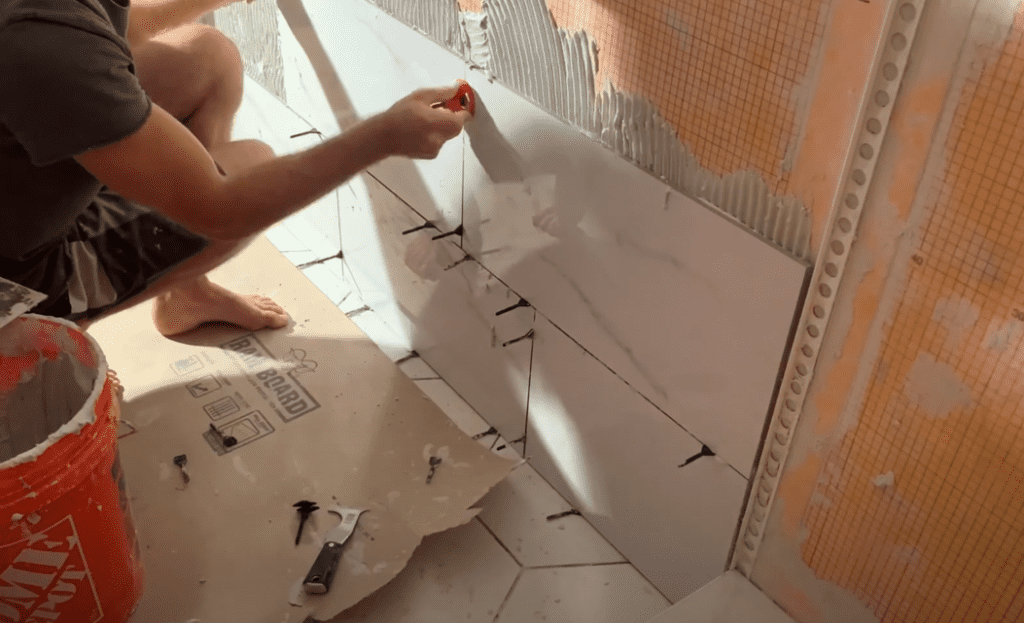
Next, install your first bathroom wall tile by positioning it on top of the spacers and by pressing the tile firmly into the thinset mortar.

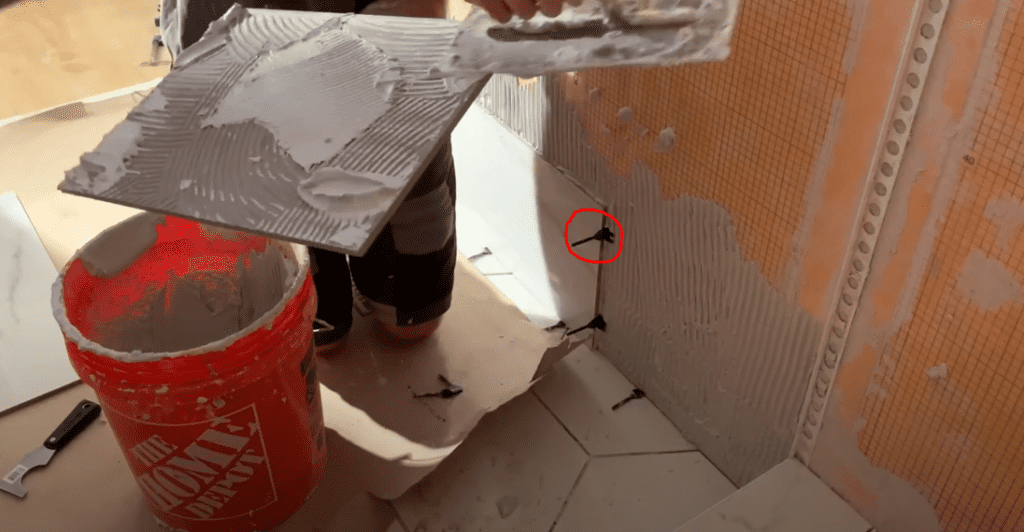
It is recommended that you lift up and check a few tiles to ensure that you have good thinset mortar coverage. If not, you will likely want to “back-butter” your tiles. “Back-buttering” is the act of applying some thinset mortar to the back of the tiles before setting them in place.
As you place your tiles into the thinset, ensure that you have used enough spacers/levelers to prevent lippage and to make sure that the spacing is uniform between each tile.
Continue to install thinset mortar, tiles, and spacers in the locations established by your tile layout for the first row of tiles.
Once you have completed the first row of tiles, use a level (a laser level is recommended) to ensure that the top of the first row of tile is perfectly level. This first row of tiles will serve as the “base” for the next rows of tile, so ensuring that it is perfectly level all the way across is crucial.
Once you have made any adjustments (if necessary) to ensure that the first row of tiles is level, Begin installing the next row.
Apply thinset mortar to the application area for the second row and position your tile spacers.
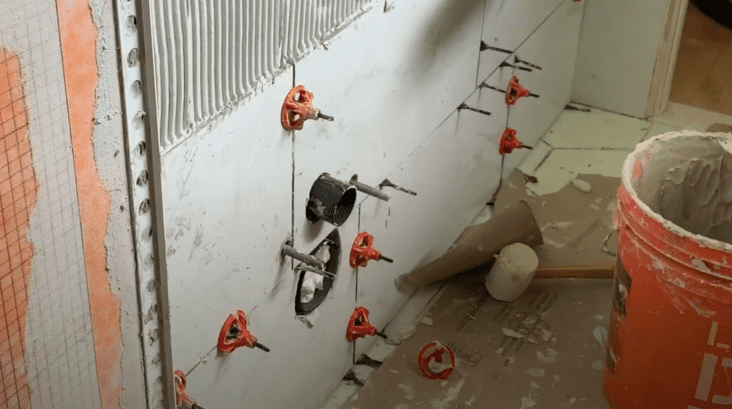
Continue to install the bathroom wall tiles as done for the first row. As you progress up the wall, be sure to screw on the tile leveling system to ensure that there is no lippage between any two adjacent tiles.
Continue to apply bathroom wall tiles in this manner, row after row. Cut tiles as needed during the Bathroom Wall Tile installation process.
Apply bathroom wall tiles up the entire wall, cutting them as necessary. Be sure to continue installing the tile spacers and the leveling system as you progress up the wall.
Once you have finished installing tile on the first bathroom wall, move on to the next wall. Start at the bottom of the wall (just like you did for the first wall) and install your first row of tiles.
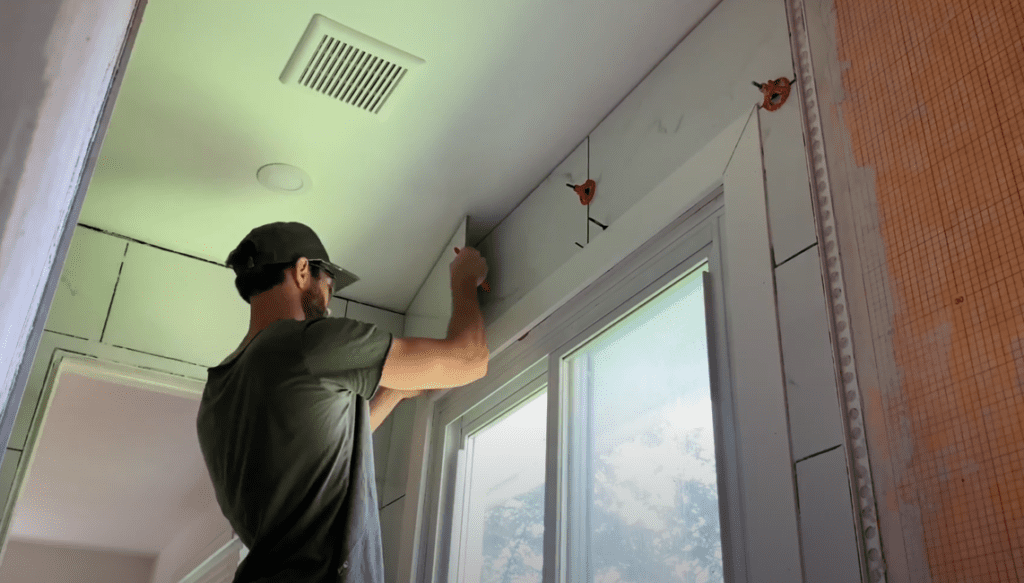
In addition to the expansion/contraction gaps maintained between the bathroom floor tile and the bathroom wall tile, it is also recommended that you leave a 1/8” gap at the intersection between walls. Again, this gap will be filled with silicone as the final step in the bathroom wall tile installation process. Basically, you want to maintain an expansion gap at each change of plane (floor to wall, ceiling to wall, and wall to wall).
Continue to install tile on your bathroom walls according to your tile layout until all tiles have been installed.
5. Cutting Bathroom Wall Tiles Around Obstructions
For every bathroom wall tile installation, you will find yourself in a situation where you need to cut your tiles around obstructions (outlets, light fixtures, etc.).
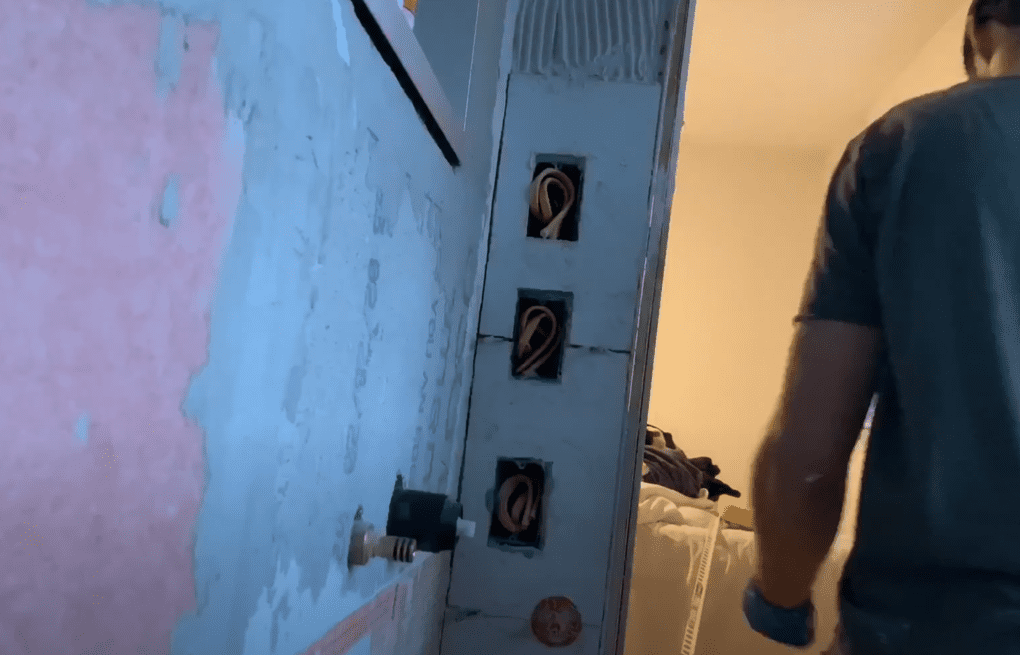
There are many method for cutting wall tiles around obstructions. Some of the most common solutions are listed below:
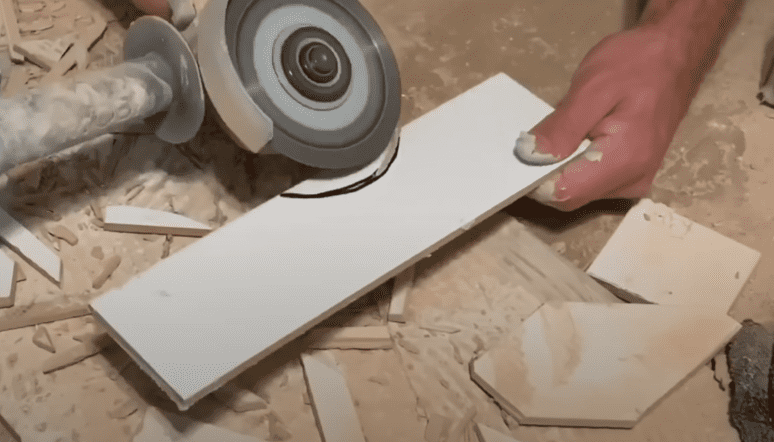
Use an Angle Grinder with a Diamond Blade
An angle grinder equipped with a diamond blade is one of the fastest ways to cut wall tile around obstructions.
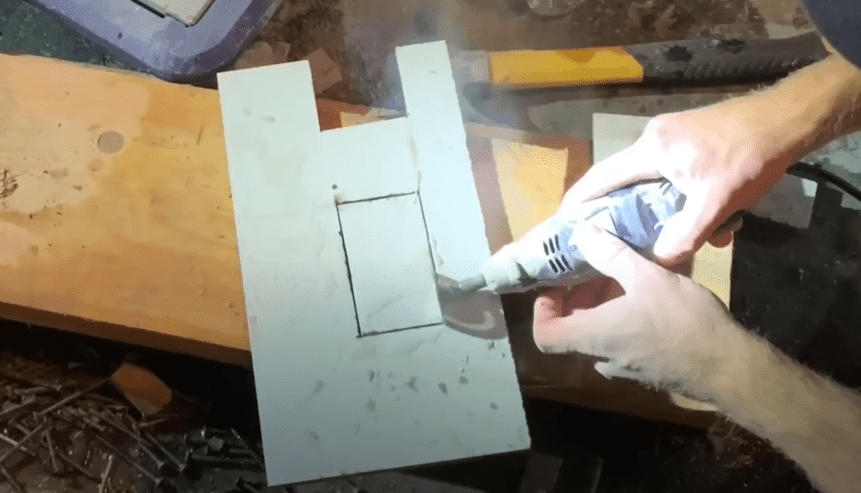
Use a Dremel Tool with a Diamond Blade
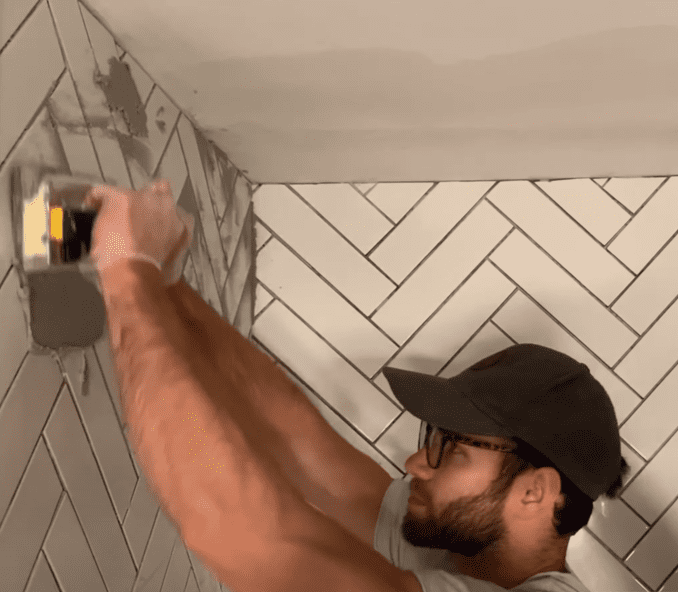
For more intricate cuts that require a bit more precision, consider using a Dremel tool equipped with a diamond cutting wheel. This method is best for cutting around outlets or other small obstructions.
Use Diamond Hole Saw Bits for circular cuts in the center of tiles
For circular cuts that are located in the center of tiles, consider using diamond hole saw bits. Use a drill and apply firm even pressure to cut through the tile. Consider adding a bit of water to the cut area as you drill to avoid overheating the bit.
The three methods listed above are typically the best ways to cut your bathroom wall tiles around obstructions.
6. Clean up any Excess Thinset Mortar
Although often overlooked, cleaning up the excess thinset mortar (as you go) is extremely important for a successful shower pan tile installation. If you allow for thinset mortar to dry on the face of your tiles or within the grout lines, it will be incredibly difficult to remove later.
To avoid this, use a wet sponge to remove any excess grout from the face of the tile and from in between the grout lines before it dries.
Pro Tip: It is extremely important that you remove any excess thinset mortar while it is still wet. If you allow the thinset mortar to dry, it will me much more difficult to remove.
If any thinset mortar does dry on the face your tiles, your best bet is to scrape it off the face of the tiles using a 5 in 1 painter’s tool)
Scraping any dried thinset that has hardened between the grout lines is usually best accomplished by using a grout scraping tool.
7. Allow Thinset Mortar to Dry and Remove Tile Spacers

Once you have cleaned up any excess thinset mortar from the face of your tiles and from in between the grout lines, allow your bathroom wall tile installation to dry for roughly 48 hours. This will allow for adequate time for your thinset mortar to fully cure and harden.
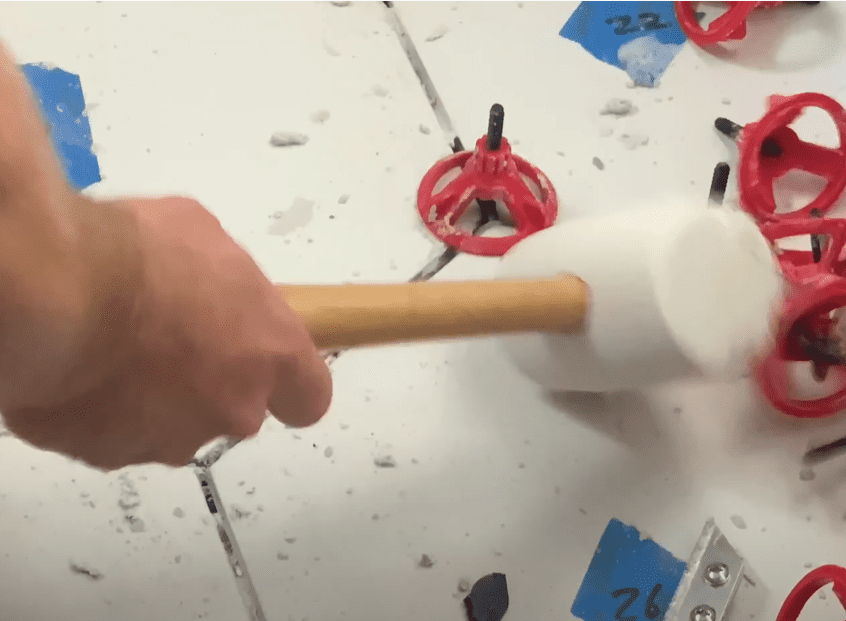
Once the thinset mortar has fully cured, remove your tile spacers from in between your tiles. To do this, strike the spacer and tile leveler with a rubber mallet in the direction of the grout line. If done correctly, the spacers should easily snap out from in between your bathroom wall tiles.
Once all of the tile spacers have been removed, perform minor clean up work as needed to prepare for grout installation. This minor cleanup work may consist of the following:
- Scraping any dried thinset mortar from the face of your tiles (this is usually best accomplished with a 5 in 1 painter’s tool)
- Scraping any dried thinset that has hardened between the grout lines. This is usually best accomplished by using a grout scraping tool.
- Vacuuming any dust or debris that may have settled in between the tiles
- Running a sponge over the face of all of your tiles to remove any dust or impurities that may impact your grout installation
Once all of your grout preparation work has been completed, you can begin to install your grout.
8. Apply Grout to Bathroom Wall Tiles
Once you have given your bathroom wall tiles sufficient time for the thinset to dry (usually 48 hours) you can apply grout to your bathroom wall tile. Although there are many different types of grout, it is recommended that you use Epoxy grout for your shower wall tiles since epoxy grout is fully waterproof and stain-resistant.
To apply epoxy grout to your shower walls, mix up the epoxy according to the manufacturer’s recommendations. Next, apply the epoxy grout to the shower walls using a grout float.
Force the grout into the grout lines by applying pressure with a grout float. Once grout has been applied to all of the grout lines, remove the excess grout immediately.
Clean the face of the tiles using a wet sponge and grout haze remover and allow the grout to dry.
For detailed epoxy grout installation instructions, check out my “How to Install epoxy Grout” Youtube video below:
9. Apply Silicone to the Expansion Joints
Once you have installed your grout and cleaned up any excess, you can apply silicone to all of your expansion joints. Apply a high quality silicone to all expansions joints (floor to wall, ceiling to wall, and wall to wall).
These flexible joints will flex with any expansion and contraction and are instrumental in preventing your tiles from cracking. For detailed instructions on how to apply silicone to your expansion joints, watch my Youtube Video below:
Once you have applied silicone to your expansion joints, your Bathroom Wall Tile installation is complete. Congratulations!
For a detailed demonstration of every single bathroom wall tile installation step outlined in this article, check out my Youtube Video below:
Thanks so much for checking out ATImprovements! If you learned something from this project, you might also like these other DIY Projects:
How to tile a Shower Pan: How to Tile a Shower Pan (Kerdi Shower Pan Tile Installation) – AT Improvements
How to Install the Schluter Kerdi Shower System: Schluter Kerdi Shower Kit Installation (Everything you Need to Know) – AT Improvements
How to Install Hexagon Floor Tiles: How to Install Hexagon Floor Tile – AT Improvements
To see the full bathroom transformation time lapse, click here!
Thanks!
DISCLAIMER: This is a reference guide only. Links included in this article might be affiliate links. If you purchase a product or service with the links that I provide I may receive a small commission. There is no additional charge to you! Thank you for supporting ATimprovements so I can continue to provide you with free content each week