
Installing a Kerdi Shower Curb, is typically the third step (after Kerdi Membrane and Kerdi Shower Pan Installation) in the Schluter Kerdi Shower Kit System installation process. Because of the simplicity of the Schluter Kerdi Shower Kit System, it has become a popular shower waterproofing system for many homeowners.
To install a Kerdi Shower Curb, apply Schluter ALL-SET mortar (or an unmodified thinset mortar) to the subfloor and wall areas that will be covered by the Kerdi Shower Curb. Apply thinset mortar using a 1/4” x 3/8” square-notch trowel. Press the Kerdi Shower curb into the Thinset Mortar with firm, even pressure to achieve full mortar coverage. Finally, allow the thinset mortar to dry.
This article will outline every step in the Kerdi Shower Curb installation process to ensure that your Schluter Kerdi Shower Kit installation is successful.
How to Install Kerdi Shower Curb – Step-by-Step
Step 1: Ensure the Pre-requisite steps have been completed.

Kerdi Membrane Installation 
Kerdi Shower Pan Installation


Before you begin installing a Kerdi Shower Curb, you must first install the Kerdi Membrane and Kerdi shower pan. If you have already completed these steps, proceed to Step 2. If not, check out my articles below which will show you how to install the Kerdi Membrane and Kerdi Shower Pan.
How to Install Kerdi Membrane: Kerdi Membrane Installation (Step-by-Step Installation Guide) – AT Improvements
How to Install Kerdi Shower Pan: How to Install Kerdi Shower Pan (Kerdi Shower Tray Installation) – AT Improvements
Step 2: Ensure that the subfloor is clean, level, and fully supported prior to beginning your installation.
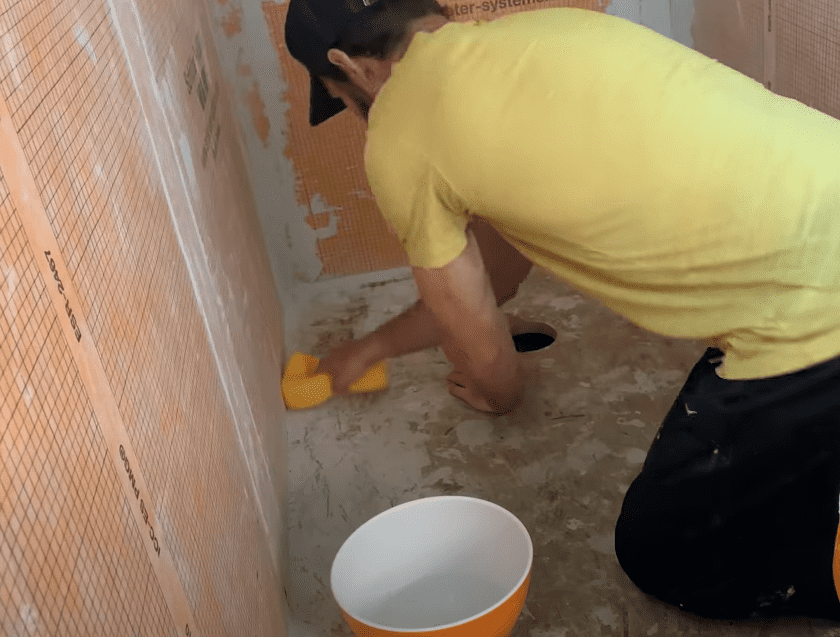
Before you begin installing your Kerdi Shower Curb, check to make sure that the subfloor is level and well supported. It is recommended that you use a damp sponge to remove any dust or debris that may interfere with thinset bonding. Additionally, make sure that there is no dried thinset leftover from the Kerdi Membrane and Kerdi Shower Pan installation. If there is, remove it using a chisel or painter’s tool.
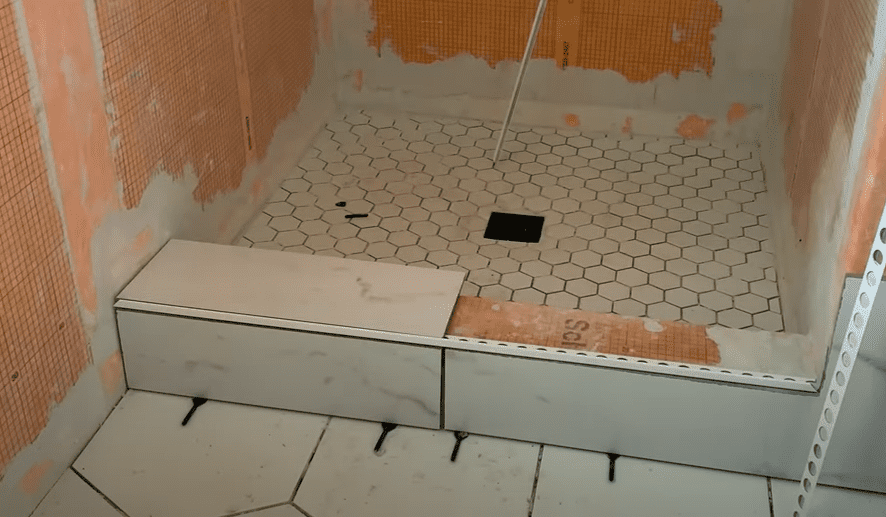
Step 3: Perform a dry fit of the Kerdi Shower Curb
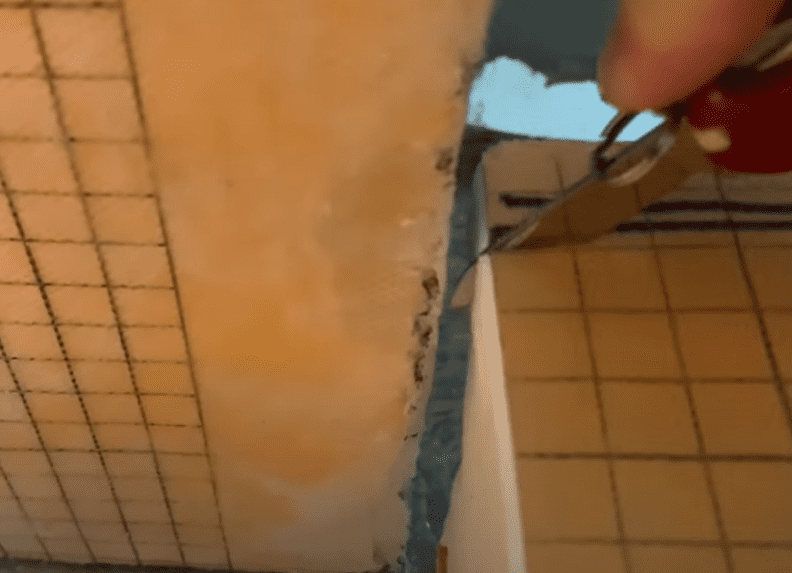
Ensure that your Kerdi Shower Curb fits appropriately within the installation area by positioning it in place. At this stage, you may find that you need to trim the Kerdi Shower Curb so that it can fit within the installation area. To cut or trim a Kerdi Shower Curb, use a straight edge to mark the cut line on the curb. Next, score the Kerdi Shower Curb along the cut line using a utility knife. After scoring the entire length of the Kerdi Shower curb, continue to cut deeper into the curb until you have cut all the way through.
You can also cut the Kerdi Shower Curb using a hacksaw.
Step 4: Apply Thinset Mortar to the Subfloor and Walls
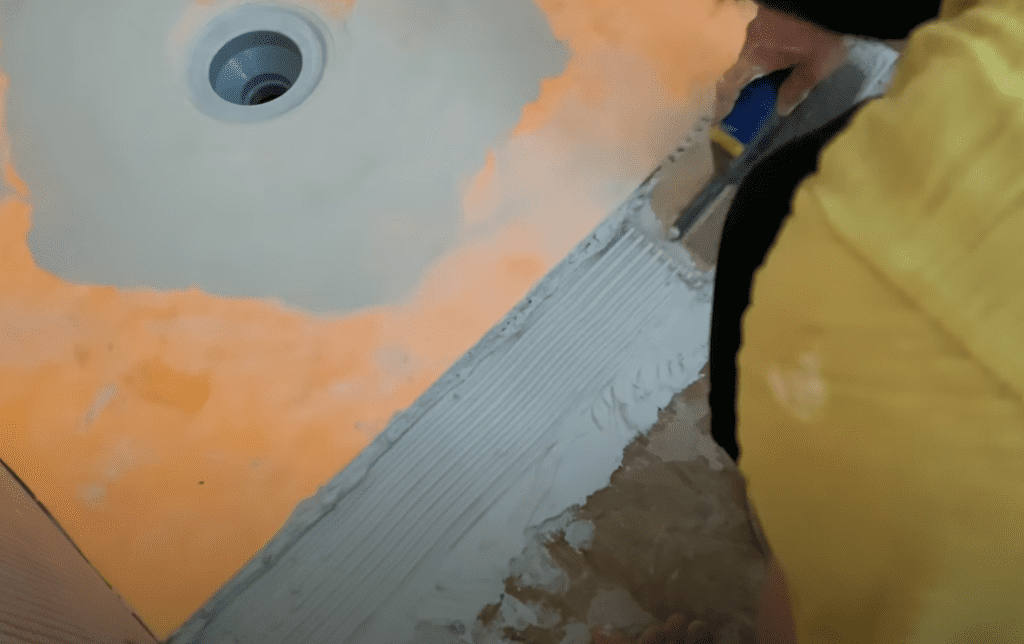
At this stage, apply Schluter Thinset Mortar (or an unmodified thinset mortar) to the application area using a 1/4″ x 3/8″ Square notch or U-notch trowel. Begin spreading thinset over the entire installation area using the flat side of the trowel. This will ensure good thinset coverage on the subfloor. Next, comb additional mortar (as needed) using the notched side of the trowel. Apply thinset mortar to the substrate using “directional troweling” – meaning that all trowel lines run in the same direction.
Be sure to apply thinset mortar at the ends of the curb (where the curb intersects the walls) as well.
Step 5: Place Kerdi Shower Curb into position and embed into thinset mortar.
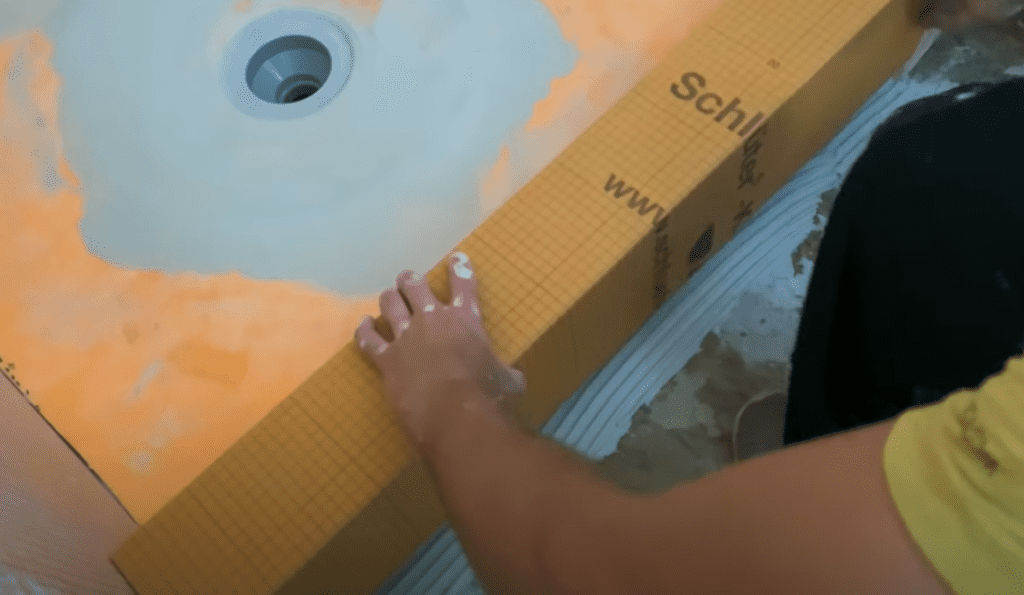
Once the thinset has been applied to the subfloor and wall (where needed), place the Kerdi Shower Curb into place and firmly embed the Kerdi Shower Curb into the mortar using firm, even pressure. After the Schluter Kerdi Shower Curb has been embedded into the mortar, clean up any excess thinset.
Step 6: Next Steps and Additional Tips
Once the Kerdi Shower Curb has been installed, it is recommended that you immediately waterproof all the joints, using Kerdi-Band. To learn how to complete your waterproofing process by installing Kerdi-Band, check out my “How to install Kerdi-Band” Article Linked here:
At this stage, simply allow time for the thinset mortar to dry.
For a detailed Kerdi Shower Curb, Kerdi Membrane, and Kerdi Shower pan Installation video, check out my “How to install Kerdi Shower Curb” tutorial video below:
Once you have installed your Kerdi Shower Curb and given the thinset mortar sufficient time to dry, you can then tile your shower curb. For detailed step-by-step Kerdi Shower Curb tile Installation instructions, check out my Kerdi Shower Curb Tile Installation Video below.
Below are some of the most common questions that you might have when installing a Kerdi Shower Curb:
What Thinset Mortar Should I use when Installing a Kerdi Shower Curb
It is recommended that any of Schulter’s thinset mortar products be used when installing a Schluter Kerdi shower Curb. These include:
Although it is highly recommended that Schluter Systems thinset be used for Kerdi Shower Curb installations in order to maintain the Schluter warranty, an unmodified thinset mortar can also be used to apply the Kerdi Shower Curb.
What Size Trowel to use for Kerdi Shower Curb
Schulter Systems recommends that a 1/4″ x 3/8” square or U-notched trowel be used to used for Kerdi Shower Curb thinset application.
I installed my Schluter Kerdi Shower Curb, what’s next?
The steps to successfully installing the Schluter Kerdi Shower Kit are listed below:
- Step 1: Install Kerdi Membrane
- Step 2: Install Kerdi Shower Pan
- Step 3: Install Kerdi Shower Curb
- Step 4: Waterproof all intersections and joints
Once you have completed all of the steps above, you can begin tiling your shower.
If you are ready to begin tiling your Kerdi Shower Pan, check out my “Kerdi Shower Pan Tile Installation Video” below:
Thanks so much for checking out ATImprovements! If you learned something from this project, you might also like these other DIY Projects:
How to Install Kerdi Membrane: Kerdi Membrane Installation (Step-by-Step Installation Guide) – AT Improvements
How to Install Kerdi Shower Pan: How to Install Kerdi Shower Pan (Kerdi Shower Tray Installation) – AT Improvements
How to Install Hexagon Floor Tiles: How to Install Hexagon Floor Tile – AT Improvements
Schluter Ditra VS Cement Board (Which is better?): Schluter Ditra VS Cement Board (Which is better?) – AT Improvements
To see the full bathroom transformation time lapse, click here!
Thanks!
DISCLAIMER: This is a reference guide only. Links included in this article might be affiliate links. If you purchase a product or service with the links that I provide I may receive a small commission. There is no additional charge to you! Thank you for supporting ATimprovements so I can continue to provide you with free content each week!