

Resurfacing concrete steps with a product like Newcrete can dramatically transform worn, old concrete into beautiful concrete that looks brand new. As an additional benefit, applying a concrete resurfacing product is an easy DIY project that the average homeowner can tackle.
To resurface concrete surfaces such as concrete steps or a concrete porch, start by cleaning the concrete surface by removing any paint, dirt, or debris. Next, mix up the concrete resurfacing product as recommended by the product manufacturer. Apply a thin layer of the concrete resurfacing product to the old concrete using a hand trowel. After applying the concrete resurfacing product to the old concrete, use a broom to provide a textured surface to the face of the concrete. Finally, allow the new concrete surface to cure and enjoy your new beautiful resurfaced concrete.
This article will outline every single step of the concrete resurfacing process so that you will know exactly how to resurface concrete. Specifically, this article will focus on how to resurface concrete steps – but these instructions translate to concrete slabs, concrete porches, etc.
Finally, if you are more of a visual learner, I recommend that you watch my “How to Resurface Concrete” YouTube video linked at the end of this article.
Tools needed to resurface concrete
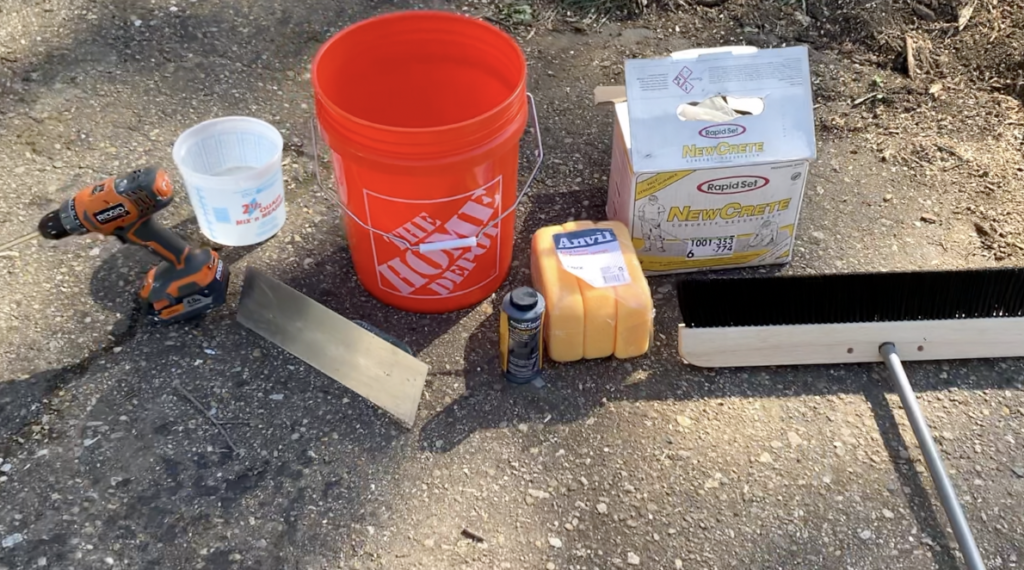
Before getting started, here are the tools you will need to complete a concrete resurfacing project.
- Concrete resurfacing product
- Concrete Broom
- Concrete Finishing Trowel
- Drill with Mixer Attachment
- Sponges (optional)
- Concrete dye (optional)
With all materials ready, you can begin the concrete resurfacing project.
1. Clean the Existing Concrete Surface
Before you can resurface concrete, you need to ensure that the existing concrete surface is clean. A “clean” concrete surface is one that is free of any dirt, debris, paint.
To remove paint, you can use a angle grinder with a paint and rust removal attachment.
However, removing paint with an angle grinder can create a lot of dust – which is not ideal.
You can also use a paint stripper to chemically remove paint. Either method of paint removal will work, but you want to ensure that you have removed all paint from the existing concrete.
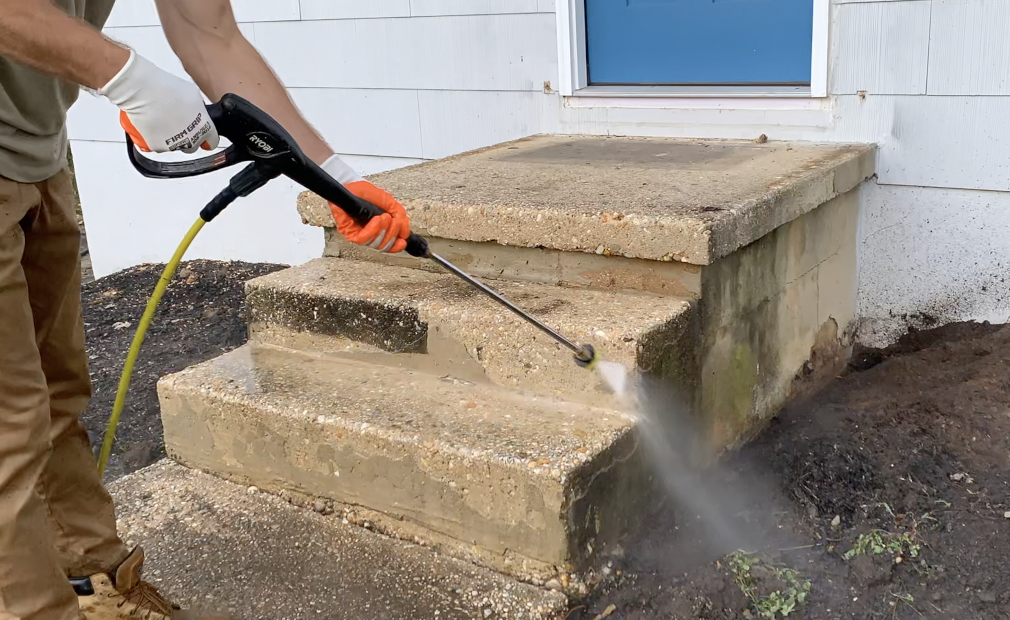
To remove dirt and debris, it is recommended that you power wash the existing concrete in order to ensure that it is fully clean. You can rent a power washer from your local big box store for just a few dollars. Alternatively, you can use a scrub brush and water to remove the dirt and debris manually.
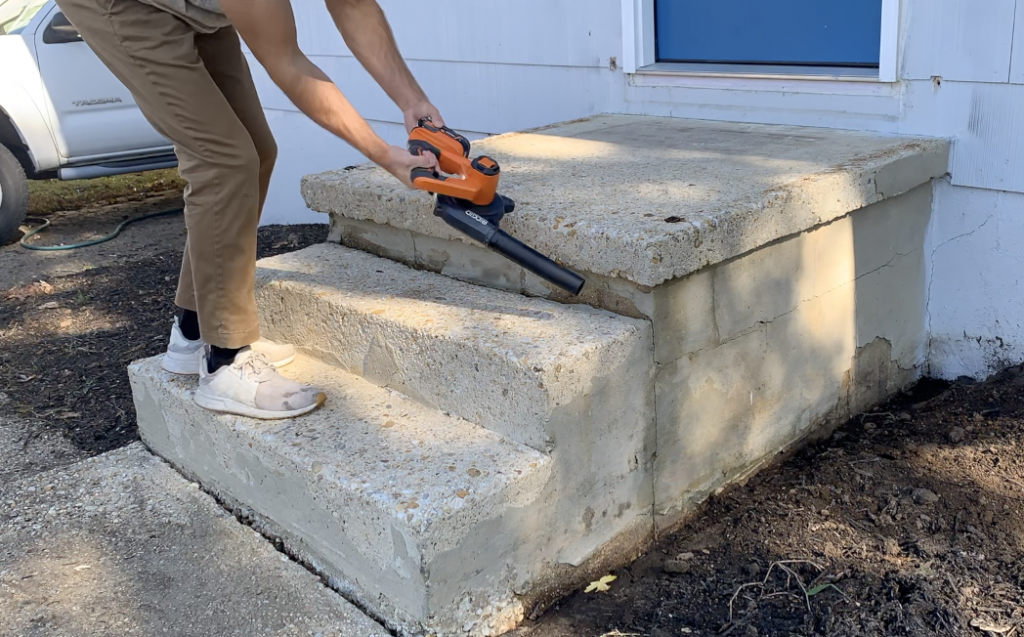
After letting the concrete surface dry, use a leaf blower or vacuum to ensure that there is no dirt or debris left on the concrete surface.
2. Select the Right Concrete Resurfacing Product for Your Application
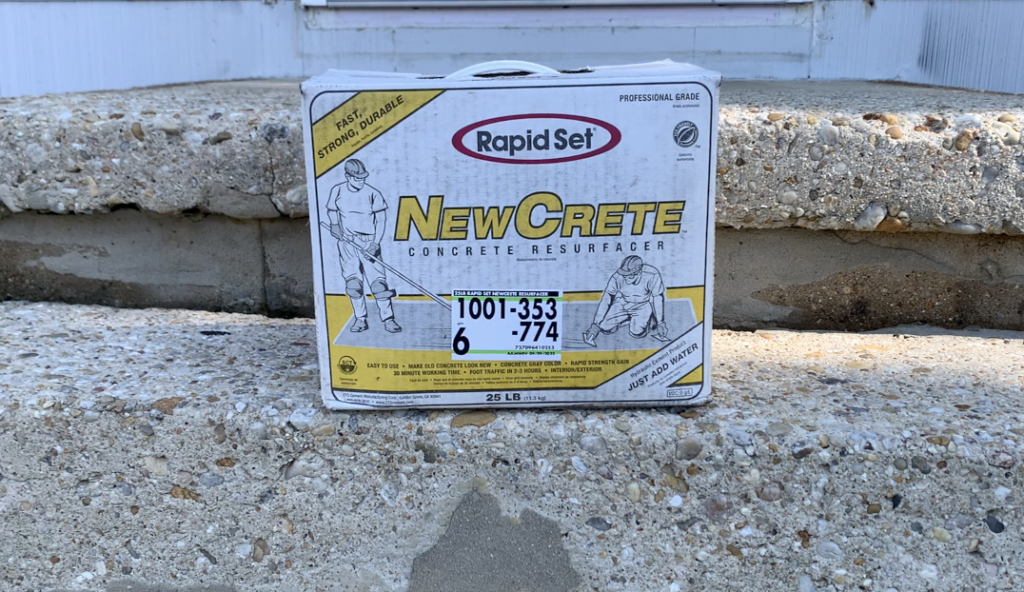
After cleaning the concrete surface, you will need to pick the right concrete resurfacing product for your specific application. A few of the most common concrete resurfacing products are listed below:
Although there are some minor differences between the various different concrete resurfacing products, they are pretty similar overall. Basically, this product is applied (up to ¼” in thickness) with a trowel to your existing concrete, making it look brand new.
Spend some time researching the various concrete resurfacing products available and purchase the product that is right for your application. Additionally, you will want to calculate the overall square footage of your project area to ensure that you purchase enough concrete resurfacing product for your project. For example purposes, one box of Rapid Set NewCrete will cover 25SF at a thickness of 0.125”.
Spend some time planning out your project and purchase enough concrete resurfacing product as you will need for you project.
3. Mix up the Concrete Resurfacing Product According to the Manufacturer’s Recommendations
After cleaning the concrete surface and purchasing your concrete resurfacing product, you can mix-up the concrete resurfacing product according to the manufactuer’s recommendations. Typically, you will want to mix up the product in a 5 gallon bucket using a drill mixer. Follow the manufacturer’s instructions and mix the product with appropriate amount of water and for the mixing duration specified.
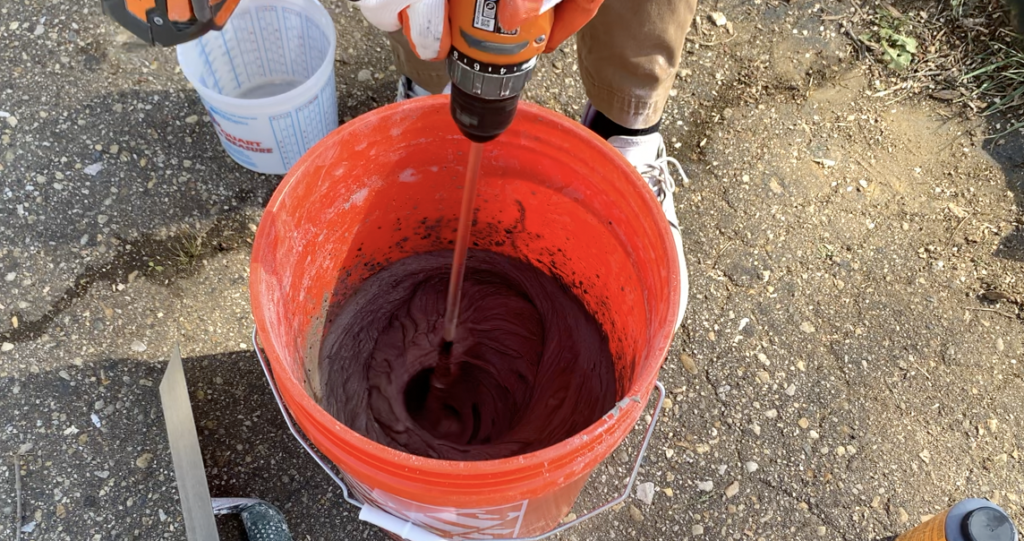
Typically, concrete resurfacing product will be a “pancake batter” consistency once it is mixed up.
4. Moisten the Existing Concrete Surface Prior to Application of the Resurfacing Product
Before you apply the mixed up concrete resurfacing product, it is recommened that you moisten the existing concrete surface. By doing this, you will prevent the existing concrete from “sucking” the moisture out of the product – which may result in improper curing.
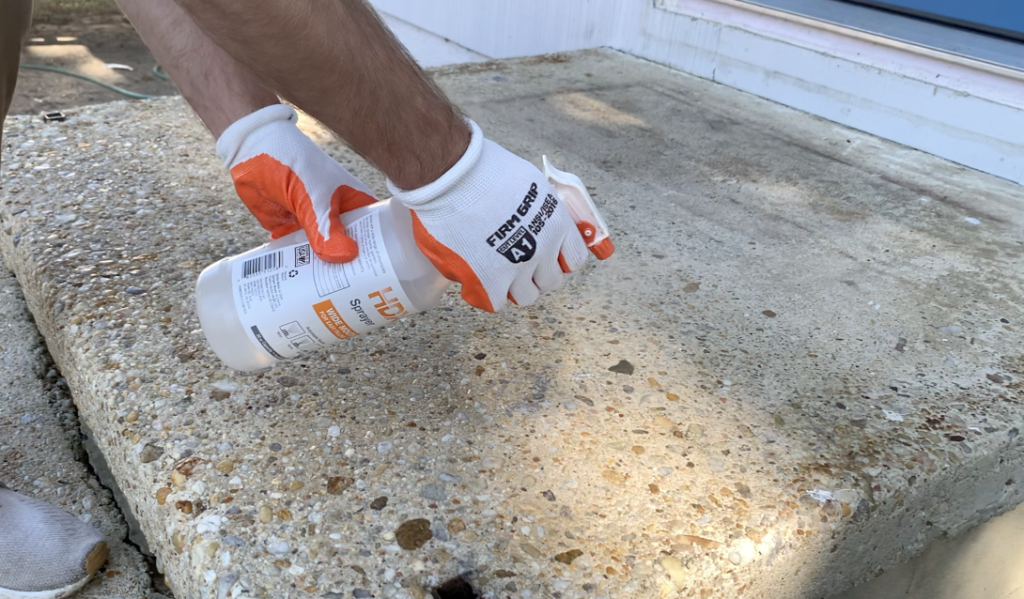
To moisten the existing concrete surface, I recommend the you spray a bit of water over the entire application area using a spray bottle. After moistening the surface, you are all set to apply the concrete resurfacing product to the existing concrete.
5. Apply the Concrete Resurfacing Concrete to the Application Area
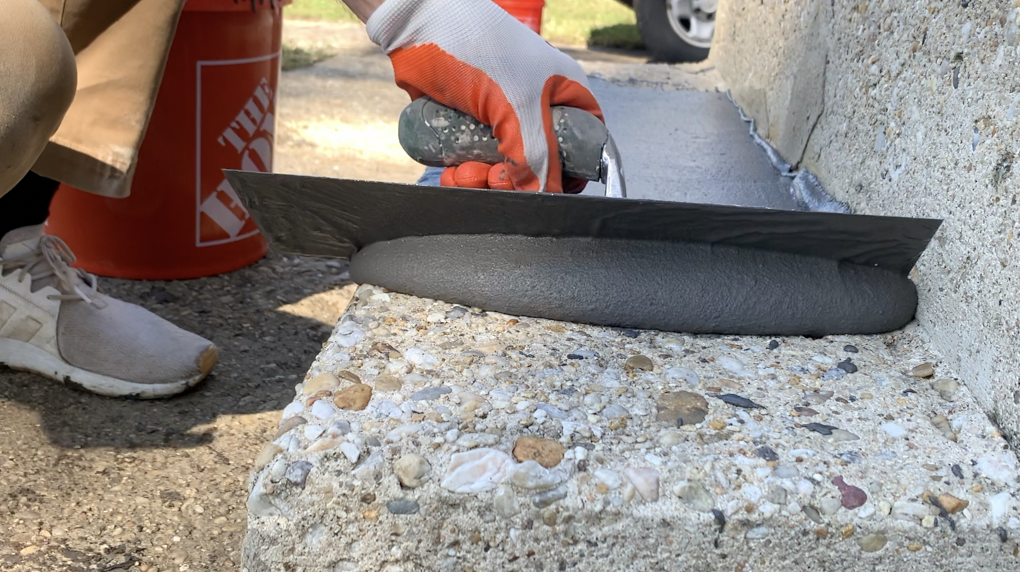
To apply the concrete resurfacing product to your existing concrete, it is recommend that you dump out small amounts of the product and the spread it out evenly with a hand trowel. For large, flat applications (like a large concrete slab) a squeegee can be used to spread out the product quickly and efficiently.
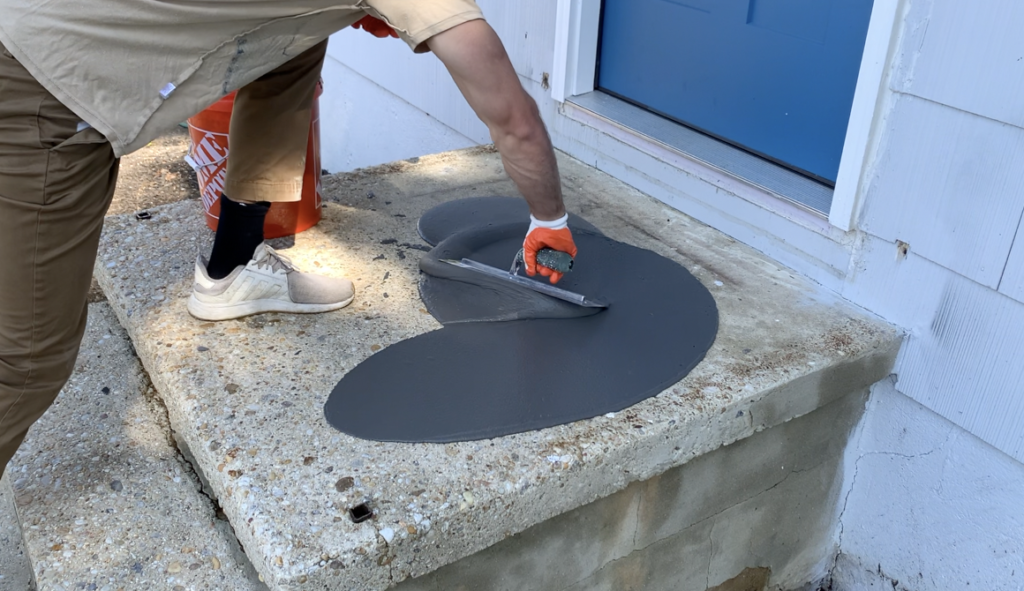
Continue to apply to product to you application area, ensuring that you have a smooth even layer over the entire surface. Be sure not to apply to product any thicker than the manufacturer recommends (typically, no more than 1/4” product thickness is recommended).
PRO TIP: Concrete finishing with a hand trowel is an “art”. I recommend that you spend some time watching a few YouTube videos on the concrete finishing process so that you have tools you need for a successful application.
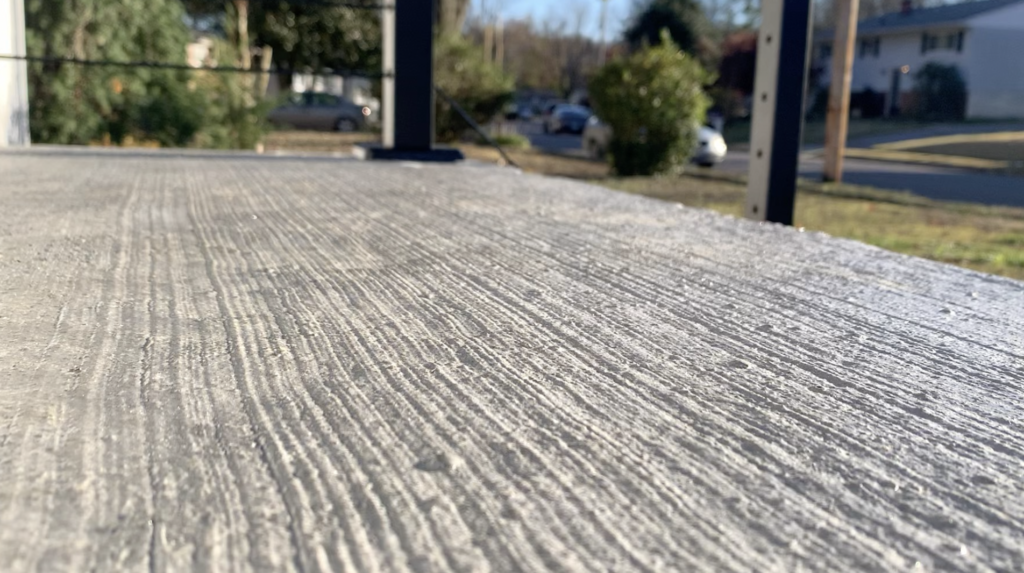
6. Apply texture to the concrete surface using a “Broom Finish”
After applying the concrete resurfacing product to your existing concrete and smoothing it out evenly with a hand trowel, it is generally recommended that you apply a “broom finish” to the concrete surface.
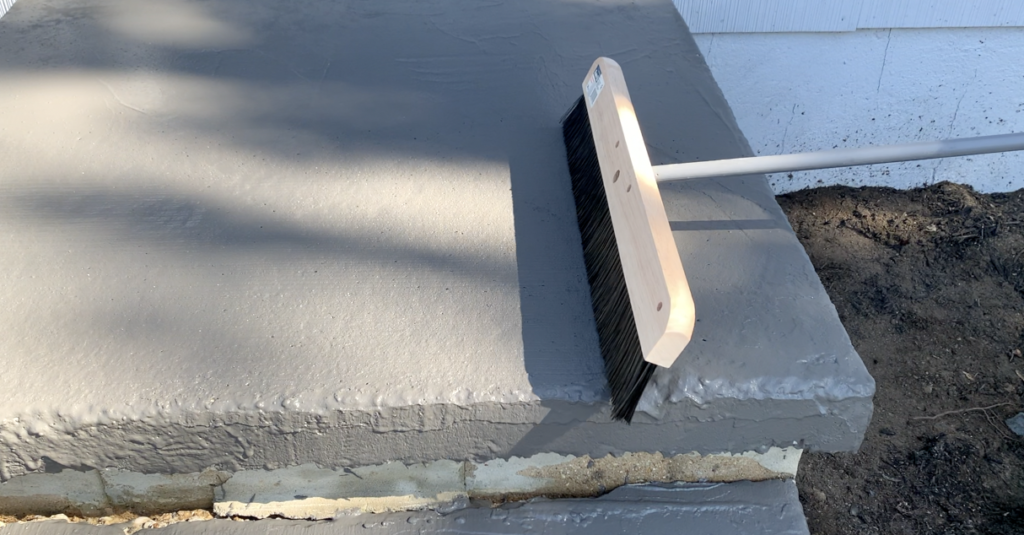
A broom finish is one of the most common concrete finishing practices and it is achieved by literally pulling the bristles of a broom over the surface of the concrete. This broom finishing process accomplishes two things:
- Broom finishing provides a textured non-slip concrete surface that is much less slippery when wet.
- A broom finish provides an aesthetic textured surface that hides any imperfections in the concrete.
For the reasons listed above, it is highly recommend that you apply a broom finish to your resurfaced concrete.
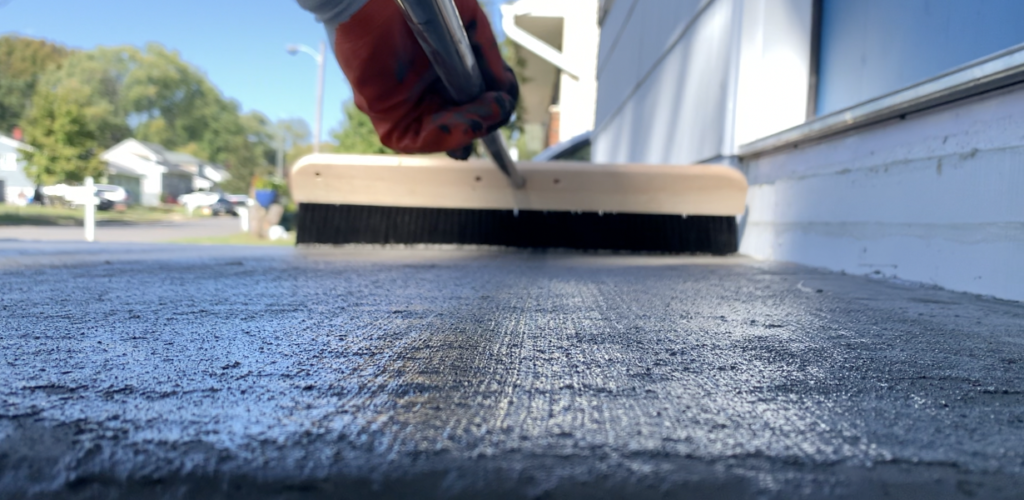
To apply a broom finish, wait for the concrete surface to cure SLIGHTLY. Do not let the concrete surface become too dry. Next, simply take a concrete broom and brush it along the surface of the concrete. Apply light, even pressure and simply pull the broom along the entire concrete surface.
If performed correctly, you will be left with uniform, textured “bristle marks” that give your concrete a nice, finished look.
7. Allow the Concrete Resurfacing Product to Fully Cure
After applying your concrete resurfacing product and applying a broom finish (if desired), simply allow the concrete resurfacing product to cure according to the manufacturer’s recommendations. Typically, these products cure rapidly and our ready for foot traffic in as little as 2-4 hours.
After allowing product to cure, you have successfully completed the product. However, if you desire, you can also apply a concrete sealer to the concrete surface.
8. Apply a Concrete Sealer (if desired).
Although a concrete sealer is not required, it can provide a few notable benefits such as:
- A sealer will help to prevent staining of the concrete surface and will help to prevent water discoloration.
- A sealer can “tint” the surface of the concrete – making it darker or giving it a “wet-look”.
PRO TIP: Concrete sealers can sometimes make the concrete surface a bit more “slick” and slippery. If you provided a broom finish to your concrete surface, this should not be an issue.
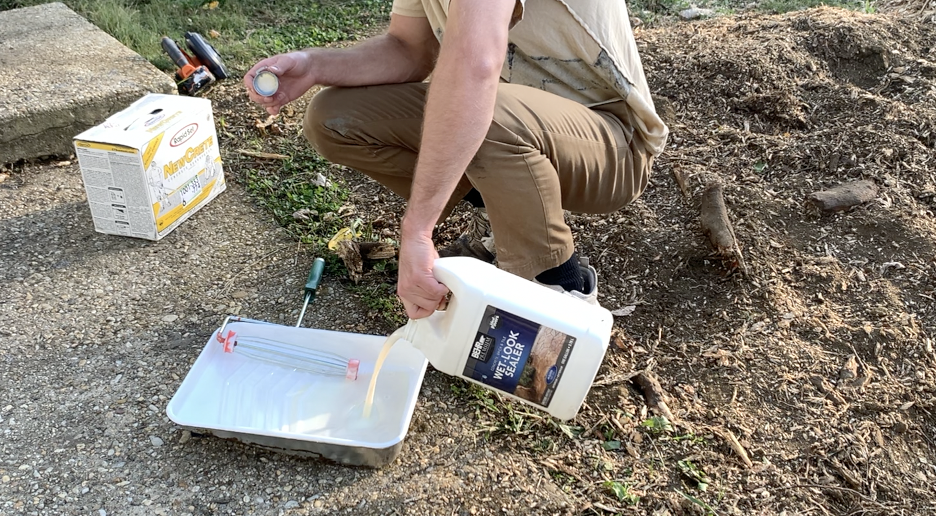
If you choose to apply a sealer to your resurfaced concrete, spend some time researching the various concrete sealing products available. For my concrete resurfacing project, I went with the Behr Wet-Look Sealer.
To apply sealer to concrete, I recommend that you roll the product onto the concrete surface using a foam roller. However, you can also apply sealer using a sprayer.
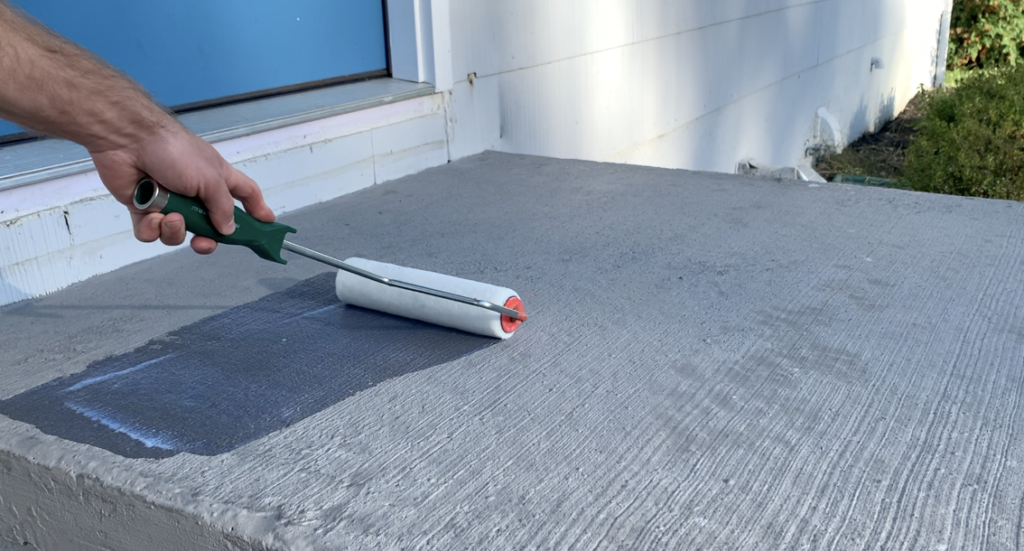
After applying sealer to your concrete surface, your concrete resurfacing product is finished. Enjoy your beautiful, new resurfaced concrete.
If you are more of a visual learner, I recommend that you check out my “How to Resurface Concrete” Youtube Video!
Thanks so much for checking out ATImprovements! If you learned something from this project, you might also like these other DIY Projects:
- How to Build a Concrete Slab Shed Foundation: https://atimprovements.com/how-to-build-a-shed-base-concrete-slab-step-by-step-diy-guide/
- How to Frame a 10’x10′ Shed Base: https://atimprovements.com/how-to-build-a-shed-floor-base-diy-step-by-step-guide/
- How to Frame Shed Walls:https://atimprovements.com/how-to-frame-a-shed-how-to-frame-walls-for-a-10×10-modern-shed-step-by-step-with-pictures/
- How in Install a Shed Window: https://atimprovements.com/shed-window-installation-how-to-install-a-window-in-a-shed-diy/
- How to Install a Roll Up Door in a Shed or Garage:https://atimprovements.com/roll-up-door-installation/
- How to Build a Fence: How to Build a Fence (DIY Guide) – AT Improvements
- How to Build a Fence Gate: How to Build a Fence Gate (7 Steps with Pictures & Video) – AT Improvements
- How to Install a DIY deck Wire Railing: DIY Cable Railing – How to Install Cable Railing Step-by-Step – (atimprovements.com)
- How to Build a Concrete Paver Patio: DIY PAVER PATIO – Easy DIY Paver Patio Ideas – (atimprovements.com)
Thanks!
DISCLAIMER: This is a reference guide only. Consult local code requirements. Links included in this article might be affiliate links. If you purchase a product or service with the links that I provide, I may receive a small commission. There is no additional charge to you! Thank you for supporting ATimprovements so I can continue to provide you with free content each week!