
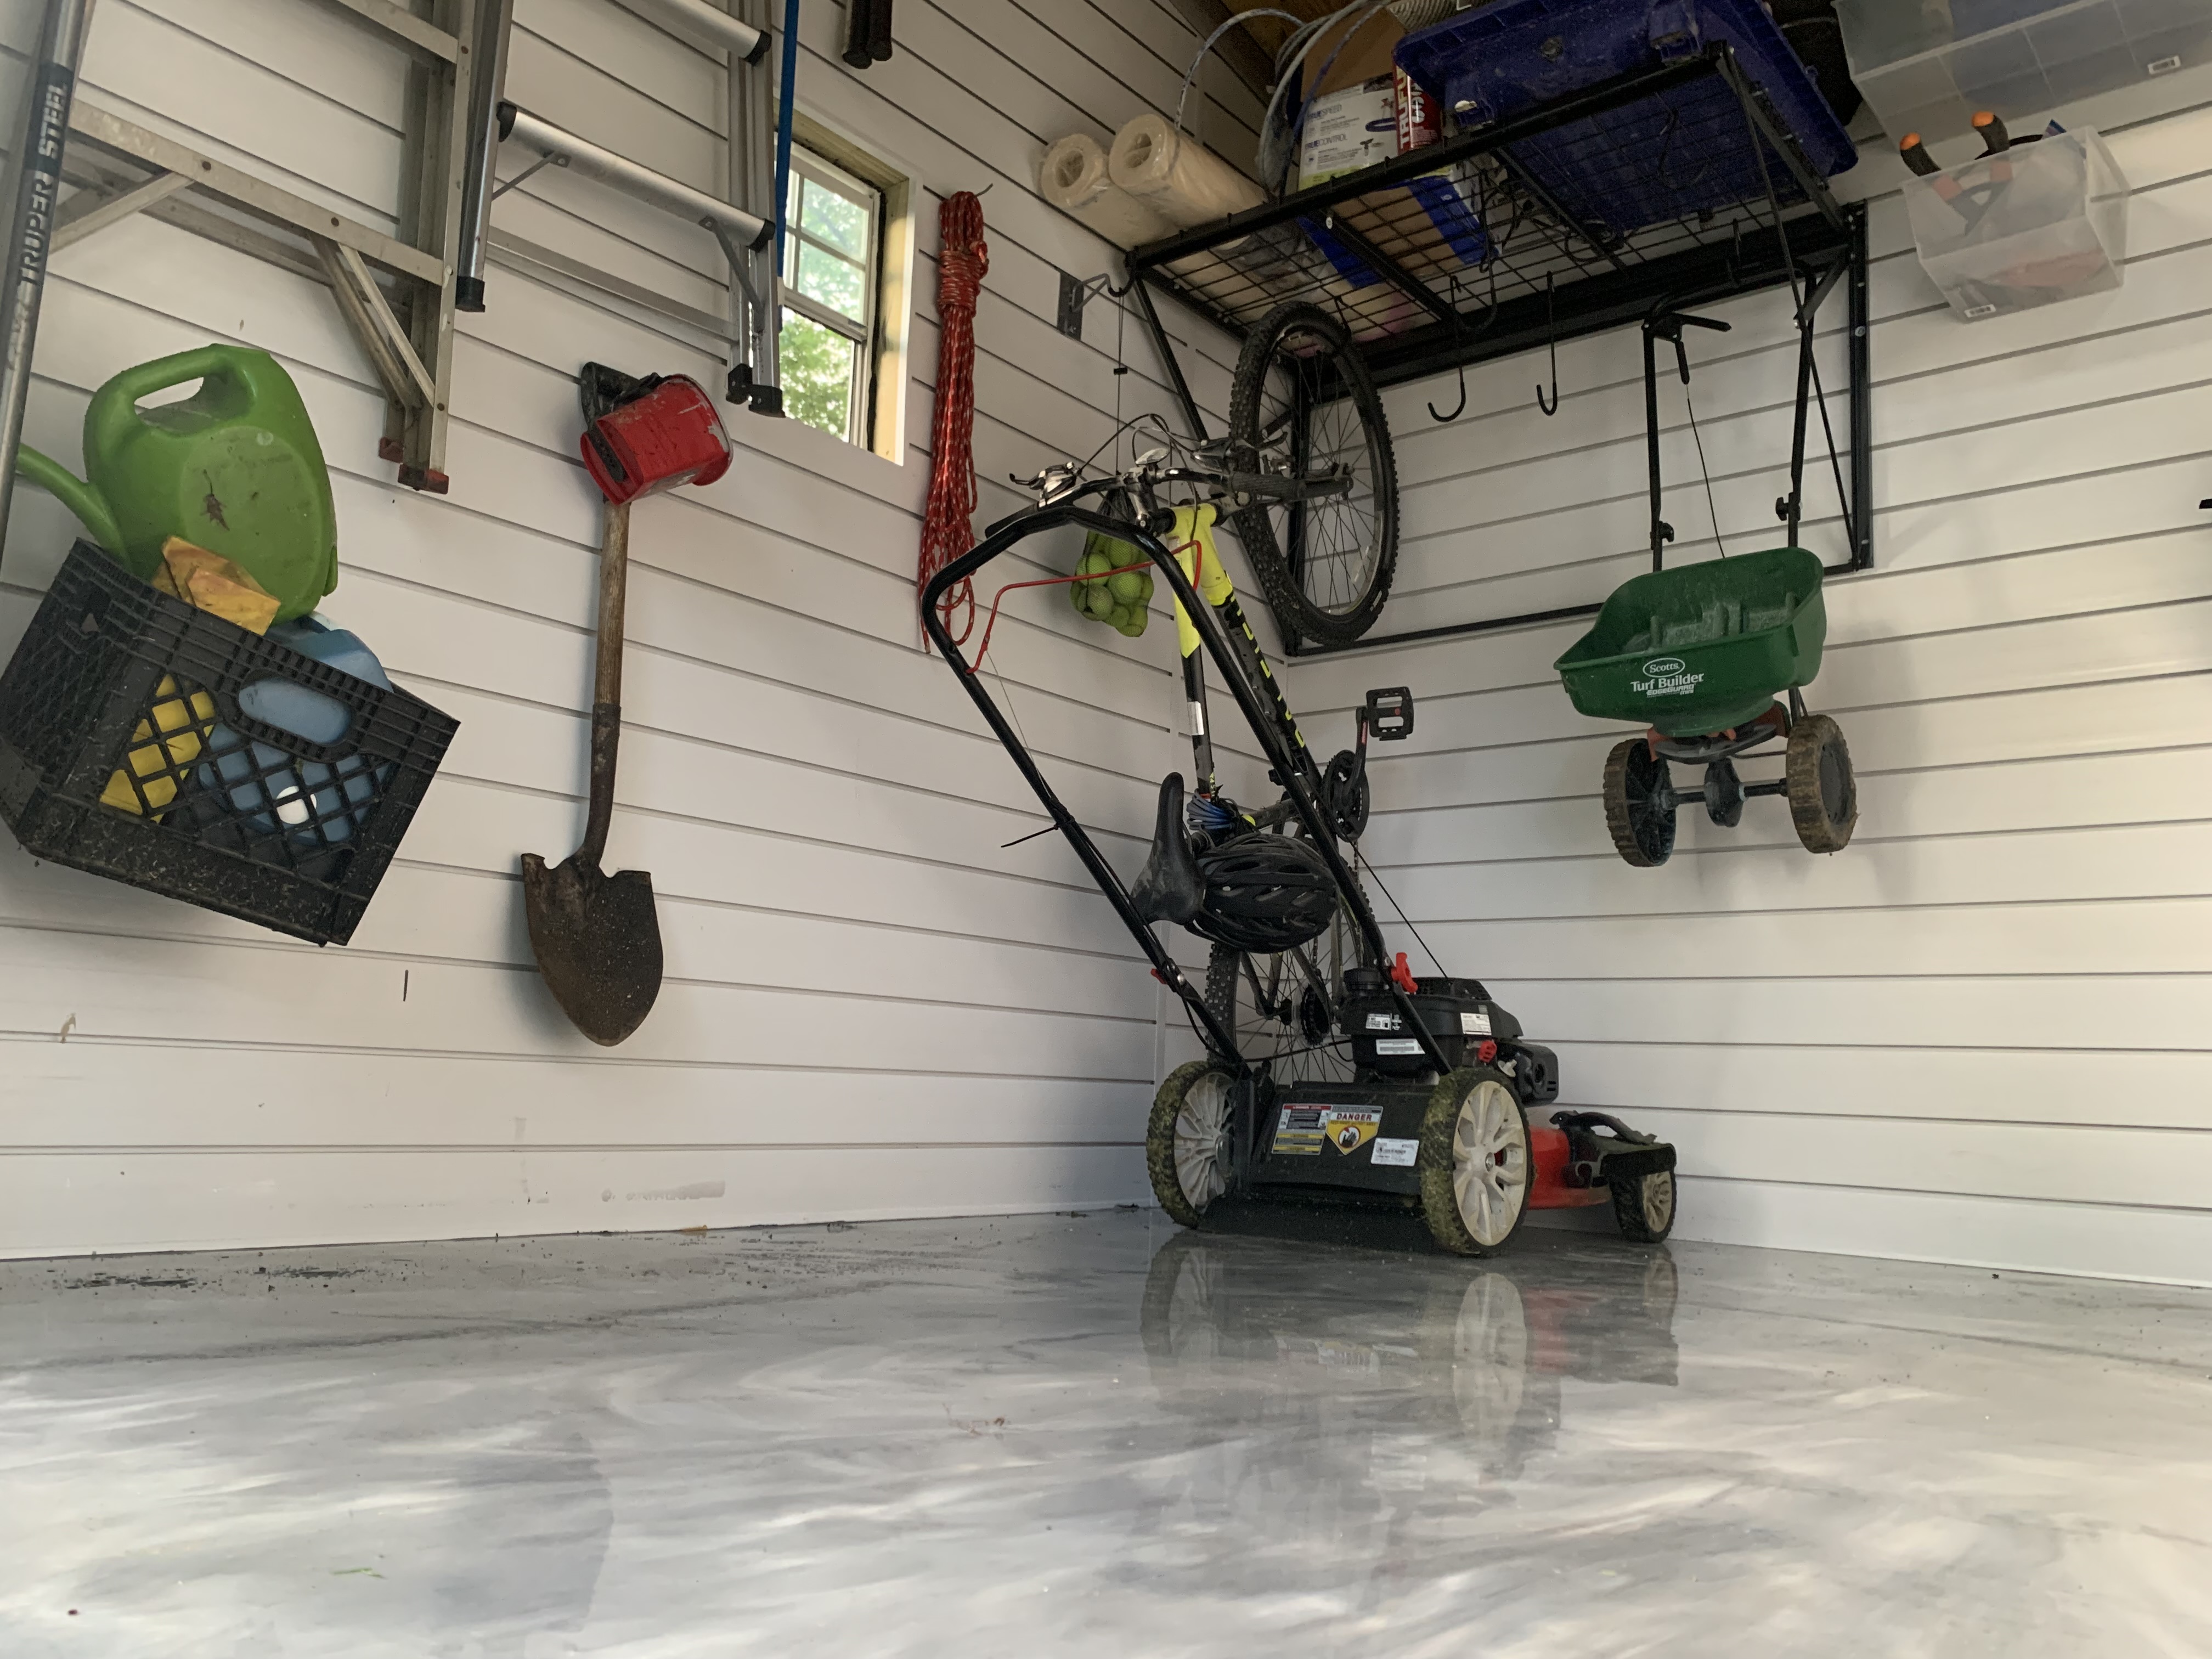
When purchasing or building a shed, storage is typically one of the biggest considerations. Wall storage is also very important in garages. Although the size of the shed or garage will be be the biggest factor in available storage, optimizing wall storage is likely the second most important factor. Although there are many wall storage options and systems available, the ProSlat Slatwall French cleat wall storage system is one of the best on the market.
To install the ProSlat Slatwall French Cleat System, start by installing the PVC starter trim along the bottom of the installation area. Next, install side trim (if installing only one segment) or H-trim (if installing multiple segments) on the sides of the Slatwall to complete the frame. Next, slide the first Slatwall Panel into the side trim on each side and slide the panel down inside starter trim. Attach each Slatwall Panel to the studs using the provided screws. Repeat this process for all the remaining panels, fastening each panel to the studs. Finally, install the top trim on the last piece of Slatwall Panel.
The ProSlat Slatwall systems, although a bit pricey, are one of the best shed and garage storage systems available. This guide will show you how to install ProSlat Slatwall, step-by-step.
What is ProSlat Slatwall?

ProSlat is a garage and shed storage system company that makes many different products to optimize wall storage. The ProSlat Slatwall product is an interlocking “French cleat” style panel system that installs directly into wall studs. There are many different variations of the Slatwall (PROCORE, aluminum, PVC, etc.), but they are all functionally similar.
Tools and Materials Needed to Install ProSlat Slatwall

To successfully install T1-11 or SmartSide Panel you will need the following tools and materials:
With all necessary tools and materials on hand, you can now begin installing the ProSlat Slatwall.
1. Install the Starter Trim at the Base of the Slatwall Application Area
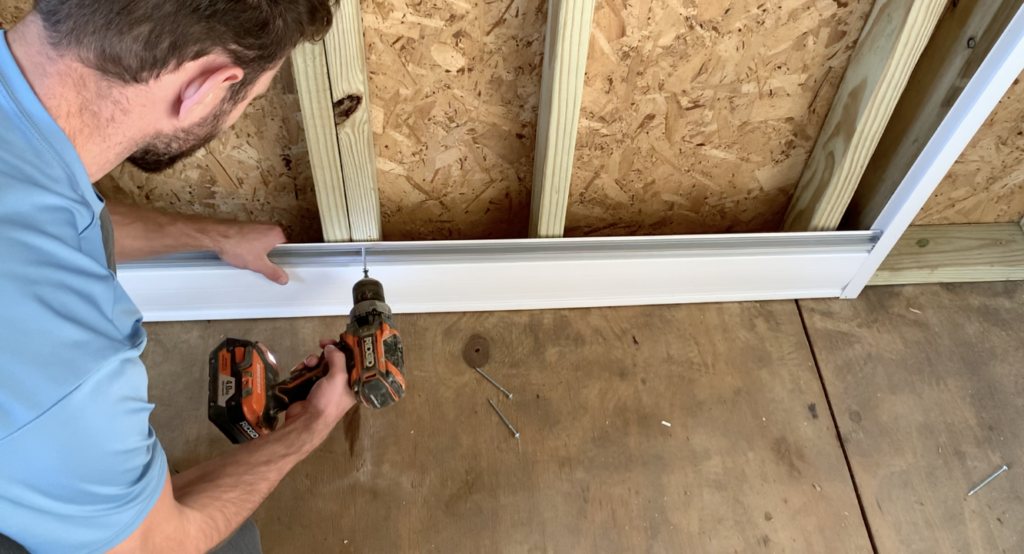
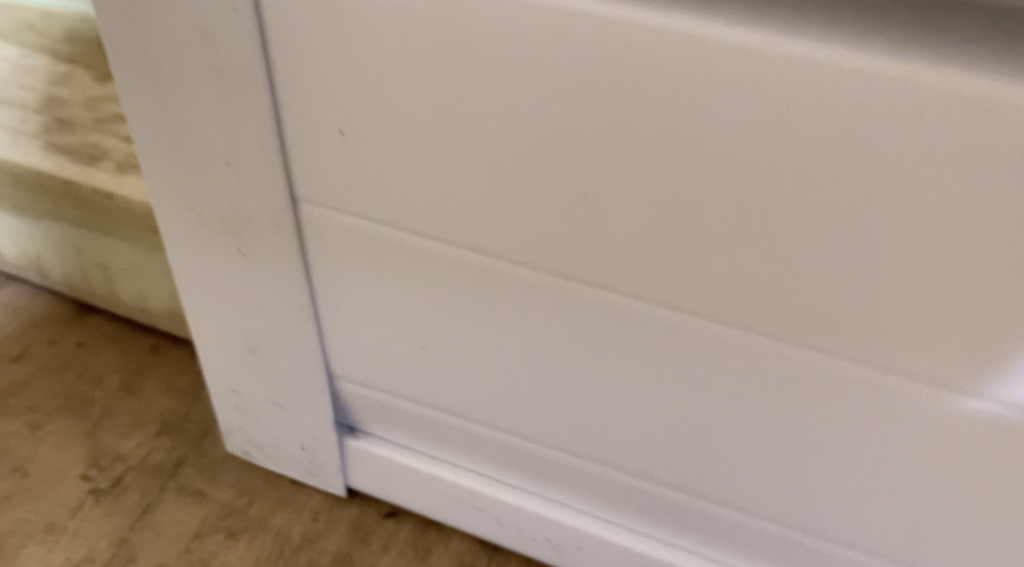
To install ProSlat Slatwall, start by installing the starter trim at the bottom of the Slatwall application area. To do this, position the starter trim in place and attach it to the studs using the provided screws.
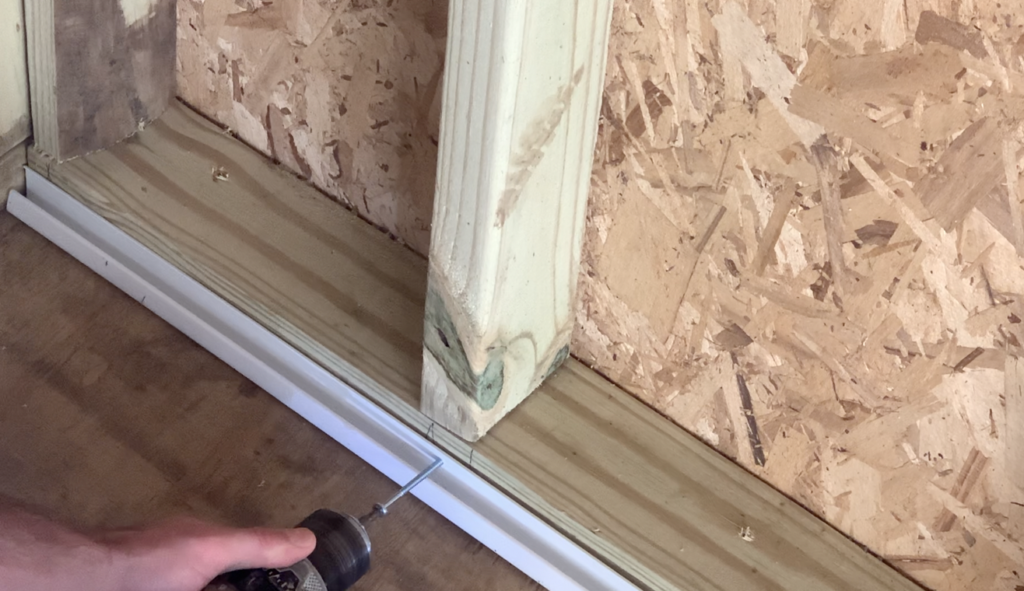
Be sure to secure the starter trim to each wall stud (or bottom plate stud) along the entire length of the Slatwall application area.
2. Install the Side Trim on the Sides of the Slatwall Application Area
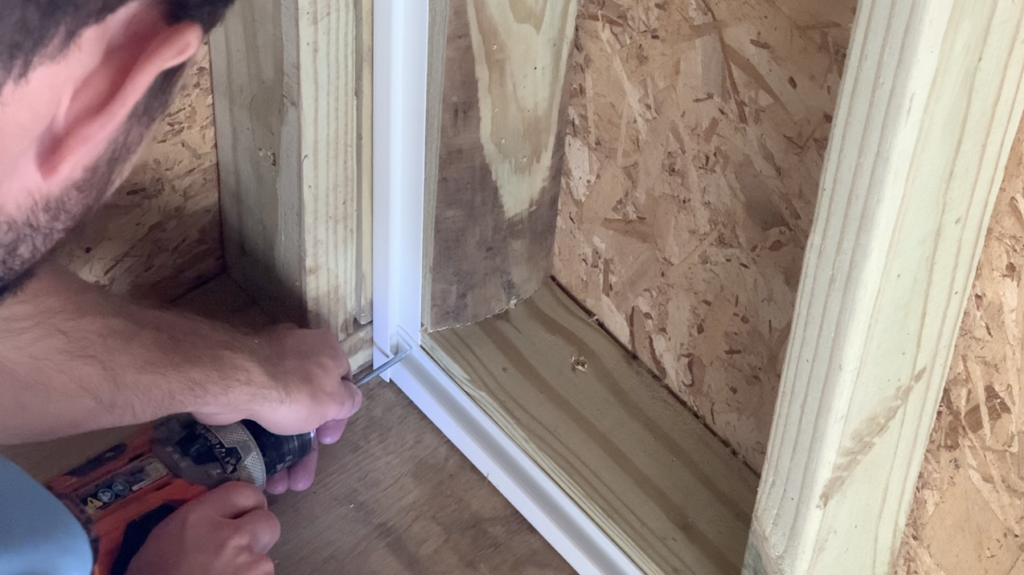
After installing the starter trim at the bottom of the Slatwall application area, install the Side Trim pieces on the sides of the Slatwall Application Area.
PRO TIP – If you are installing more than one Slatwall System side-by-side, you will need to install H-Trim instead of side trim. Refer to the manufacturer’s installation instructions.
Install the Side Trim (or H-trim) similarly to how the bottom starter trim was installed and as shown in the image above. Secure the Side trim to the wall studs with the provided screws. Be sure that the side trim is perfectly plumb.
Repeat the Side Trim installation procedure on both sides of the Slatwall Application area to “frame” the entire application area.
3. Install the First Slatwall Panel
After installing the starter trim at bottom of the Slatwall application area and installing the side trim (or H-trim) on the sides of the application area, the first piece of Slatwall Panel can be installed.
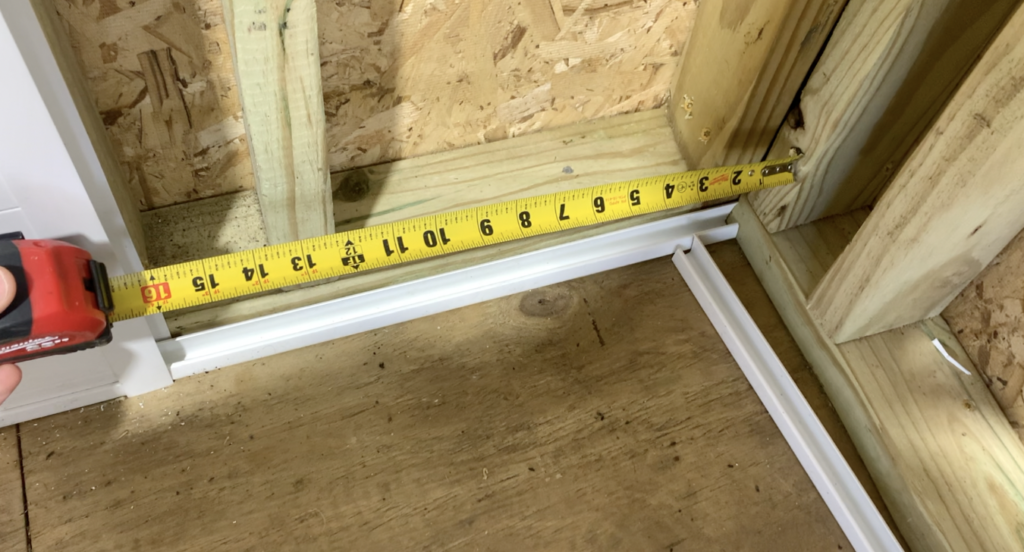
To install the first Slatwall Panel, insert each end of the panel into the previously installed side trim and then slide the Slatwall panel down to to the starter trim at the bottom of the application area.
Tuck the bottom side of the Slatwall inside the starter trim and then secure the Slatwall Panel to the wall studs using the provided screws.
PRO TIP – Use a level to ensure that the first Slatwall Panel is perfectly level.
Be sure to fasten the first Slatwall panel to each stud.
4. Install the Remaining Slatwall Panels
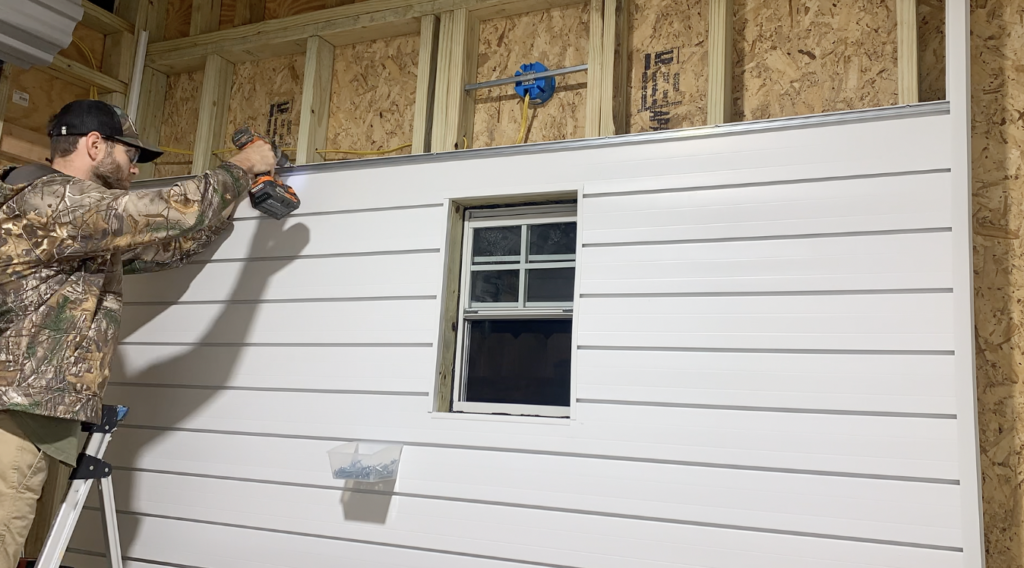
Once the first Slatwall panel is installed and fastened to the studs, continue to install all of the remaining Slatwall Panels.

Again, simply slide the Slatwall Panel into the side trim and slide it down into place until it rests securely on top of the previously installed panel. You will hear an audible click when the Slatwall Panel is resting correctly on top of the previously installed panel.
Be sure to confirm level periodically during the Slatwall Panel Installation.
Continue to install all remaining Slatwall Panels, secure each panel to the studs as you go.
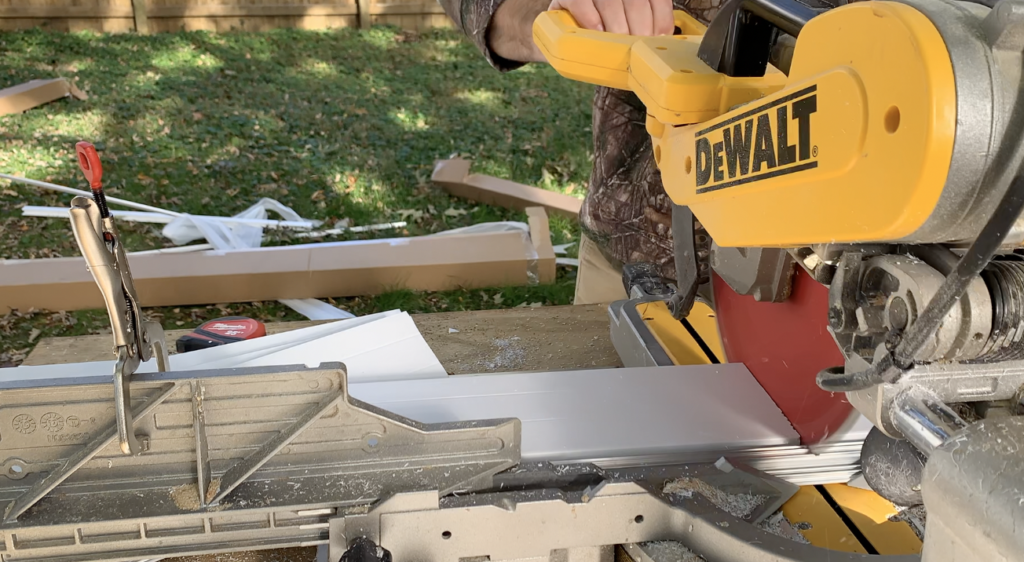
If needed, trim any Slatwall Panels to size using a miter saw – as shown below.
If needed, cut your trim to length using snippers.
5. Install the the Top Trim Piece at the Top of the Slatwall Application Area
Once all of the Proslat Slatwall Panels have been installed, simply install the top trim piece on the top of the last panel. This piece of trim will help to give your Slatwall installation a finished look.
At this stage, you have complete the installation of the Slatwall Panels and you can begin installing the Slatwall hooks and accessories.
6. Install the Slatwall Hooks, Hangers, and Accessories
ProSlat manufactures many different Slatwall Accessories that allow for the optimization of wall storage. Specifically, ProSlat offers the following:
- Hooks
- Shelves
- Brackets
- Cabinets
- Pro-Rack
- Bike Hangers
Select the accessories that are best suited for your storage needs.
To attach the accessories to the Slatwall, simply tilt the accessory at a 45 degree angle and insert the hook into the Slatwall Opening Slot. Then, simply test that the accessory is secured in place.
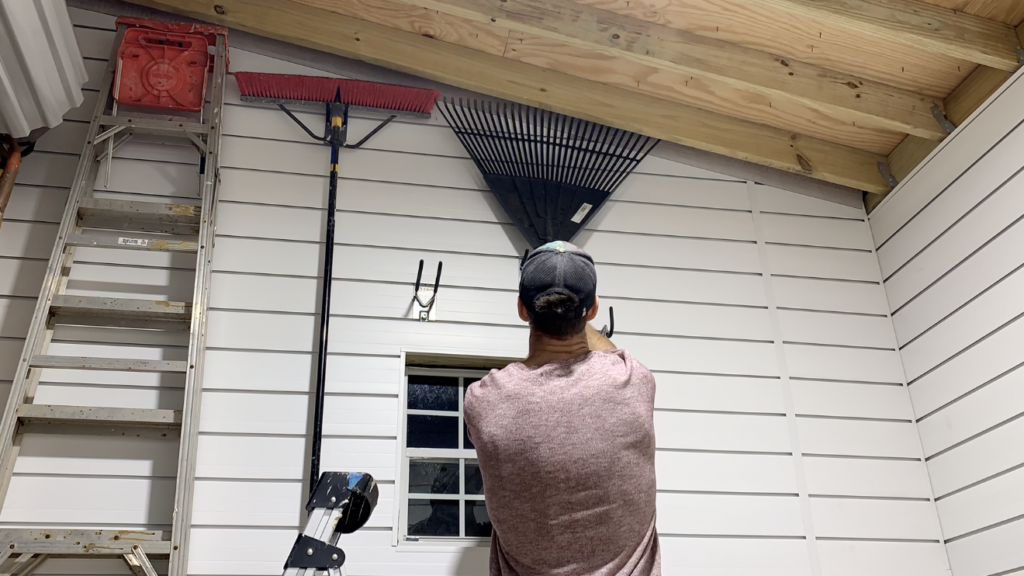
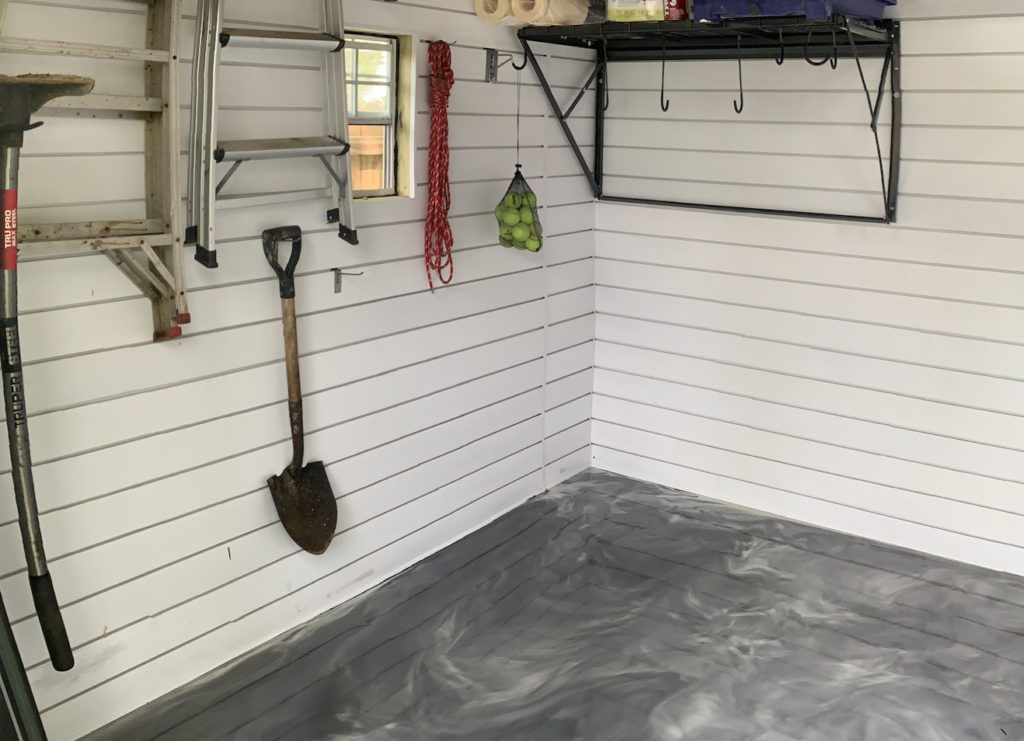
After installing your accessories, simply hang all of your equipment in place.
At this stage, your Slatwall installation is complete. Enjoy your newfound shed or garage wall storage!
This shed wall storage system installation was performed as part of my 10’x10′ Modern Shed Build Project – See below:
If you want to learn how to build the Modern Shed you see below, Check out my “How to Build a Modern Shed Course” Linked Here. This Course includes a detailed materials list, tools lists, lumber cut lists, and step-by-step video instructions for each step of the project!
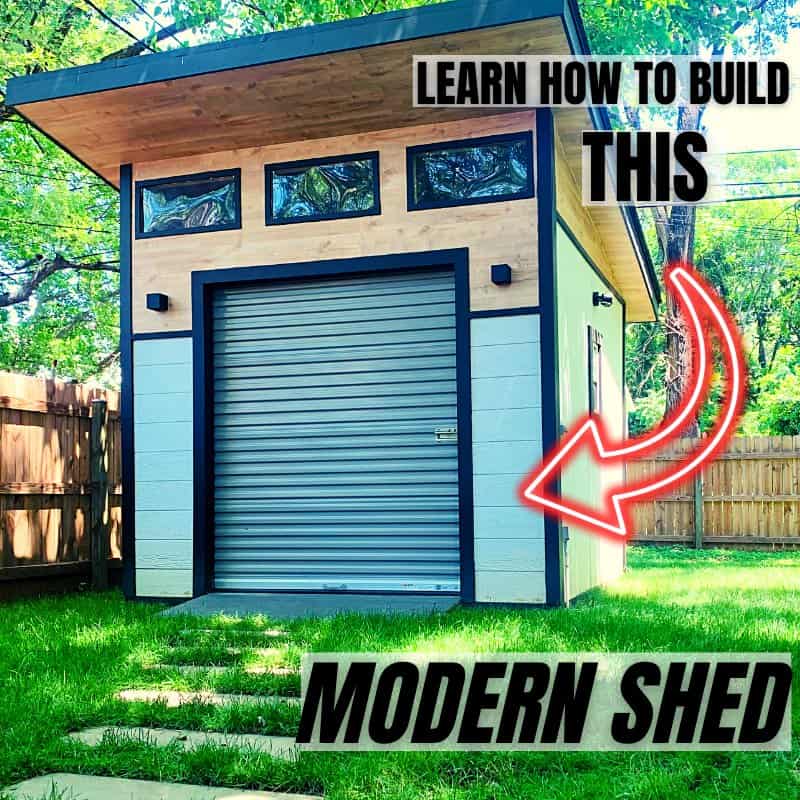
For more information on how to Build a 10’x10 Modern Shed from start to finish, check out ATimprovements.com or watch my step-by-step tutorial videos on Youtube.
Thanks!
Thanks so much for checking out ATImprovements! If you learned something from this project, you might also like these other DIY Projects:
- How to Build a Concrete Slab Shed Foundation: https://atimprovements.com/how-to-build-a-shed-base-concrete-slab-step-by-step-diy-guide/
- How to Frame a 10’x10′ Shed Base: https://atimprovements.com/how-to-build-a-shed-floor-base-diy-step-by-step-guide/
- How to Frame Shed Walls:https://atimprovements.com/how-to-frame-a-shed-how-to-frame-walls-for-a-10×10-modern-shed-step-by-step-with-pictures/
- How in Install a Shed Window: https://atimprovements.com/shed-window-installation-how-to-install-a-window-in-a-shed-diy/
- How to Install a Roll Up Door in a Shed or Garage:https://atimprovements.com/roll-up-door-installation/
- How to Build a Fence: How to Build a Fence (DIY Guide) – AT Improvements
- How to Build a Fence Gate: How to Build a Fence Gate (7 Steps with Pictures & Video) – AT Improvements
- How to Install a DIY deck Wire Railing: DIY Cable Railing – How to Install Cable Railing Step-by-Step – (atimprovements.com)
- How to Build a Concrete Paver Patio: DIY PAVER PATIO – Easy DIY Paver Patio Ideas – (atimprovements.com)
Thanks!
DISCLAIMER: This is a reference guide only. Consult local code requirements. Links included in this article might be affiliate links. If you purchase a product or service with the links that I provide, I may receive a small commission. There is no additional charge to you! Thank you for supporting ATimprovements so I can continue to provide you with free content each week!